This cherry cheesecake is so silky, perfectly sweet, and has such a delicious flavor. And it's made with a tender graham cracker crust that adds the perfect crunch to every bite. Not to mention, it's so, so easy to make - just 10 minutes of prep work is all you need to make it.
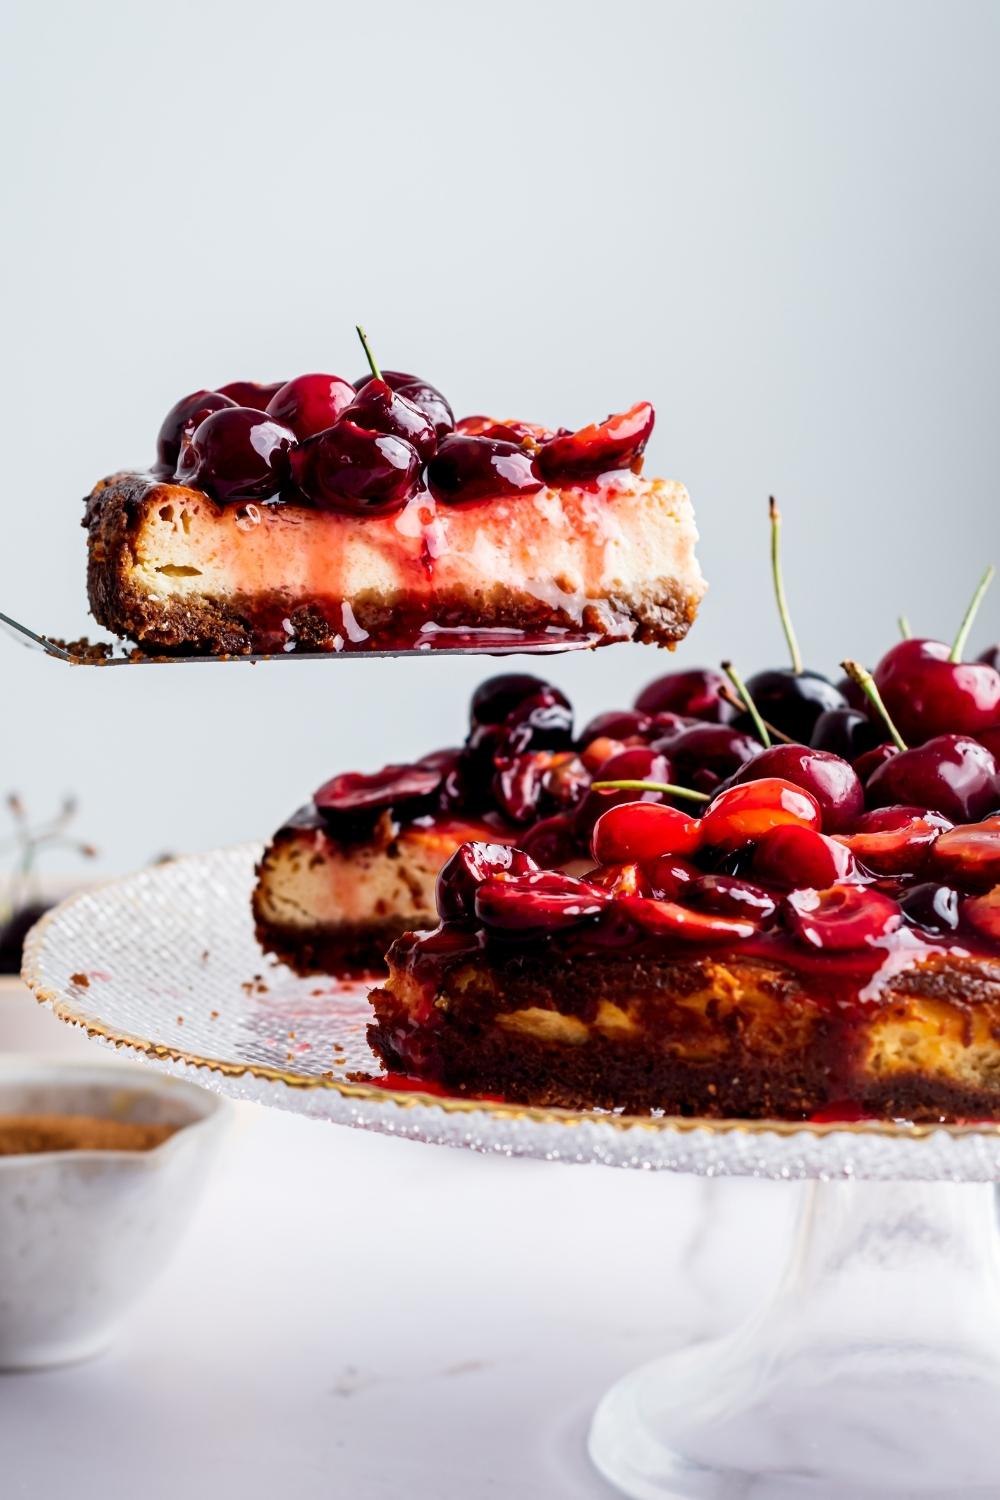
Table of Contents
The Best Cherry Cheesecake
If you love cherry cheesecake, just wait until you try this recipe! This cheesecake combines sweet, tart cherries with the most smooth and creamy cheesecake filling you'll ever have. And it's all on top of a tender, buttery graham cracker crust.
And the best part about this cheesecake recipe is how easy it is to make. I know cheesecakes can sometimes be intimidating, but this one is quite simple. Six simple steps & 10 minutes of prep work are all it takes to put this dessert together.
Honestly, it's so good that once you try a taste this, you'll be looking for every excuse there is to make this smooth and creamy cheesecake.
So, if you’re hosting a birthday party - or if you want to bring a delicious dessert to a friend’s dinner party - this cheesecake might just be the dessert you're looking for. Just be aware it's going to be the talk of the party!
Oh, and if you love cheesecake, this no bake cheesecake with cool whip and these no bake mini cheesecake bites are two desserts you have to try next!
Anyway, let's not waste any more time, let's jump right into the details of the best cherry cheesecake recipe.

Ingredients
To make this cherry cheesecake recipe, you only need a few common ingredients. In fact, there's a good chance you have these at home already.
Here's what you'll need to make the traditional cherry cheesecake crust and cherry pie filling:
- 2 cups Graham Crackers Crumbled
- 3 tbsp. Melted Butter
- 16 oz. Full Fat Cream Cheese
- ¾ cup Granulated Sugar
- 3 Eggs
- 1 cups Greek Yogurt
- 1 tbsp. Vanilla Extract
And for the cherry topping, you'll only need:
- 2 cups Frozen Pitted Cherries, + Some Fresh Ones To Serve
- ½ cup Sugar
- 2 tbsp. Cornstarch
- 1 Lemon, Squeezed
Now, if you want to save some time, you can use a premade graham cracker crust. But I personally like to use graham cracker crumbs and butter to make a homemade one.
By the way, if you like fruit and cream cheese, make sure to grab some extra cream cheese from the store so you can use it to make this cream cheese fruit dip next!
How to Make Cherry Cheesecake
I've broken this process down into small steps, so don't be intimidated by the number of them.
Also, before you start on it, make sure to let the cream cheese sit out for at least 10 minutes, this will make sure it's softened to create that smooth and creamy filling.
Step 1: Prep Work
First things first, you'll want to preheat the oven to 350ºF (180°C). Next, you can line a springform pan with parchment paper and set it aside for later on.
Now you're going to make the graham cracker crust - that is, of course, if you're making it from scratch.
So, to make it, you'll want to blend up the graham crackers in a food processor until they are just crumbs.
Then, add the crumbs to a bowl along with melted butter and use a spatula to mix the butter and graham cracker crumbs until they're fully combined.
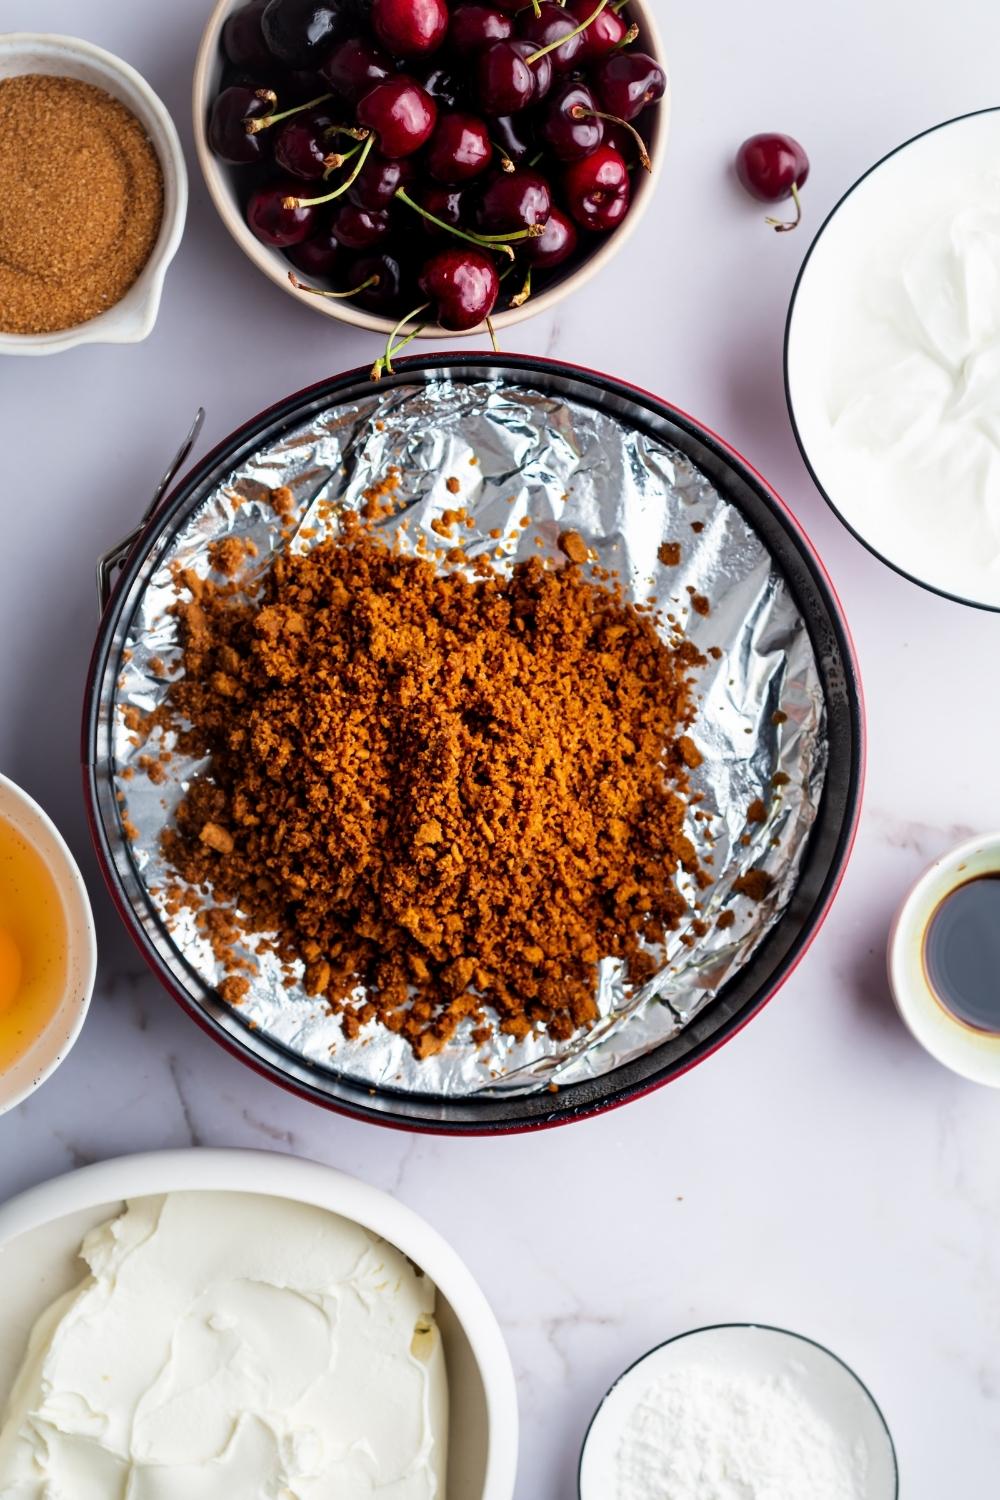
Step 2: Cook The Crust
Once the graham cracker crumbs and butter are combined, transfer the graham cracker mixture to the springform pan and press it down with the back of a spoon or the back of a measuring cup.
Then, after it's been pressed down, bake the pie crust for 10 minutes.
Now, while the crust is cooking, it's time to make the cherry pie filling.
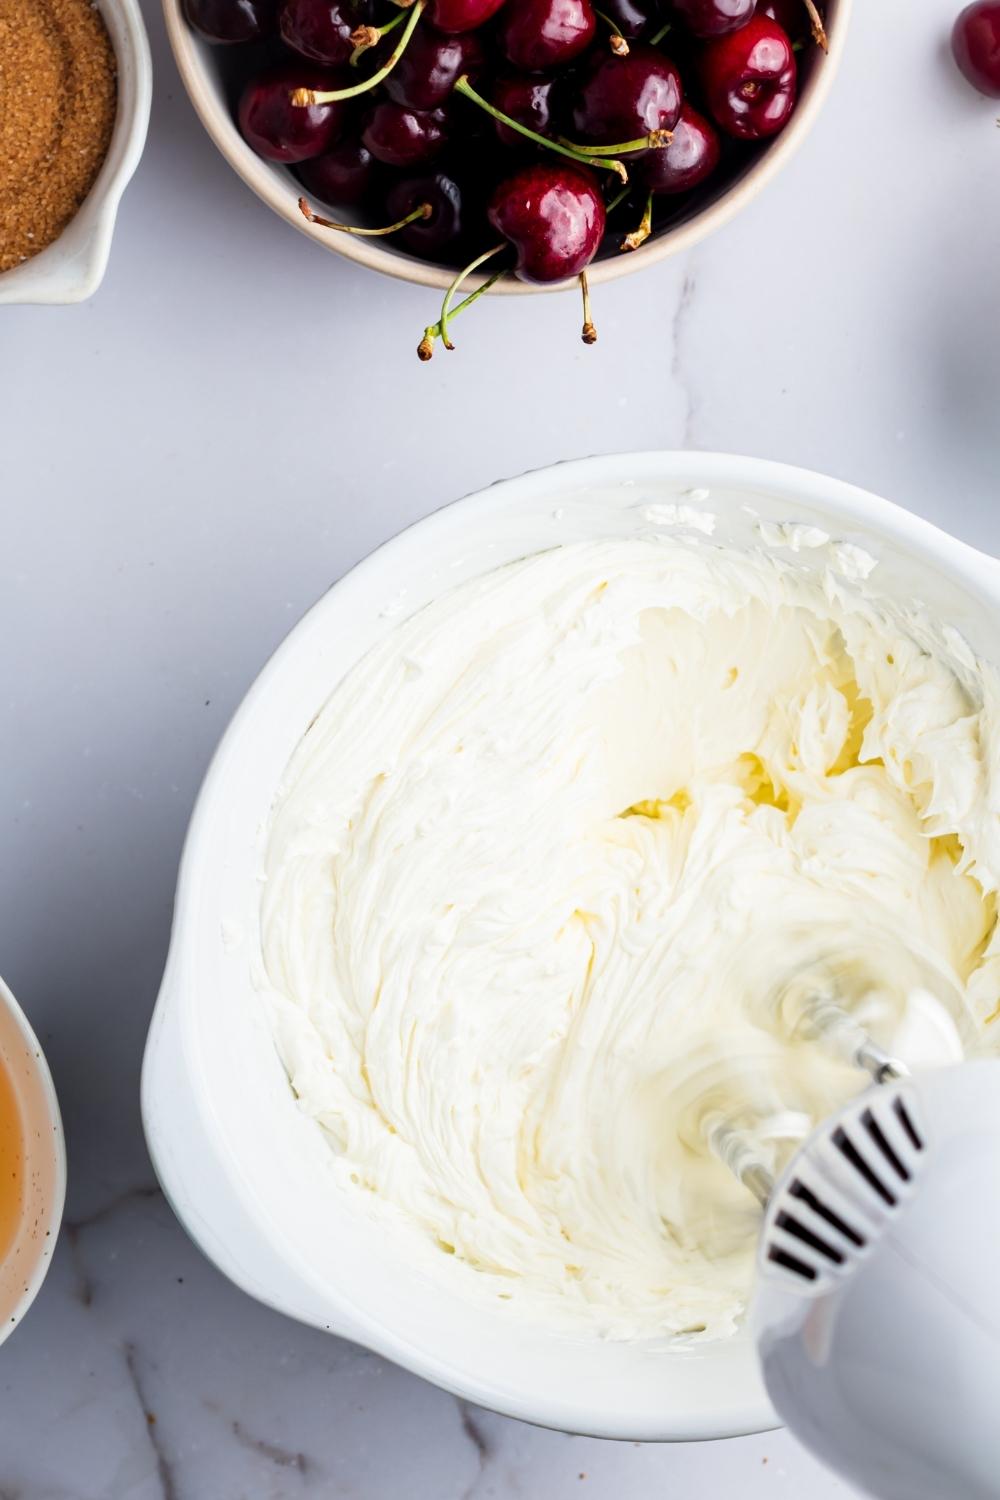
Step 3: Make The Cheesecake Filling
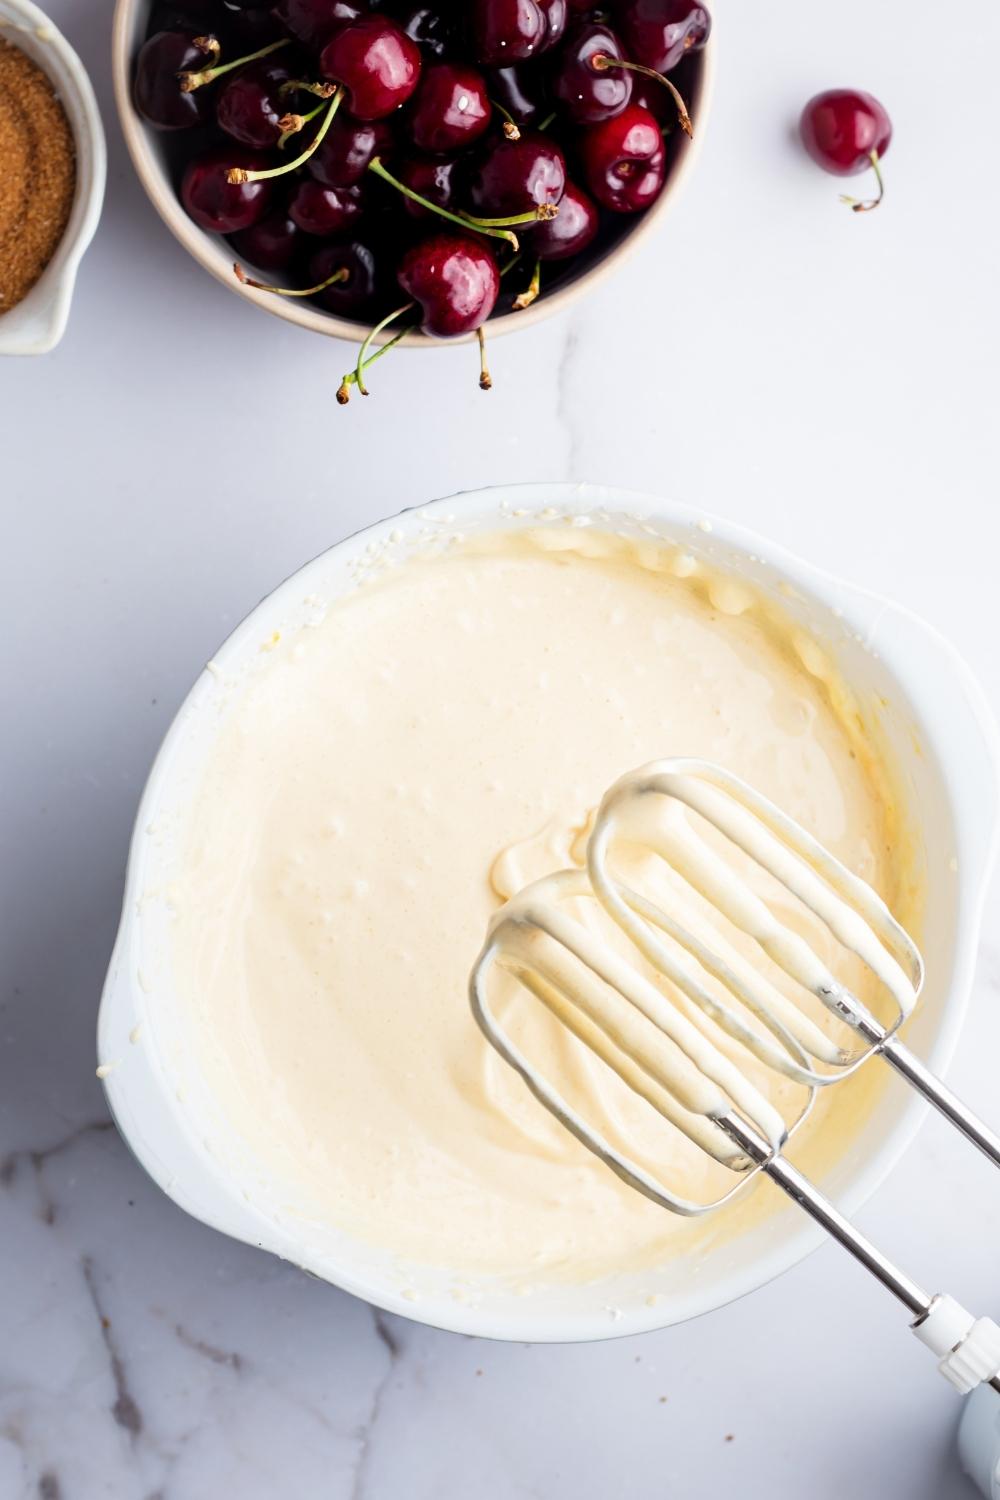
So, to make the filling, you'll want to take out a large mixing bowl and add the softened cream cheese (room temperature cream cheese) to it. Then, you can mix the cream cheese mixture with an electric mixer until it reaches a smooth consistency.
Next, to the same bowl, add the sugar, Greek yogurt, and vanilla extract, and mix until fully combined.
Now, after those ingredients have been combined, add each egg one at a time, and mix each one until it combines with the rest of the ingredients. Just keep in mind that you don't want to over-mix when adding the eggs. You don't want your cherry pie mixture to have too much air in it.
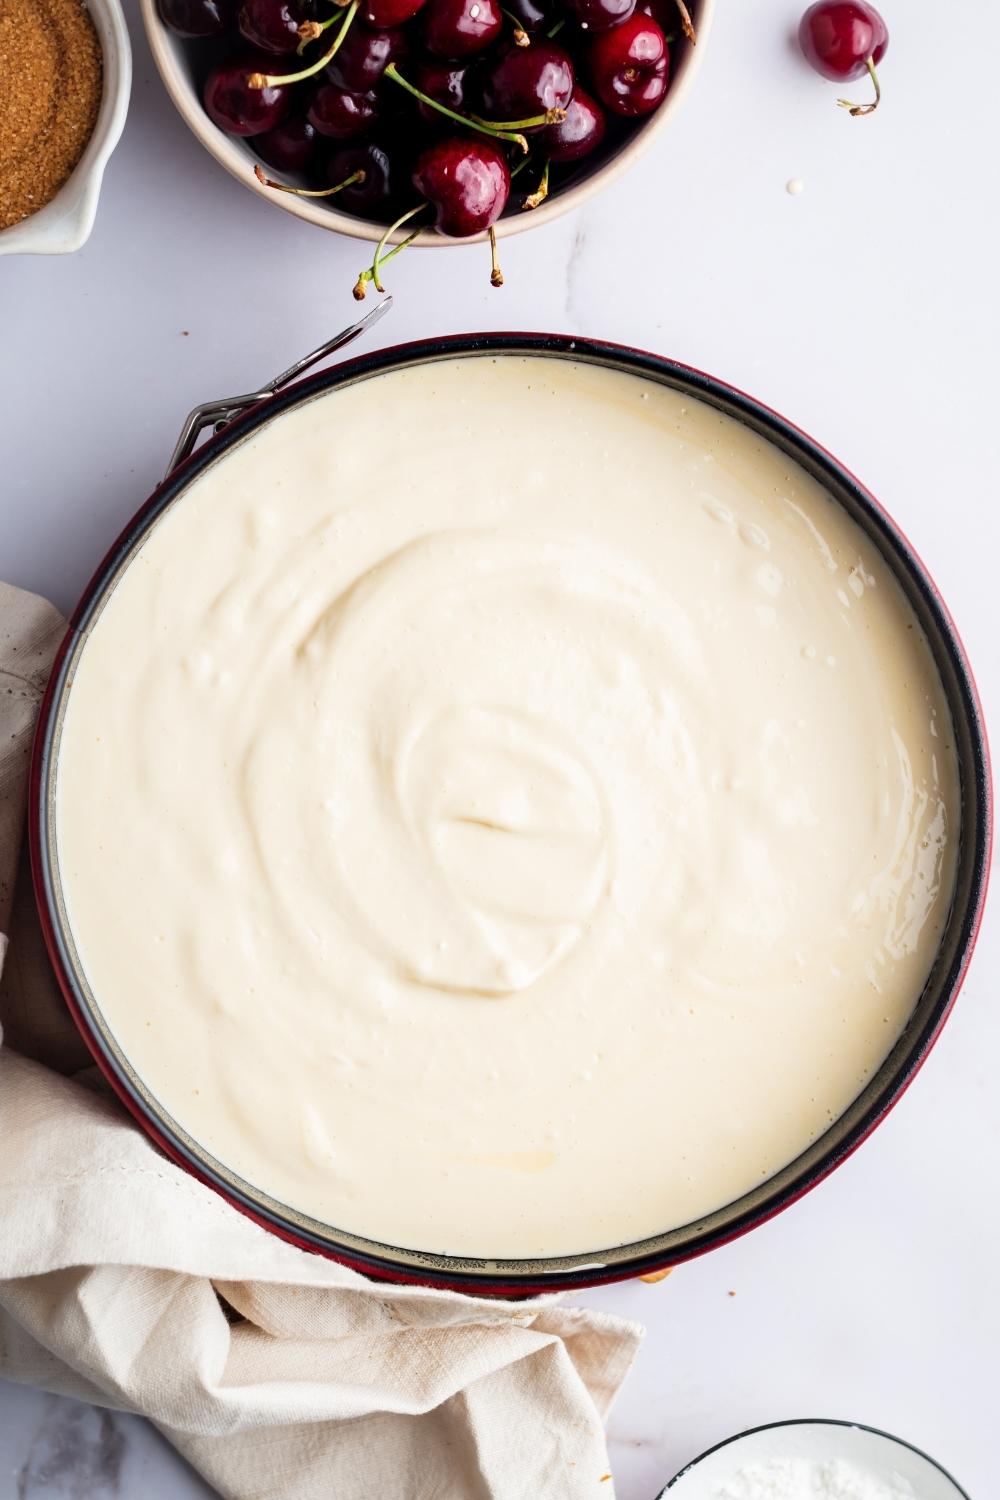
So, once your pie crust has finished cooking - and has cooled completely - you'll want to pour the cheesecake mixture on top of it.
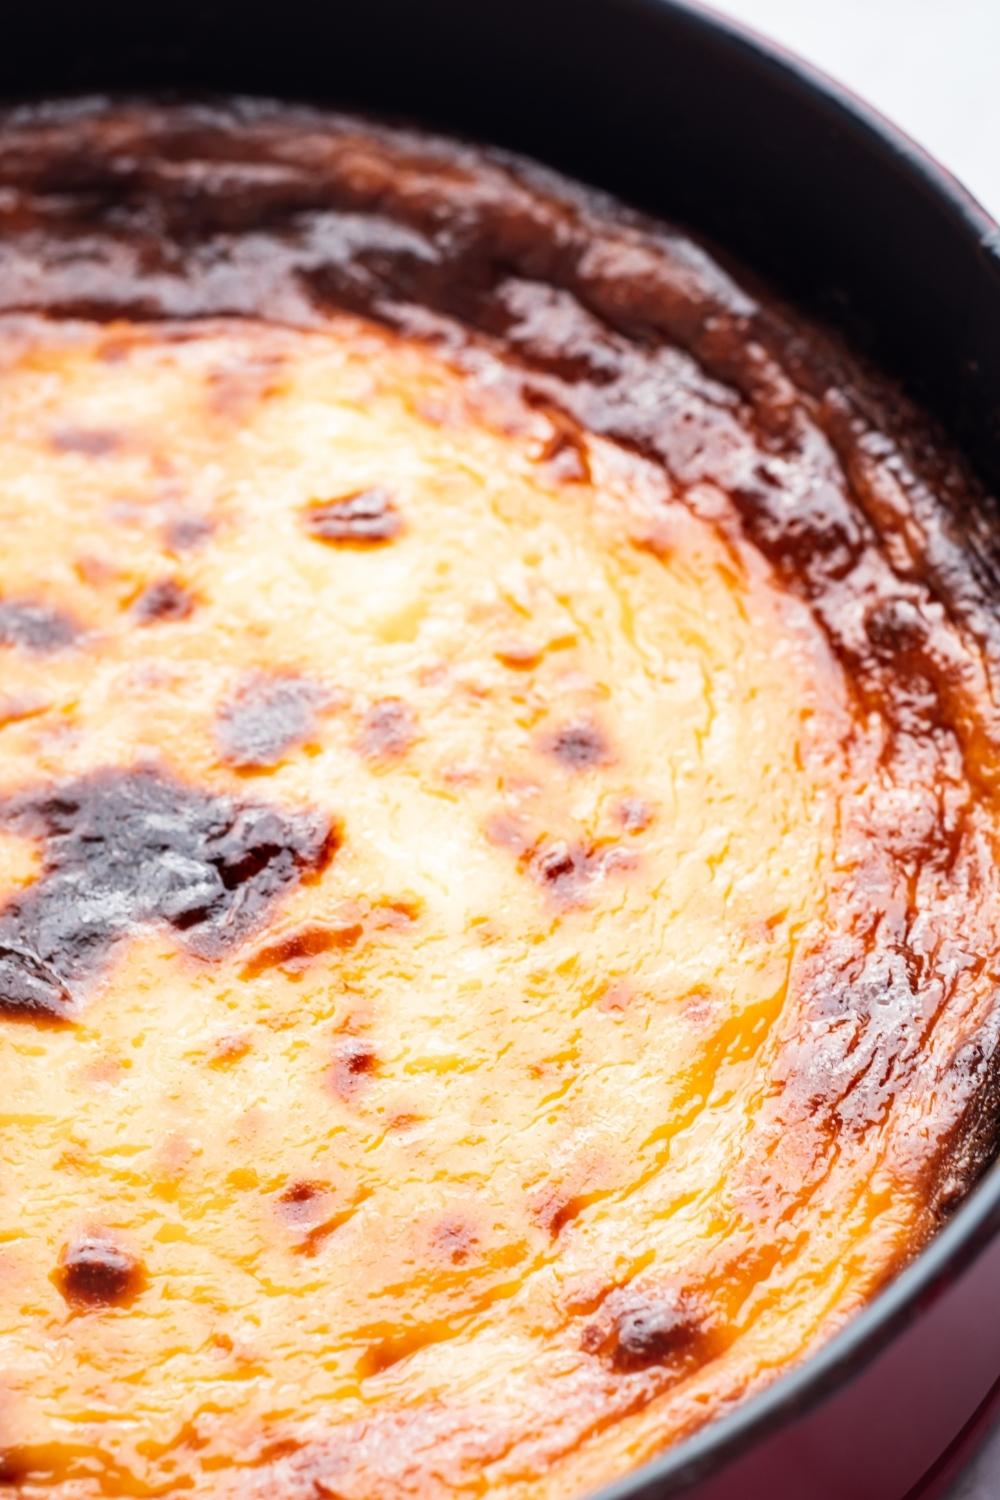
Step 4: Bake The Cheesecake
Ok, so now that your homemade cherry pie filling is on the crust, you're going to bake the cheesecake for 60 minutes. The edges should be set, and the middle will still be runny in the cheesecake pan.
After 60 minutes, turn off the oven, open the door slightly, and leave it in the oven for 60 more minutes until it cools to room temperature.
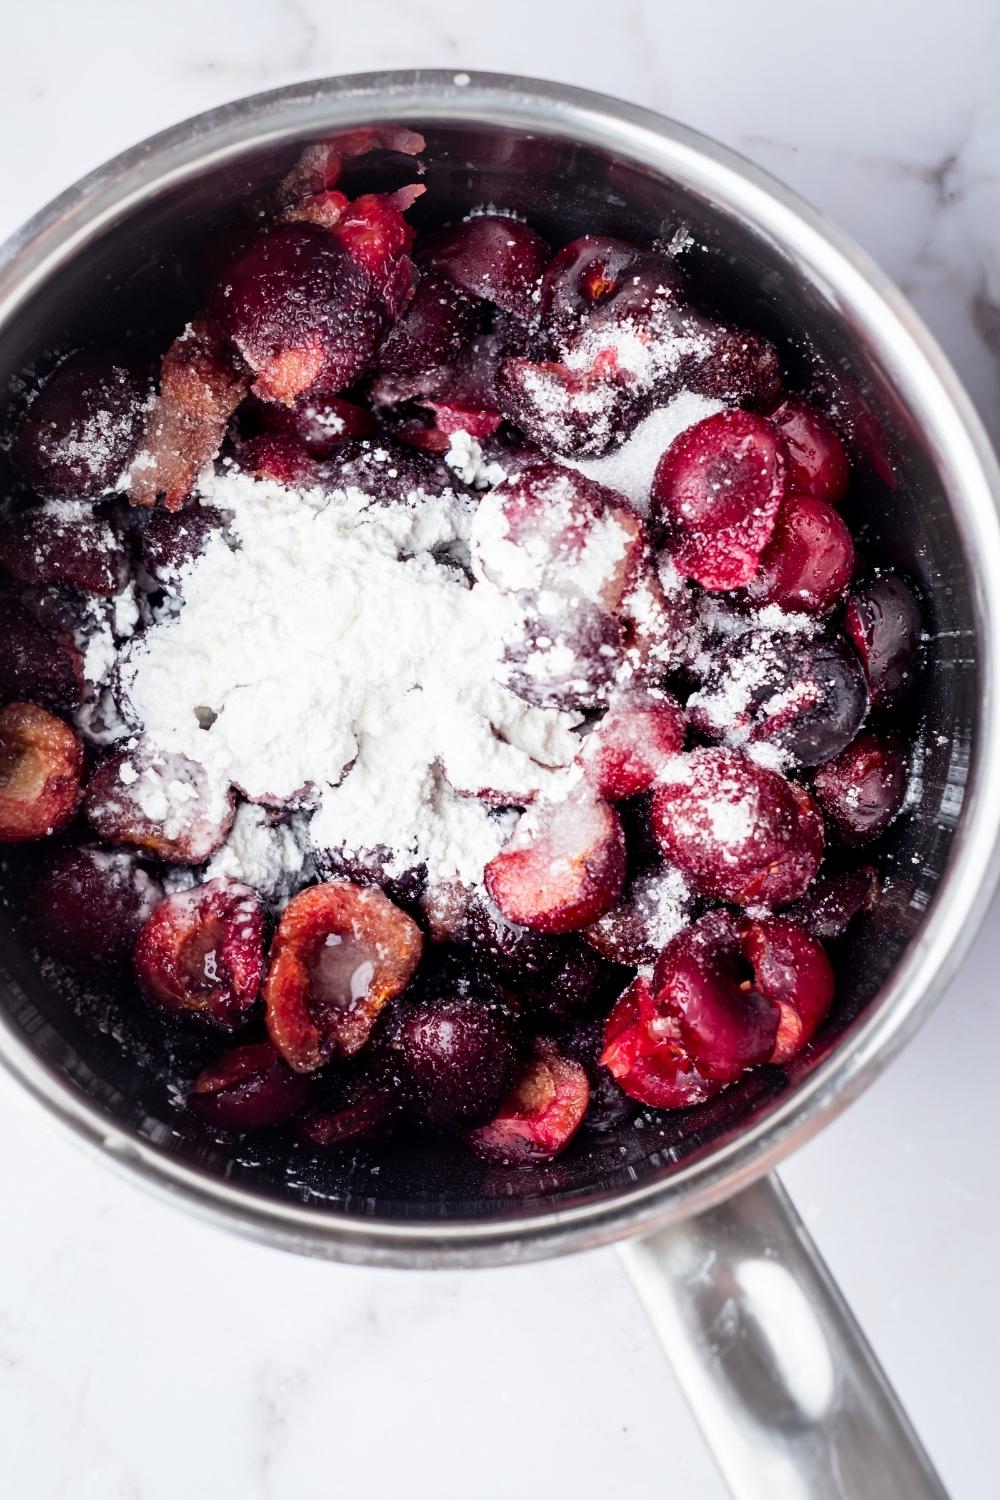
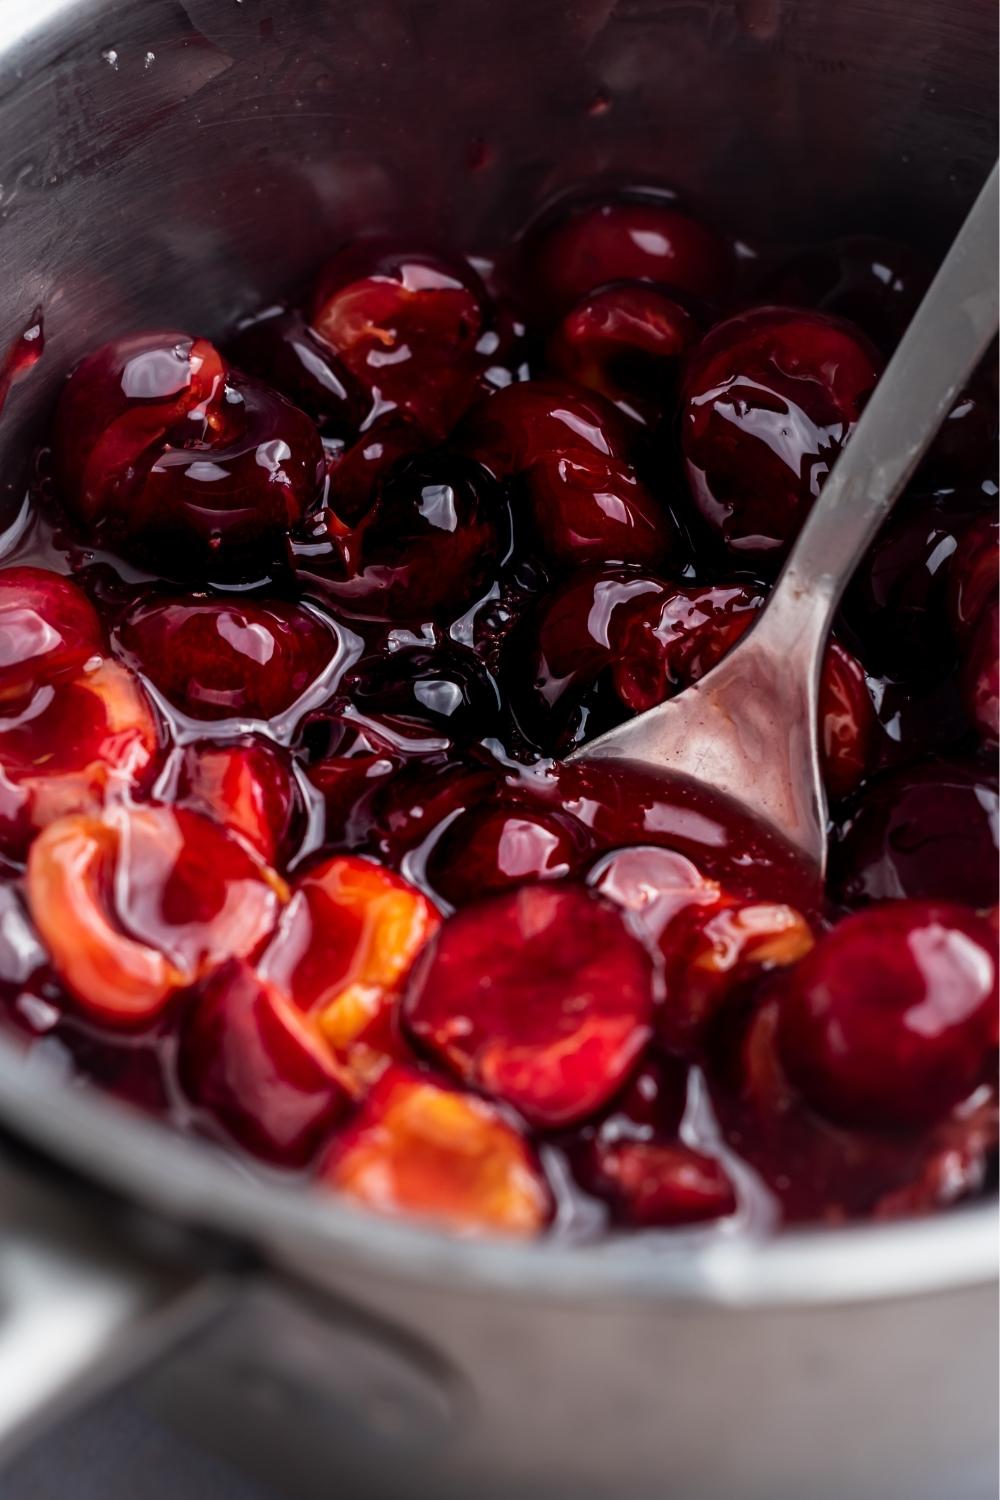
Step 5: Prepare The Cherry Topping
So, once the pie is cooled, you're going to make the cherry topping. Start by combining the frozen cherries, sugar, cornstarch, and lemon juice in a saucepan and cook on medium-low for around 5 minutes. The main thing you're looking for is for the topping to reduce and thicken up.
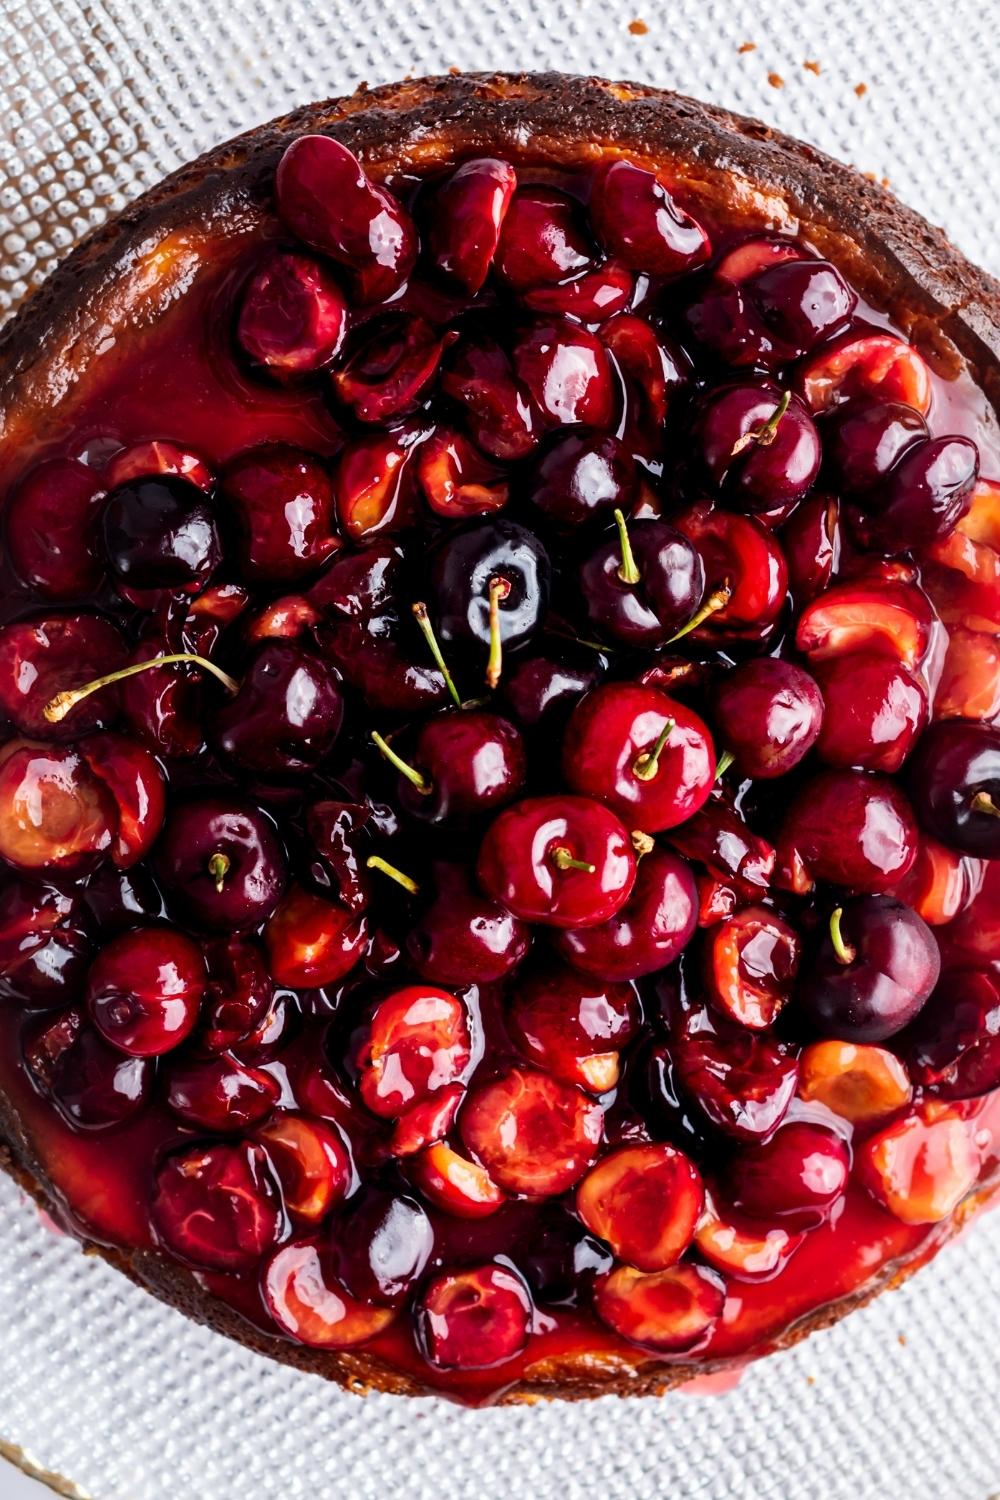
Then, once the topping has reduced, add it to the top of your cheesecake and chill it in the fridge for 2-3 hours.
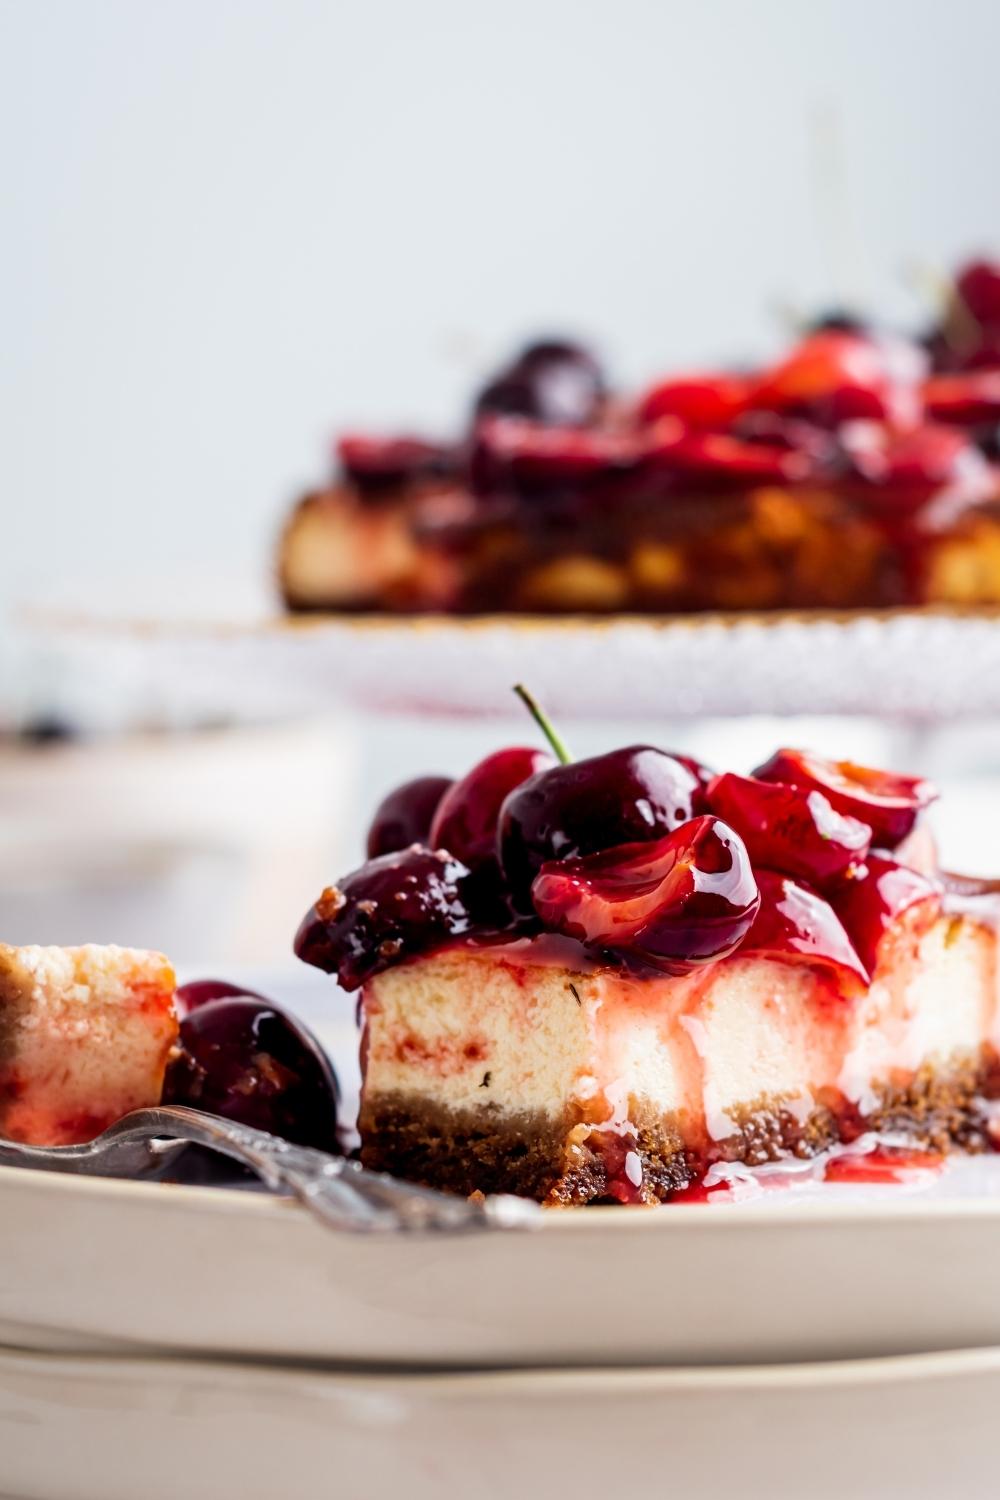
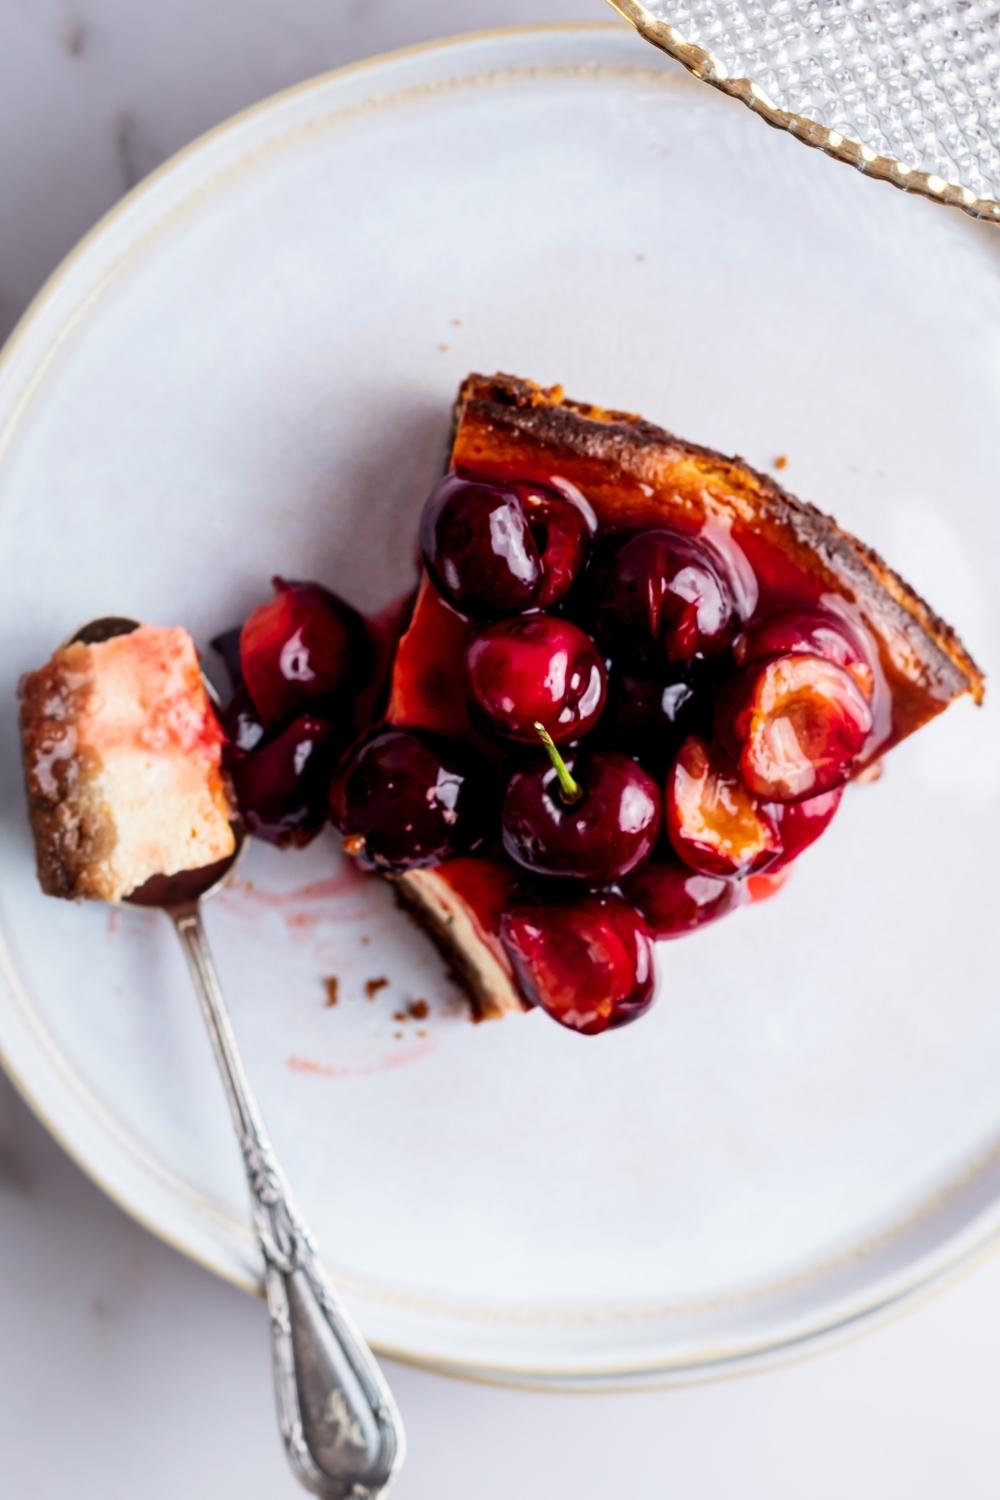
Step 6: Serve The Cheesecake
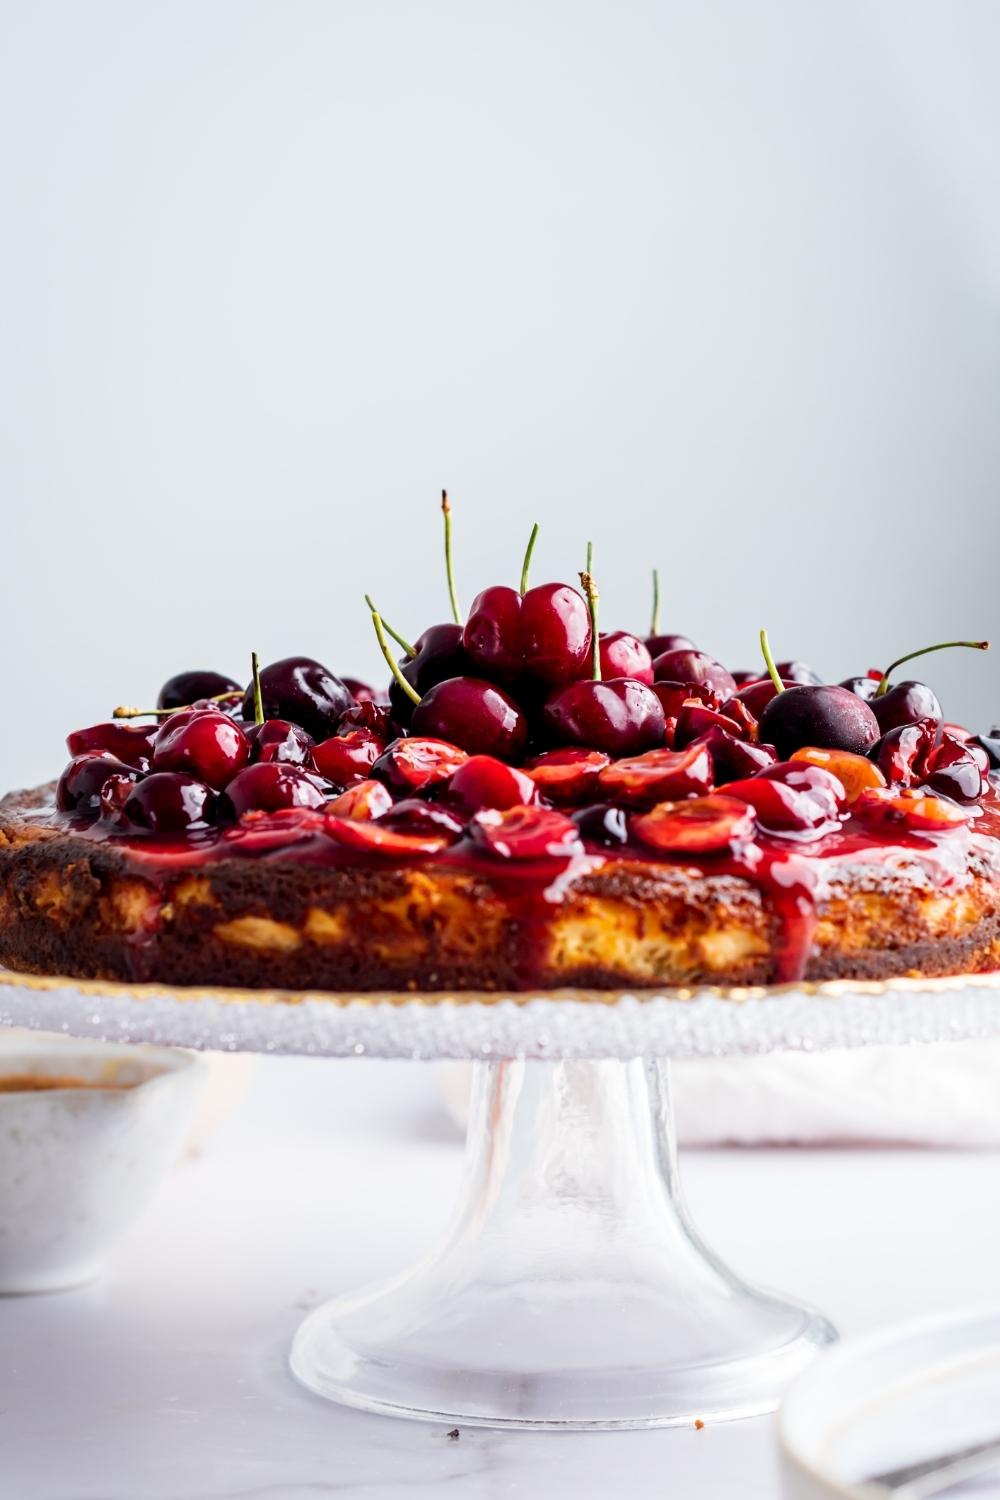
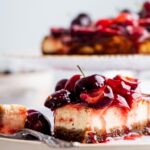
After the cheesecake chills in the fridge for 2-3 hours, you can take it out of the springform pan and let it come down to room temperature for a minute, then slice it into 8 pieces.
Finally, serve the cheesecake with some fresh cherries and whipped cream on top, and enjoy!
How To Store Cherry Cheesecake
So if you're serving this to a group of people, there's a small chance that any cheesecake will be leftover. But if you just make it for yourself or your family, you might end up having some leftover slices.
And, if you do, you can store the cherry cheesecake in an airtight container or in the tray wrapped tightly with plastic wrap in the fridge for about 2-3 days.
By the way, if you want to keep it for longer, you can freeze cherry cheesecake for up to 2-3 months. Just transfer it to an airtight container to store in the freezer. Then whenever you want a slice, just let it thaw in the fridge or at room temperature. And it's pretty delicious chilled, so you won't have to wait long.
Wrapping It All Up
Well, that is how to make cherry cheesecake!
It's the perfect dessert to serve if you're looking for something fresh and decadent with the perfect balance of flavors. With a buttery graham cracker crust and a smooth and creamy cheesecake filling, it will satisfy anyone's dessert craving.
Honestly, people will be asking you which bakery you bought this delicious cherry cheesecake from!
Anyway, I hope you enjoy this cherry cheesecake as much as I do.
As always, if you make it, leave a comment below and let me know what you think! And for more recipes, make sure to check out our Instagram and YouTube.
More Dessert Recipes
If you liked this cherry cheesecake recipe, we have a ton of delicious desserts I think you'll like just as much.
Give one of these a try next:
- Cherry dump cake
- Biscoff cheesecake
- Churro cheesecake bars
- No bake banana pudding
- Strawberry crunch cake
- Jello cheesecake
- Sopapilla cheesecake
Easy Cherry Cheesecake (The Best Homemade Graham Cracker Crust)
This cherry cheesecake is so silky, perfectly sweet, and has such a delicious flavor. And it's made with a tender graham cracker crust that adds the perfect crunch to every bite. Not to mention, it's so, so easy to make - just 10 minutes of prep work is all you need to make it.
- Prep Time: 10 minutes
- Cook Time: 60 minutes
- Total Time: 1 hour 10 minutes
- Yield: 8 slices 1x
- Category: Dessert
- Method: Oven
- Cuisine: Cheesecake
Ingredients
Cherry cheesecake crust and filling:
2 cups Graham Crackers Crumbled
3 tbsp. Melted Butter
16 oz. Cream Cheese
¾ cup Granulated Sugar
3 Eggs
1 cups Greek Yogurt
1 tbsp. Vanilla Extract
Cherry topping:
2 cups Frozen Pitted Cherries, + some fresh to serve
½ cup Sugar
2 tbsp. Cornstarch
1 Lemon, squeezed
Instructions
- Preheat the oven to 350ºF (180°C).
- Line a springform pan with parchment paper.
- In a food processor, process graham crackers until they are just crumbs. Mix with the melted butter.
- Transfer the graham cracker crumbs to the pan and press with the back of a spoon. Bake for 10 minutes.
- In a big bowl, mix the softened cream cheese with an electric mixer.
- Add sugar, eggs, greek yogurt, and vanilla extract. Continue mixing until creamy.
- Pour the mixture over the crust.
- Bake for 60 minutes (the edges should be set and the middle still runny). Turn off the oven, open the door slightly and leave it there for 1 hour. Let it cool.
- For the cherry topping, combine frozen cherries, sugar, cornstarch, and lemon in a saucepan and cook for 5 minutes.
- Add the topping to the top of the cooled cheesecake and chill for 2-3 hours.
- Serve the cheesecake with fresh cherries on top.
Nutrition
- Serving Size: 1 slice
- Calories: 395
- Fat: 21
- Carbohydrates: 38
- Protein: 10
Keywords: cherry cheesecake, cherry cheesecake recipe, creamy cheesecake, how to make cherry cheesecake, cherry cheesecake recipe baked, cherry cheesecake recipe easy, cherry cheesecake recipe from scratch, cherry cheesecake recipe philadelphia cream cheese
Trish
Made this for a family reunion and everyone loved it.
★★★★★
Alina
Perfect way to use up my cherries during cherry season. It was divine.
★★★★★
Kevina
Whoa this was so good! I can't wait to make it again!
★★★★★
Samantha
Obsessed with this recipe. I've made it about a hundred times!!
★★★★★
Taylor
This was the best cheesecake I've ever made. TYFS
★★★★★
Wren
Followed this recipe to a T and it’s a winner y’all. Whole family loved it.
★★★★★