This viral blender rice bread is made with just a handful of simple ingredients, no flour, no kneading, and no complicated steps. It's just raw rice blended into a smooth batter and baked into a surprisingly delicious loaf. It's naturally gluten free, incredibly easy, and one of those recipes that you have to make to believe.
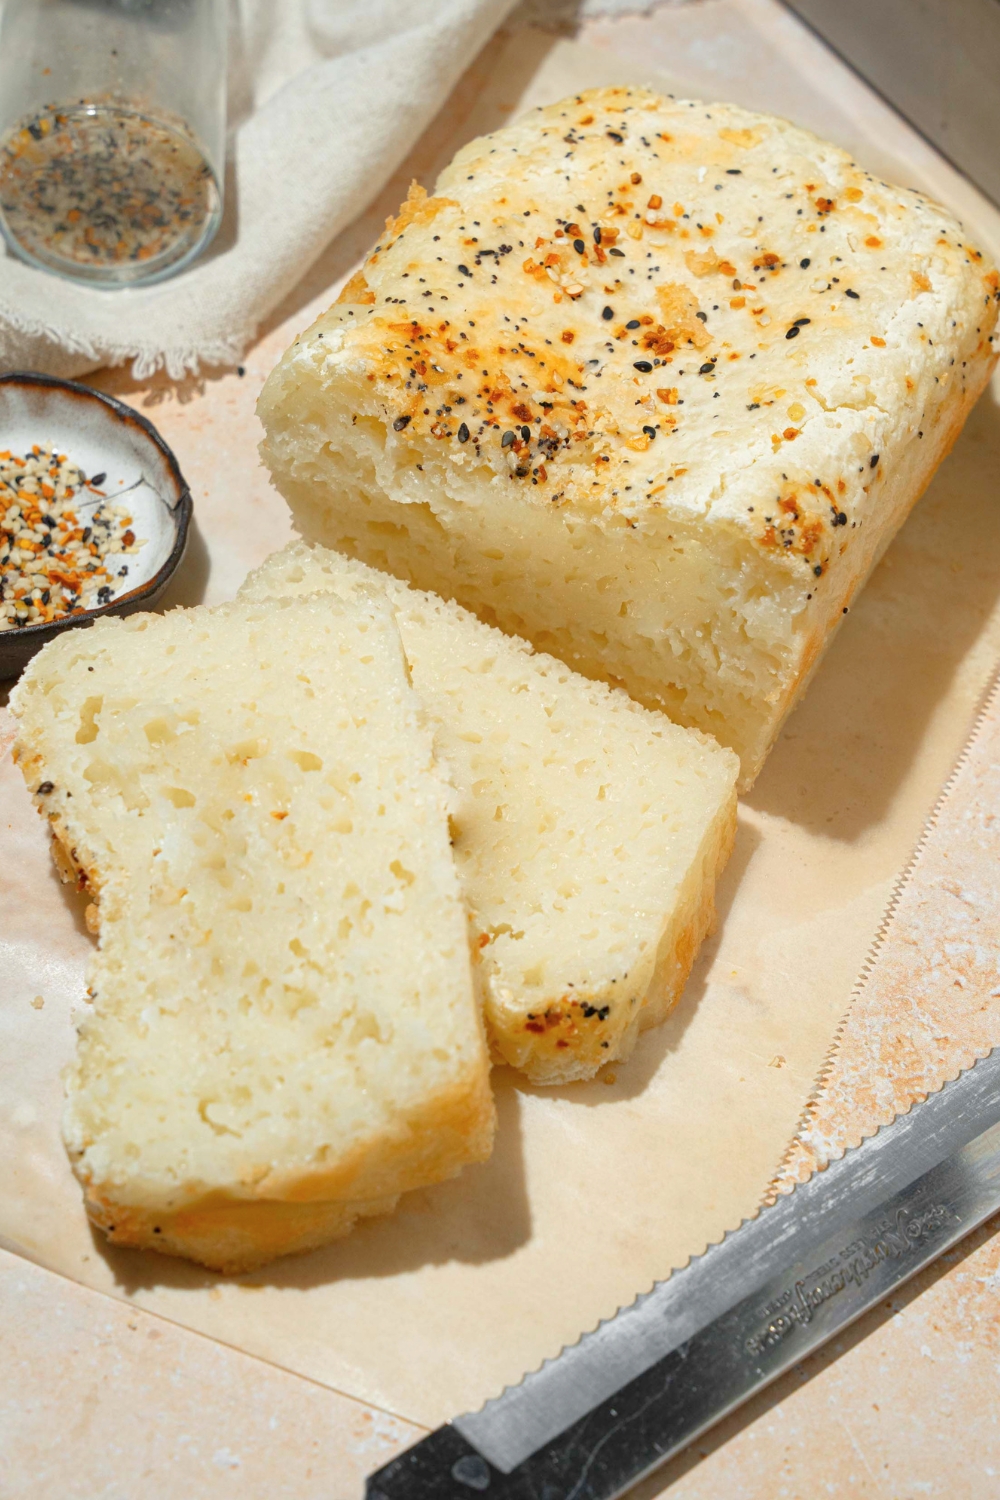
Table of Contents
The Viral Rice Bread That Actually Works
I kept seeing this rice bread made in a blender all over social media and honestly wasn't sure what to think. Bread made entirely from blended raw rice? No flour? No kneading? It seemed too simple to actually work. But the videos kept showing up, the results looked too good to ignore, and eventually I had to try it myself.
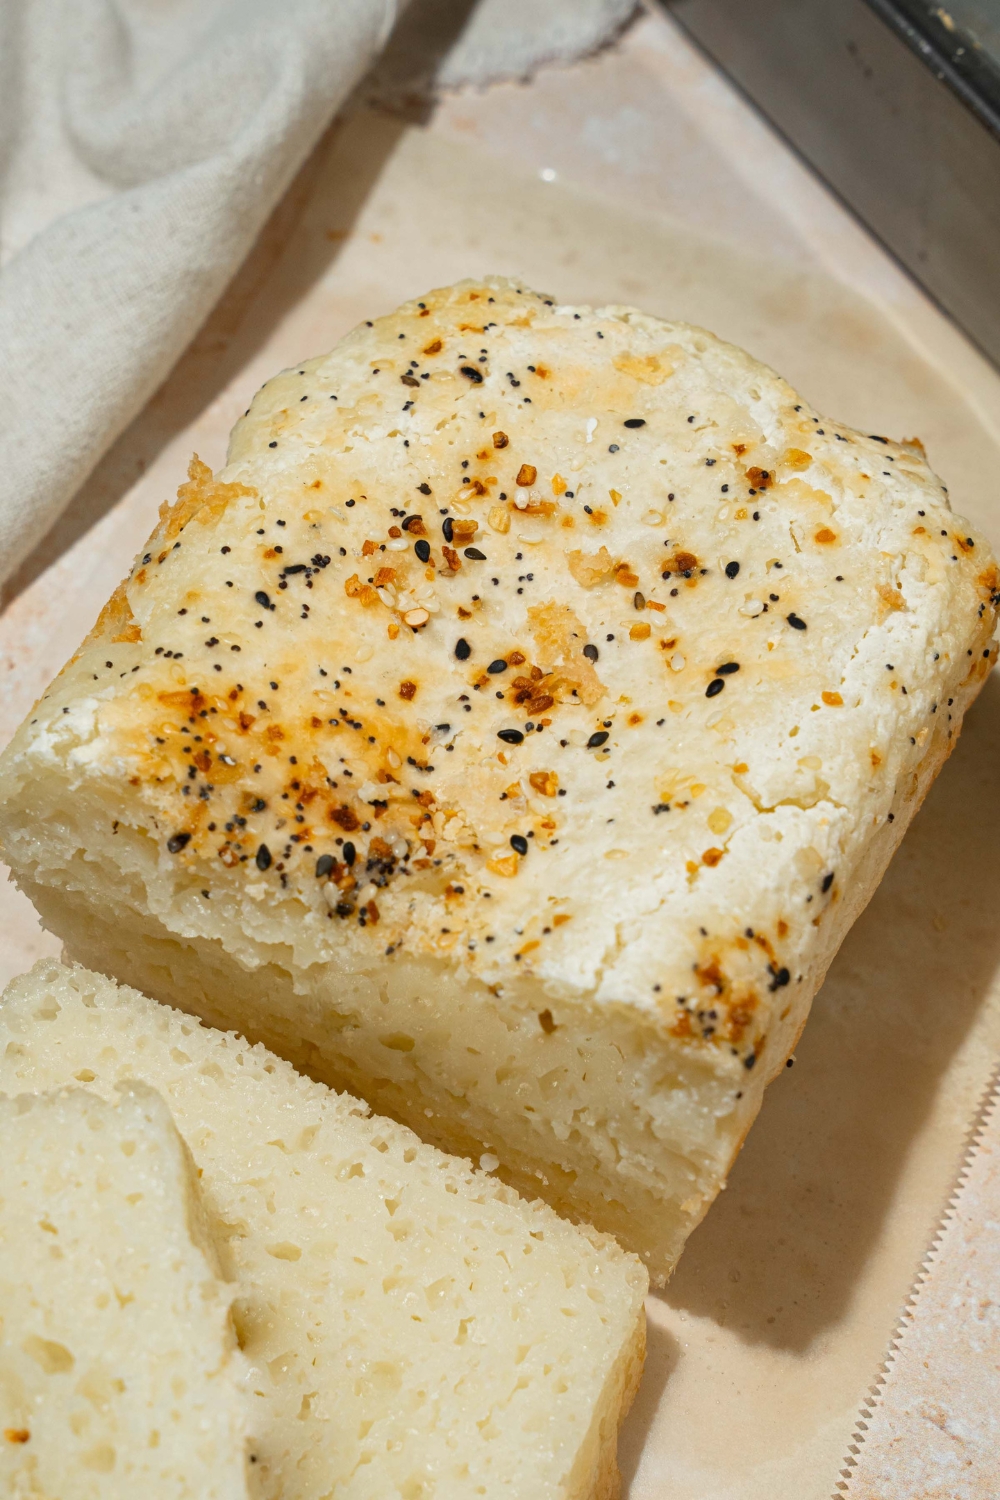
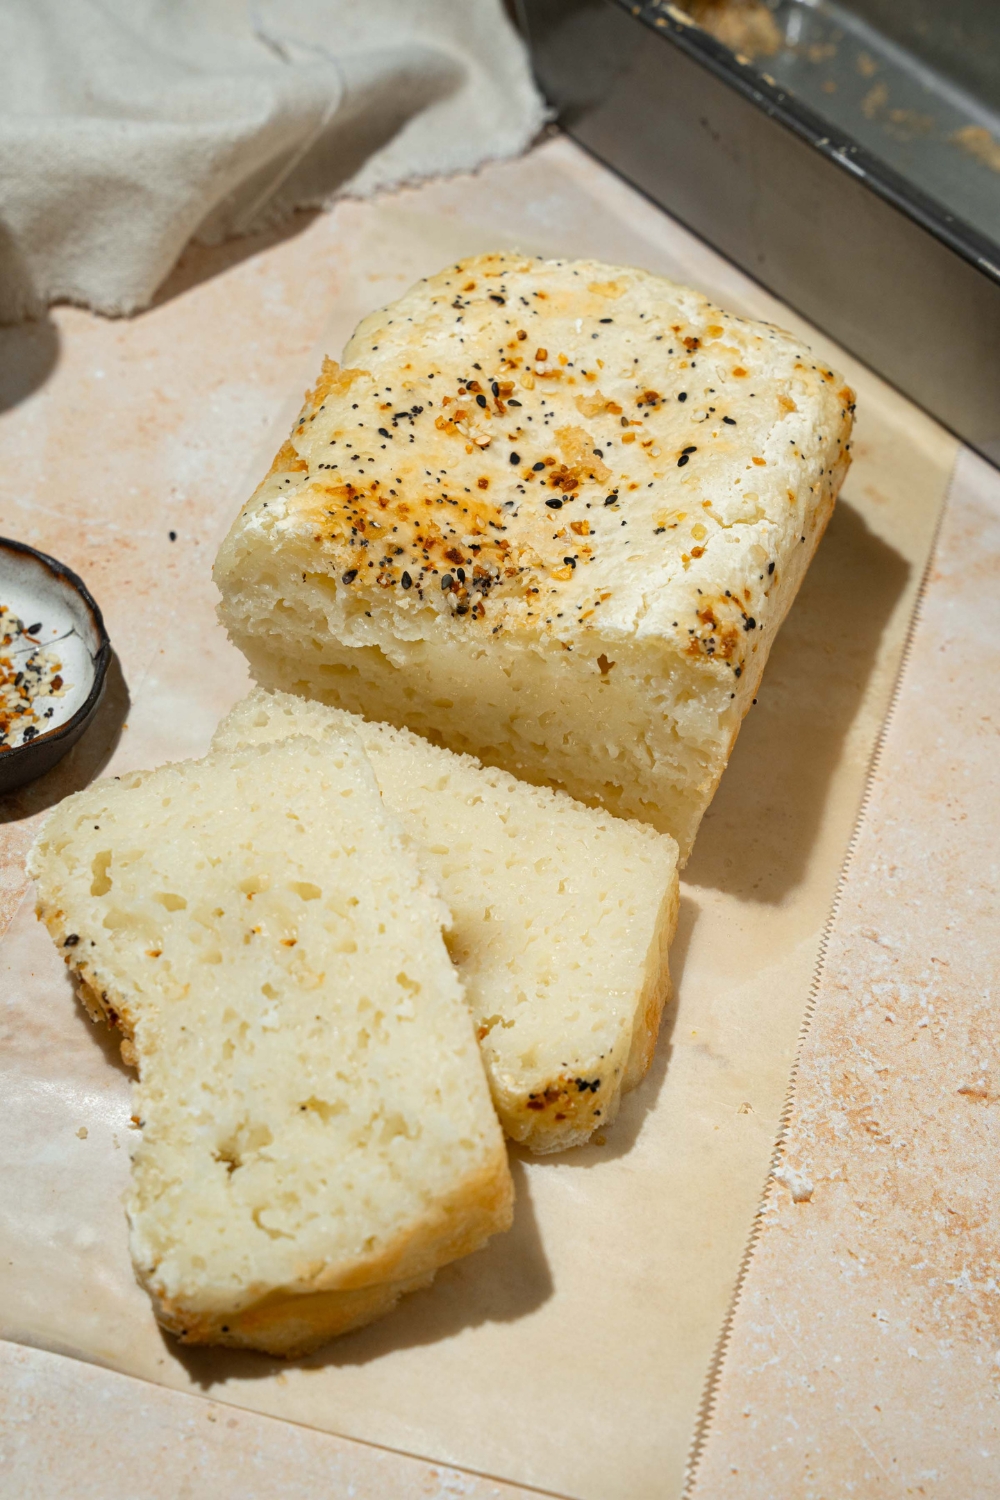
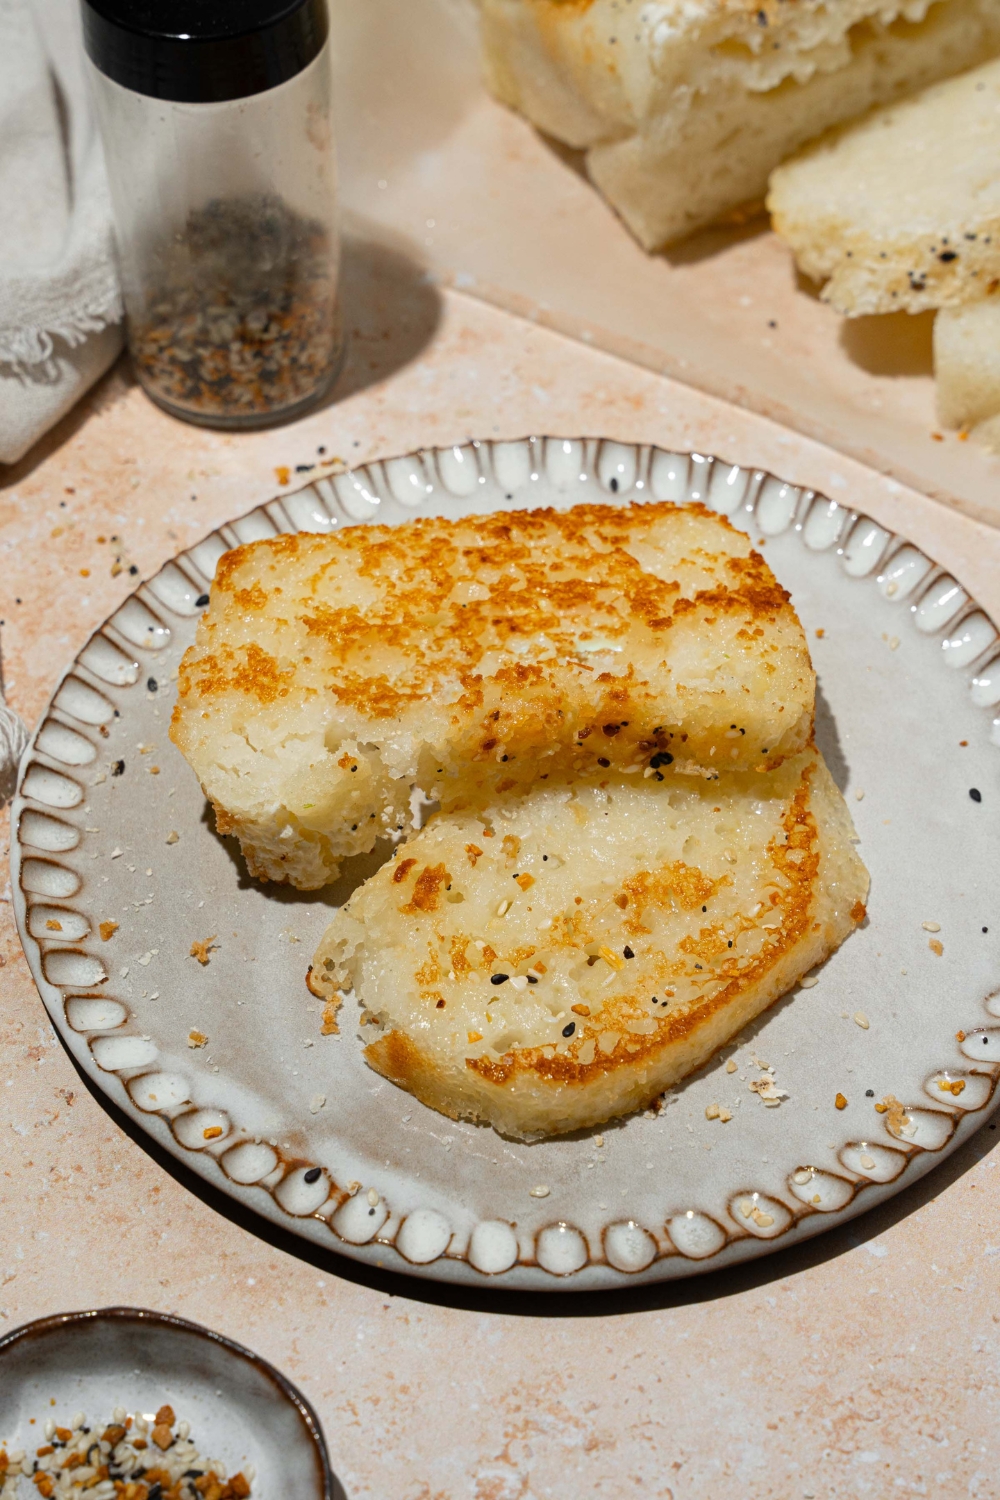
It totally worked. The loaf comes out golden on the outside, soft and chewy on the inside, and it slices beautifully. It doesn't taste exactly like traditional wheat bread, it has its own mild, slightly nutty flavor that's really pleasant, but the texture is legitimately impressive for something made in a blender. If you've been seeing this one on your feed and wondering whether it's worth trying, it is. If you're into easy homemade bread recipes like my ezekial bread and salt bread, this one is a fun and totally different addition to the lineup.

Why You'll Love This Recipe
- No flour needed: it's made entirely from raw soaked rice
- Naturally gluten free: a great option for anyone avoiding gluten
- No kneading: the blender does all the work, no hands-on work required
- Simple ingredients: nothing unusual or hard to find
- Actually delicious: soft, chewy, and golden with a mild flavor that works with everything.
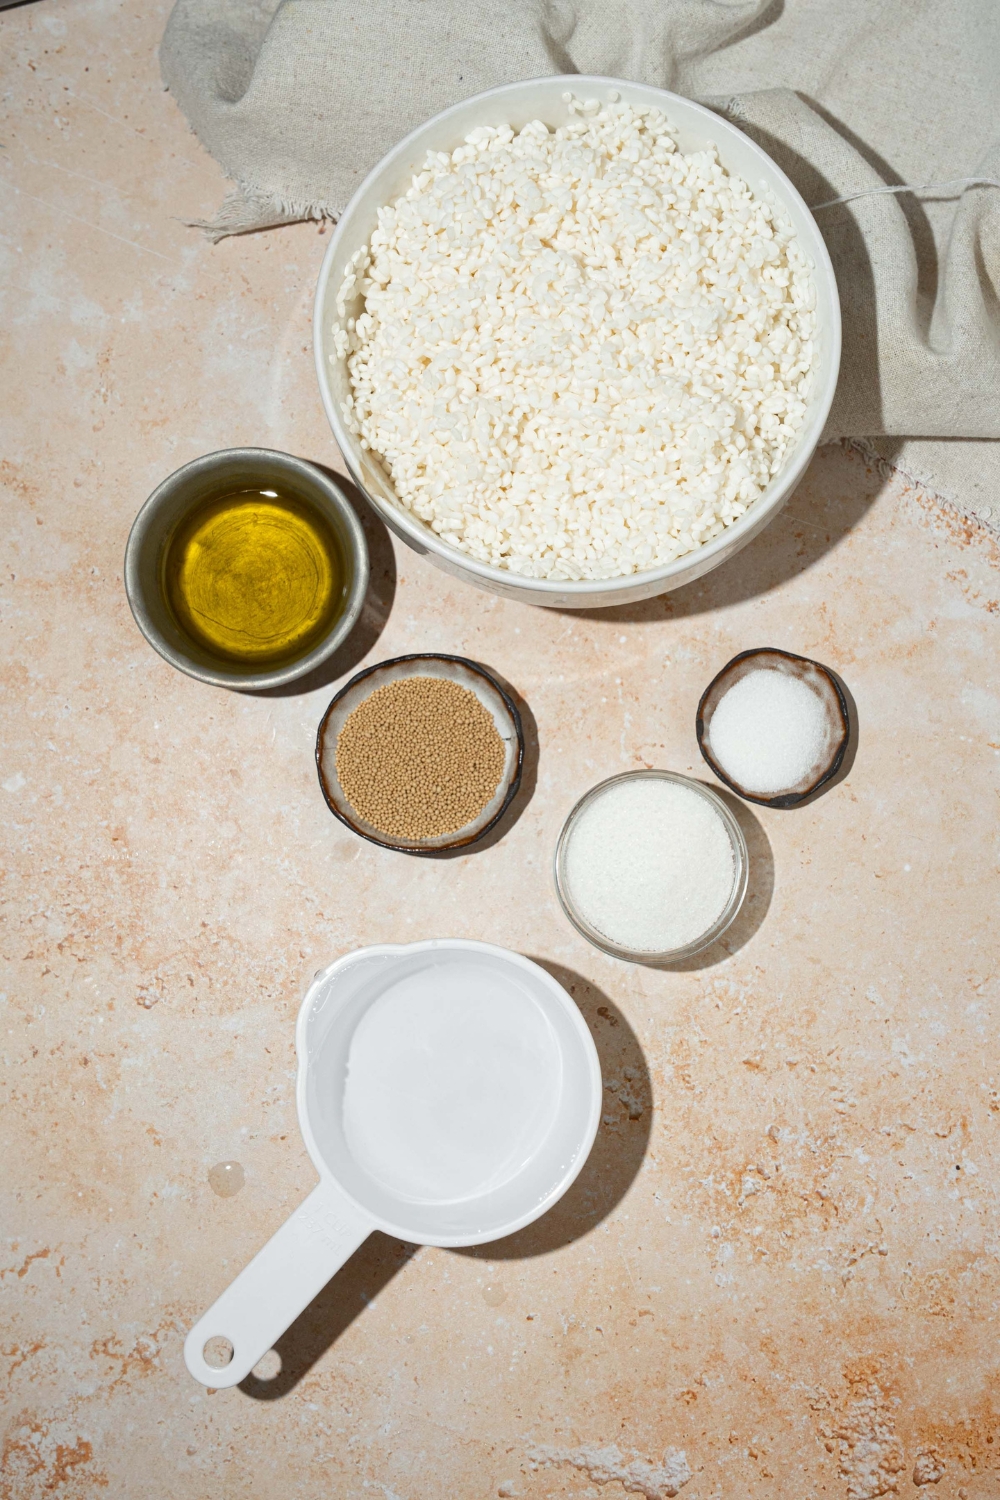
Ingredients
- 2 cups raw short grain rice, soaked at least 4 hours
- 1 cup warm water
- 3 tablespoon extra virgin olive oil
- 2 tablespoon sugar or honey
- 1 teaspoon salt
- 2¼ teaspoon instant yeast
- Seeds for topping (optional)
How to Make Blender Rice Bread
Step 1: Soak the Rice
Add the raw short grain rice to a bowl, cover with water, and let it soak for at least 4 hours. Overnight works great too if you want to prep it ahead of time. The soaking is what softens the rice enough to blend into a completely smooth batter. Don't rush this step. Under-soaked rice won't blend as smoothly and can leave a gritty texture in the finished loaf.
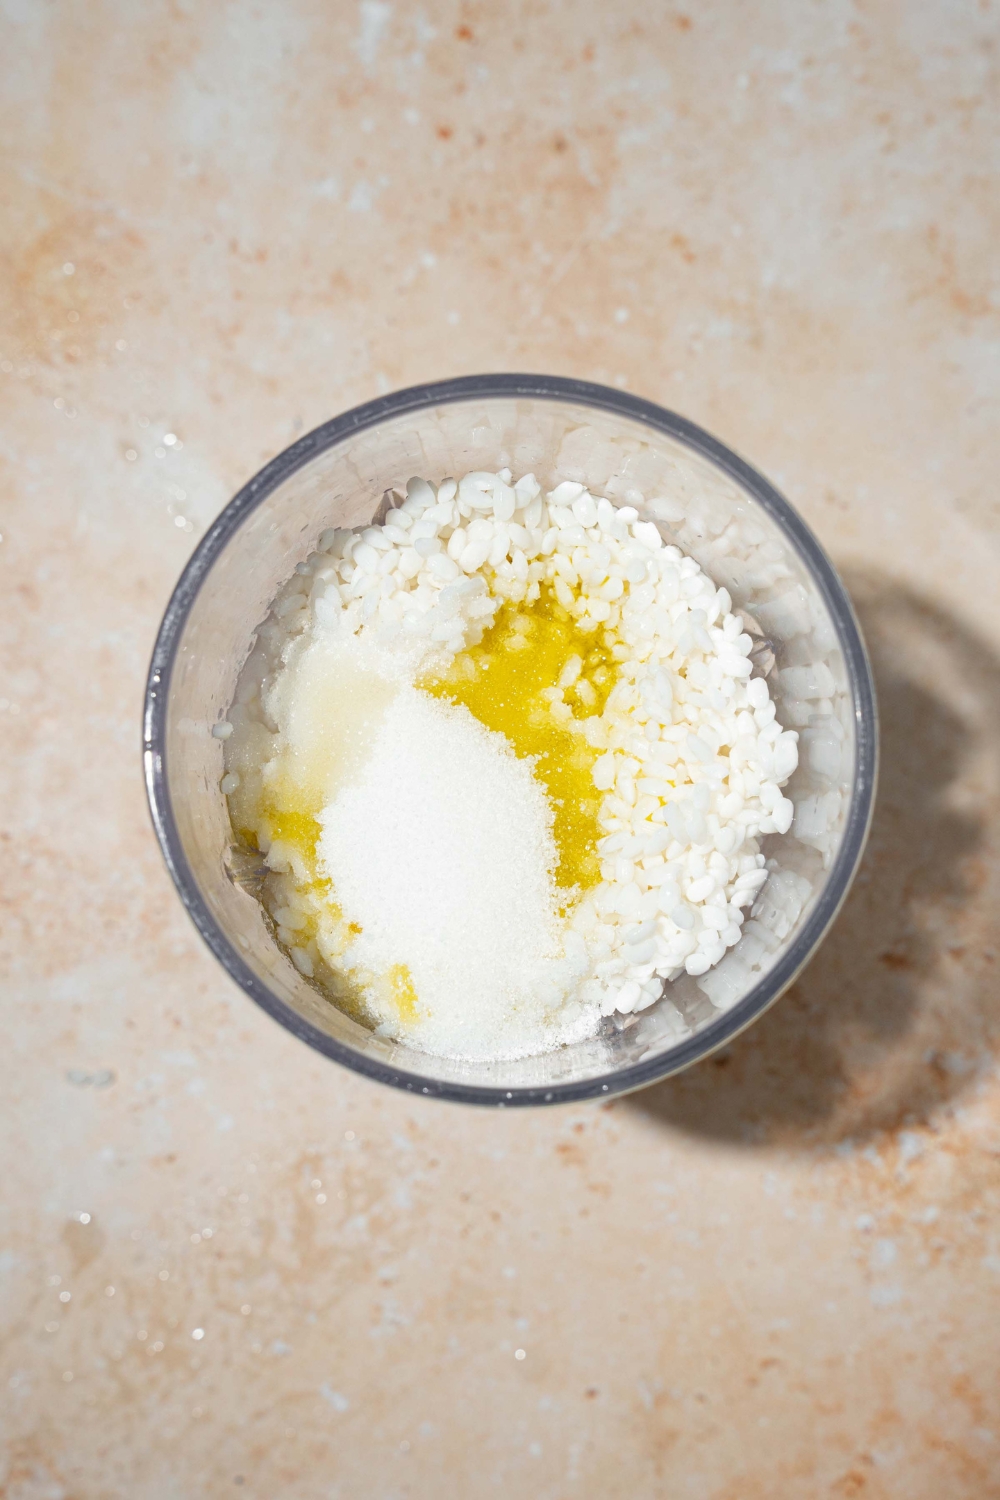
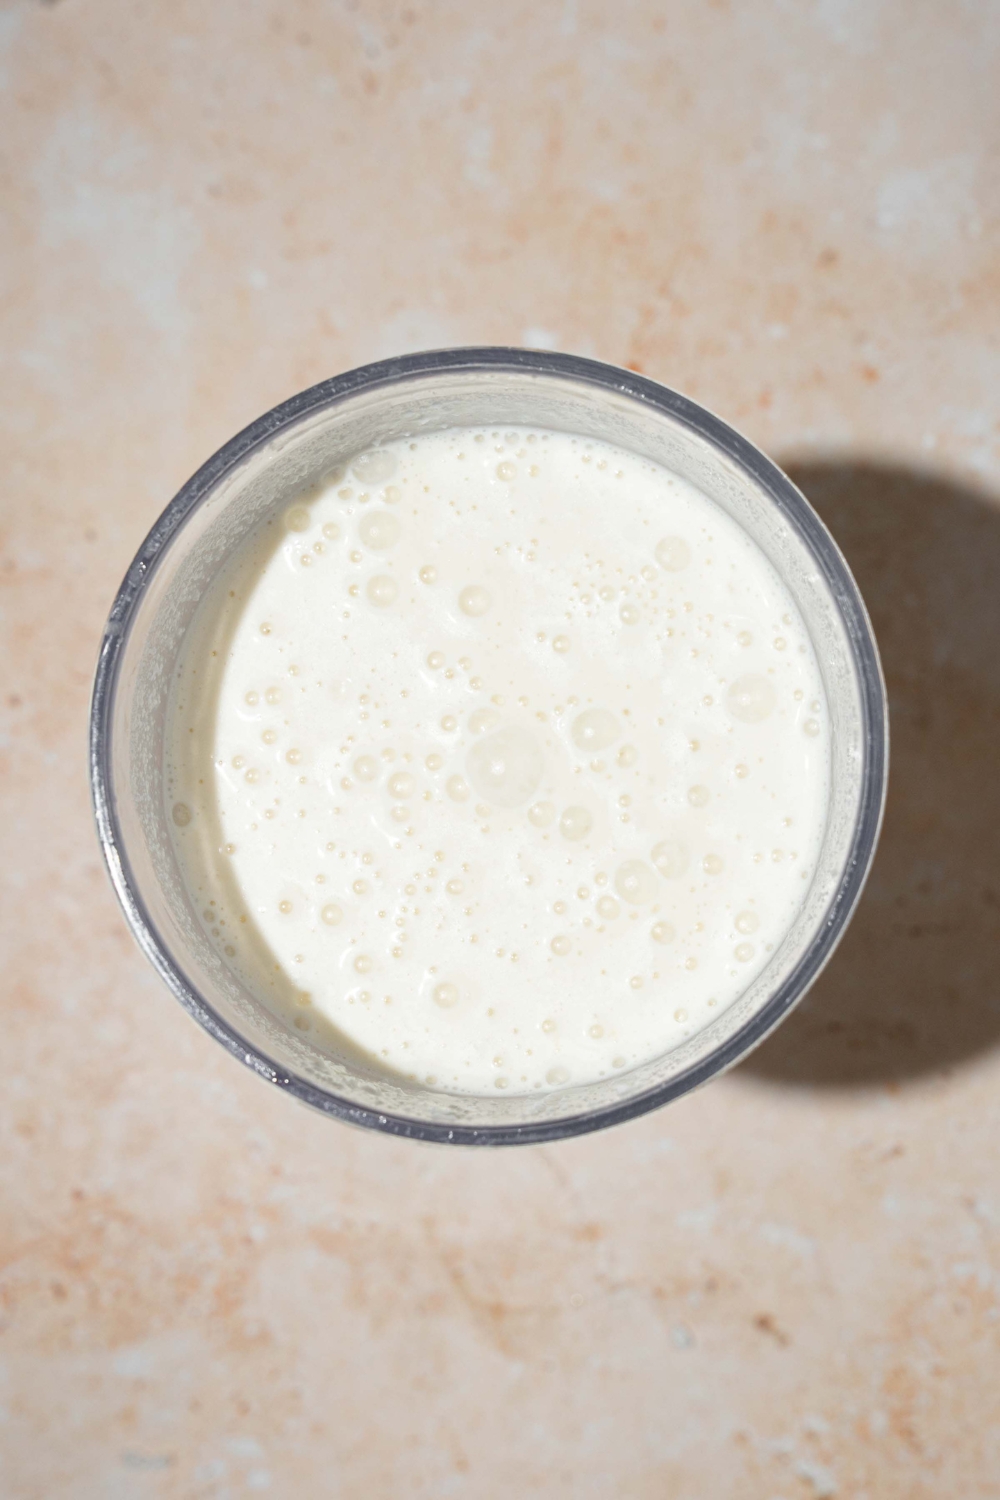
Step 2: Blend the Batter
Drain the soaked rice thoroughly and add it to a blender along with the warm water, olive oil, honey or sugar, and salt. Blend for several minutes, longer than you think you need to, until the mixture is completely smooth with a thin, pourable, batter-like consistency. Stop and scrape down the sides as needed. The smoother the batter, the better the bread. Add the instant yeast and blend briefly just until incorporated.
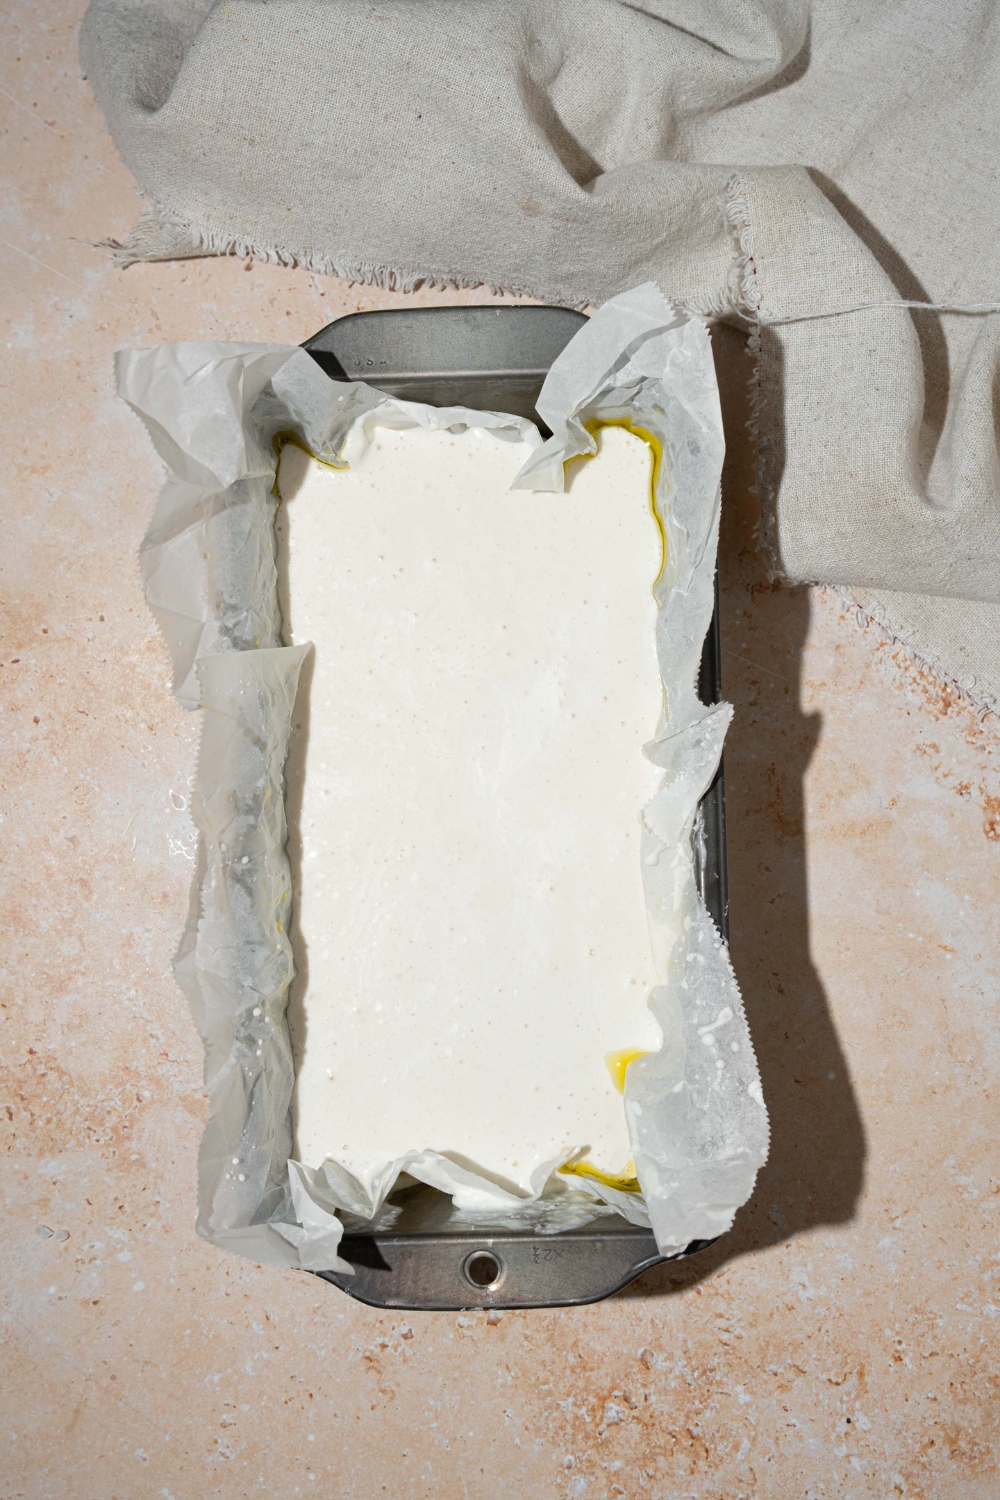
Step 3: Pour and Rest
Pour the batter into a well-greased loaf pan and spread it evenly. Cover with a clean kitchen towel and set it in a warm place to rest for 20-30 minutes. The batter will puff up slightly as the yeast activates, this is exactly what you want. If your kitchen is cold, set the pan in an oven with just the light on or near a warm spot on the counter.
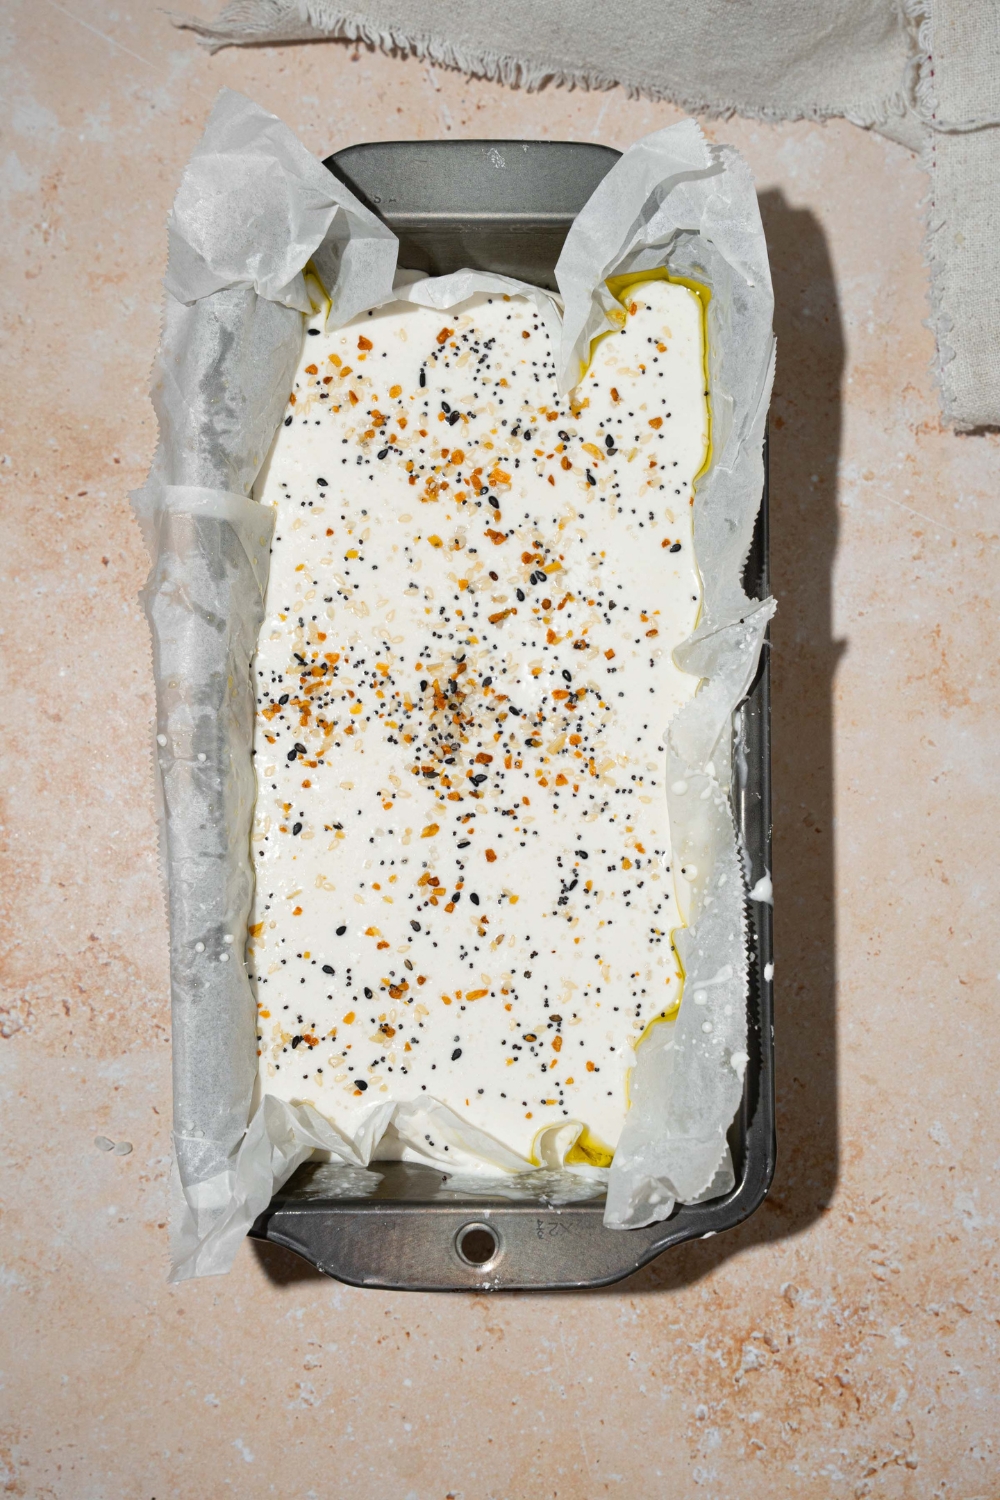
Step 4: Add Seeds and Bake
Once the batter has rested and puffed, sprinkle your seeds of choice over the top. Sesame seeds, sunflower seeds, pumpkin seeds, or a mix all work and give the loaf a nice crust and visual appeal. Bake at 355°F (180°C) for about 40 minutes, or until the loaf is deeply golden on top and cooked through.
Step 5: Cool Before Slicing
This step is non-negotiable. Let the bread cool completely in the pan before removing it and slicing. Rice bread needs time to set as it cools, and cutting into it too early will give you a gummy, undercooked-looking interior even if it's fully baked. Be patient. It's worth it.
Tips for the Best Rice Blender Bread
- Use short grain rice, not long grain. Short grain rice has a higher starch content, which is what gives this bread its soft, slightly chewy texture. Long grain rice like basmati or jasmine has less starch and won't give you the same result. Sushi rice is a great option if that's what you have.
- Soak long enough. Four hours is the minimum, but overnight is better. The rice needs to be fully softened so the blender can break it down into a completely smooth batter. If you bite into a grain and it still feels hard in the center, it needs more time.
- Blend until truly smooth. Don't stop blending after 30 seconds. Run your blender for 2-3 full minutes, stopping to scrape down the sides, until the batter is silky and you can't feel any graininess between your fingers. A high-powered blender like a Vitamix or Ninja makes this easier, but a standard blender works, just blend longer.
- Grease the loaf pan generously. Rice bread can stick more than traditional bread. Use olive oil or butter and coat every corner of the pan well. Lining with parchment paper is an even safer bet.
- Don't skip the resting time. Those 20-30 minutes of rest are when the yeast does its work and the batter puffs up. Putting it straight into the oven without resting will give you a denser, less airy loaf.
- Cool completely before slicing. This is the tip people skip and then wonder why their bread looks gummy in the middle. The interior continues to set as the loaf cools. Give it at least an hour at room temperature before cutting into it.
Topping Ideas
Seeds are traditional on this bread and add great flavor and texture to the crust. Some favorites:
- Sesame seeds are classic, nutty, and look great on top.
- Sunflower seeds give it a slightly buttery, mild flavor.
- Pumpkin seeds have a great crunch and a nice visual.
- Poppy seeds add a subtle flavor and a beautiful finish.
- Everything bagel seasoning is perfect if you want maximum flavor on the crust.
- Mixed seeds are a good compromise, just combine two or three for texture and visual appeal.
Ways to Use Rice Bread
This bread is mild and slightly nutty in flavor, which makes it incredibly versatile:
- Toasted with butter: the simplest and honestly one of the best ways to eat it.
- Avocado toast: the texture holds up perfectly under toppings. You can use it for this chili crisp avocado toast.
- Sandwiches: slices well and holds together better than you'd expect. Try using it for this chicken melt sandwich or you can top it with this Matthew McConaughey tuna salad.
- With soup: use it for dipping instead of a traditional roll.
- With jam or nut butter: great for breakfast or a snack.
How to Store Rice Bread
Store the cooled bread wrapped tightly or in an airtight container at room temperature for up to 2 days, or in the refrigerator for up to 5 days. This bread toasts exceptionally well straight from the fridge. For longer storage, slice the loaf and freeze individual slices separated by parchment paper. They can go straight from the freezer into the toaster.

Frequently Asked Questions
Is rice bread really gluten free?
Yes. Since it's made entirely from rice with no wheat flour involved, it's naturally gluten free. If you have celiac disease or a serious gluten intolerance, just double check that your yeast and any toppings you use are certified gluten free, as cross-contamination can vary by brand.
What kind of rice works best to make bread?
Short grain white rice is the top choice for its high starch content and neutral flavor. Sushi rice is essentially the same thing and works perfectly. Medium grain rice is a decent substitute. Long grain varieties like basmati and jasmine have lower starch content and won't give you the same soft, cohesive texture.
Can I use dry active yeast instead of instant yeast?
Yes, but you'll need to activate it first. Combine the yeast with the warm water and a pinch of sugar and let it sit for 5-10 minutes until foamy before adding it to the blender with the other ingredients.
Can I make this without yeast?
You can try it with 1 teaspoon of baking powder instead, but the texture will be different, more like a dense quick bread than a yeasted loaf. The yeast is what gives it the lift and slightly chewy crumb that makes this recipe work so well.
Why does my bread look gummy inside?
Almost always, this comes down to one of two things: it was sliced before fully cooling, or it needed a few more minutes in the oven. Let it cool completely, at least an hour, before slicing. If the outside is browning too fast while the inside is still underdone, tent the pan loosely with foil and continue baking.
Does it taste like regular bread?
Not exactly, it has its own mild, slightly nutty flavor that's pleasant and unique. The texture is soft and chewy in a way that's genuinely impressive for a flourless bread. Most people who try it are surprised by how good it is, even if it's not identical to traditional wheat bread.
Viral Recipes to Try Next
- Rice cooker banana bread
- Potato pavé
- Rotel tacos
- Chicken caesar sandwich
- Cottage cheese breadsticks
- Mini baked potatoes
Blender Rice Bread (Viral Gluten-Free Recipe)

This viral blender rice bread is made with just a handful of simple ingredients, no flour, no kneading, and no complicated steps. It's just raw rice blended into a smooth batter and baked into a surprisingly delicious loaf. It's naturally gluten free, incredibly easy, and one of those recipes that you have to make to believe.
Ingredients
- 2 cups raw short grain rice, soaked at least 4 hours
- 1 cupl warm water
- 3 tablespoon extra virgin olive oil
- 2 tablespoon sugar or honey
- 1 teaspoon salt
- 2 ¼ teaspoon instant yeast
- Seeds for topping
Instructions
1. Drain the soaked rice thoroughly and add it to a blender along with the warm water, olive oil, honey, and salt.
2. Blend for several minutes until the mixture is completely smooth and has a thin batter-like consistency.
3. Add the crumbled fresh yeast and blend briefly just until incorporated.
4. Pour the batter into a greased loaf pan and spread it evenly. Cover with a clean kitchen towel and let it rest in a warm place for 20 to 30 minutes.
5. Sprinkle your favorite seeds over the top, if desired.
6. Bake at 355°F (180°C) for about 40 minutes, or until the loaf is golden and cooked through.
7. Allow the bread to cool completely before removing it from the pan and slicing.
Notes
Nutrition Information:
Yield:
6Serving Size:
1Amount Per Serving: Calories: 192Total Fat: 8gSaturated Fat: 1gUnsaturated Fat: 6gSodium: 367mgCarbohydrates: 29gFiber: 1gSugar: 5gProtein: 3g
Leave a Reply