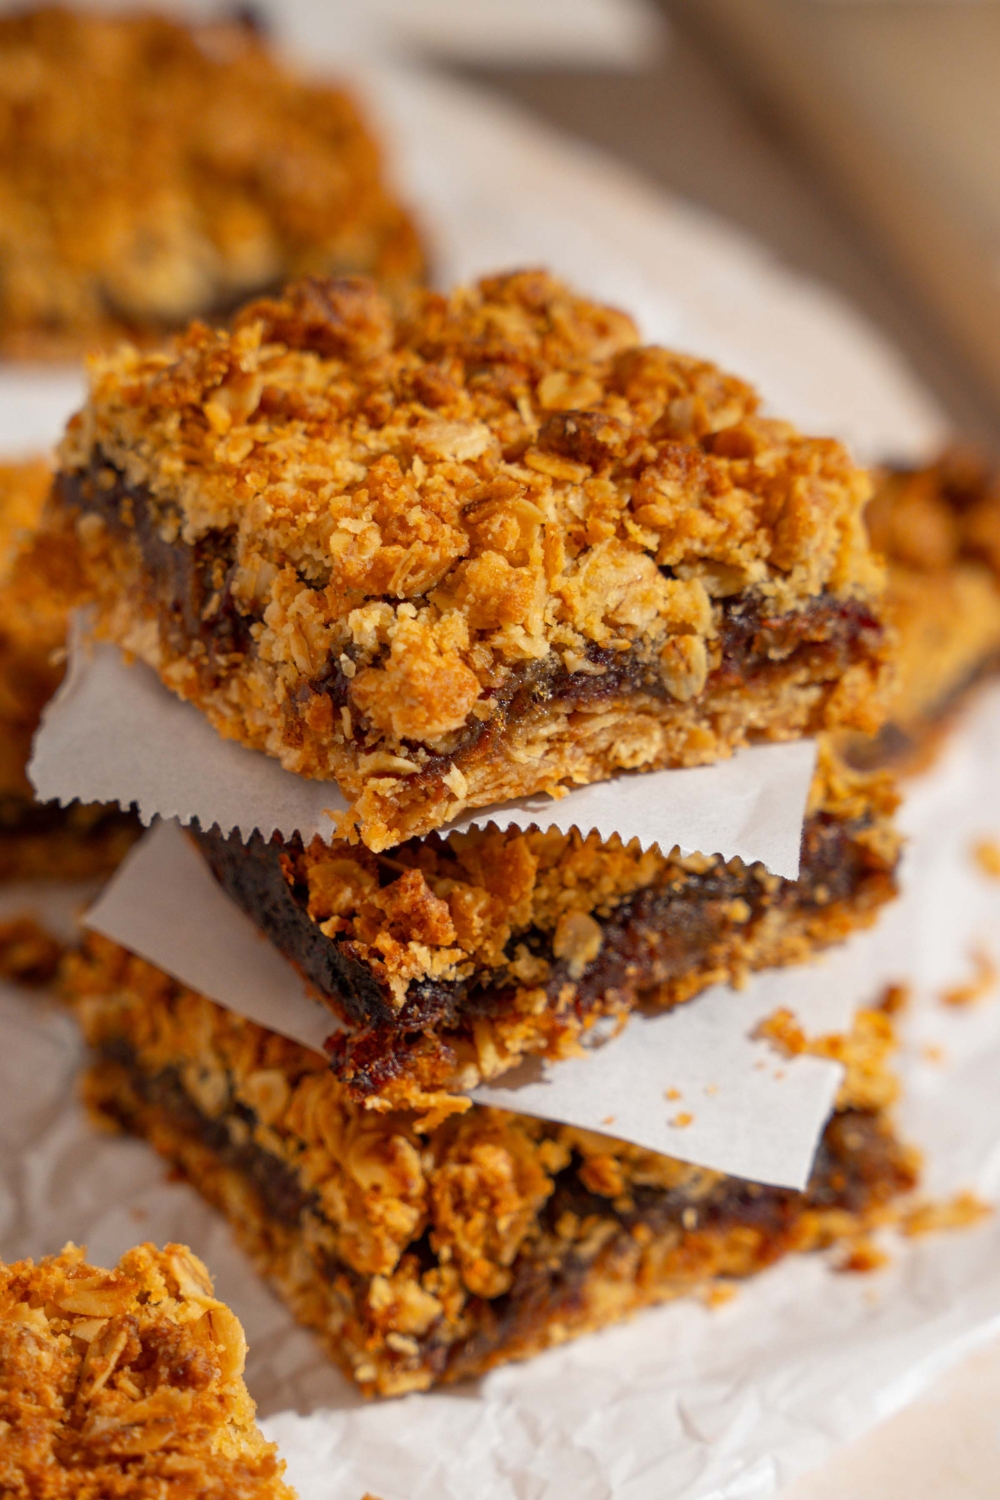
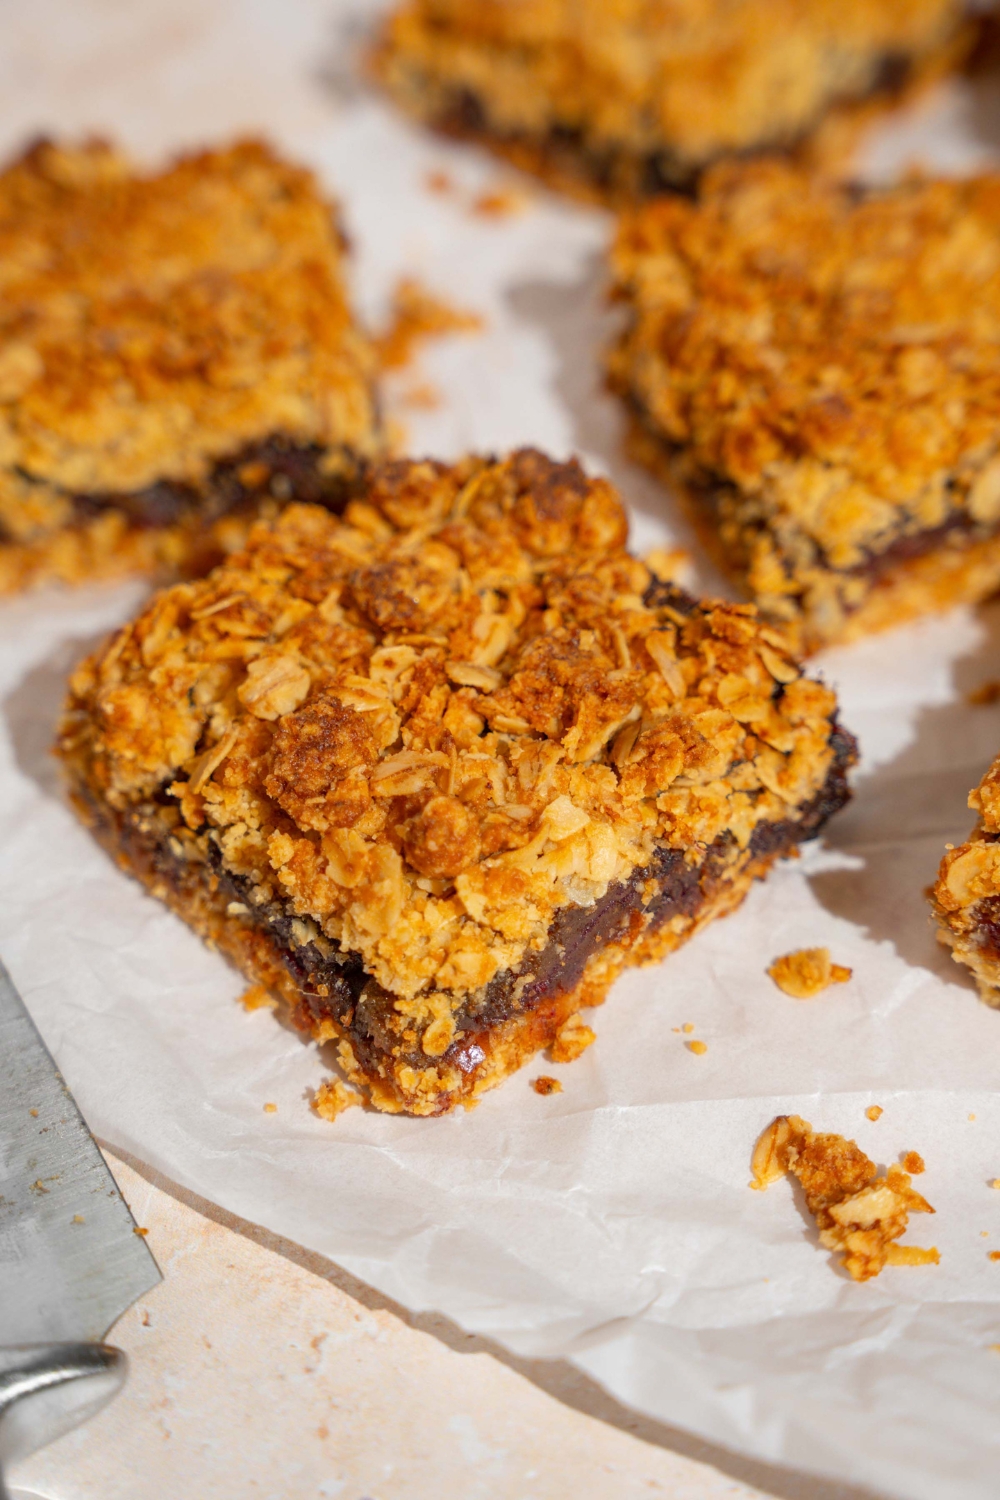
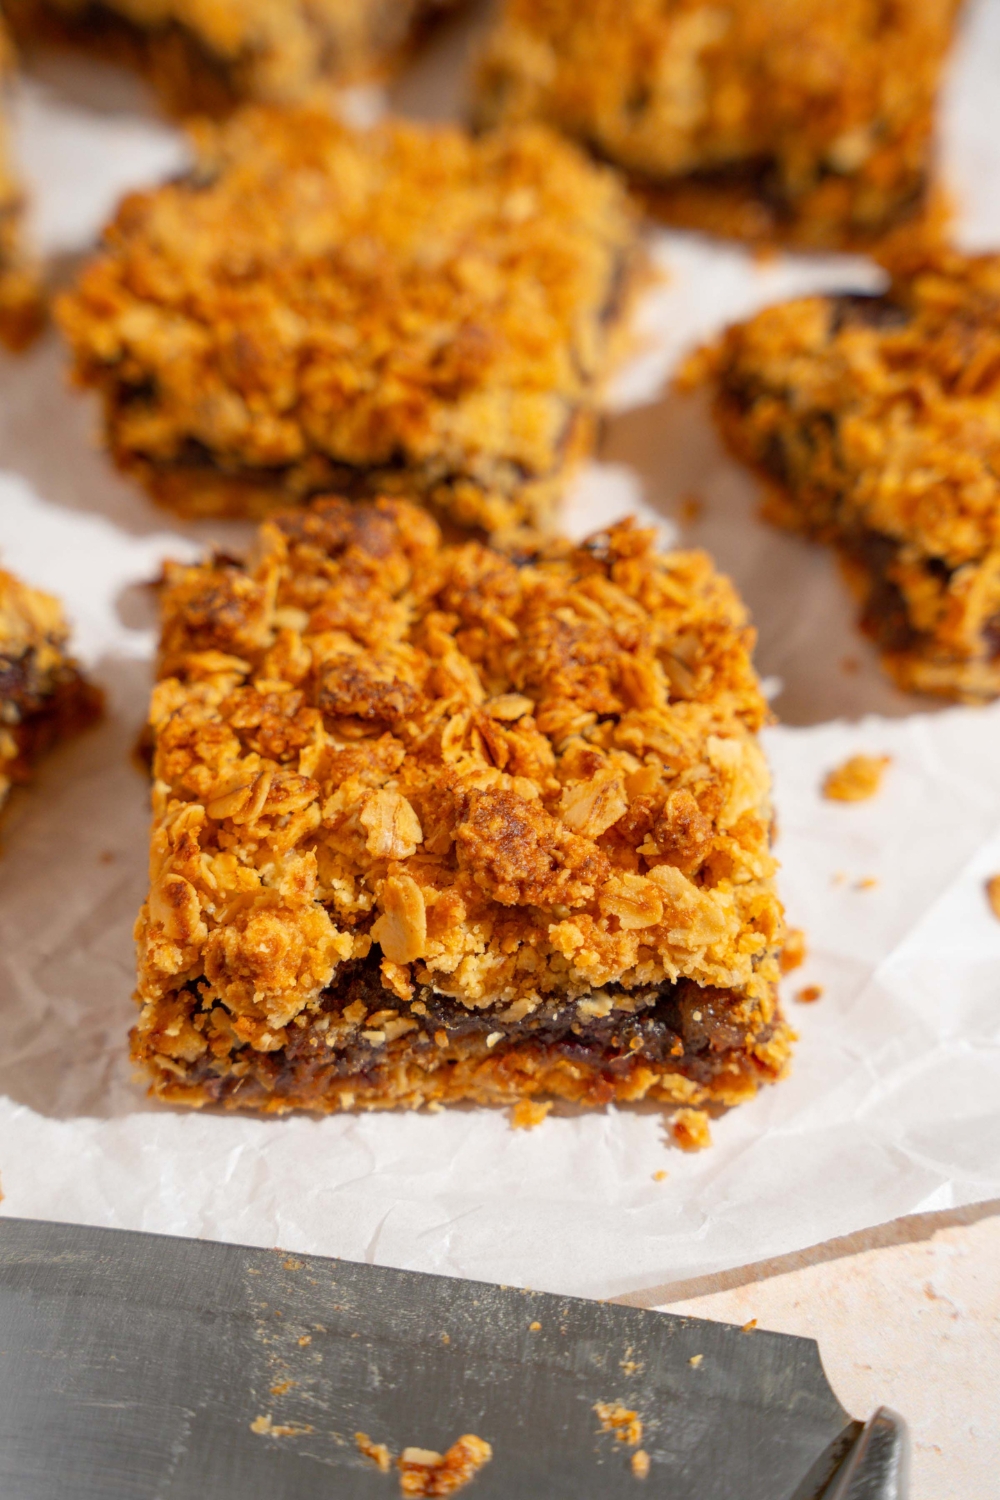
These old-fashioned date bars are the kind of timeless dessert that never goes out of style. A layer of warm, gooey date filling is sandwiched between two crumbly, buttery oat crusts that bake up golden and slightly crisp on the edges. They're soft, chewy, buttery, and the whole thing tastes like something straight out of grandma’s kitchen — because it actually is! This recipe came from my grandma’s handwritten cookbook, and it’s one of those desserts that's nostalgic and makes the holidays even better. If you’ve tried any of her other recipes on the blog — like Ricotta Pie, Million Dollar Pie, or Pistachio Cream — you already know her recipes are foolproof, nostalgic, and full of heart. These date squares are no exception — a classic dessert that’s easy to make from scratch and guaranteed to become a family staple.
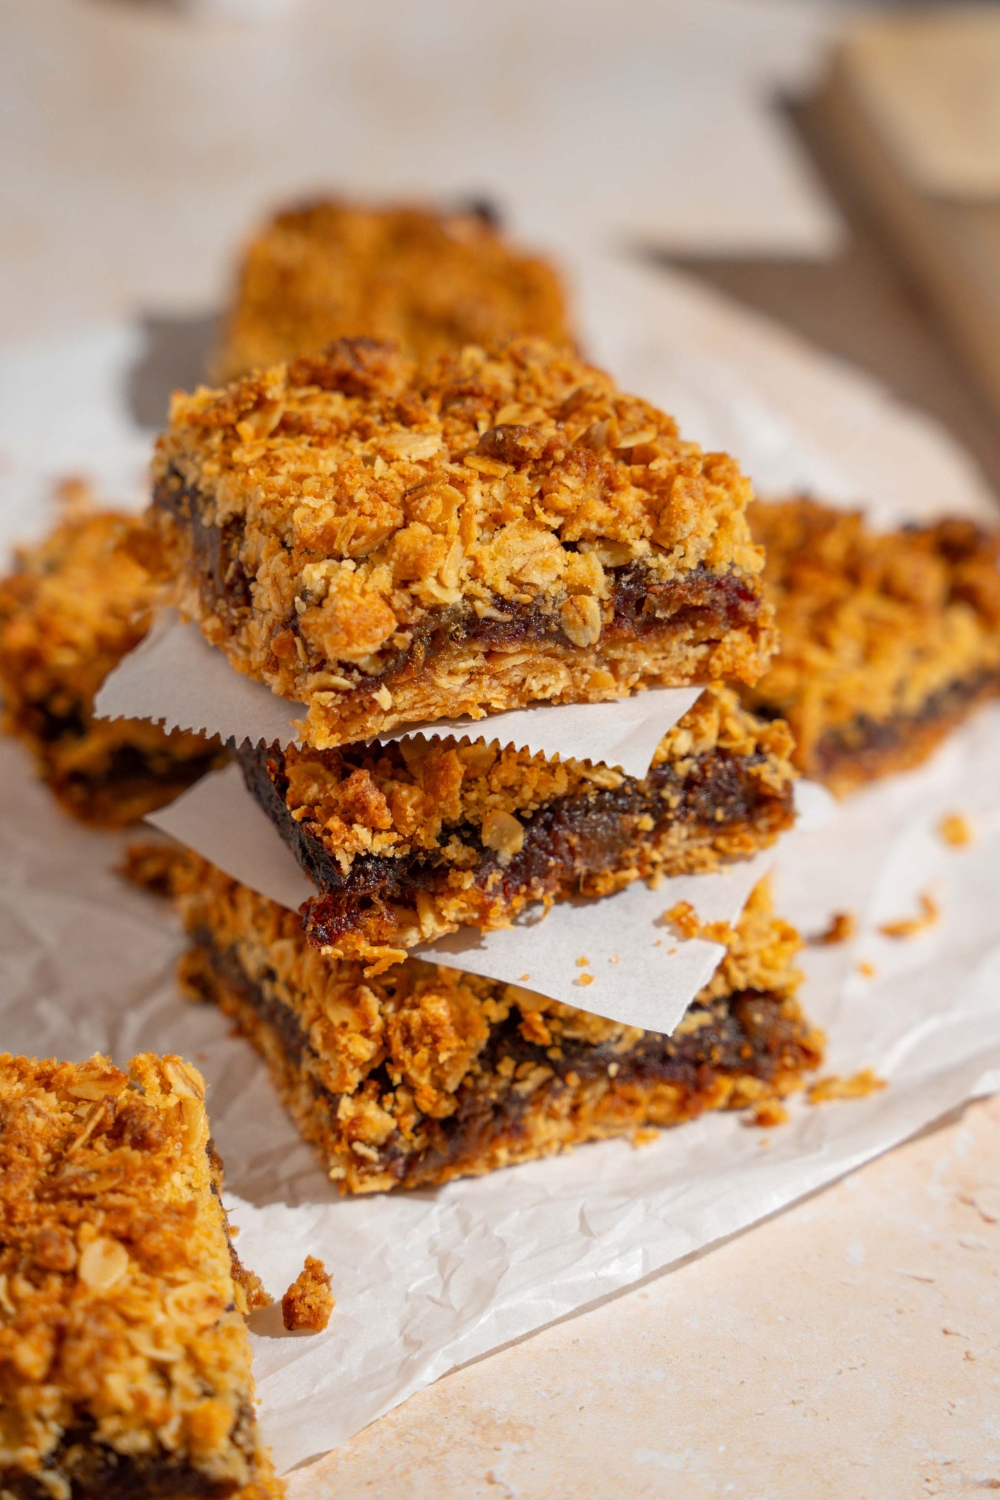
Table of Contents
Why I Love These Date Bars
My grandma used to make these date bars every Christmas. They were her way of sneaking a “healthy” treat into the cookie tray, surrounded by all the classic Italian cookies and fudge. As a kid, I wasn’t the type to reach for anything with fruit in it, but these were different — soft and chewy with a little crisp and that sweet, jammy filling that just melted in your mouth.
I was recently cleaning out my grandparents’ house, and I found her old cookbook packed away on a shelf. I emotionally flipped through the pages and spotted this date bar recipe — worn, stained, and full of memories. I hadn’t had them in years, and finding that recipe felt like rediscovering a piece of my childhood. I made them that night, and they were exactly as I remembered — cozy, simple, and absolutely delicious.
These homemade date bars are perfect for the holidays, as a healthier treat, or as an anytime dessert when you want something comforting and classic. They also store well, so they’re great for meal prep, gifting, or freezing for later.
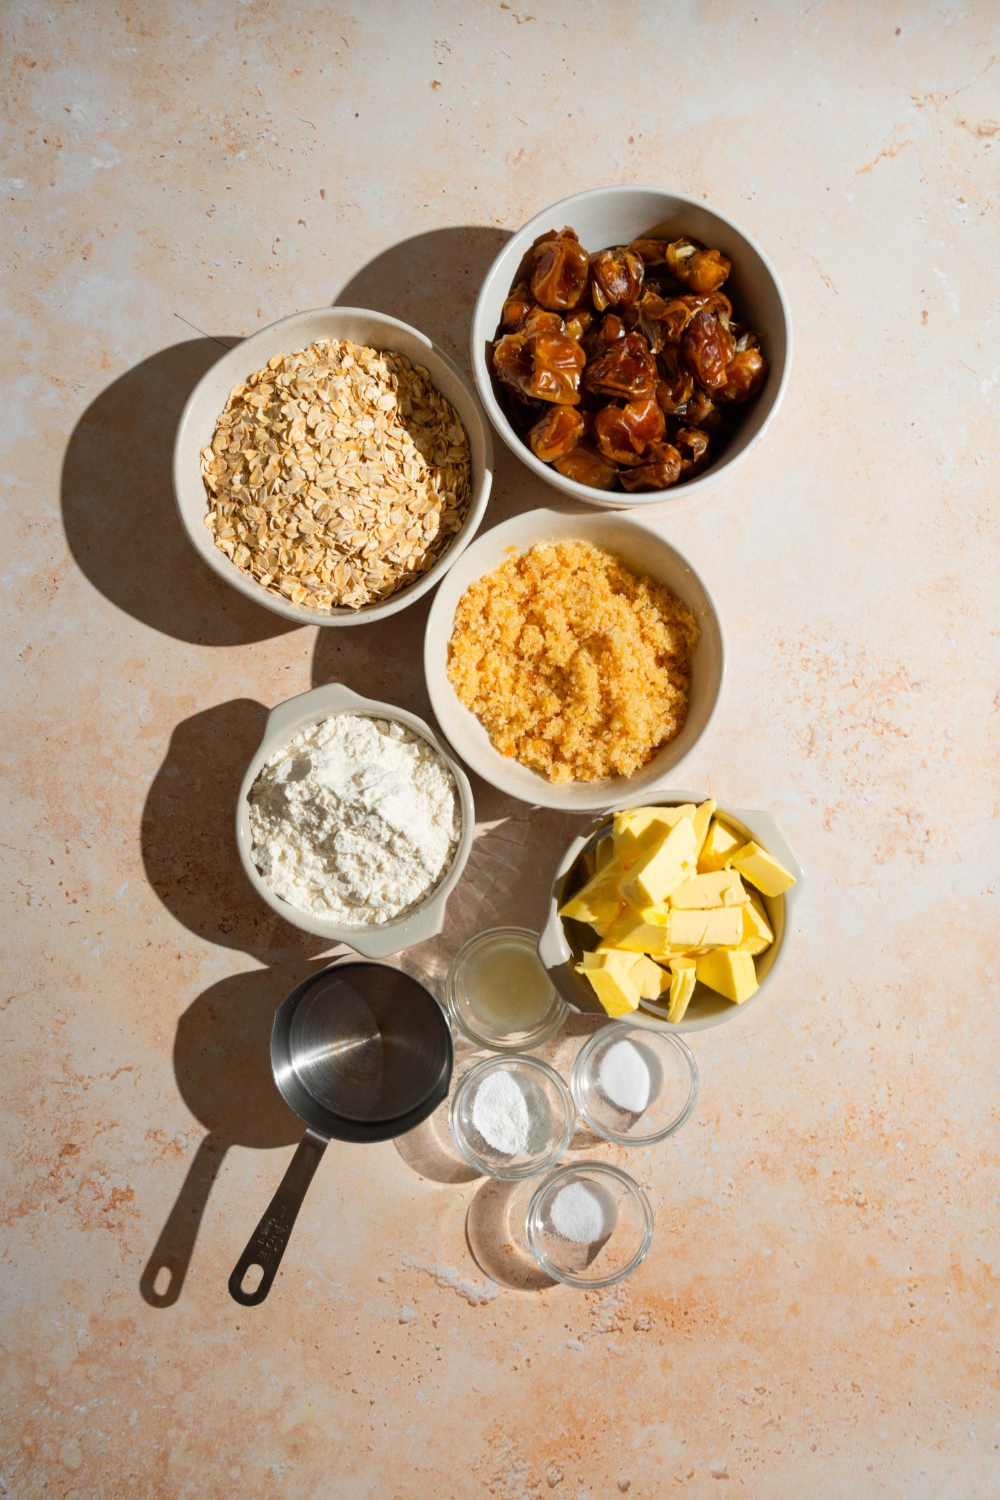
Ingredients You’ll Need
For the Date Filling:
- 2 ½ cups dates, chopped
- 1 cup water
- 2 tablespoon lemon juice
- 2 tablespoon brown sugar
- ½ teaspoon baking soda
For the Oat Crust:
- 1 ¾ cups quick oats
- 1 cup all-purpose flour
- ½ teaspoon baking powder
- ¼ teaspoon salt
- ¾ cup brown sugar
- ¾ cup unsalted butter (cold, cut into small cubes)
How To Make Date Bars
Step 1: Preheat & Prep
Preheat your oven to 375°F (190°C). Line an 8x8-inch baking pan with parchment paper and set aside.
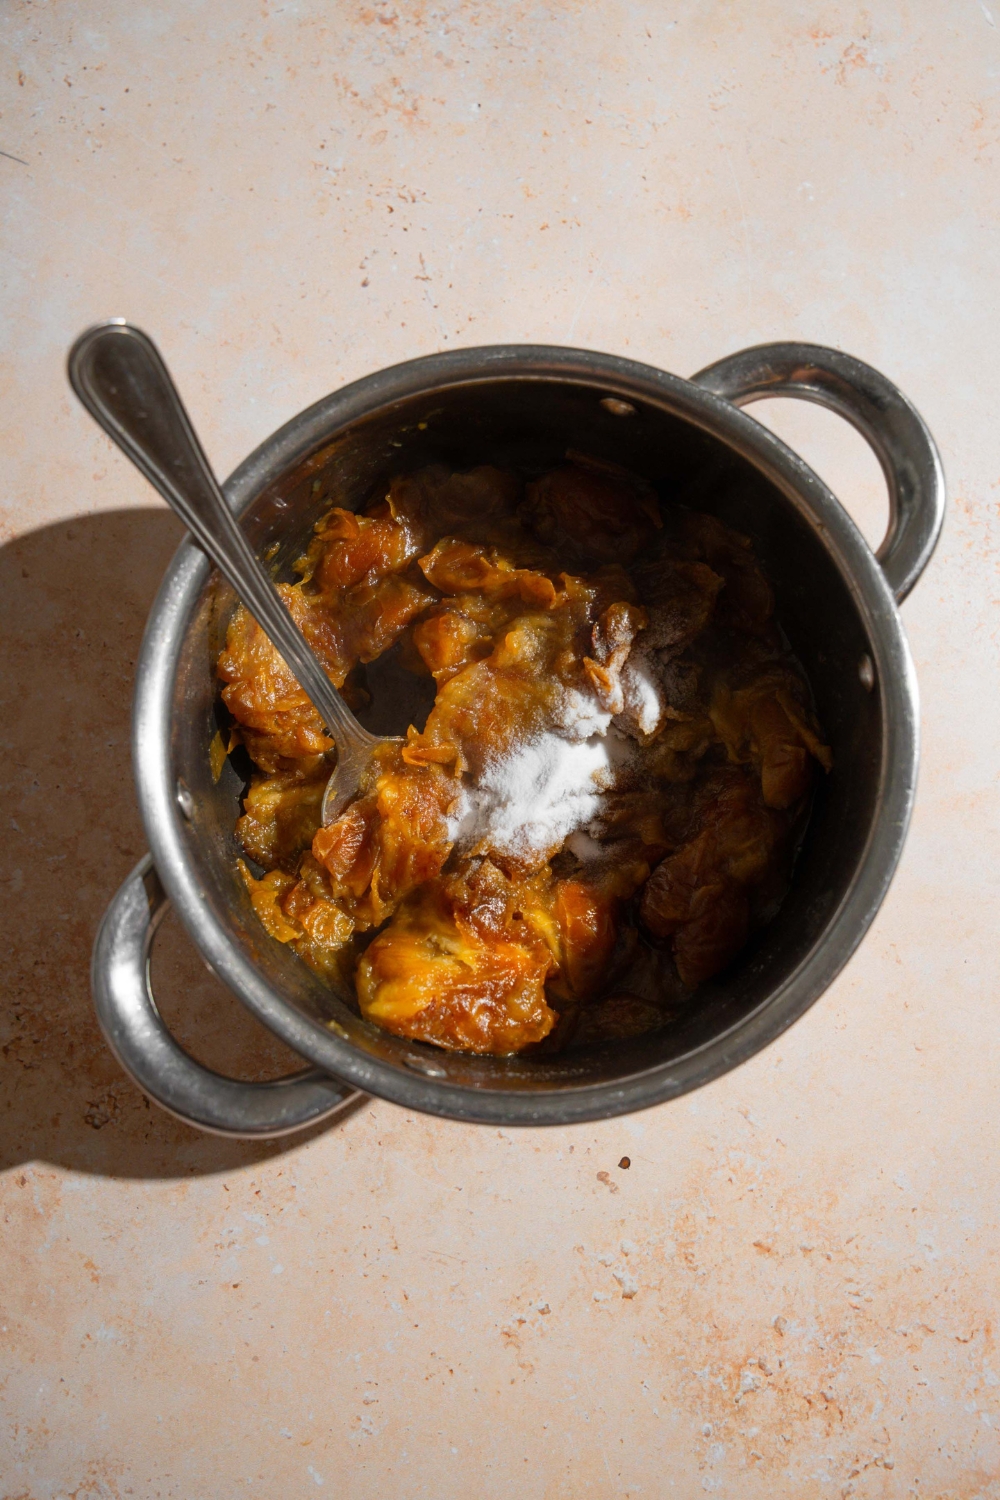
Step 2: Make the Date Filling
In a saucepan, combine dates, water, lemon juice, and brown sugar. Cook over medium-low heat for 5–7 minutes, stirring occasionally, until the dates are soft and begin to break down.
Stir in the baking soda (the mixture will bubble slightly), then cook for 1–2 more minutes until thickened. Set aside to cool slightly.
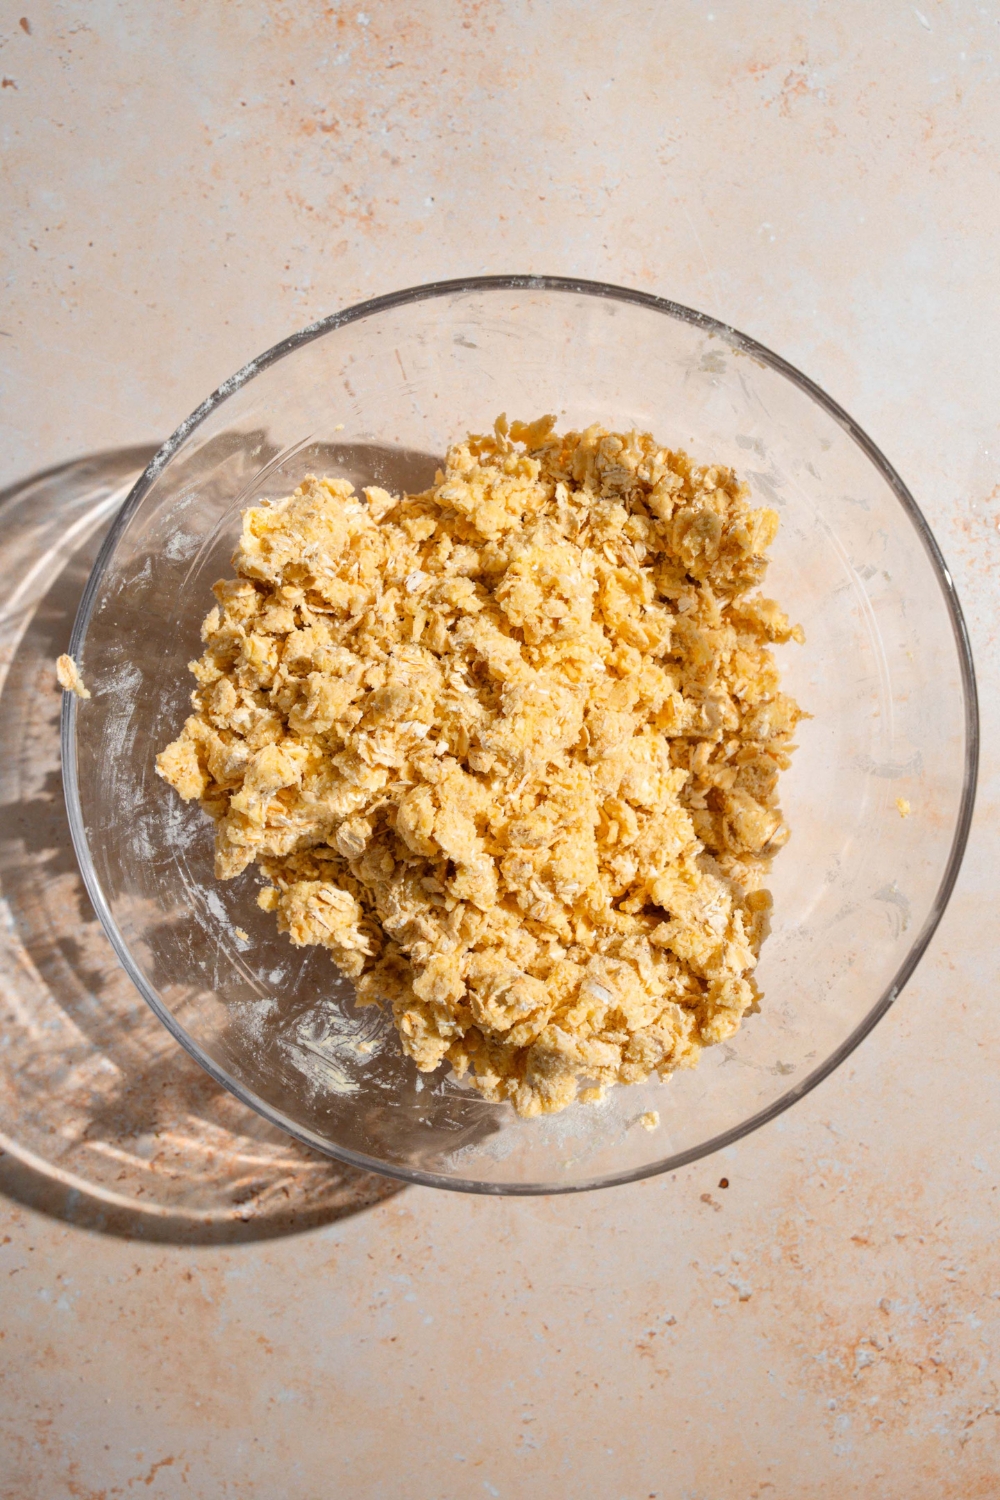
Step 3: Prepare the Crust
In a large bowl, whisk together oats, flour, baking powder, salt, and brown sugar. Add cold butter and, using your fingertips, rub it into the dry ingredients until the mixture becomes crumbly and holds together when pressed.
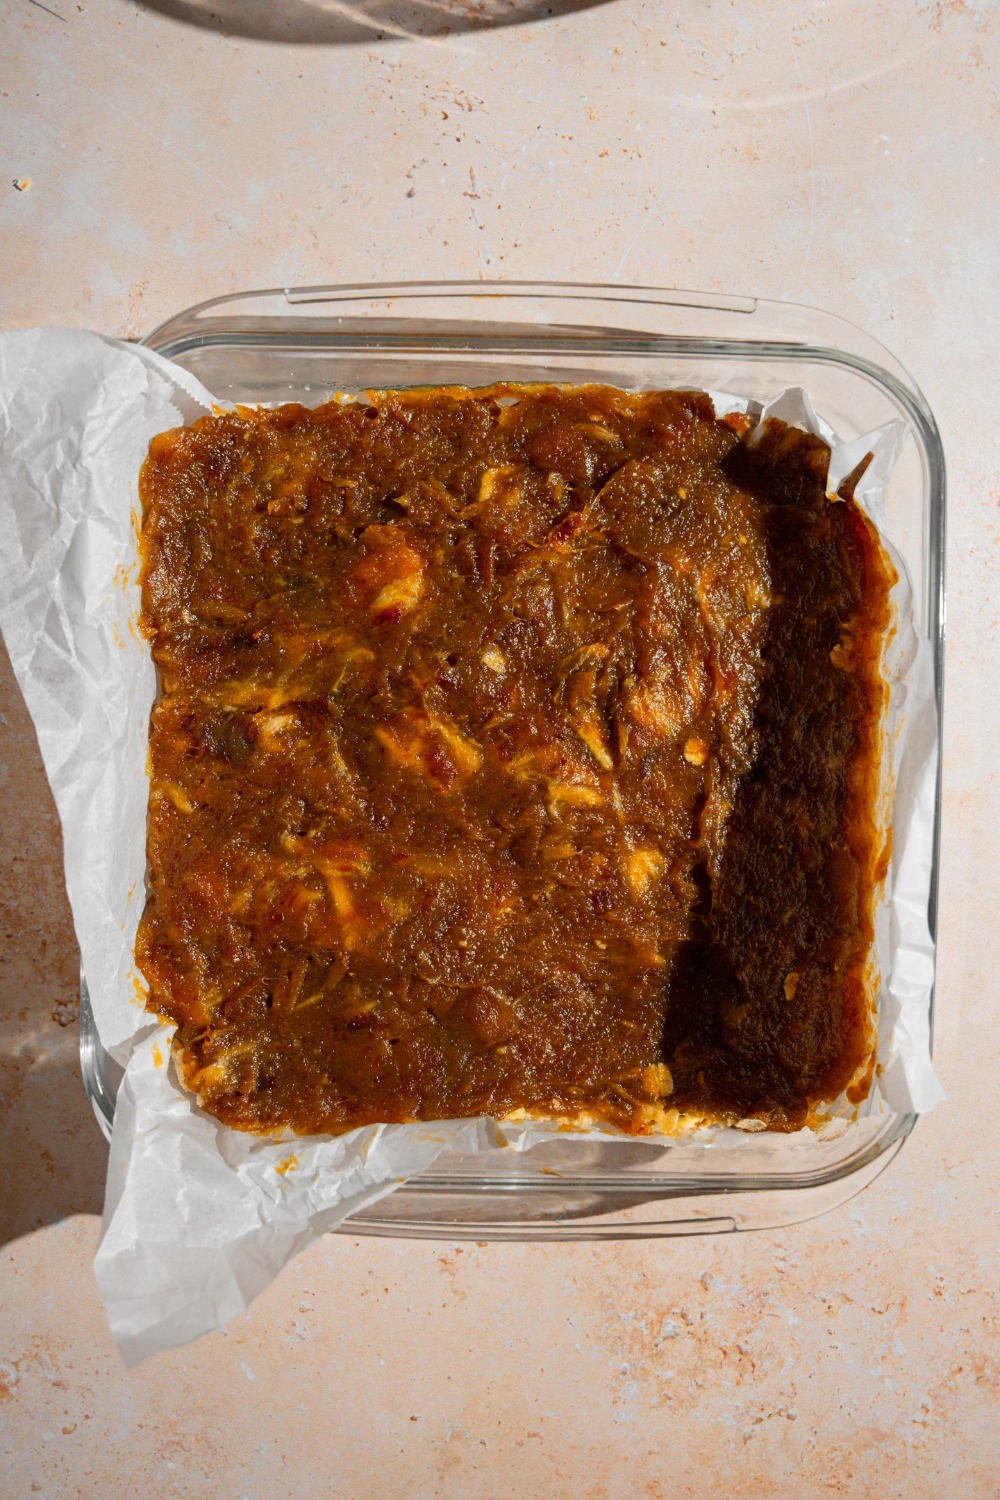
Step 4: Assemble the Bars
Press half of the oat mixture firmly into the bottom of the prepared pan. Spread the date filling evenly on top until it reaches all the edges.
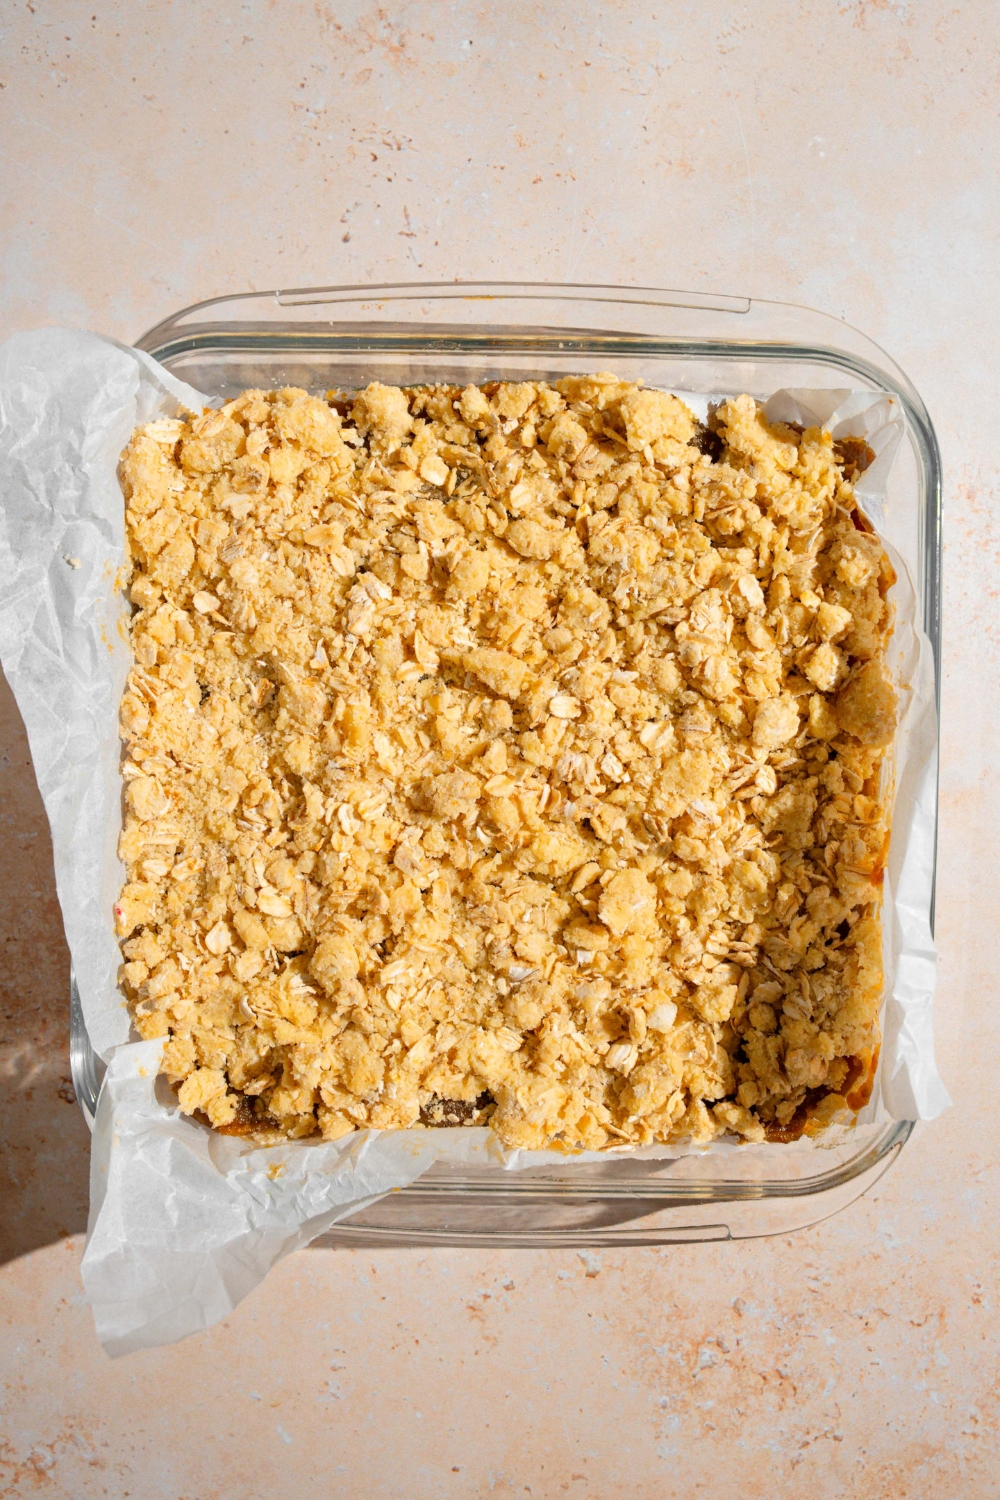
Sprinkle the remaining oat mixture over the entire filling and gently press it down to form the crumbly top layer.
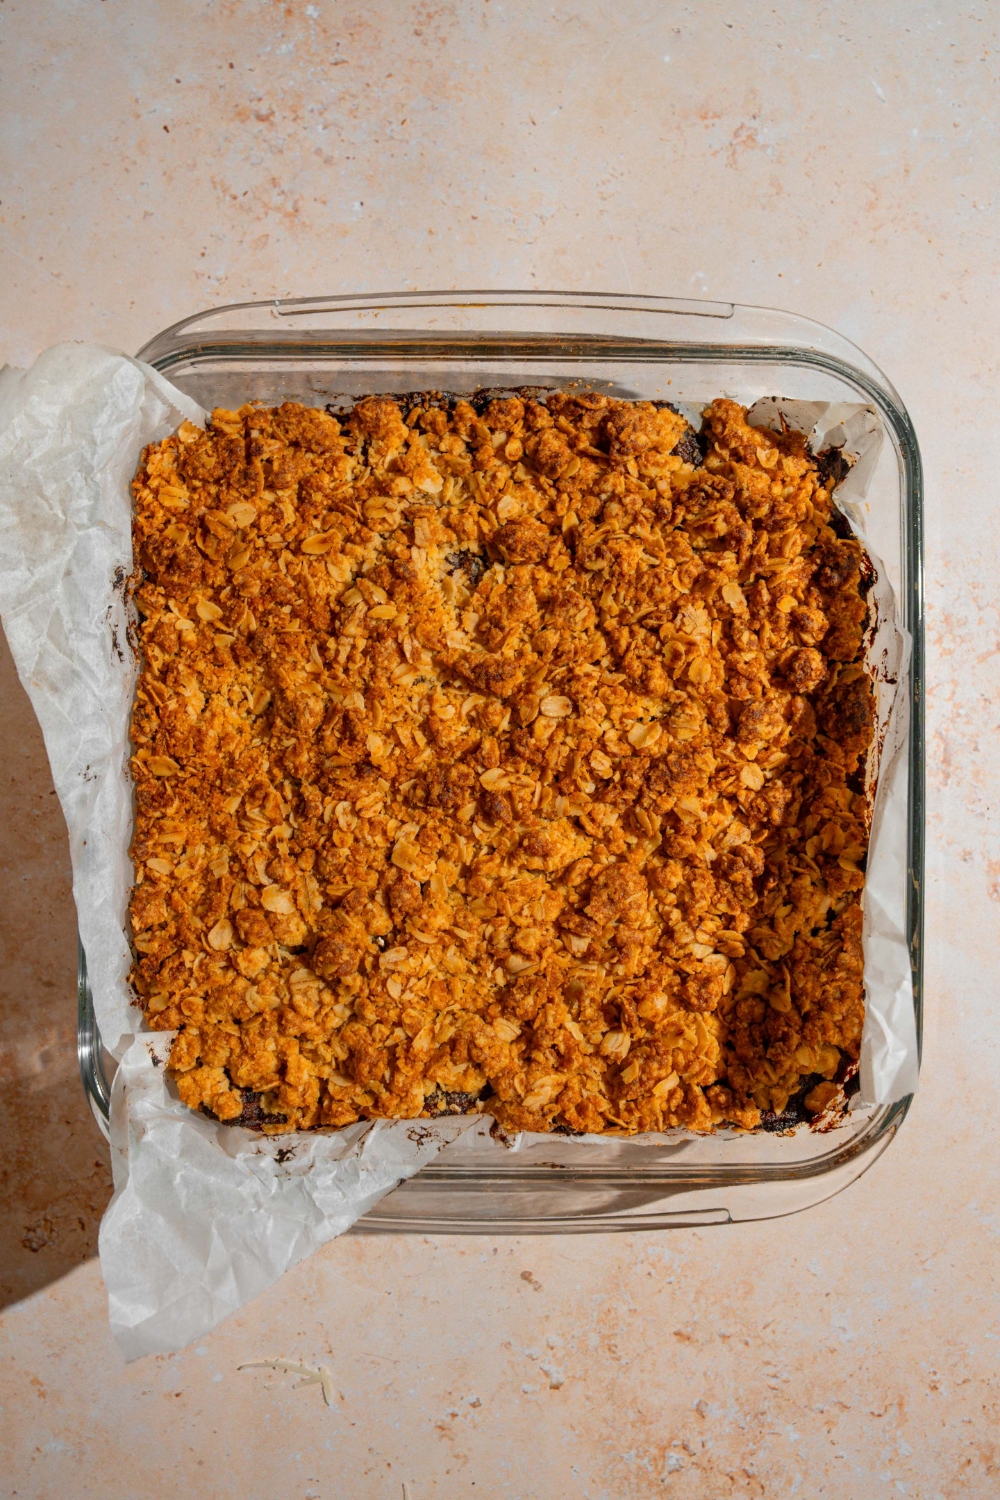
Step 5: Bake
Bake the date bars for 40–50 minutes, until the top is golden brown and crisp.
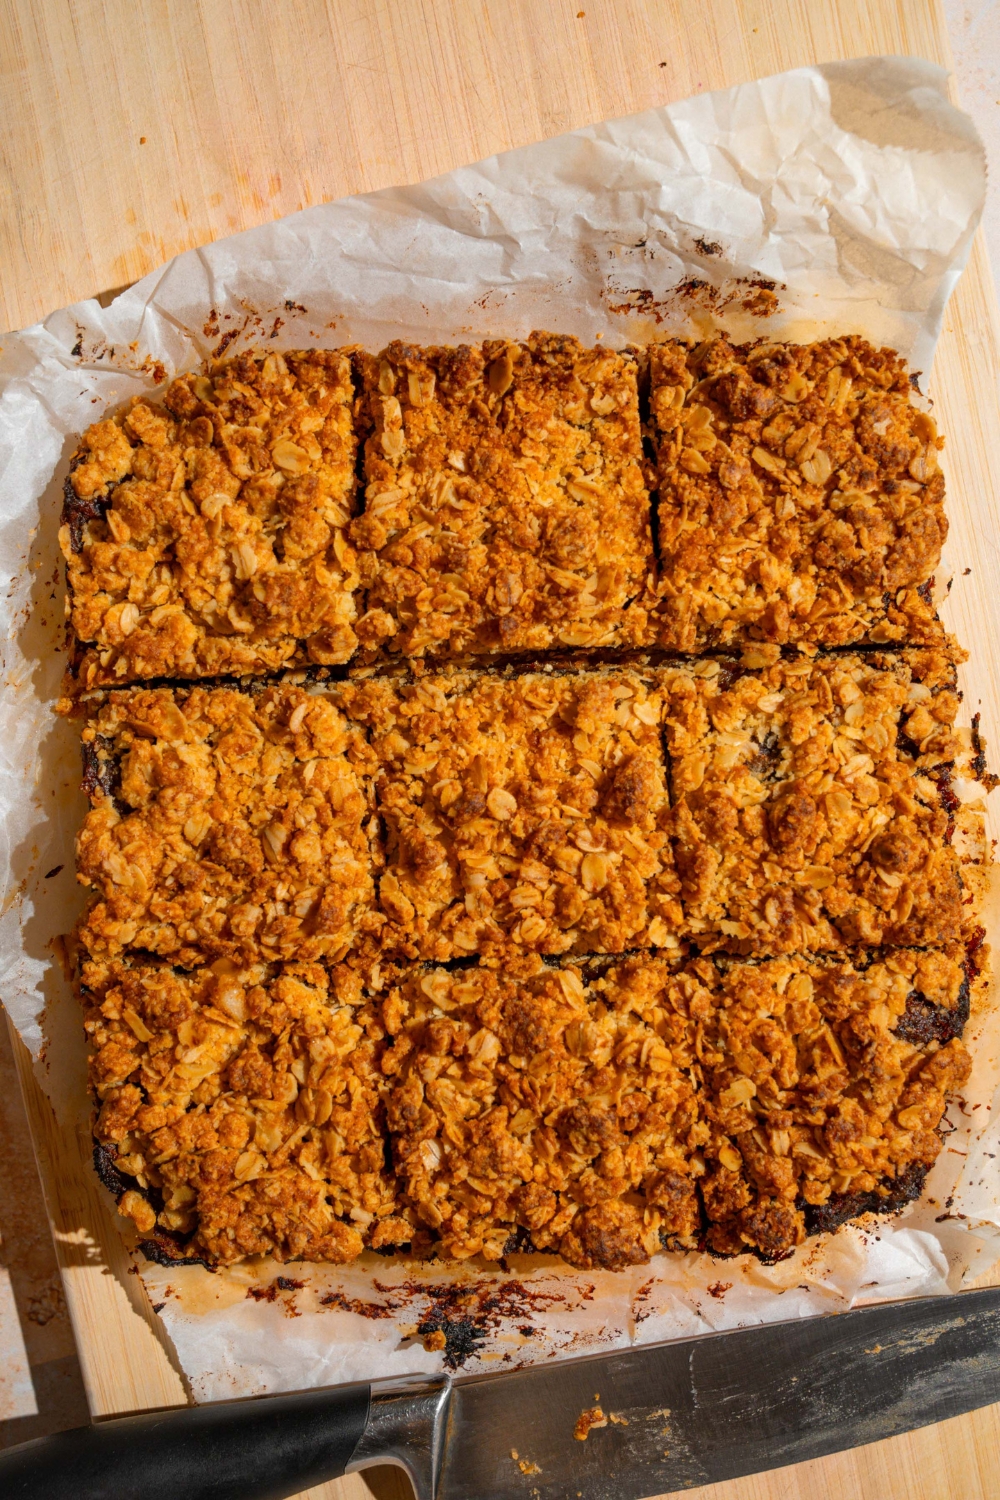
Step 6: Cool & Serve
Let the bars cool in the pan for 30 minutes before slicing into 9 squares. Serve warm or at room temperature.
Expert Tips To Make The Best Date Bars
- Use Medjool or Deglet Noor dates for the perfect filling. The key to a rich, sweet, and chewy filling is using high-quality dates, like Medjool or Deglet Noor. These varieties are naturally soft, caramel-like, and have the ideal sweetness for baking. Medjool dates are larger and softer, giving your filling that melt-in-your-mouth texture, while Deglet Noor dates are slightly firmer but still perfectly sweet. Always use pitted dates and chop them before cooking to help them soften faster and break down evenly into a smooth, jammy filling.
- Add baking soda at the right time for a silky texture. The secret to that signature jam-like date filling is the baking soda. Add it after the date mixture has started boiling and the dates are softening in the water. The baking soda helps neutralize the dates’ natural acidity and breaks them down into a smooth, spreadable texture without needing to puree. It also prevents the filling from becoming overly sticky or grainy.
- Cold butter equals crumbly, buttery perfection. When making the oat crust, use cold butter cut into small cubes — not softened or melted. Rubbing or cutting the cold butter into the oat mixture creates those irresistible crumbly bits that crisp up in the oven while still staying tender underneath. If the butter starts to soften, pop the mixture into the fridge for a few minutes before baking. This is what gives your date bars that bakery-style, buttery crumble topping.
- Don’t overbake your bars. The bars are done when the top crust turns light golden brown and you can see a bit of bubbling from the filling around the edges. Overbaking can cause the filling to dry out and make the crust too hard once cooled. Every oven is different, so start checking the date squares around the 25-minute mark. Remember that they will continue to firm up as they cool.
- Line your pan with parchment paper for easy removal. To make slicing and serving effortless, always line your baking dish with parchment paper and some overhang on the sides. Once the bars have cooled, you can lift them out in one clean piece by pulling the edges of the parchment paper. It also prevents sticking, especially since the filling can caramelize slightly at the edges.
- Let the bars cool completely before slicing. Patience is key here! The date filling thickens and sets as it cools, which helps the bars hold their shape. If you cut them too early, the warm filling can ooze out and the layers may crumble apart. Let them cool for at least 30 minutes at room temperature (or 10 minutes in the fridge if you’re short on time) before slicing for neat, bakery-style bars.
- Add a touch of salt to balance the sweetness. Dates are naturally very sweet, so a small pinch of salt in both the filling and the crust helps bring out their flavor and keeps the bars from tasting overly sugary. A sprinkle of flaky salt on top before serving is my favorite way to elevate the flavor and presentation.
Date Bar Variations To Try
- Nutty Date Bars: If you like nuts in desserts, add ½ cup chopped walnuts or pecans to the oat crust mixture and sprinkle more nuts on top before baking for an added crunch.
- Coconut Date Bars: Give them a fresh flavor and add ½ cup of shredded coconut to the crust or sprinkle it on top before baking. The coconut lightly toasts in the oven, adding sweetness, texture, and an extra golden finish.
- Spiced Date Bars: Turn these into spiced oatmeal date bars by adding ½ teaspoon of cinnamon, ¼ teaspoon of nutmeg, or even a pinch of clove or ginger to the oat crust mixture. These warming spices enhance the natural caramel flavor of the dates and make the bars perfect for fall or holiday baking.
- Citrus Twist: Swap the lemon juice for fresh orange juice and add 1 teaspoon of finely grated orange zest for a brighter, fruitier flavor. The citrus balances the rich sweetness of the dates and adds a refreshing, zesty note. This variation pairs well with tea or coffee and is ideal for spring or summer gatherings.
- Chocolate Drizzle Date Bars: For an indulgent upgrade, drizzle melted dark or milk chocolate over the cooled bars, or mix ¼ cup of mini chocolate chips into the oat crust before baking. The combination of chocolate and dates creates a decadent flavor while keeping the wholesome oat texture.
Date Bars FAQs
Can I use old-fashioned oats instead of quick oats?
Yes! You can use old-fashioned oats, but the texture will be a bit heartier and chewier compared to quick oats. Quick oats create a finer, more cohesive crust that holds together more like a soft cookie bar. If you prefer a rustic texture with more bite, old-fashioned oats are a great option. Just note that the bars may take an extra 2–3 minutes to bake since old-fashioned oats absorb liquid a little slower.
Can I make these date bars ahead of time?
Absolutely. These old-fashioned date bars are one of those desserts that actually taste better the next day as the flavors meld together. You can bake them up to 2 days in advance and store them in an airtight container at room temperature for up to 5 days. If you’re making them for the holidays or gifting, this make-ahead option is a huge time-saver.
Can I freeze date bars?
Yes! Homemade date bars freeze well. You can wrap individual bars in plastic wrap or foil, or freeze the entire slab before cutting. Store in an airtight container or freezer bag for up to 3 months. When you’re ready to serve, thaw at room temperature for about an hour or warm them in a 325°F oven for 8–10 minutes to bring back that freshly baked texture.
Why add lemon juice to the date filling?
Lemon juice adds a subtle tang that brightens the sweetness of the dates and prevents the filling from tasting overly rich. It also helps balance the brown sugar and enhances the caramel-like flavor of the cooked dates. You can substitute with orange juice or a mix of lemon and orange zest for a slightly different citrus note.
Why is my date filling too runny or dry?
If your date filling is runny, it probably needs to simmer longer to evaporate excess water. Keep cooking until the mixture thickens to a jam-like consistency — it should coat the back of a spoon. If it’s too dry, add a splash of water or lemon juice while cooking to loosen it up. Dates can vary in moisture depending on their age, so adjust the liquid as needed.
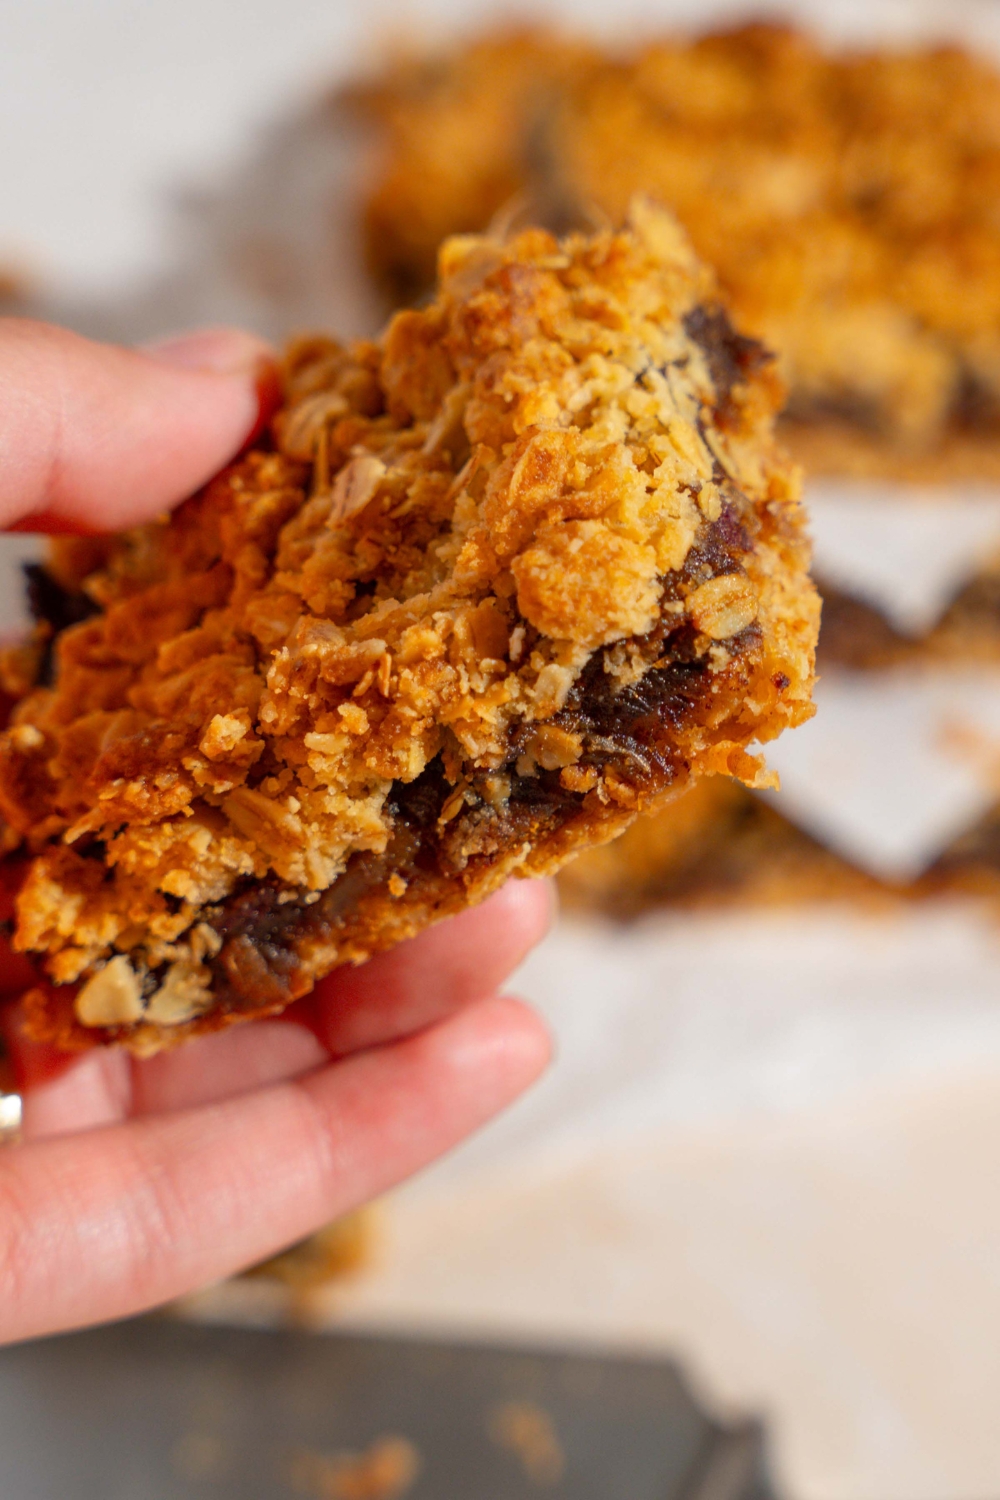
What’s the best way to serve date bars?
These homemade date bars are delicious at room temperature, but they’re also incredible warmed slightly and served with a scoop of vanilla ice cream, a drizzle of caramel sauce, or even a dusting of powdered sugar.
Can I use fresh dates instead of dried ones?
Yes, you can, but dried dates are traditional and give the filling its classic texture. If using fresh dates, you may need to reduce the water slightly since they contain more moisture. The flavor will still be delicious — just a bit less concentrated and slightly milder than with dried Medjool or Deglet Noor dates.
Can I make vegan date bars?
Definitely. These date squares are easy to make vegan — just replace the butter with vegan butter or refined coconut oil. The rest of the ingredients are naturally plant-based. If using coconut oil, chill the bars before slicing to help the filling set and keep the crust firm.
Can I make these gluten-free?
Yes! To make gluten-free date bars, simply use certified gluten-free oats and a 1:1 gluten-free flour blend in place of regular flour. The texture will be just as buttery and crisp. Be sure to check that your oats are labeled gluten-free, as cross-contamination is common in processing.
My Final Thoughts
These old-fashioned date bars are a nostalgic dessert that's equally delicious for the holidays and a regular weeknight. The sweet date filling, buttery oat crust, and golden crumb topping create the perfect balance of chewy and crisp. They’re simple to make, store great, and taste even better the next day—my grandma knew what she was doing when she created this recipe. Give it a try and leave me a review and comment below. I'd love to hear what you think of this recipe for date bars.
Holiday Dessert Recipes to Try Next
- Christmas crack
- Fantasy fudge
- Elephant ears
- Pecan pie dump cake
- Dates with peanut butter
- Sweet potato pie with condensed milk
Date Bars (Old-Fashioned Recipe From My Grandma’s Cookbook)
These old-fashioned date bars are the kind of timeless dessert that never goes out of style. A layer of warm, gooey date filling is sandwiched between two crumbly, buttery oat crusts that bake up golden and slightly crisp on the edges. They're soft, chewy, buttery, and the whole thing tastes like something straight out of grandma’s kitchen — because it actually is! This recipe came from my grandma’s handwritten cookbook, and it’s one of those desserts that's nostalgic and makes the holidays even better. If you’ve tried any of her other recipes on the blog — like Ricotta Pie, Million Dollar Pie, or Pistachio Cream — you already know her recipes are foolproof, nostalgic, and full of heart. These date squares are no exception — a classic dessert that’s easy to make from scratch and guaranteed to become a family staple.
Ingredients
For the Date Filling
- 2½ cups dates, chopped
- 1 cup water
- 2 tablespoon lemon juice
- 2 tablespoon brown sugar
- ½ teaspoon baking soda
For the Oat Crust
- 1¾ cups quick oats
- 1 cup all-purpose flour
- ½ teaspoon baking powder
- ¼ teaspoon salt
- ¾ cup brown sugar
- ¾ cup unsalted butter (cold, cut into small cubes)
Instructions
1. Preheat your oven to 375F and line an 8x8 inch pan with parchment paper and set aside.
2. To a saucepan, add the dates, water, lemon juice, and brown sugar. Cook over medium low heat for 5-7 minutes, mixing occasionally, until soft. Mix in the baking soda and cook for 1-2 more minutes. Set aside.
3. In a bowl, combine the oats flour, baking powder, salt, and brown sugar. Whisk to combine, then add the cold butter. Using your finger tips, rub the cold butter into the dry mixture until you get a crumbly dough.
4. Transfer half of the dough to the baking pan. Top with the cooked dates and spread to the edges. Crumble the remaining dough on top of the dates and transfer to the oven.
5. Bake for 40-50 minutes until golden and cooked through. Allow to cool for 30 minutes before cutting into 9 squares serve warm or cold.
Nutrition Information:
Yield:
9Serving Size:
1Amount Per Serving: Calories: 418Total Fat: 17gSaturated Fat: 10gUnsaturated Fat: 6gCholesterol: 41mgSodium: 207mgCarbohydrates: 67gFiber: 5gSugar: 43gProtein: 4g
Leave a Reply