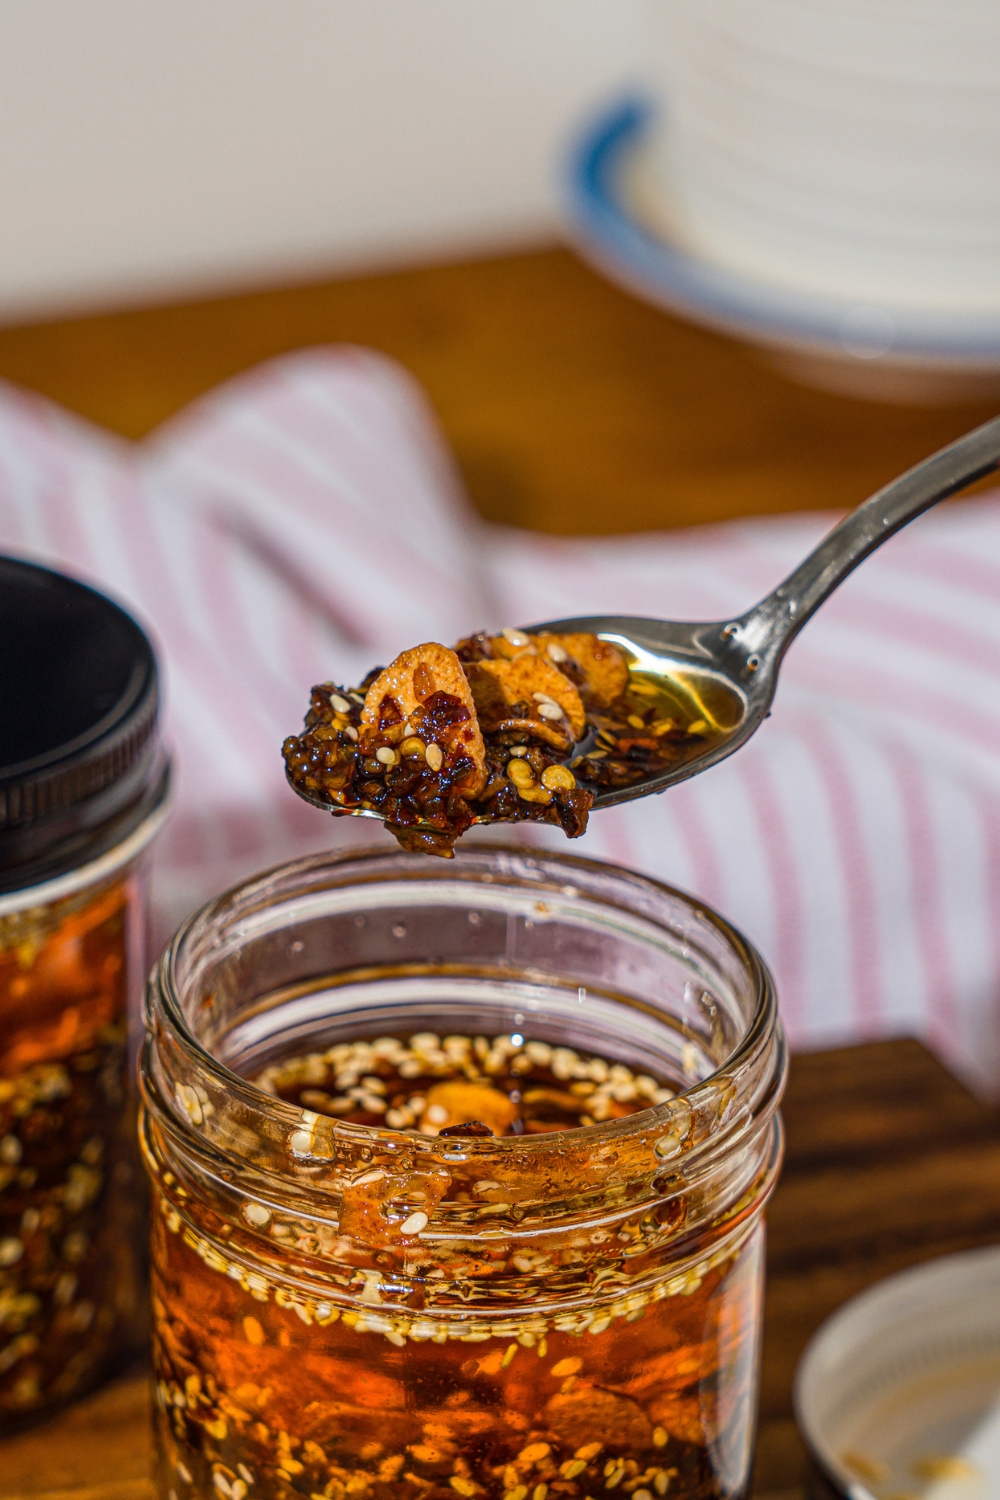
This homemade chili crisp is savory, garlicky, perfectly spiced, and loaded with crispy bits that make whatever you're eating taste better. It comes together with a handful of pantry ingredients and a pot of hot oil. So simple. Once you have a jar on your counter, you'll start finding reasons to put it on everything.
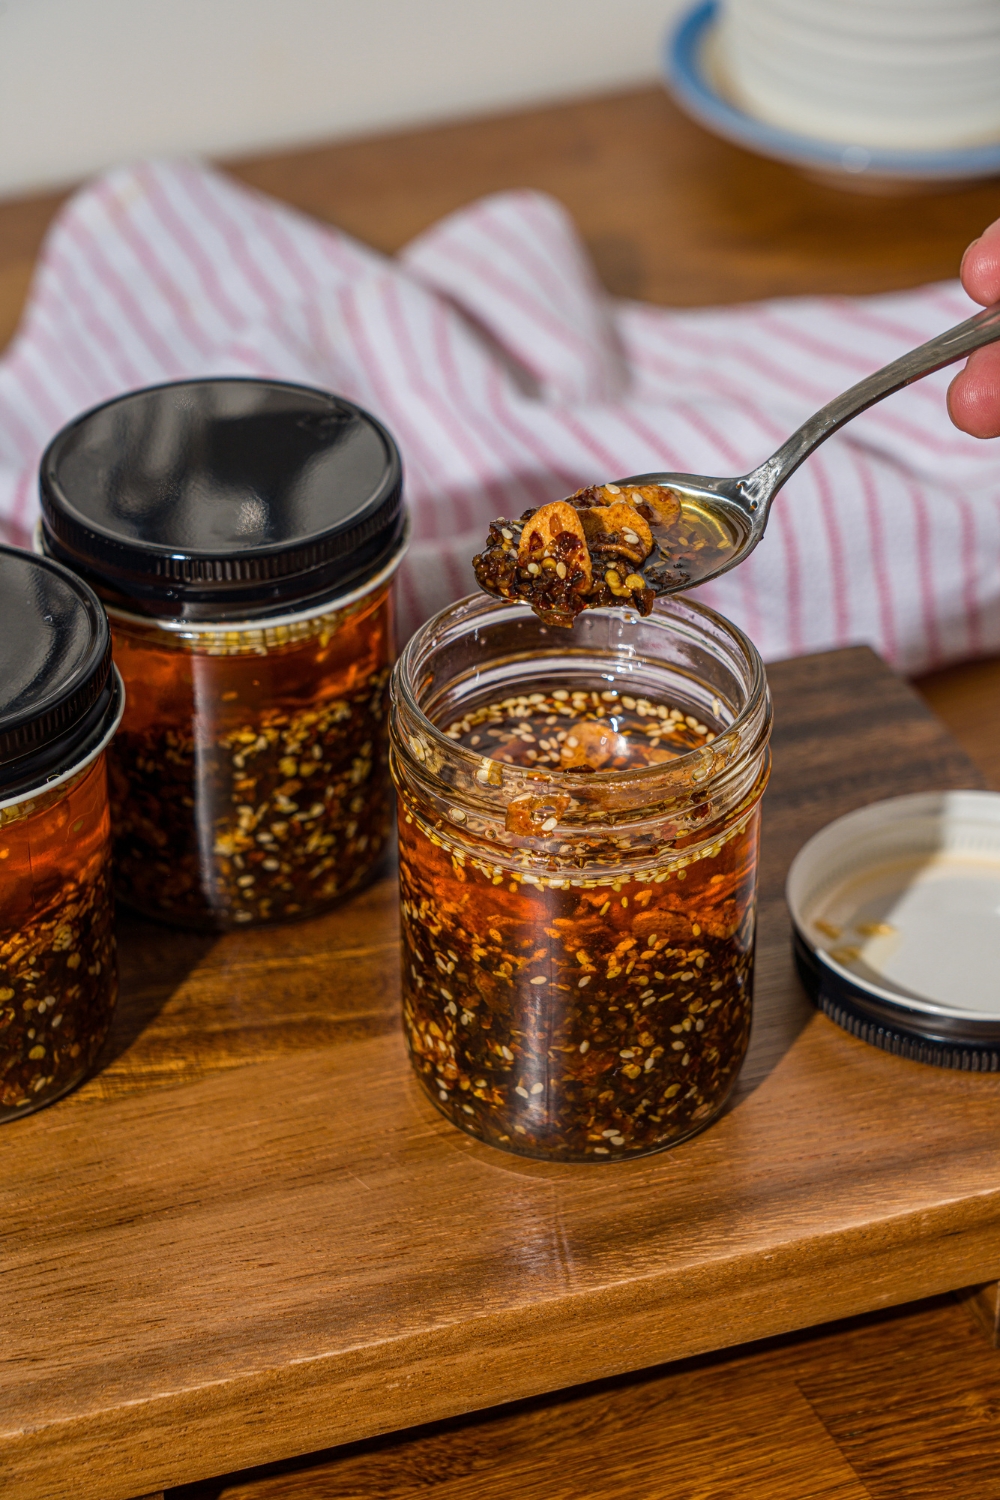
Table of Contents
Why This Chili Crisp Recipe Works
I have a lot of recipes on this blog that call for chili crisp and for a long time I was getting it from the grocery store. Store-bought versions are great, and I'm not going to pretend otherwise, but I kept wanting something I made myself that I could control completely. The heat level, the garlic ratio, the texture, all of it. So I developed this chili crunch recipe to use across everything and it's become the most-reached-for condiment in my kitchen by a significant margin.
The process is simple but the result is anything but that. You build a bowl of garlic, spices, chili flakes, and sesame seeds, heat oil to the right temperature, and pour it straight over the top. The hot oil blooms every spice and crisps the garlic in seconds and the smell alone is worth making this. You end up with a deeply flavorful chili crisp that has an incredible texture, keeps for up to 6 months, and works on absolutely everything.
I use it in my hot honey eggs, chili crisp avocado toast, chili crisp dumpling bake, and so much more. Once you make a batch yourself you'll understand why store-bought feels like settling.
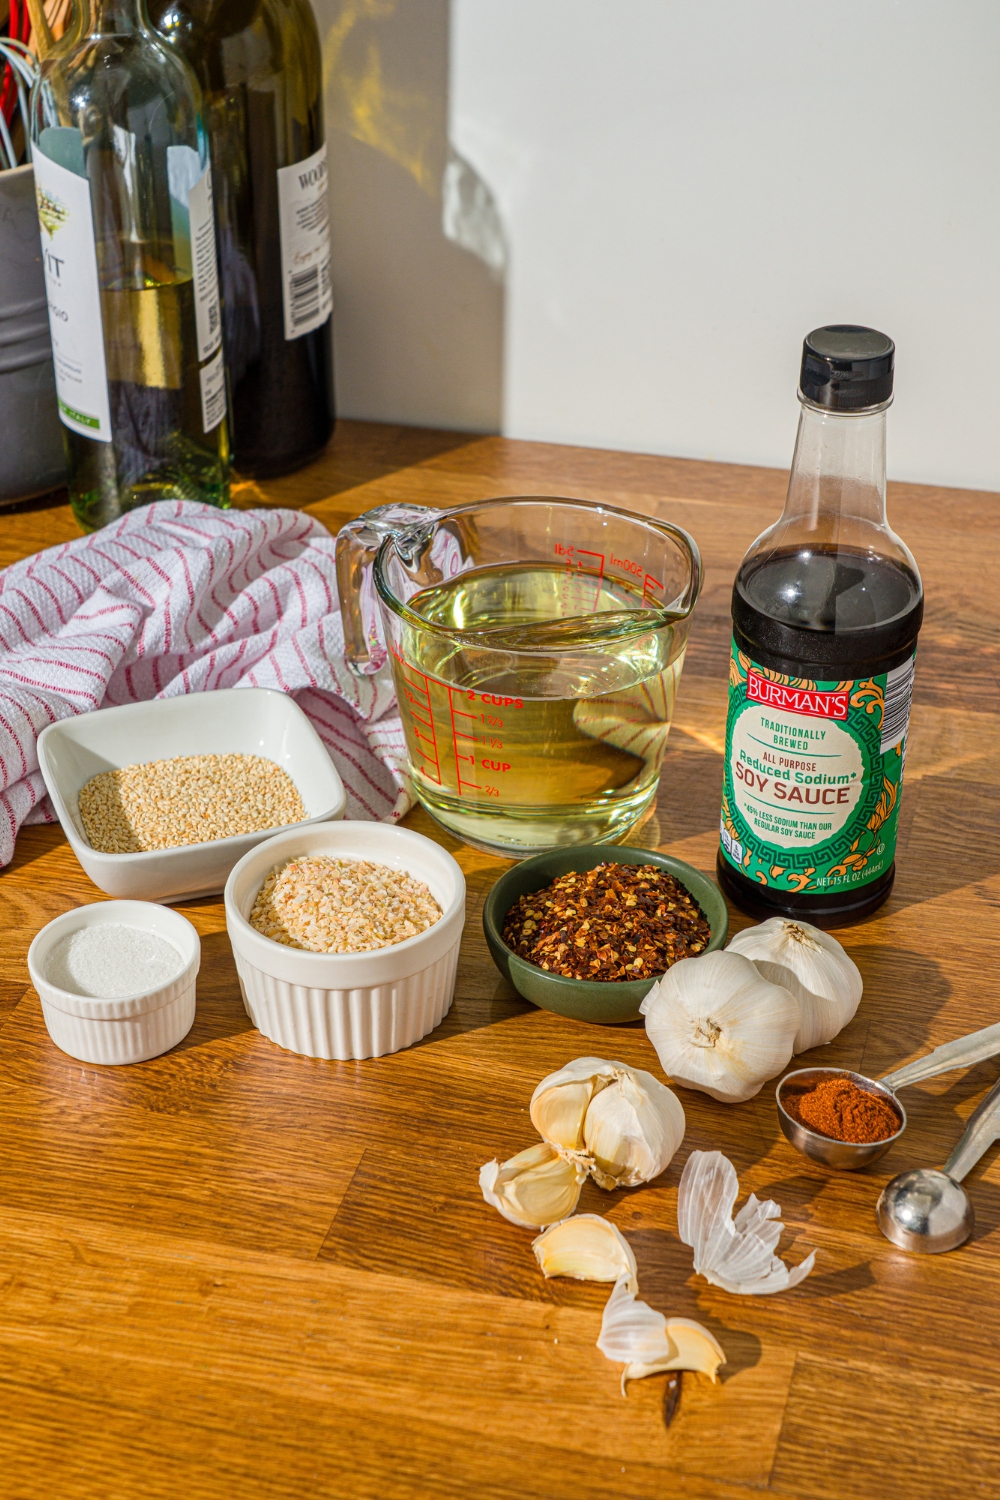
Chili Crisp Ingredients
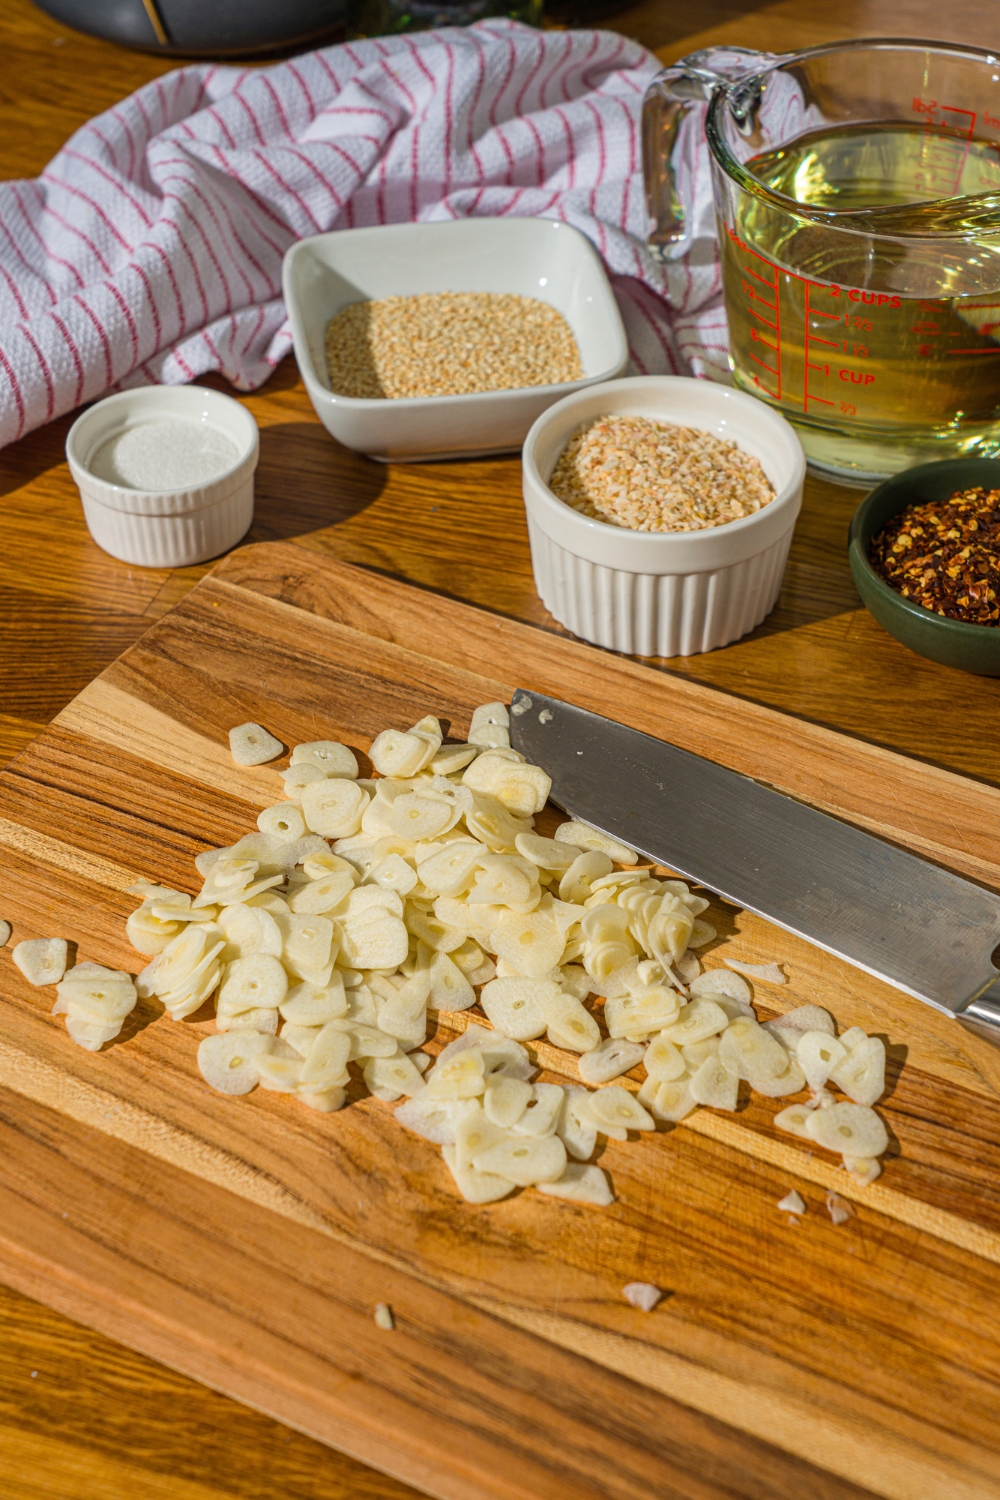
- ½ cup garlic, shaved
- ½ cup dried minced onion
- ½ cup chili flakes
- ½ cup toasted sesame seeds
- 1 tablespoon sugar
- 1 teaspoon salt
- 1 tablespoon paprika
- ¼ cup soy sauce
- 2½ cups neutral oil (avocado, vegetable, or any high smoke point oil)
How to Make Chili Crisp
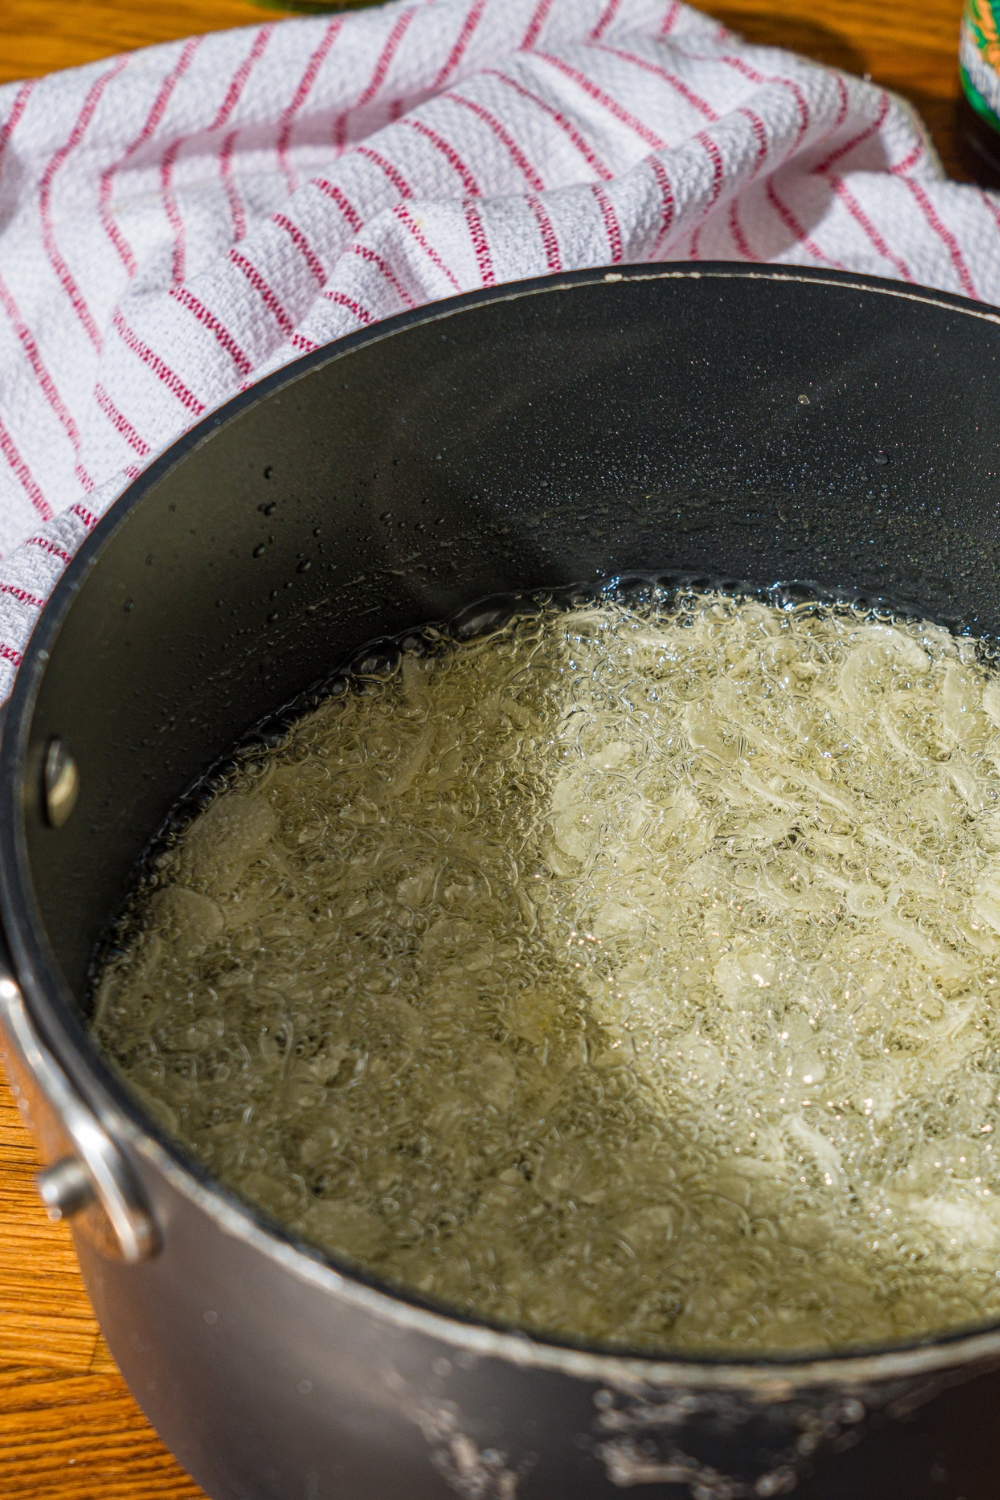
Step 1: Heat the Oil
Pour the neutral oil into a medium pot and heat it to 325–340°F. This temperature range is the sweet spot so use a thermomete. Too cool and the oil won't properly bloom the spices or crisp the garlic. Too hot and you risk burning the garlic and chili flakes, which will make the whole batch bitter. While the oil heats, get everything else ready.
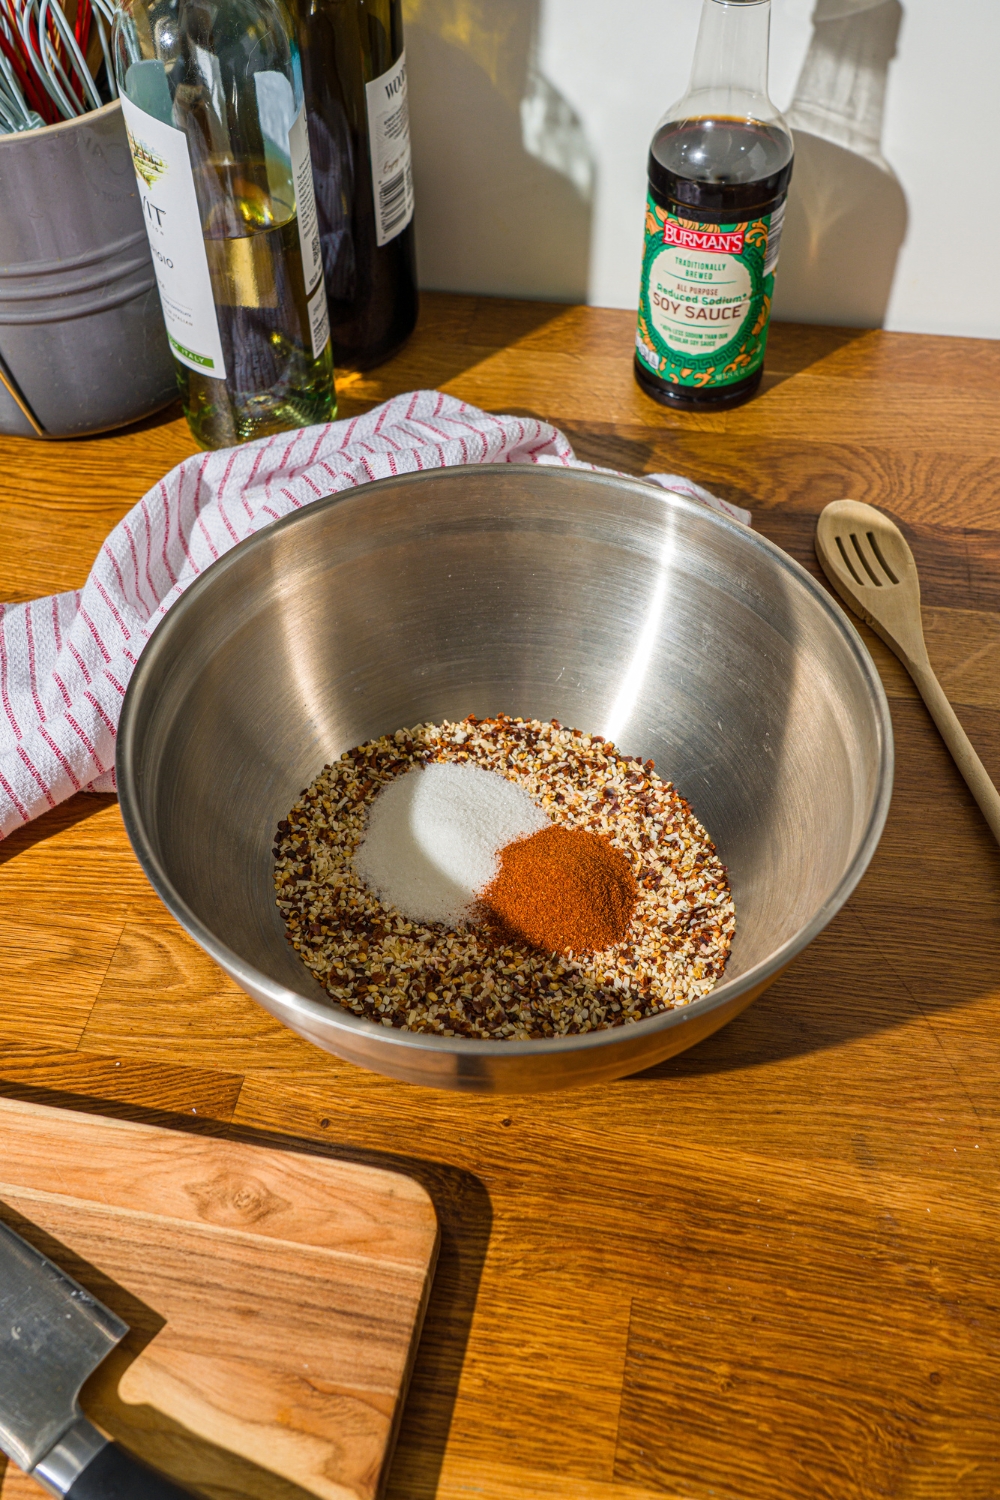
Step 2: Build the Spice Mixture
Shave the garlic into thin slices; a mandoline makes this fast and even, but a sharp knife works too.
Add the shaved garlic to a medium-large heatproof bowl. Add the dried minced onion, chili flakes, toasted sesame seeds, sugar, salt, paprika, and soy sauce. Stir everything together until combined. Make sure the bowl is heatproof and large enough to handle the sizzle. The oil will bubble aggressively when it hits the mixture.
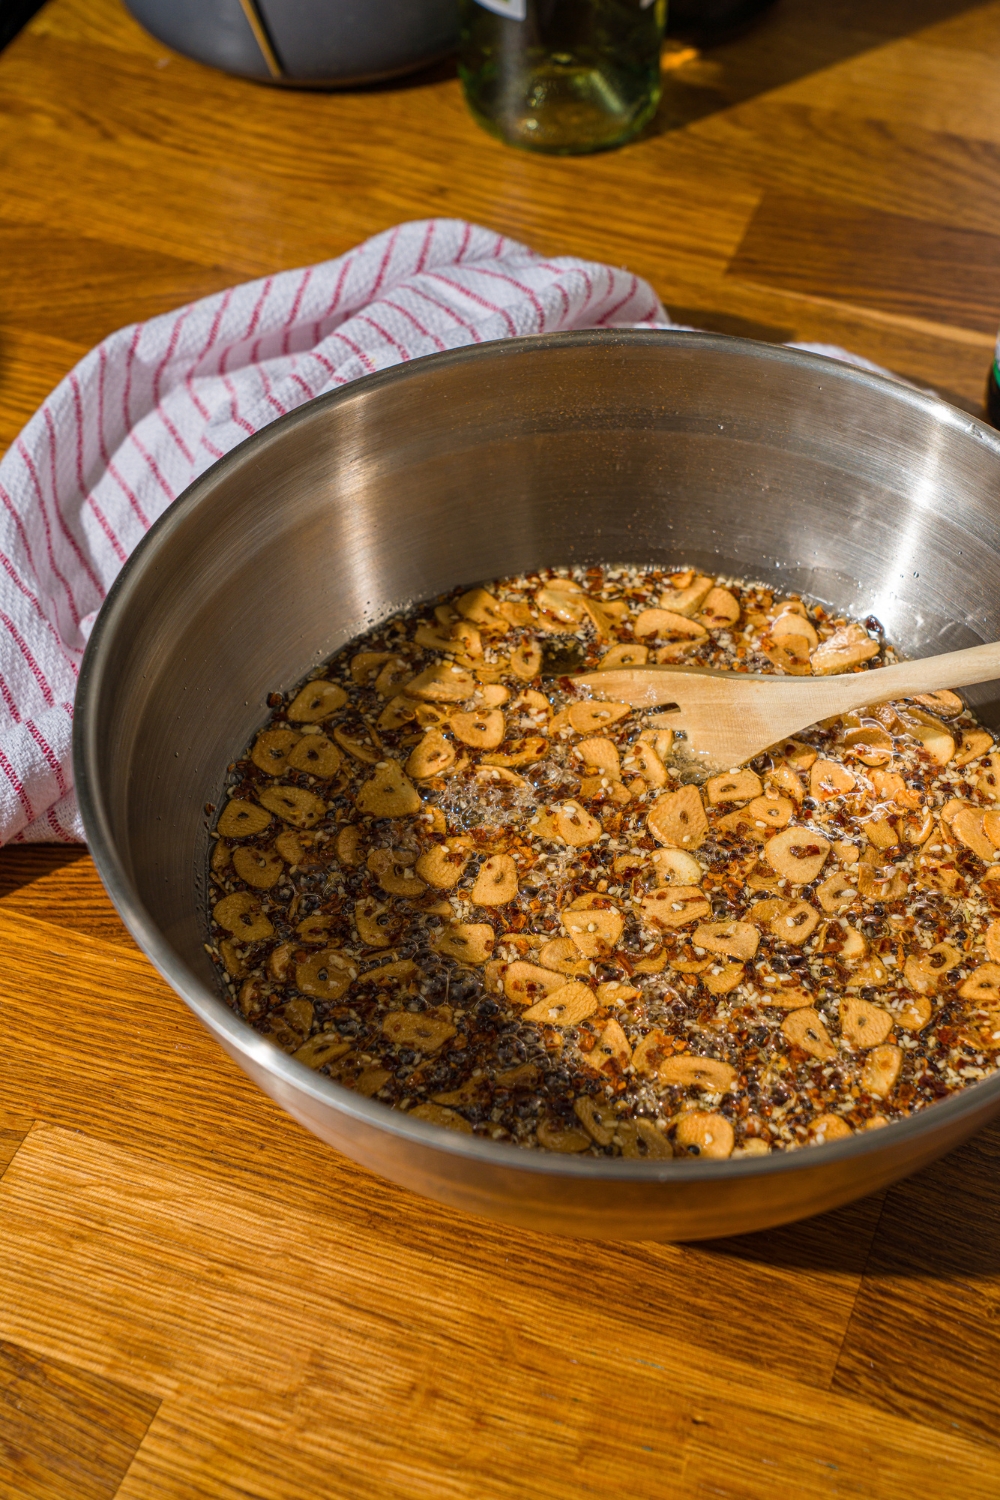
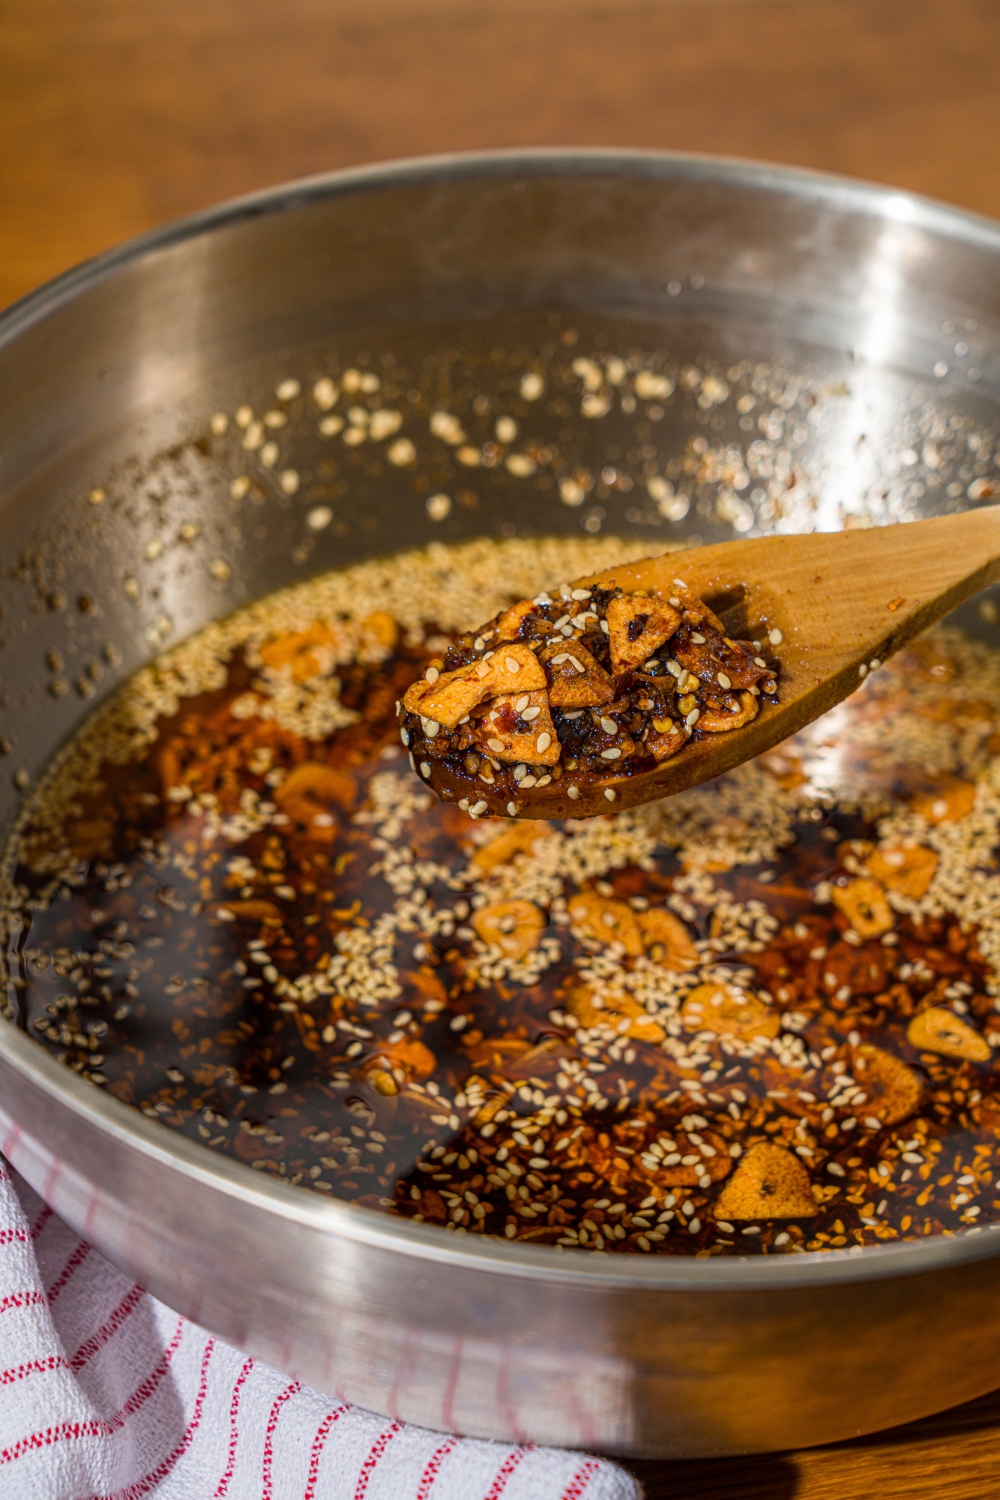
Step 3: Pour the Hot Oil
This is the most important step and the most satisfying one. Once the oil reaches the right temperature, very carefully pour it directly over the spice mixture in the bowl. It will immediately begin to sizzle and bubble vigorously, and the smell will be incredible. Let it sizzle for a full minute before touching it. You want to let the oil bloom every spice and crisp the garlic.
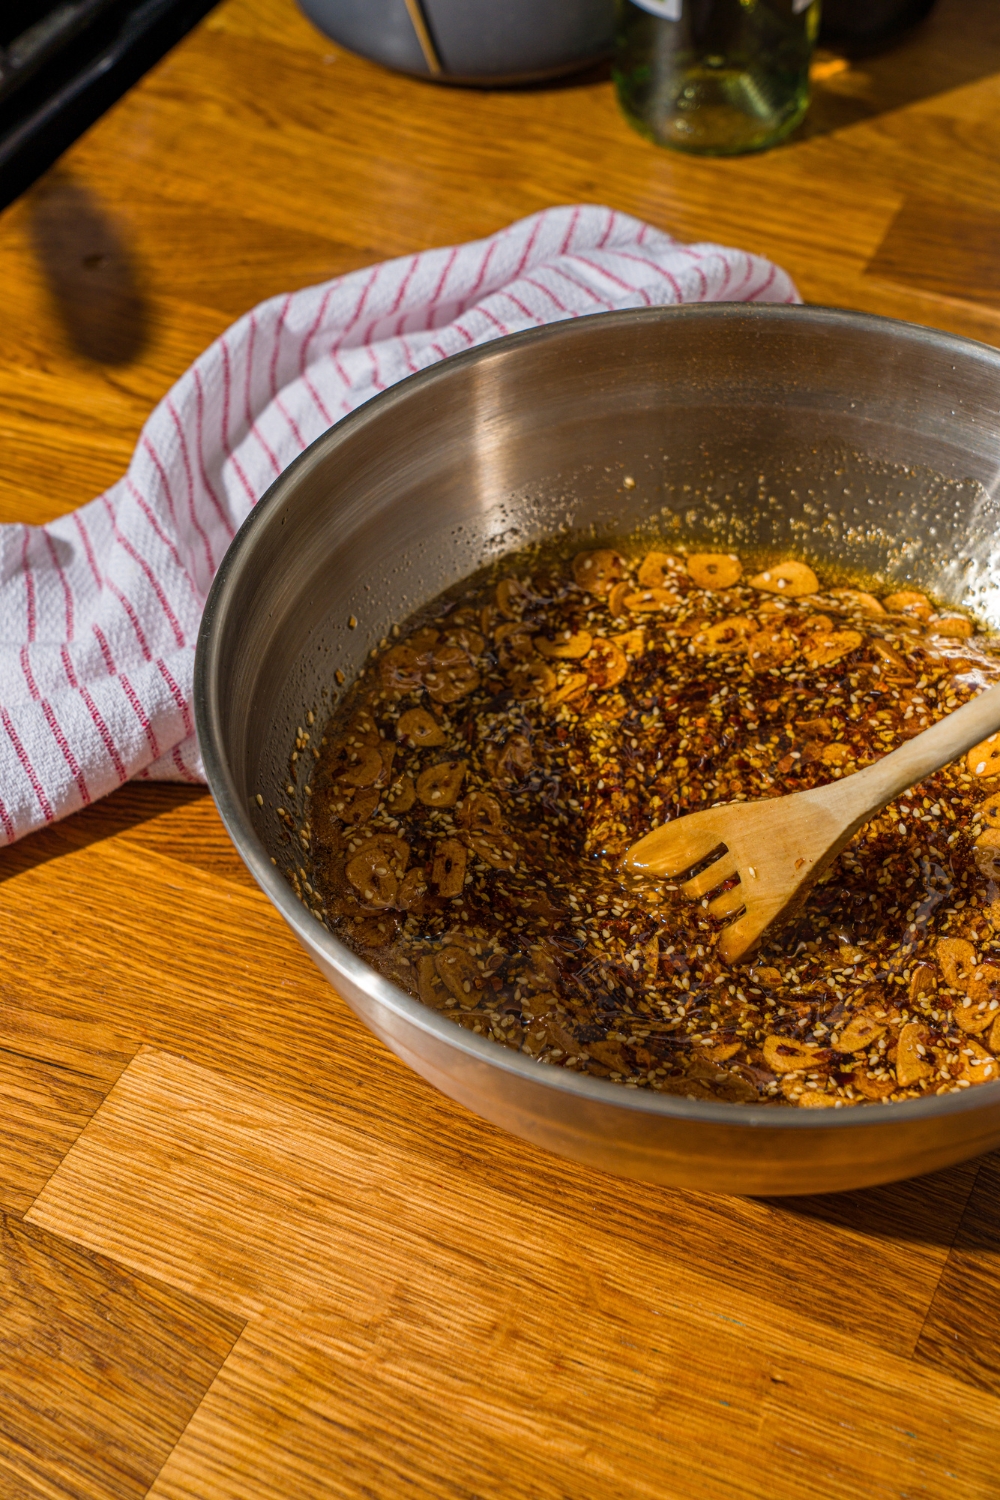
Step 4: Stir Carefully
After a minute, carefully stir the mixture together. Be very careful here because the oil is still extremely hot and will spatter. Use a long spoon and keep your hands and face back. Stir until everything is evenly combined and the sizzling has calmed down.
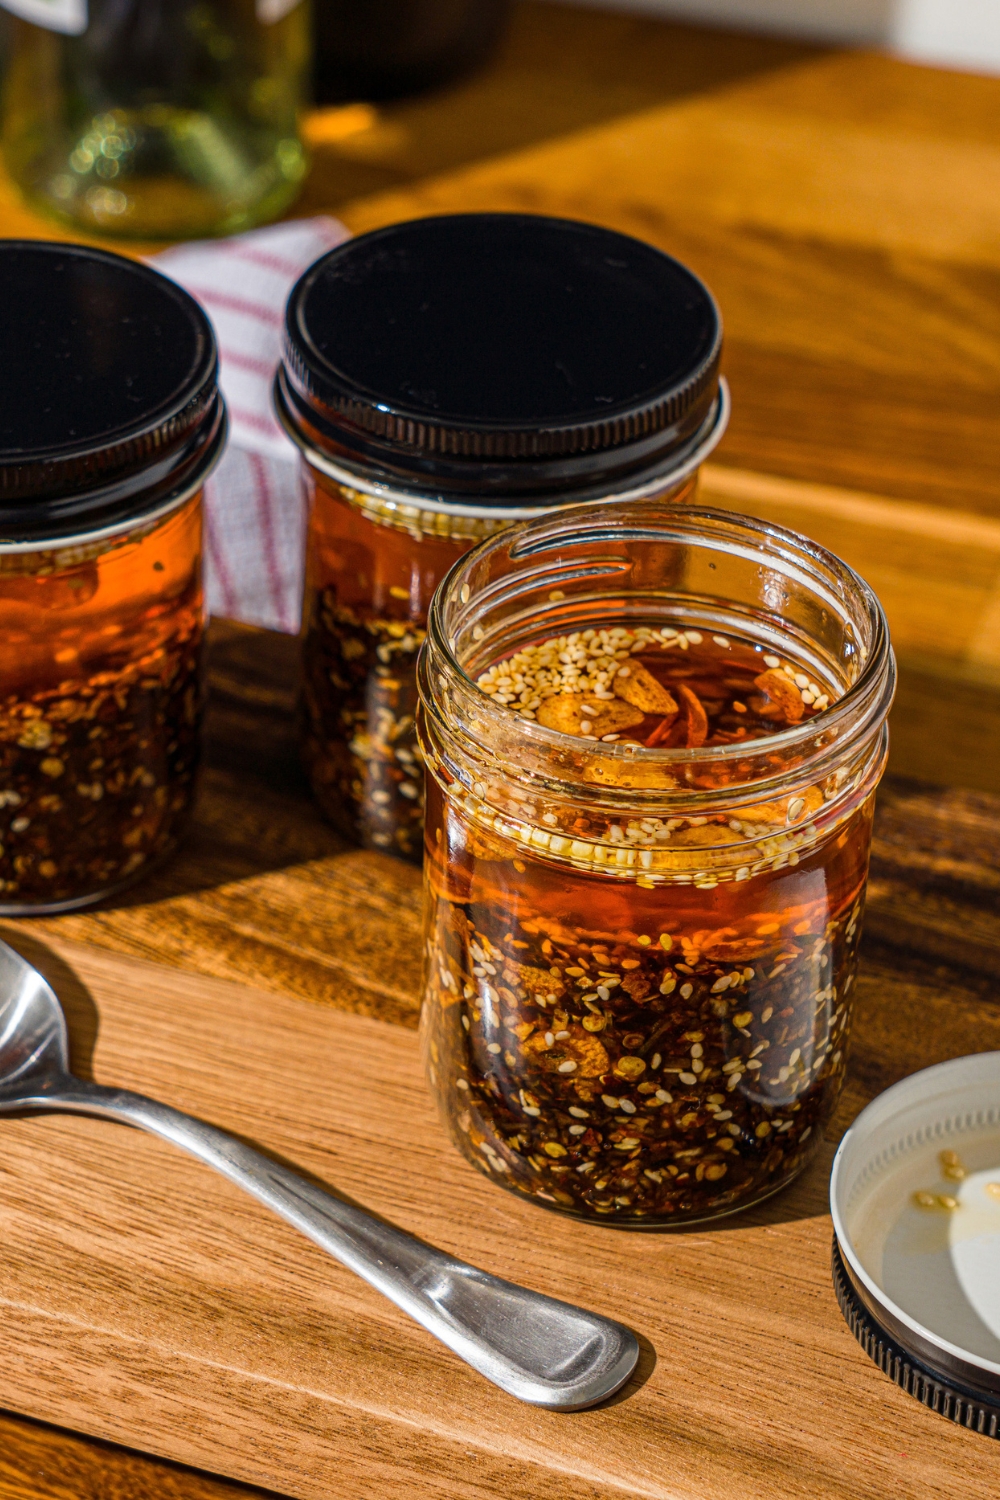
Step 5: Cool Completely
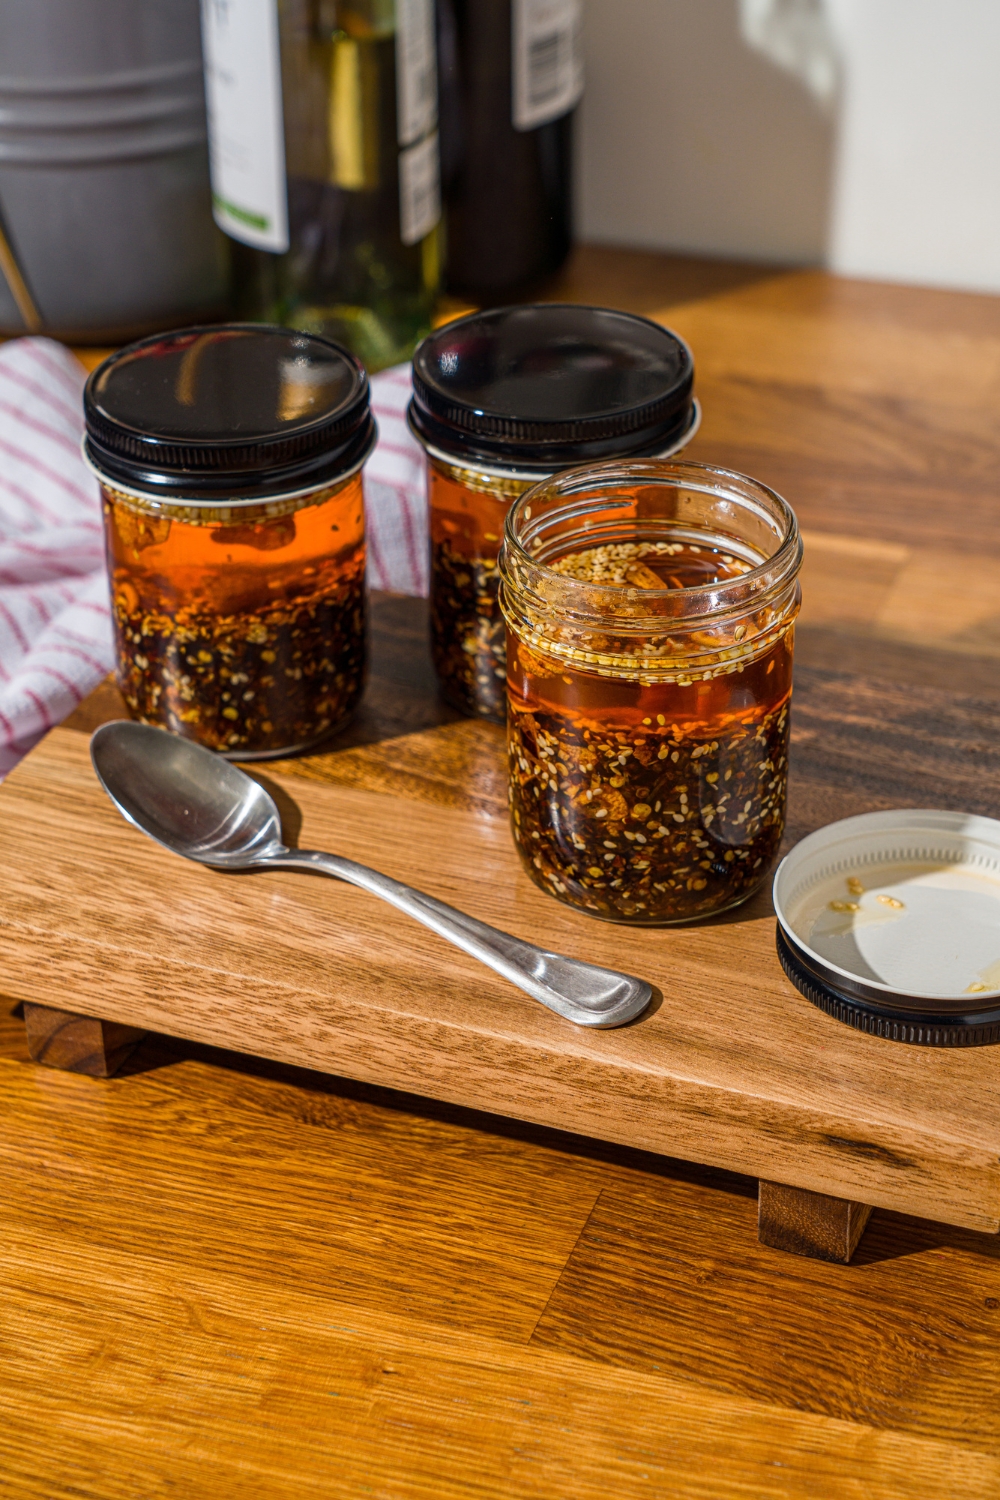
Let the chili crunch cool completely at room temperature before portioning it into jars. This step is important; jarring it while it's still hot can create condensation inside the jar which affects the shelf life. Once fully cooled, transfer to clean, dry glass jars.
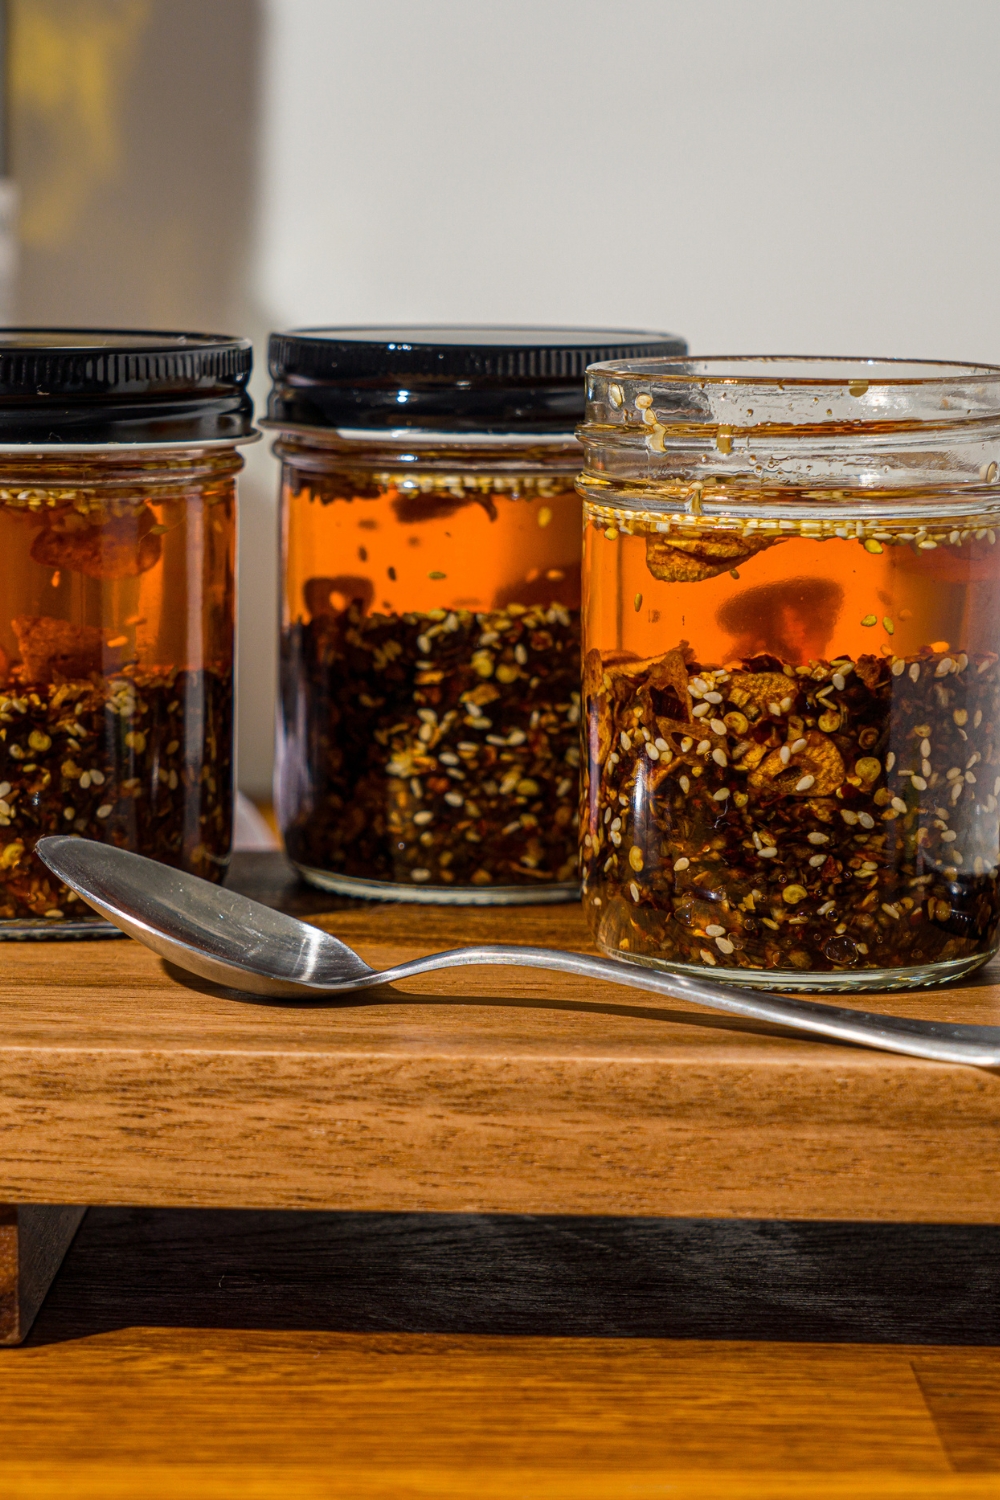
Step 6: Store
Store in a cool, dry place for up to 6 months. Always use a clean, dry spoon when scooping from the jar to prevent contamination. The oil will settle with the solids sinking to the bottom, so give it a stir before each use.
Tips for the Best Homemade Chili Crunch
Use a thermometer. The 325–340°F temperature range is specific and important. This is hot enough to crisp the garlic and bloom the spices without burning them. A candy or instant-read thermometer makes hitting this range easy... don't eyeball it.
Use a large enough heatproof bowl. The oil will bubble up significantly when it hits the spices. A bowl that's too small is a safety hazard. Give yourself plenty of room in the mixing bowl.
Shave the garlic as thin as possible. Thin, even slices crisp up best in the hot oil. Thick chunks won't crisp the same way and can be chewy in the finished product. A mandoline on the thinnest setting is the best tool for this.
Soy sauce is the secret ingredient. It adds a deep, savory umami to the chili crunch that most recipes don't include. It's what makes this version taste more complex and rounded than a basic chili oil. Don't skip it.
Let it sizzle before stirring. That first minute of undisturbed sizzling is when the garlic crisps and the spices bloom. Stirring too early interrupts the process. Wait the full minute, then stir.
Be extremely careful with the hot oil. Pouring hot oil over a bowl of spices is a technique that requires respect. Use oven mitts, pour slowly and steadily, keep your face back, and use a long-handled spoon when stirring. The result is worth the care it takes.
Ways to Use Chili Crisp
Once you have a jar on the counter you'll find a reason to put it on everything. Here are the best ways to use it:
Eggs. A spoonful over fried or scrambled eggs is the most common entry point for chili crisp and for good reason. It's a combination that converts people who think they don't like spicy food.
Noodles. Toss with cooked noodles, a splash of soy sauce, and sesame oil for the best five minute meal you can make. I used it for my spicy potato noodles and it's what keeps me making batch after batch.
Rice. Drizzle over a plain bowl of rice and it becomes something worth eating on its own. You can also add it to rice bowls like my ground turkey rice bowl.
Dumplings and potstickers. Use it as a dipping sauce, a drizzle, or both. My one pan baked dumplings were basically built around this condiment.
Avocado toast. Spoon over the top for a spicy, crunchy finish that makes the standard version feel boring by comparison. My chili crisp avocado toast is the recipe that got me hooked on making my own.
Soups and ramen. Stir into the broth or spoon over the top right before serving. It adds heat, depth, and that glossy finish that makes a bowl of ramen look like it came from a serious restaurant.
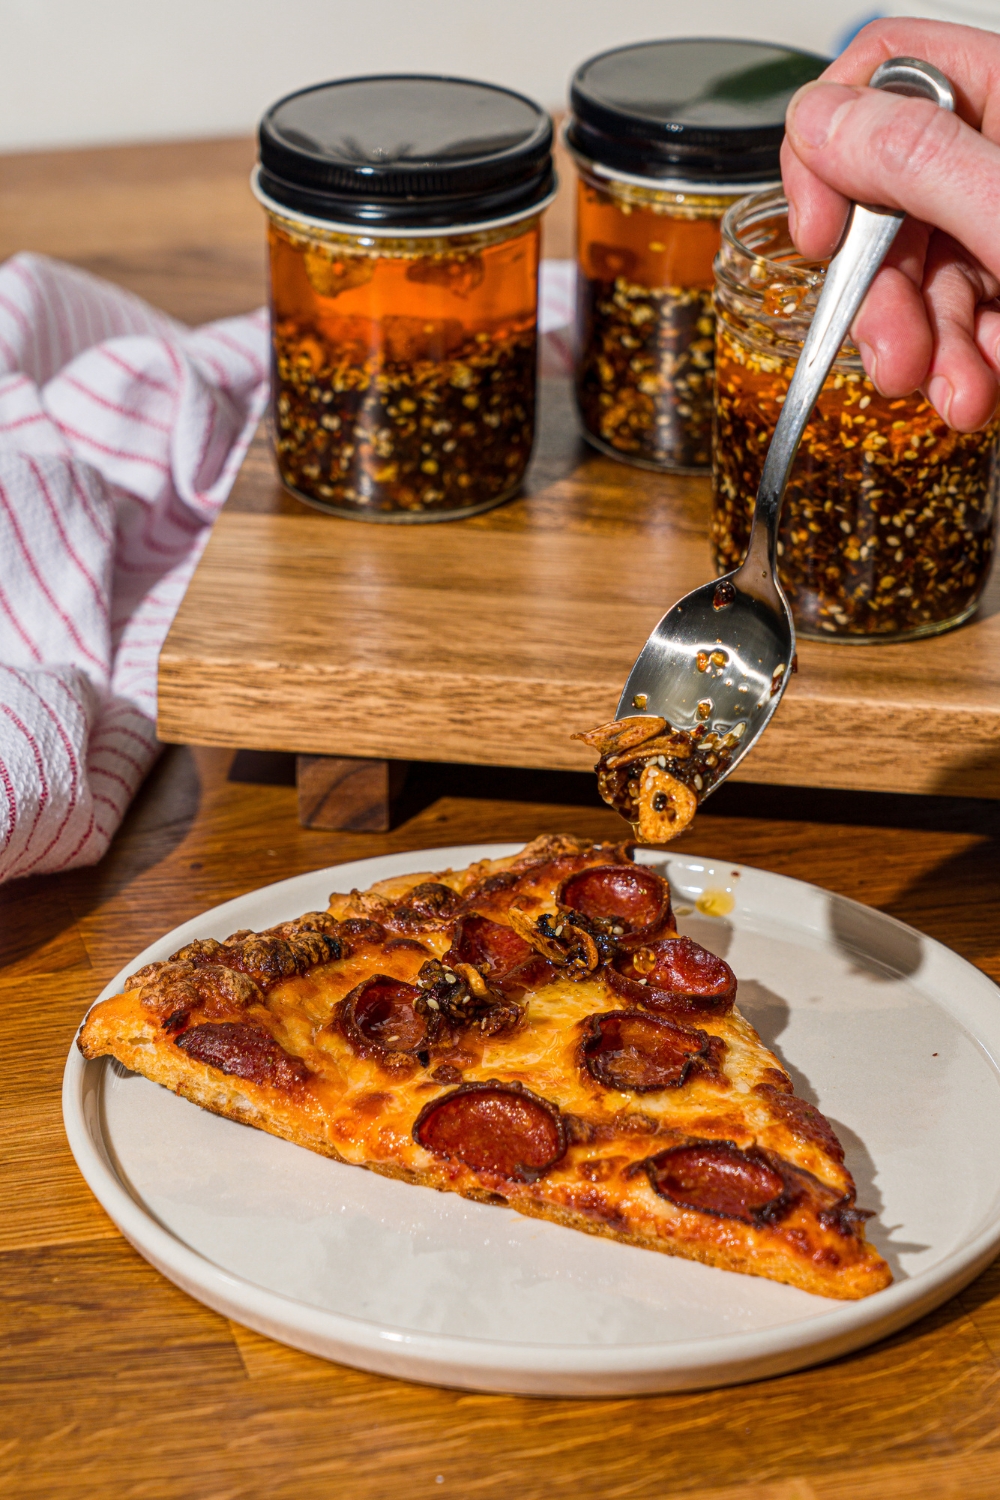
Pizza. A drizzle over a finished slice adds heat and complexity that pairs surprisingly well with cheese and tomato sauce. Try it once and it becomes a permanent habit.
Marinades. Use it as a base for chicken, shrimp, or tofu before grilling or roasting. The oil carries the spice and garlic flavor deep into whatever you're cooking.
My crispy rice omelette. One of my favorite ways to use chili crisp. The heat cuts through the richness of the egg and the crispy rice in the best possible way.

How to Store Chili Crisp
At room temperature: Store in clean dry glass jars in a cool dry place for up to 6 months. The oil acts as a natural preservative which gives it an impressive shelf life for a homemade condiment. The one rule is always use a clean dry spoon when scooping. Any moisture introduced into the jar will shorten the shelf life significantly.
In the refrigerator: If any moisture gets into the jar move it to the fridge and use within a month. The oil will solidify slightly when cold which is completely normal. Let it sit at room temperature for a few minutes before using or scoop directly from the jar.
A note on jars: Glass jars with tight fitting lids work best. Mason jars are perfect and the wide mouth makes scooping easy. Avoid plastic containers since the oil can absorb odors over time and affect the flavor.
Frequently Asked Questions
What is chili crisp made of?
Chili crisp is made with a neutral high smoke point oil, dried chili flakes, thinly shaved garlic, shallots, sesame seeds, and a blend of spices that typically includes paprika, onion powder, and a touch of sugar. The magic happens when hot oil is poured over all the dry ingredients at once; it blooms the spices, crisps the garlic, and creates that deeply flavorful texturally incredible condiment that goes on everything.
What is the difference between chili crunch and chili crisp?
Chili crunch and chili crisp are essentially the same thing. They're a chili oil packed with crispy fried bits of garlic, shallots, and spices. Different brands and recipes use different names but they refer to the same style of condiment. The most famous commercial version is Lao Gan Ma which helped spark the global obsession with chili crisp and chili oil over the past decade.
Is homemade chili crisp better than store bought?
Honestly yes and here's why. Store bought versions like Lao Gan Ma, Fly By Jing, and Momofuku chili crisp are excellent and worth keeping on hand. But homemade gives you complete control over the heat level, the garlic ratio, the texture, and the spice blend. You can make it exactly as spicy or as mild as you want and adjust everything to your taste. Once you make your own it's hard to go back to a one-size-fits-all jar.
What oil should I use?
Any neutral oil with a high smoke point works well, like avocado oil, vegetable oil, canola oil, and grapeseed oil. Avoid olive oil as a primary oil since it has too low a smoke point for this recipe. A small drizzle of toasted sesame oil added after the pour adds a nutty finish but don't heat it directly since it burns quickly and turns bitter.
Why does my chili crisp taste bitter?
Bitterness almost always means the oil was too hot and burned the garlic or chili flakes. Make sure the oil doesn't exceed 340°F before pouring. A thermometer is the most reliable way to get this right every time. If your batch is slightly bitter adding a small amount of extra sugar can help balance it out without affecting the overall flavor significantly.
Can I add other spices?
Absolutely and this is one of the best things about making it yourself. Star anise, cinnamon, Sichuan peppercorns, dried mushroom powder, and MSG are all common additions that add depth and complexity. Add them to the spice bowl before the oil hits and they'll bloom right along with everything else. Sichuan peppercorns in particular add a numbing tingly heat that takes this to another level entirely.
Do I need to refrigerate chili crisp?
No. Stored in a cool dry place with a clean dry spoon this chili crisp is shelf stable for up to 6 months. The oil preserves everything naturally. Refrigeration is only necessary if moisture gets into the jar which can introduce bacteria and shorten the shelf life significantly.
Why is my garlic not crispy?
Two common culprits here: the garlic was sliced too thick or the oil wasn't hot enough. Shave the garlic as thin as possible using a mandoline or sharp knife and make sure the oil reaches at least 325°F before pouring. The garlic will continue to crisp slightly as the oil cools so don't panic if it seems soft immediately after the pour.
My Final Thoughts on This Chili Crisp Recipe
Once you make a batch of this you'll understand why it's become the most-reached-for condiment in my kitchen. Bold, garlicky, deeply savory, and loaded with crispy bits, it makes everything it touches better. Fill up a few jars, keep one on the counter, and start working through my chili crisp recipes with a homemade base that's better than anything you'd buy at the store. If you loved it please leave a five star review and a comment below... it helps more than you know and I really appreciate it.
Homemade Chili Crisp Recipe

This homemade chili crisp is savory, garlicky, perfectly spiced, and loaded with crispy bits that make whatever you're eating taste better. It comes together with a handful of pantry ingredients and a pot of hot oil. So simple. Once you have a jar on your counter, you'll start finding reasons to put it on everything.
Ingredients
- ½ Cup Garlic, Shaved
- ½ Cup Dried Minced Onion
- ½ Cup Chili Flakes
- ½ Cup Toasted Sesame Seeds
- 1 Tablespoon Sugar
- 1 teaspoon Salt
- 1 Tablespoon Paprika
- ¼ Cup Soy Sauce
- 2 ½ Cups Neutral Oil, Avocado or Vegetable or something with a high smoke point
Instructions
1. In a medium pot, heat the oil to 325-340°F.
2. While the oil is heating, shave the garlic into a medium large heat proof bowl.
3. Add the remaining spices and ingredients to the bowl and stir together.
4. Once the oil is up to the correct temperature very carefully pour it over the bowl of spices. Allow the mixture to sizzle for a minute before stirring. Be very careful when stirring because the oil will still spatter and could have a potential to burn you.
5. Allow the mixture to cool completely before portioning into jars for storage.
6. You can store this in a cool dry place for up to 6 months.
Notes
- Use a thermometer: 325–340°F is the critical temperature range. Too hot burns the garlic; too cool won't crisp it.
- Use a large heatproof bowl, the oil bubbles aggressively when it hits the spices.
- Shave the garlic as thin as possible for the best crunch.
- Always use a clean, dry spoon when scooping to preserve shelf life.
- Stir the jar before each use as solids settle to the bottom.
Nutrition Information:
Yield:
6Serving Size:
1Amount Per Serving: Calories: 261Total Fat: 14gSaturated Fat: 2gUnsaturated Fat: 12gSodium: 956mgCarbohydrates: 34gFiber: 12gSugar: 7gProtein: 10g
Leave a Reply