This vanilla fudge is rich, creamy, and tastes like something you’d pick up from a good fudge shop, but it’s unbelievably easy to make at home. With just 2 ingredients and no candy thermometer, stovetop, or complicated steps, it’s one of the easiest homemade fudge recipes you can make. This easy vanilla fudge recipe is perfect for holiday trays, gifting, or anytime you want a simple sweet treat in the fridge without turning on the oven. And if you’ve made my sweetened condensed milk fudge or chocolate peanut butter fudge before, you’re definitely going to want to try this vanilla fudge version too.
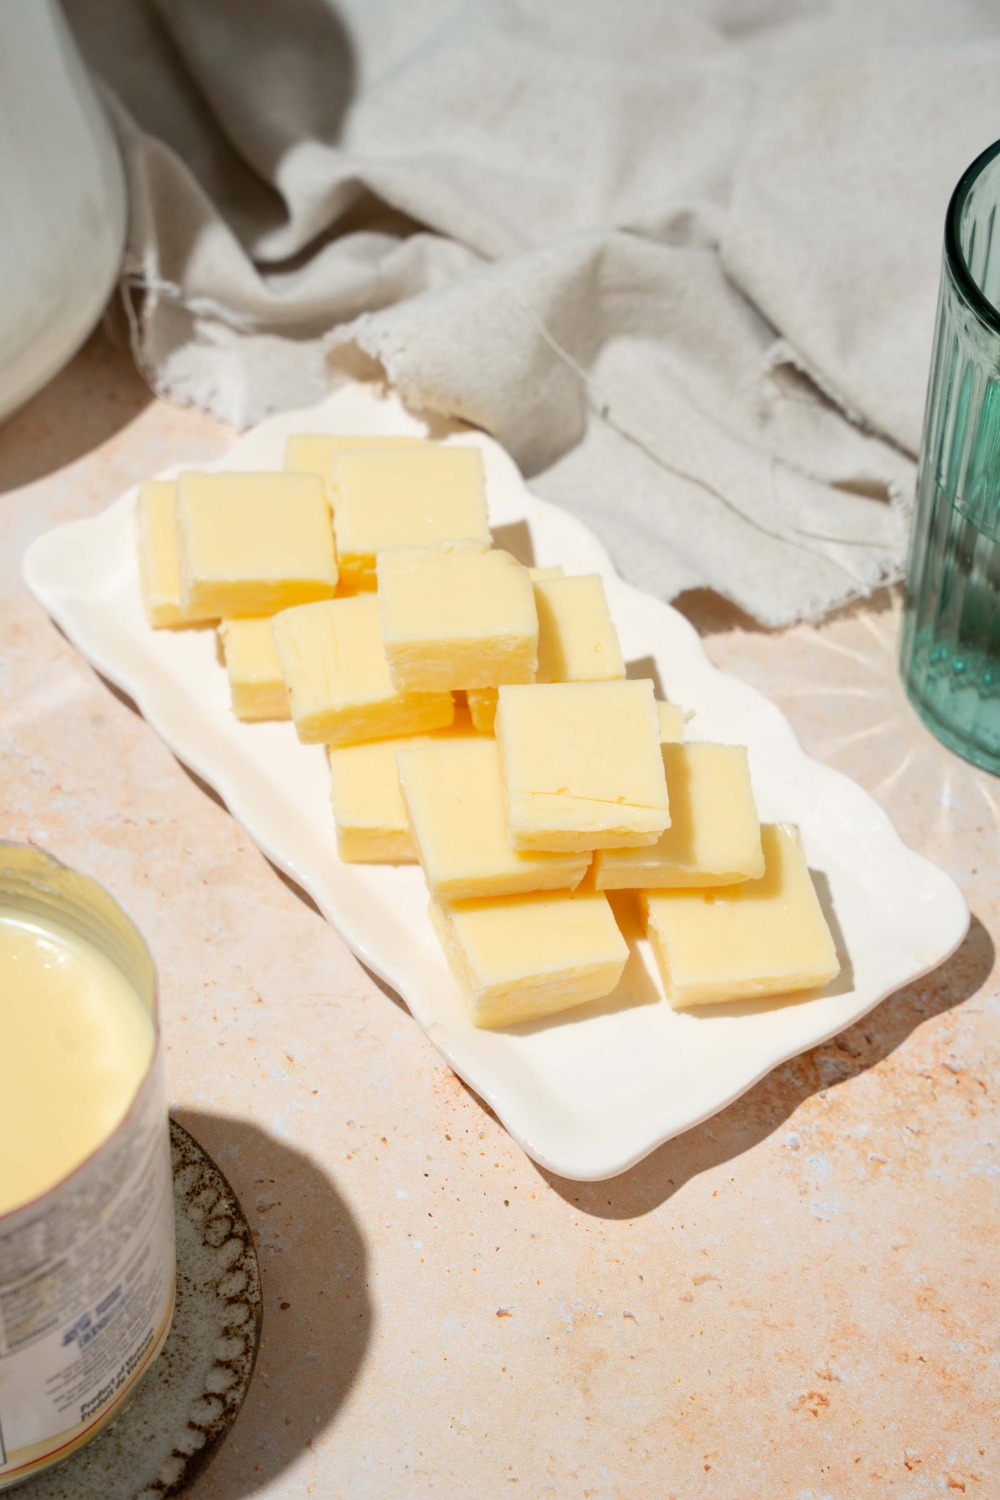
Table of Contents
Why You'll Love This Vanilla Fudge Recipe
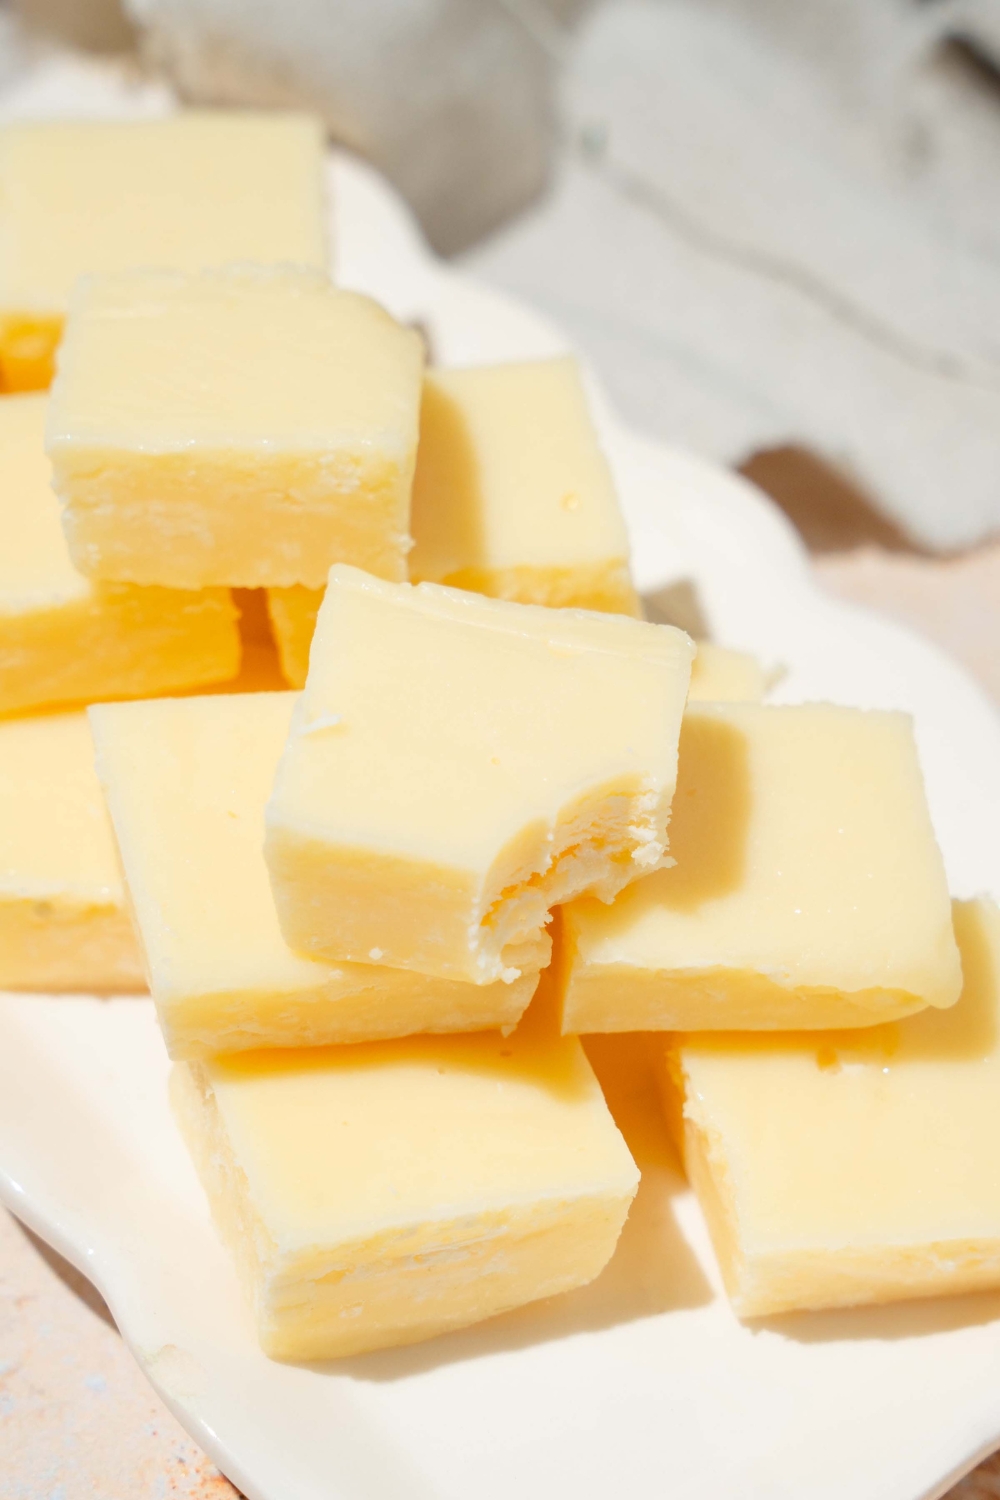
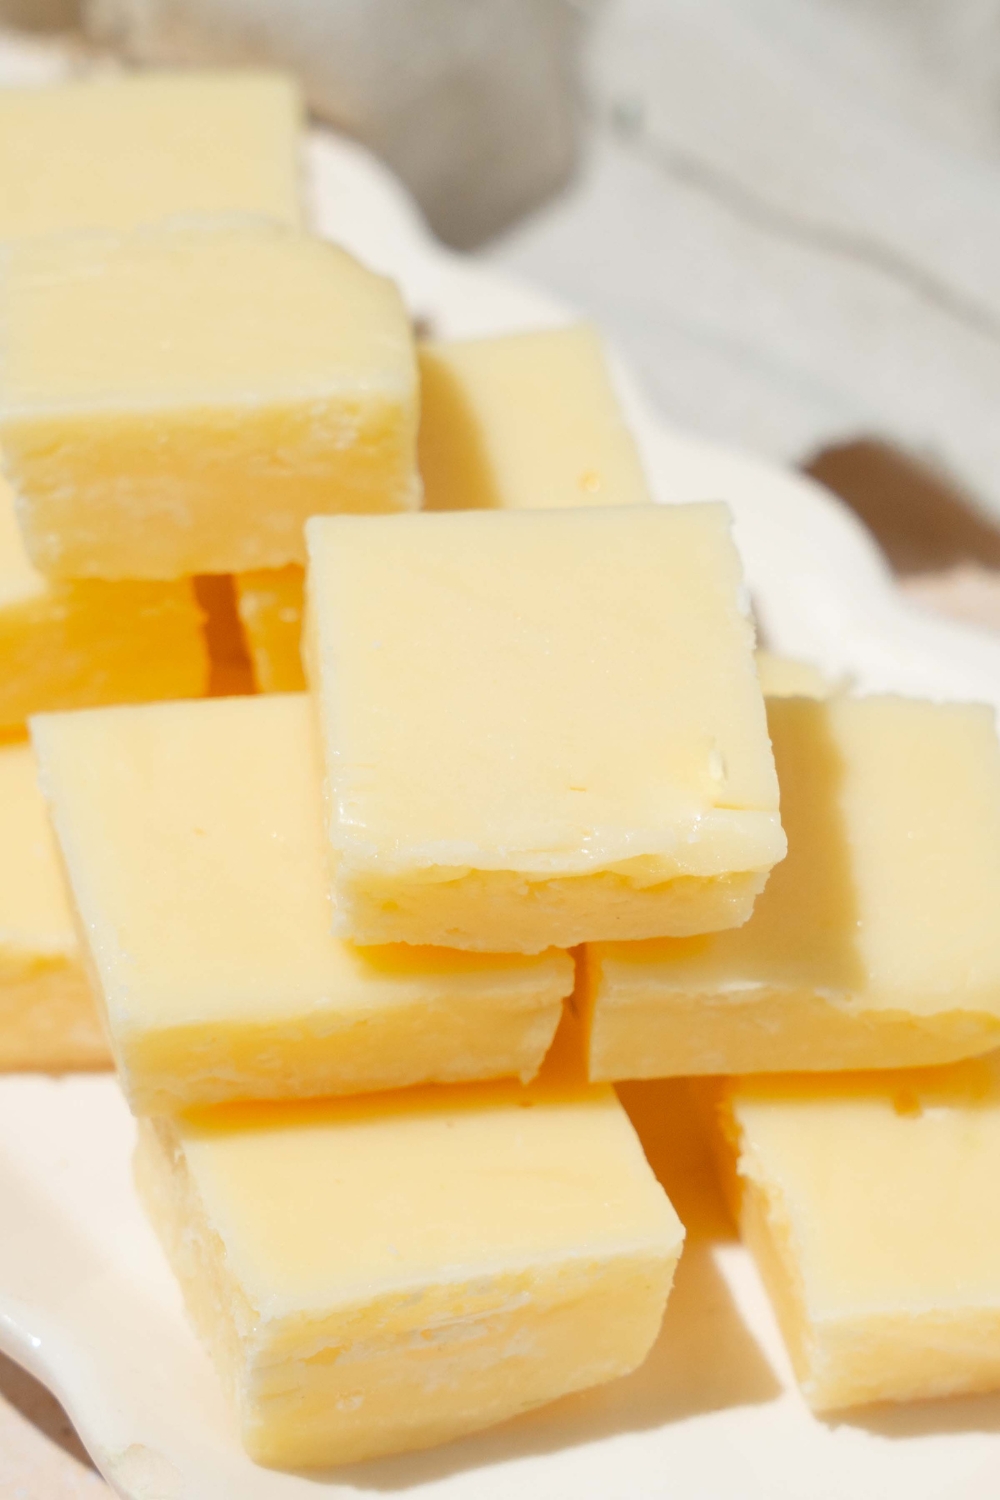
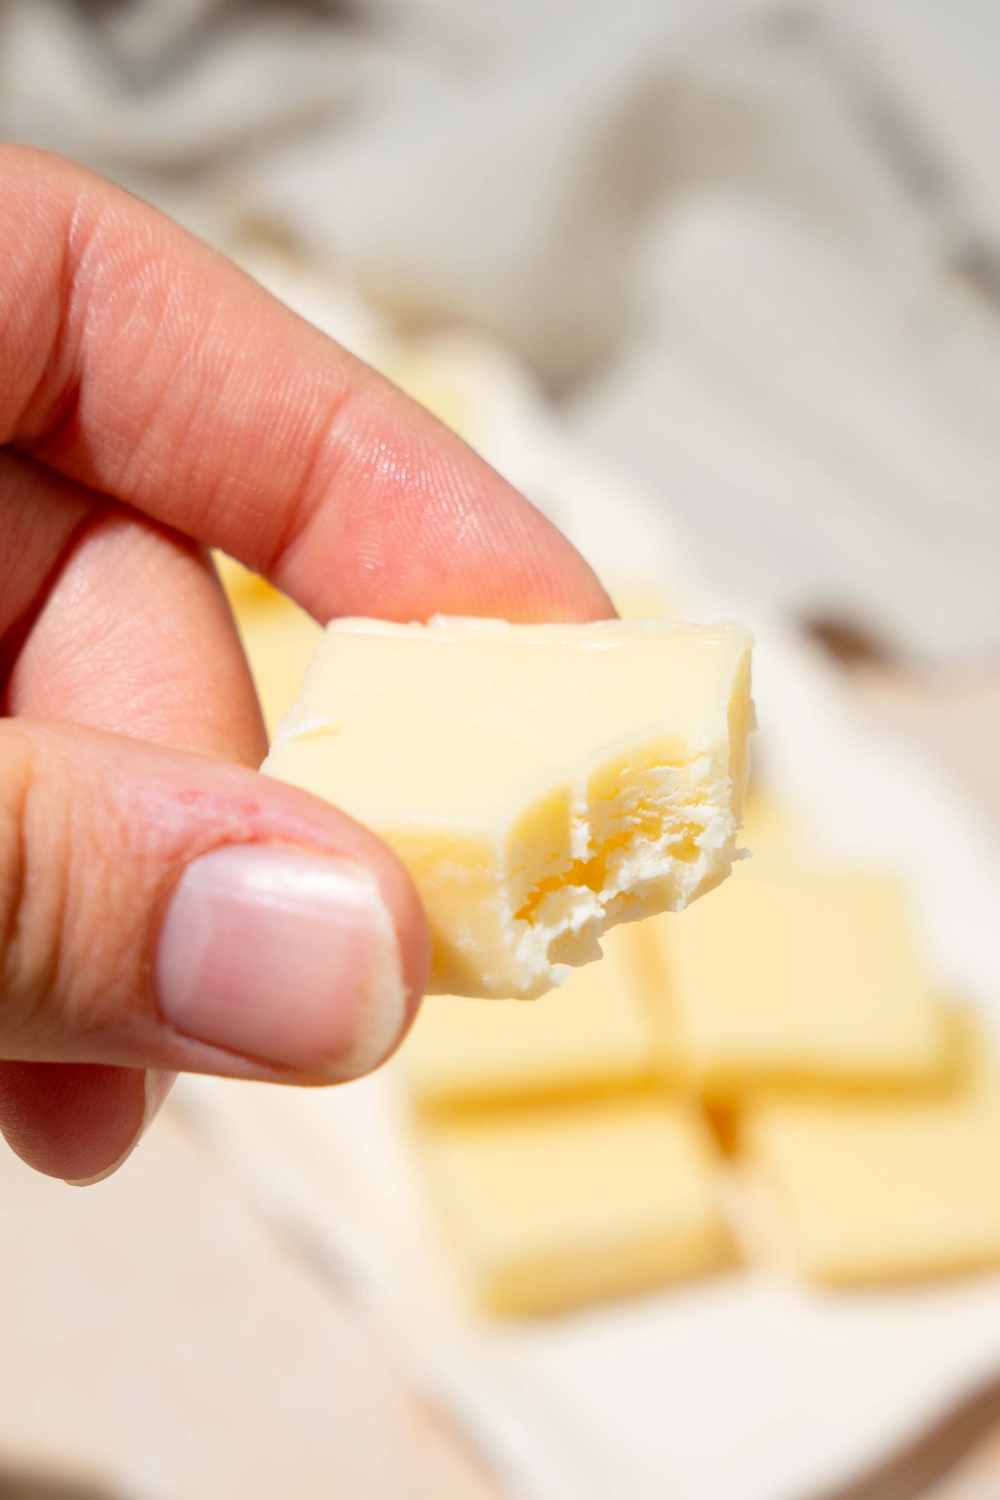
This vanilla fudge recipe is one of those easy desserts that consistently turns out great every time. The sweetened condensed milk gives it that smooth, creamy fudge texture, while the vanilla chips add rich vanilla flavor and just the right amount of sweetness. It sets up quickly, slices cleanly, and has that soft, melt-in-your-mouth texture that makes homemade fudge so hard to stop eating.
Another reason to love this easy vanilla fudge is how beginner-friendly it is. You don't need any special equipment, candy-making experience, or fussy technique to make it work. It’s a simple 2 ingredient fudge recipe that feels almost foolproof, which makes it perfect for busy holiday baking days or anytime you want something easy and dependable.
It’s also really easy to customize. You can keep it simple for a classic vanilla fudge, or dress it up with sprinkles, crushed cookies, chopped nuts, or a drizzle of chocolate if you want to make it look a little extra for parties, gifts, or cookie trays.
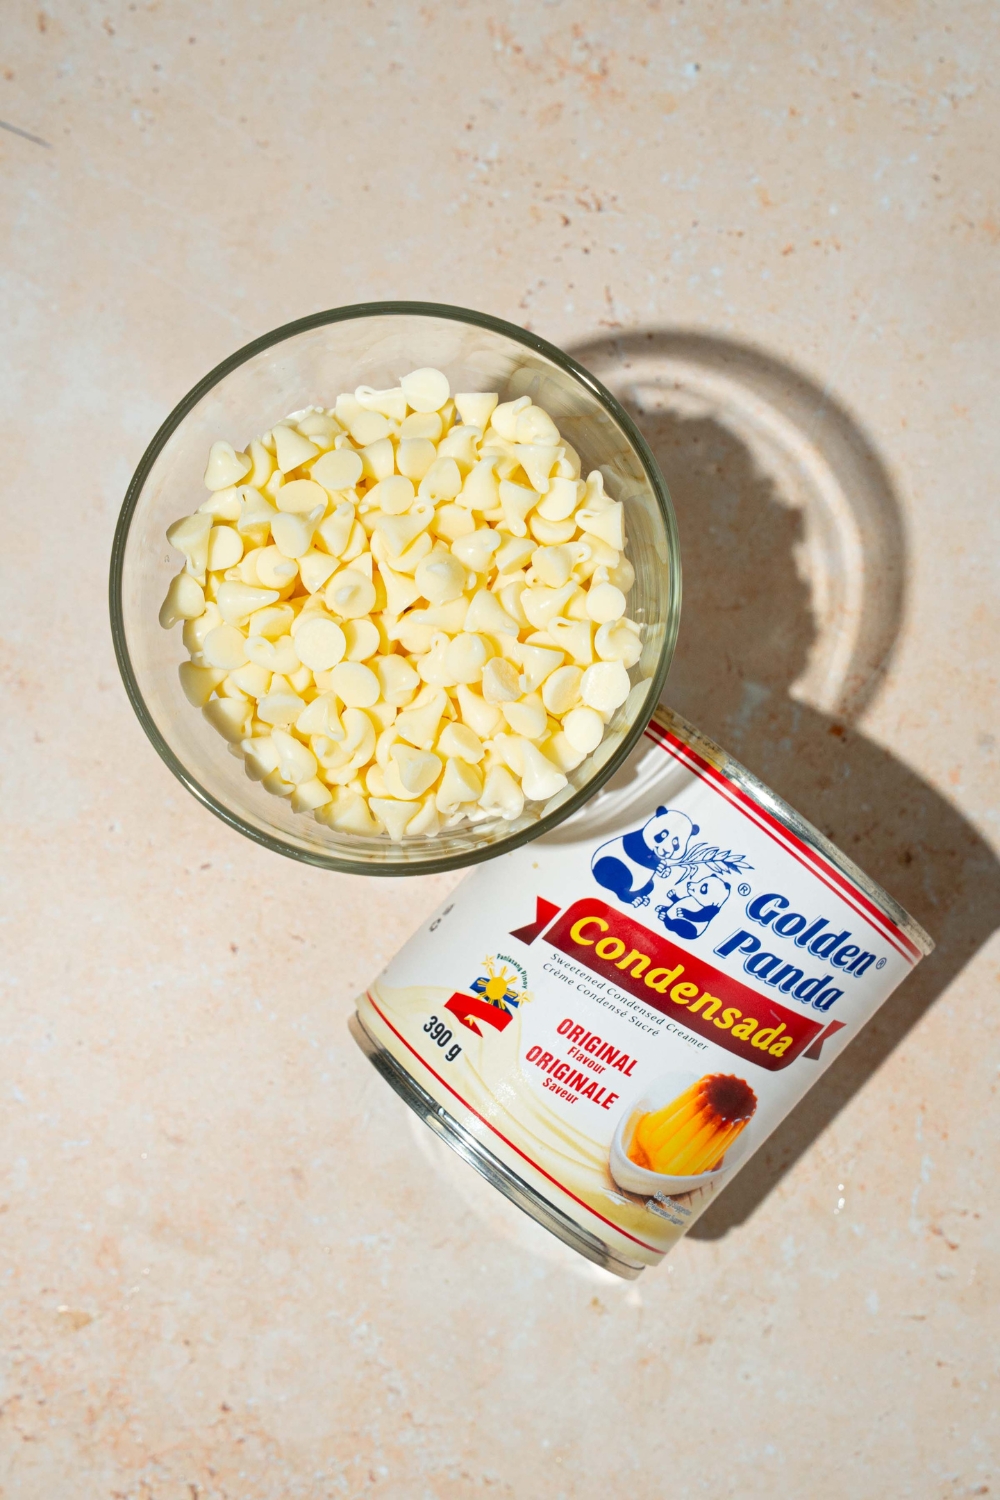
Ingredients You'll Need
- 1 ½ cups (268g) vanilla-flavored white baking chips
- ½ cup (118 ml/141 g) sweetened full-fat condensed milk, room temperature
- Optional add-ins: sprinkles, crushed cookies, chopped nuts, or a pinch of salt.
How to Make Vanilla Fudge
Step 1: Prep the pan
Line the bottom of an 8 x 4 inch loaf pan with parchment paper or cling film, leaving overhang on the sides so you can lift the fudge out later.
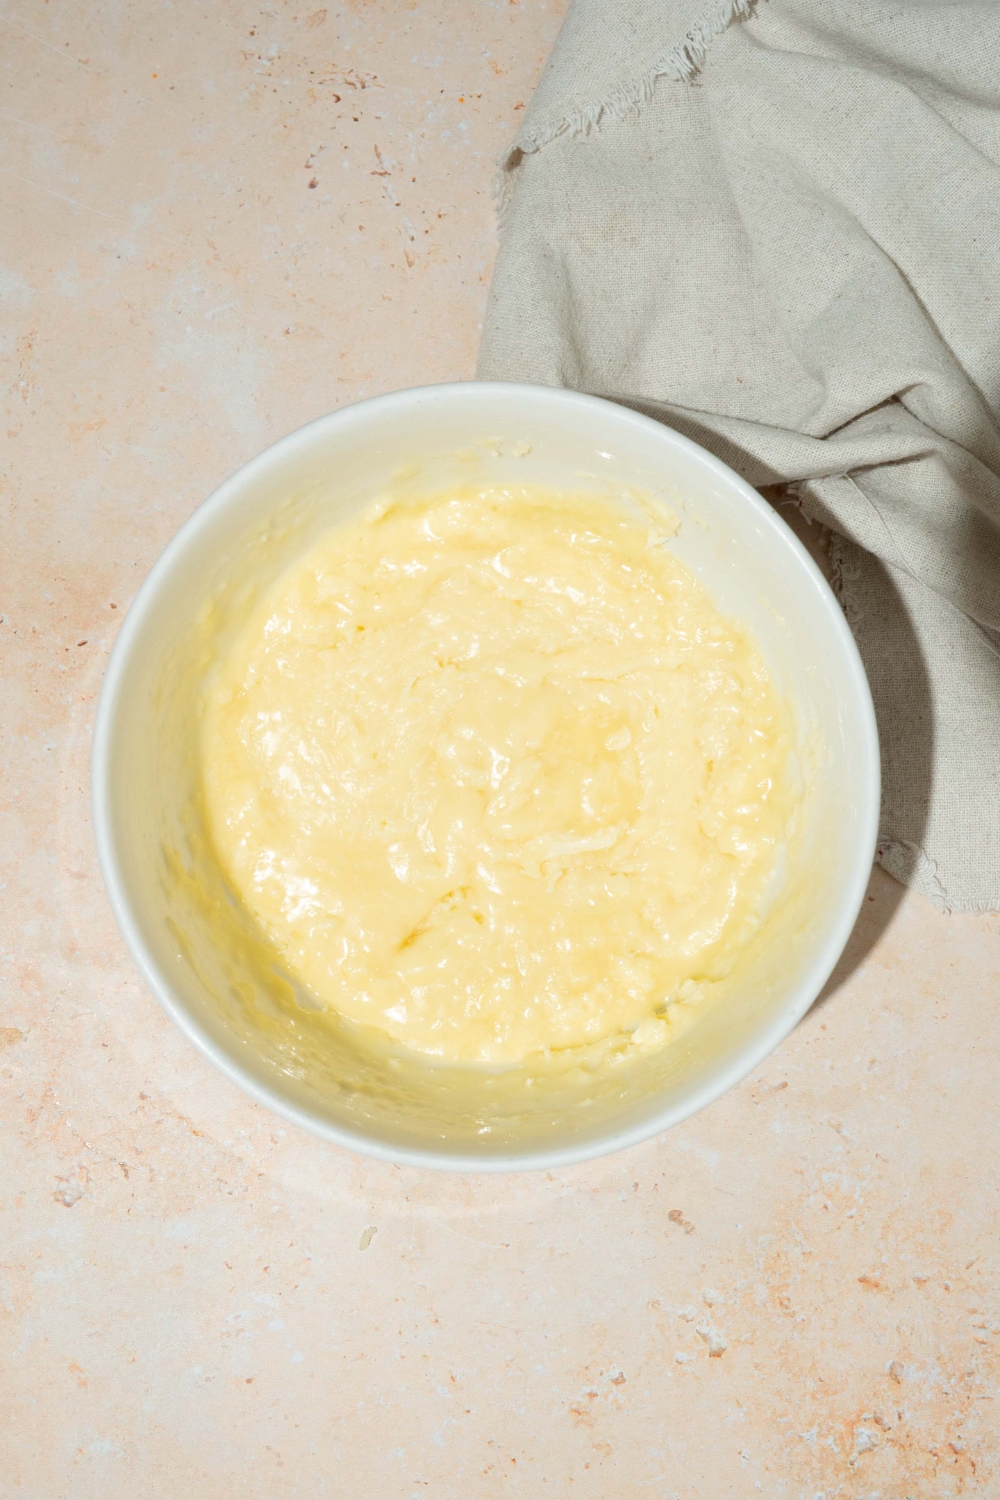
Step 2: Melt
Add vanilla baking chips and condensed milk to a large microwave-safe bowl.
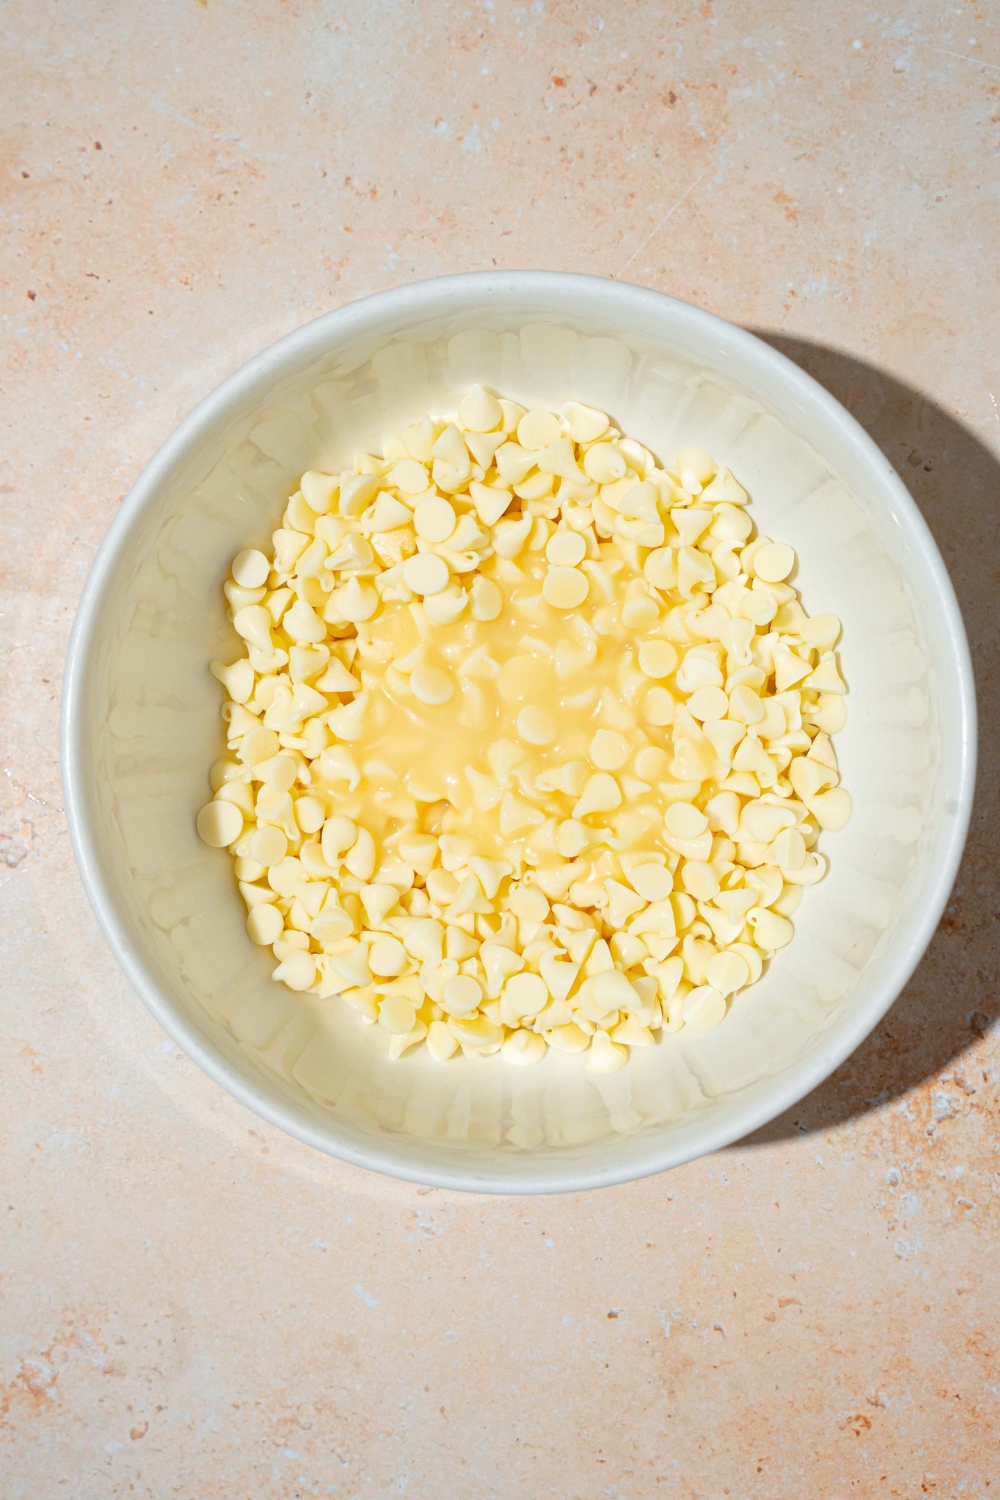
Microwave in 15 to 30 second intervals, stirring between each, until fully melted, smooth, and very thick.
Step 3: Spread
Transfer the mixture to the prepared pan and spread evenly with a spatula. If you want, create gentle swirls or patterns on top.
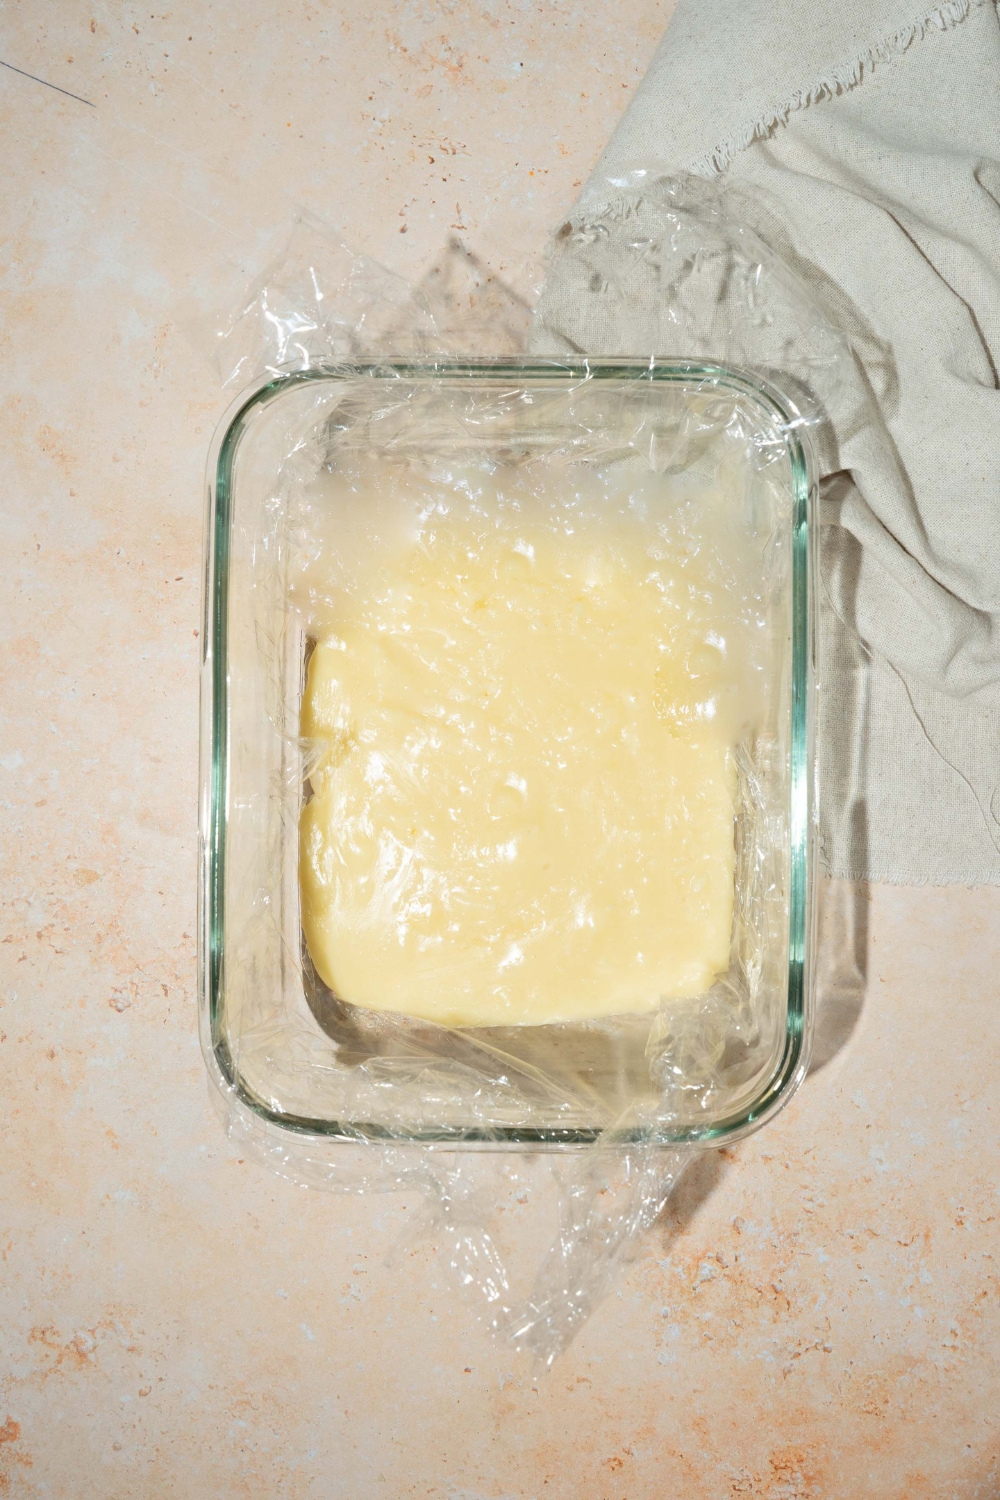
Step 4: Chill
Freeze until set, about 30 minutes, or until firm to the touch.
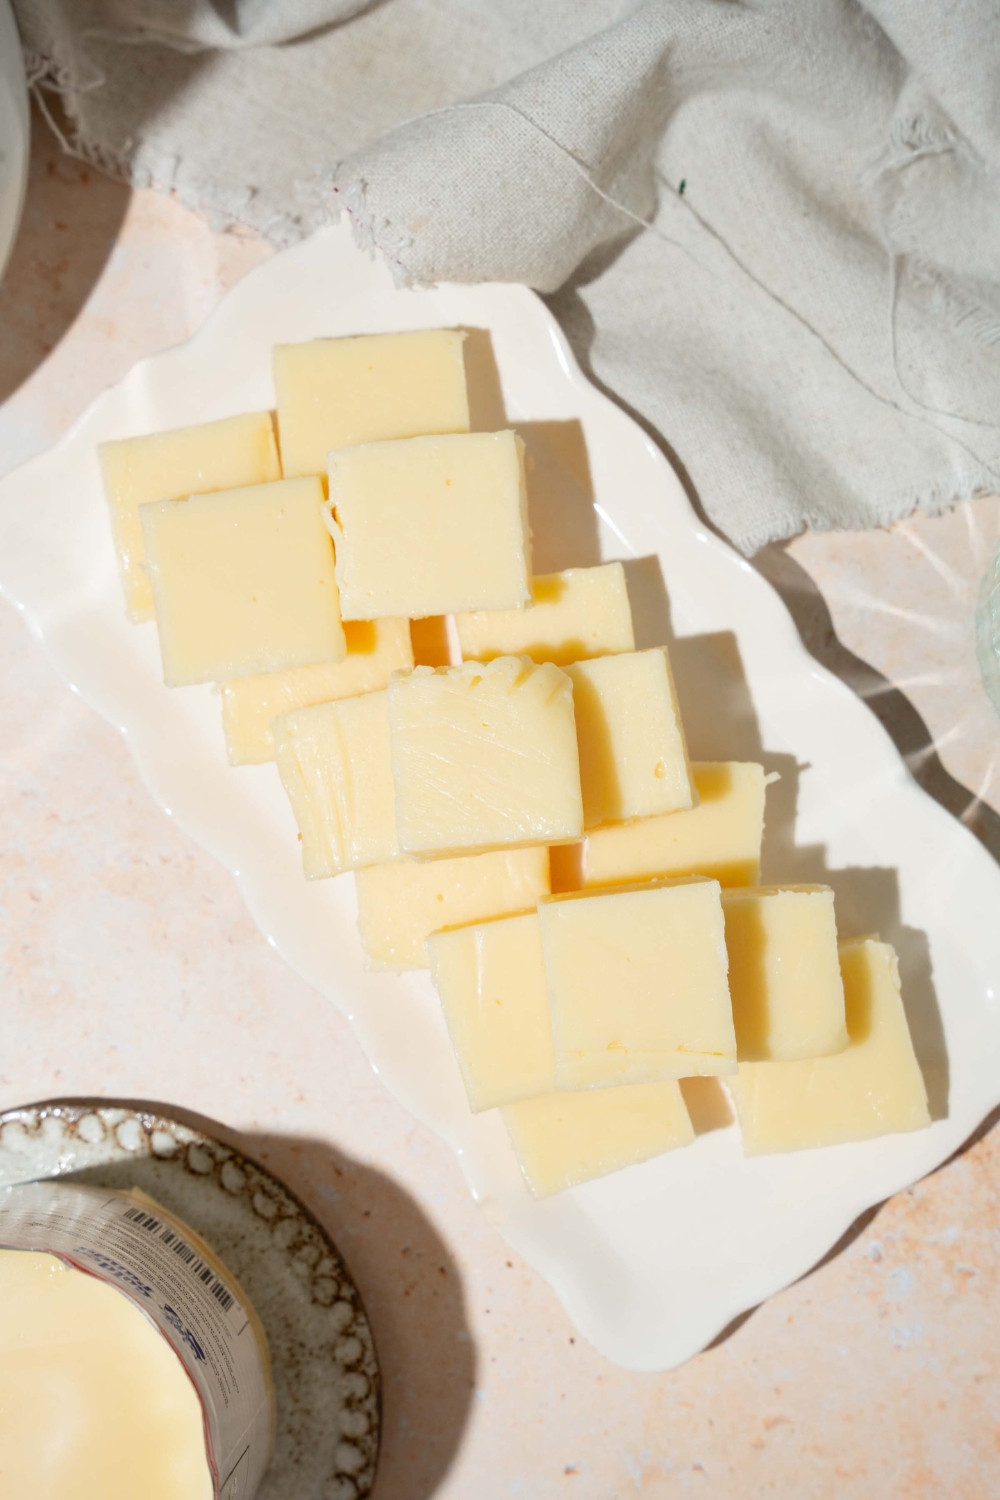
Step 5: Slice
Lift the fudge out using the parchment overhang. Let it sit at room temperature for a few minutes, then cut in to pieces with a sharp knife. Enjoy as much as you want, then store leftovers in the fridge or freezer.
Pro Tips for Perfect Vanilla Fudge
- Use a large microwave-safe bowl, so you have enough room to stir the mixture really well between each interval. Vanilla baking chips can hold their shape even when they’re soft, so don’t assume they need more heat right away. Stir thoroughly first, and you’ll usually find they melt down into a smooth fudge mixture without overheating.
- Microwave the mixture in short bursts and don’t rush it. Heating the vanilla chips and condensed milk too aggressively can make the mixture seize or turn grainy, especially near the end. The goal is a smooth, thick, pourable mixture, so 15 to 30 second intervals with good stirring in between is the safest way to get there.
- Line the loaf pan with enough parchment paper or cling film to leave a good overhang on the sides. That makes it much easier to lift the vanilla fudge out cleanly once it’s set. It also helps keep the edges neat, which is especially useful if you want clean slices for gifting or holiday trays.
- Work quickly once the fudge mixture is smooth. It thickens fast as it starts to cool, so transfer it to the pan and spread it into an even layer right away. A spatula lightly greased with a little oil or nonstick spray can help smooth the top without sticking.
- Let the fudge come to room temperature for a few minutes before slicing. If you cut it straight from the freezer, it can crack or splinter instead of giving you clean squares. Using a sharp knife and wiping it clean between cuts will help each piece look much neater.
- Don’t skip the chill time, but don’t leave it in the freezer for too long either. You want the fudge firm enough to hold its shape, but not rock hard. Once it feels set, move it to the fridge if you’re not cutting it right away so the texture stays creamy instead of getting too hard.
- For the best flavor and texture, use good-quality vanilla baking chips. Since this is a 2 ingredient vanilla fudge recipe, the flavor of the chips really matters. A better-quality chip will give you a smoother melt and a richer vanilla flavor in the finished fudge.
- This vanilla fudge is really easy to customize if you want to dress it up a little. Add sprinkles, crushed cookies, chopped nuts, or a drizzle of melted chocolate on top before chilling. It’s an easy way to make it feel more festive for holidays, cookie trays, or homemade gifts.
Variations You Can Try
- Sprinkle fudge: For an easy way to dress up this vanilla fudge, add sprinkles over the top before chilling. This is a great option for birthdays, baby showers, holidays, or anytime you want the fudge to look a little more festive without changing the flavor.
- Cookie crumble fudge: Fold crushed Oreos or vanilla wafers into the fudge mixture before spreading it into the pan. This adds a little crunch and gives the fudge more texture, which works especially well if you want a cookies-and-cream or vanilla cookie twist.
- Chocolate swirl fudge: Swirl a spoonful of melted dark chocolate or semi-sweet chocolate into the top before chilling for a simple marbled look, like this peppermint bark. It makes the fudge feel a little fancier and adds a nice contrast to the sweet vanilla flavor.
- Nutty vanilla fudge: Stir chopped pecans or almonds into the mixture for a little crunch and a richer flavor. This variation is especially good if you want the fudge to feel a bit more classic and homemade, like something you’d find on a holiday cookie tray.
- Birthday cake fudge: Add colorful sprinkles to the fudge mixture and mix in a few drops of cake batter extract for a fun birthday cake-inspired version. It’s a simple way to turn this easy vanilla fudge recipe into something playful and party-ready. You could even use Funfetti frosting and sprinkles for the best birthday cake flavor.
Vanilla Fudge FAQs
Can I make vanilla fudge without a candy thermometer?
Yes, and that’s one of the best things about this recipe. Since this vanilla fudge is made with sweetened condensed milk and vanilla baking chips, you don’t need a candy thermometer or any stovetop cooking. It’s a simple, beginner-friendly fudge recipe that comes together in the microwave with very little effort.
Why didn’t my vanilla fudge set properly?
If your vanilla fudge didn’t set, the mixture may not have been heated enough for the baking chips to fully melt and combine with the condensed milk. It can also happen if the ingredient ratio was off or if a different type of chip was used. The fudge mixture should be smooth, thick, and fully blended before you spread it into the pan. Chilling it long enough is also important, so it has time to firm up.
Can I use white chocolate chips instead of vanilla baking chips?
You can, but the flavor will be a little different. White chocolate chips will make the fudge sweeter and give it more of a white chocolate flavor instead of that classic buttery vanilla taste. If you want true vanilla fudge flavor, vanilla baking chips are the better choice.
How do I store vanilla fudge?
Store the fudge in an airtight container in the refrigerator for up to 2 weeks. You can also keep it in the freezer for longer storage if you want to make it ahead. If you’re stacking pieces, place parchment paper between the layers so they don’t stick together.
Can I freeze vanilla fudge?
Yes, this vanilla fudge freezes really well. Once it’s fully set, cut it into pieces and store it in a freezer-safe container with parchment between the layers. When you’re ready to eat it, let it sit at room temperature for a few minutes so it softens slightly before serving.
Why is my fudge grainy?
Grainy fudge usually happens when the mixture gets overheated or isn’t stirred enough as the chips melt. The best way to avoid that is to microwave in short intervals and stir really well between each one. That helps everything melt smoothly and keeps the texture creamy.
Can I add mix-ins to this vanilla fudge recipe?
Yes, this is a great fudge recipe to customize. You can add sprinkles, crushed cookies, chopped nuts, or a swirl of melted chocolate before chilling. Just don’t overload the mixture with too many add-ins, or the fudge may not set as cleanly.
How long does vanilla fudge take to set?
This easy vanilla fudge usually sets in about 30 minutes in the freezer. It should feel firm to the touch before you remove it from the pan. If it still seems too soft in the center, give it a little more time until it fully firms up.
Can I make vanilla fudge for holiday gifts?
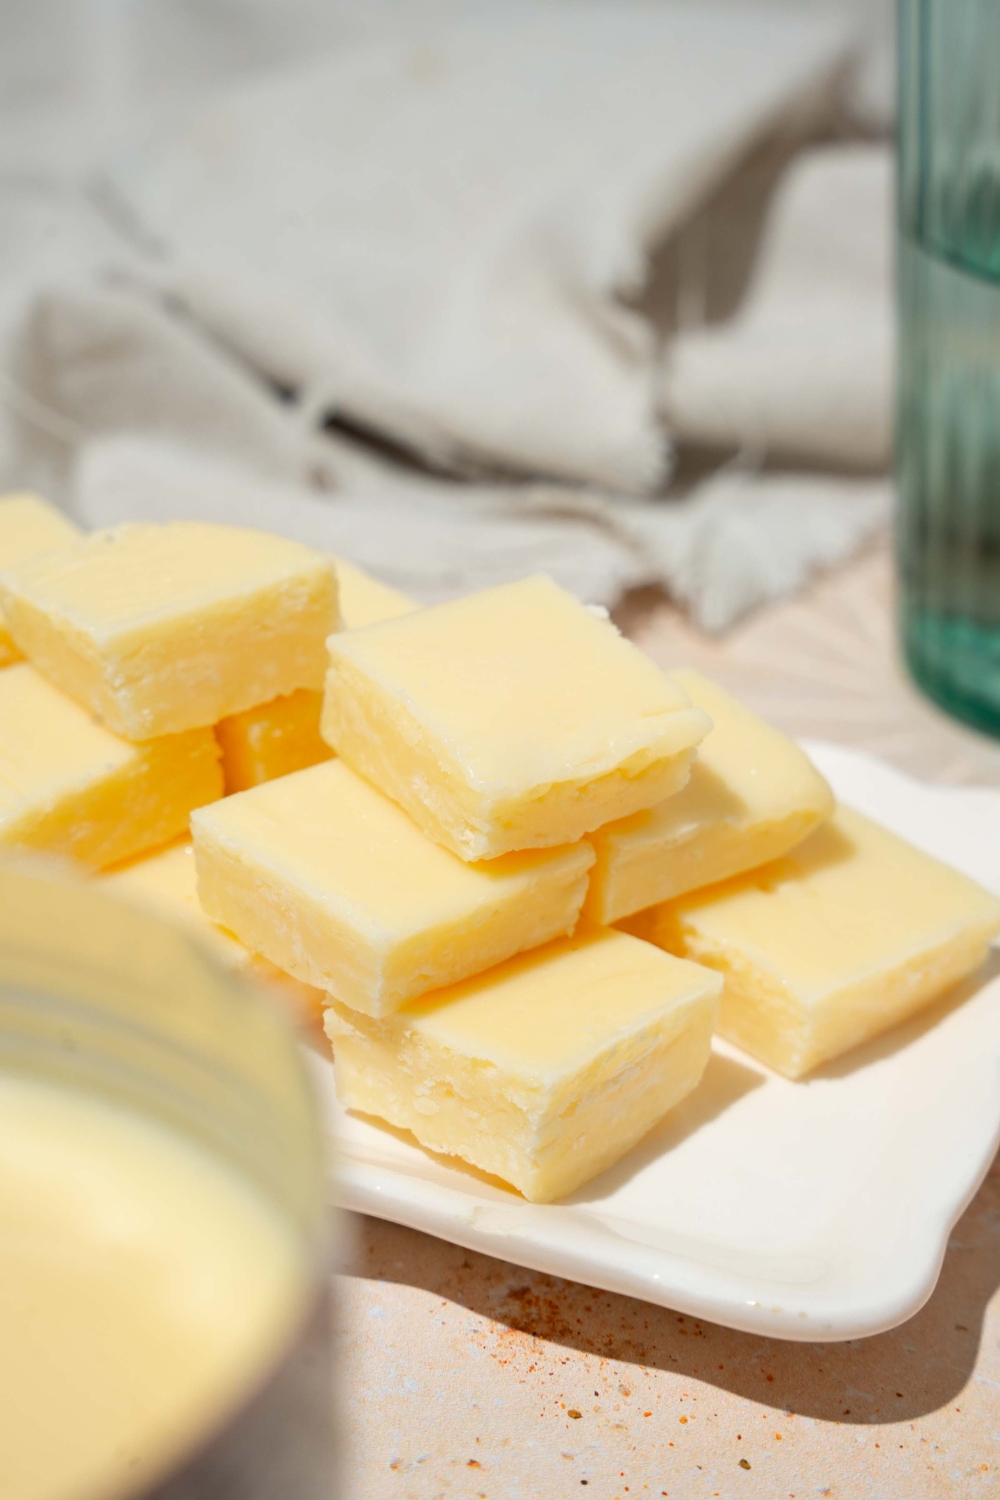
Absolutely. This vanilla fudge is perfect for gifting because it slices cleanly, stores well, and looks great dressed up with sprinkles, chocolate swirls, or other toppings. It’s an easy homemade treat that feels special without taking a lot of work.
My Final Thoughts
This vanilla fudge is one of those easy desserts that’s almost impossible not to love. It’s rich, creamy, sweet, and comes together with just 2 ingredients, which makes it perfect for beginner candy making or anytime you want a simple homemade treat without baking.
If you make it, leave a comment below and let me know how it turned out. And if you loved it, I’d really appreciate it if you came back and gave it a star rating (hopefully 5-star) too.
Easy Dessert Recipes to Try Next
Vanilla Fudge (Easy 2-Ingredient Recipe)

This vanilla fudge is rich, creamy, and tastes like something you’d pick up from a good fudge shop, but it’s unbelievably easy to make at home. With just 2 ingredients and no candy thermometer, stovetop, or complicated steps, it’s one of the easiest homemade fudge recipes you can make. This easy vanilla fudge recipe is perfect for holiday trays, gifting, or anytime you want a simple sweet treat in the fridge without turning on the oven. And if you’ve made my sweetened condensed milk fudge or chocolate peanut butter fudge before, you’re definitely going to want to try this vanilla fudge version too.
Ingredients
- 1 ½ cups (268 g) vanilla-flavored white baking chips (or melting chocolate)
- ½ cup (118 ml/141 g) sweetened full-fat condensed milk, room temperature
Instructions
1. Line the bottom of an 8 × 4 inch loaf pan with parchment paper or cling film, leaving some overhang on the sides to help lift the fudge out later.
2. Add the vanilla baking chips and condensed milk to a large microwave-safe bowl. Microwave in 15–30 second intervals, stirring between each interval, until the chips are fully melted and the mixture is smooth and very thick.
3. Transfer the mixture to the prepared pan and use a spatula to spread it evenly across the bottom. If desired, create gentle swirls or patterns on the surface with the spatula.
4. Place the pan in the freezer and chill until the fudge is set, about 30 minutes. It should feel firm to the touch.
5. Remove the fudge from the pan using the parchment overhang and bring it to room temperature before cutting into pieces with a sharp knife.
6. Store any leftover fudge in the refrigerator or freezer.
Nutrition Information:
Yield:
4Serving Size:
1Amount Per Serving: Calories: 368Total Fat: 3gSaturated Fat: 2gUnsaturated Fat: 1gCholesterol: 11mgSodium: 49mgCarbohydrates: 29gSugar: 29gProtein: 3g
Angie
So good!! Perfect vanilla flavor and I loved the texture.
Brendan Cunningham
The texture is delicious, thanks for sharing!