


This Dutch crunch bread has a soft, buttery center and a crisp, crackled topping that crunches with every bite. Also known as tiger bread, it gets its signature pattern from a simple rice flour mixture that splits and browns as the dough bakes. Shape it into sandwich rolls or one large loaf, and either way that golden crust makes it hard to stop at just one piece.
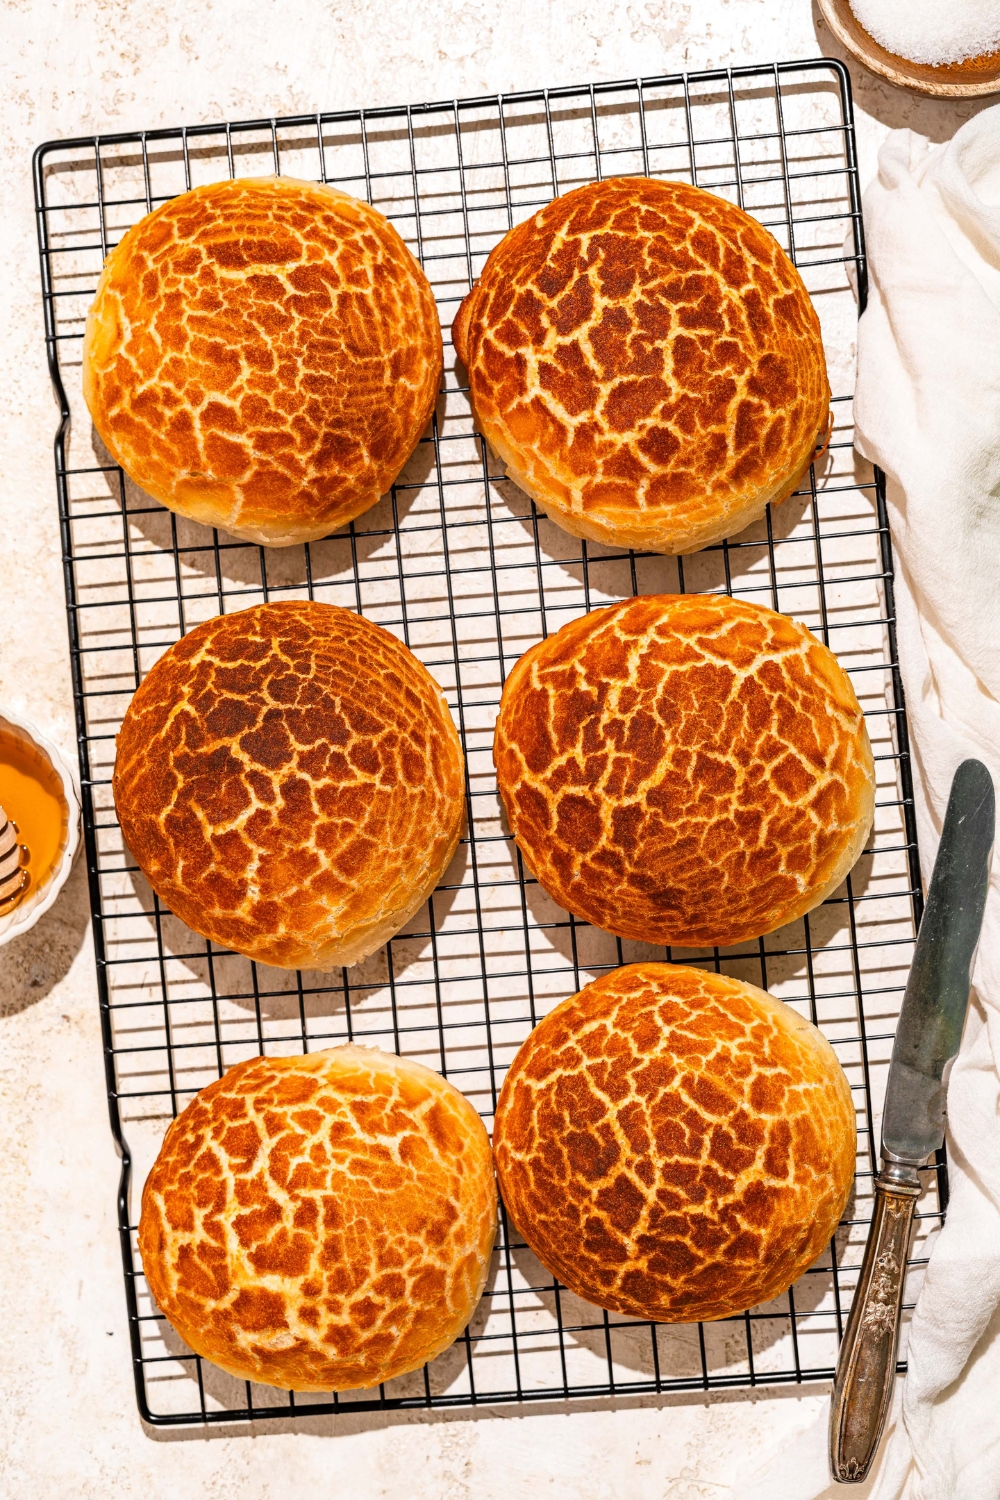
Table of Contents
Why This Tiger Bread Recipe Works
The signature crust is what makes this Dutch crunch bread so special. A thick rice flour topping is spread over the proofed dough before baking, and because rice flour doesn't form gluten, it dries and splits as the bread expands in the oven. That creates the jagged, golden pattern tiger bread is known for, along with a crisp crust that contrasts perfectly with the soft bread underneath.
The dough is enriched with butter and a little sugar, so the crumb turns out more tender and flavorful than a basic lean bread dough. The topping also contains yeast, sugar, and oil, which help it rise slightly, brown evenly, and develop its crunchy texture. The key is applying a generous, even layer so the coating cracks instead of disappearing into the dough.
You can shape this recipe into sandwich rolls or bake it as one large loaf, and both versions develop the same distinctive crust. If you already enjoy making breads like my homemade hoagie rolls or Ezekiel bread, this tiger bread is a unique next recipe to try.
Ingredients You Need
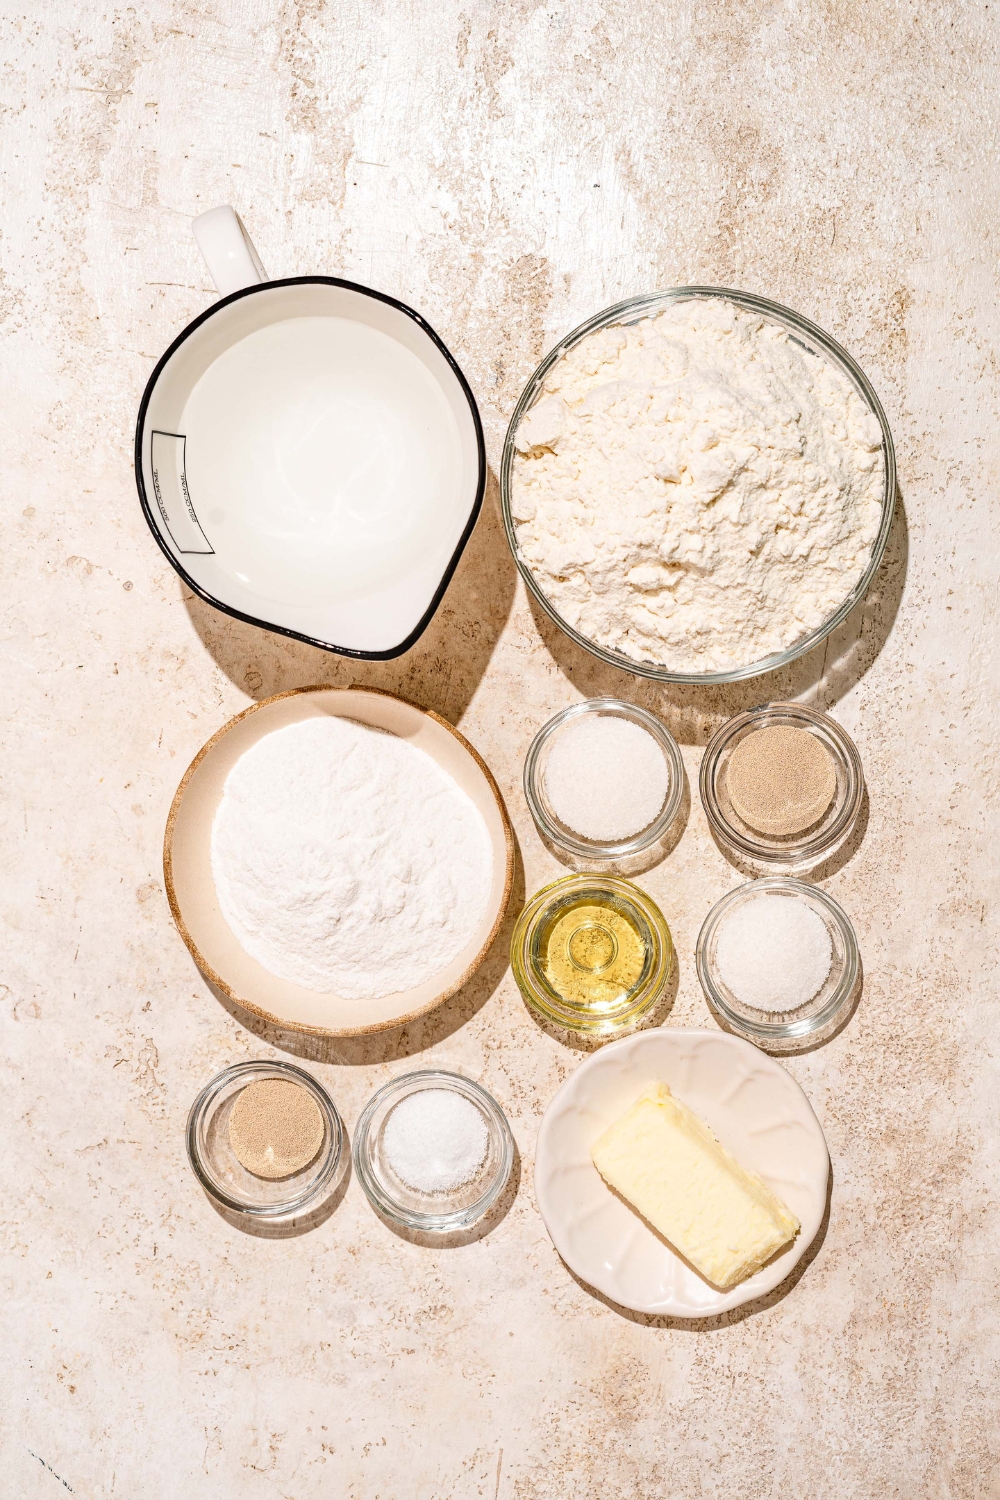
For the Dough:
- 210 ml warm water (90 to 95°F)
- 3 g (1 tsp) instant yeast, or 4 to 5 g active dry yeast
- 1 tablespoon sugar
- 357 g bread flour
- 1 teaspoon salt
- 42 g unsalted butter, softened
For the Dutch Crunch Topping:
- 75 g rice flour (or gluten-free flour)
- 7 g yeast
- 2 teaspoon sugar
- 2 teaspoon neutral oil
- 90 ml warm water (90 to 95°F)
Ingredient Notes for The Best Results
Bread flour: I got the best texture with bread flour because its higher protein content gives the dough enough structure to rise well while still staying soft inside. All-purpose flour will work, but the crumb won’t be quite as chewy or sturdy.
Rice flour: This is the key to the crackled Dutch crunch topping. Since rice flour doesn’t form gluten, the coating can’t stretch as the bread expands, so it dries, splits, and crisps in the oven. Regular white rice flour gave me the most defined cracks.
Yeast: Instant yeast can go straight into the dough, but active dry yeast should be dissolved in the warm water first. The topping also needs yeast, which helps it puff slightly before it cracks and sets.
Warm water: Keep it between 90-95°F. I found this warm enough to activate the yeast without overheating it, which helped both the dough and topping rise properly.
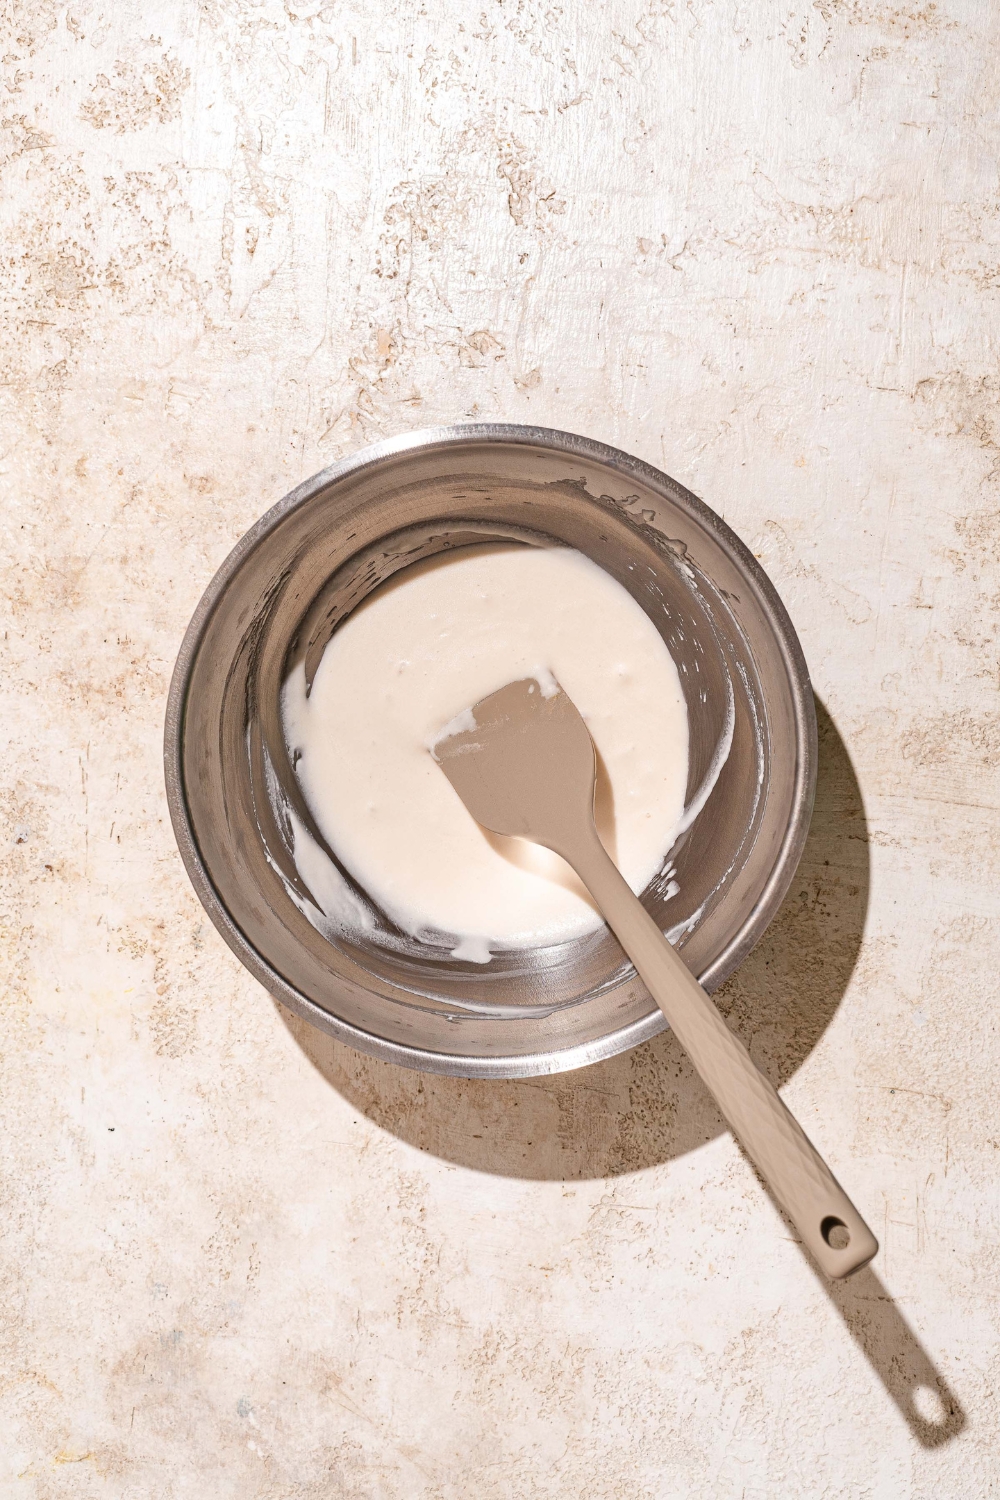
Topping consistency: The mixture should be thick but easy to spread, similar to a loose paste. A thin topping can slide off the dough, while one that’s too thick won’t spread or crack evenly.
How To Make Dutch Crunch Bread
Step 1: Mix the Dough
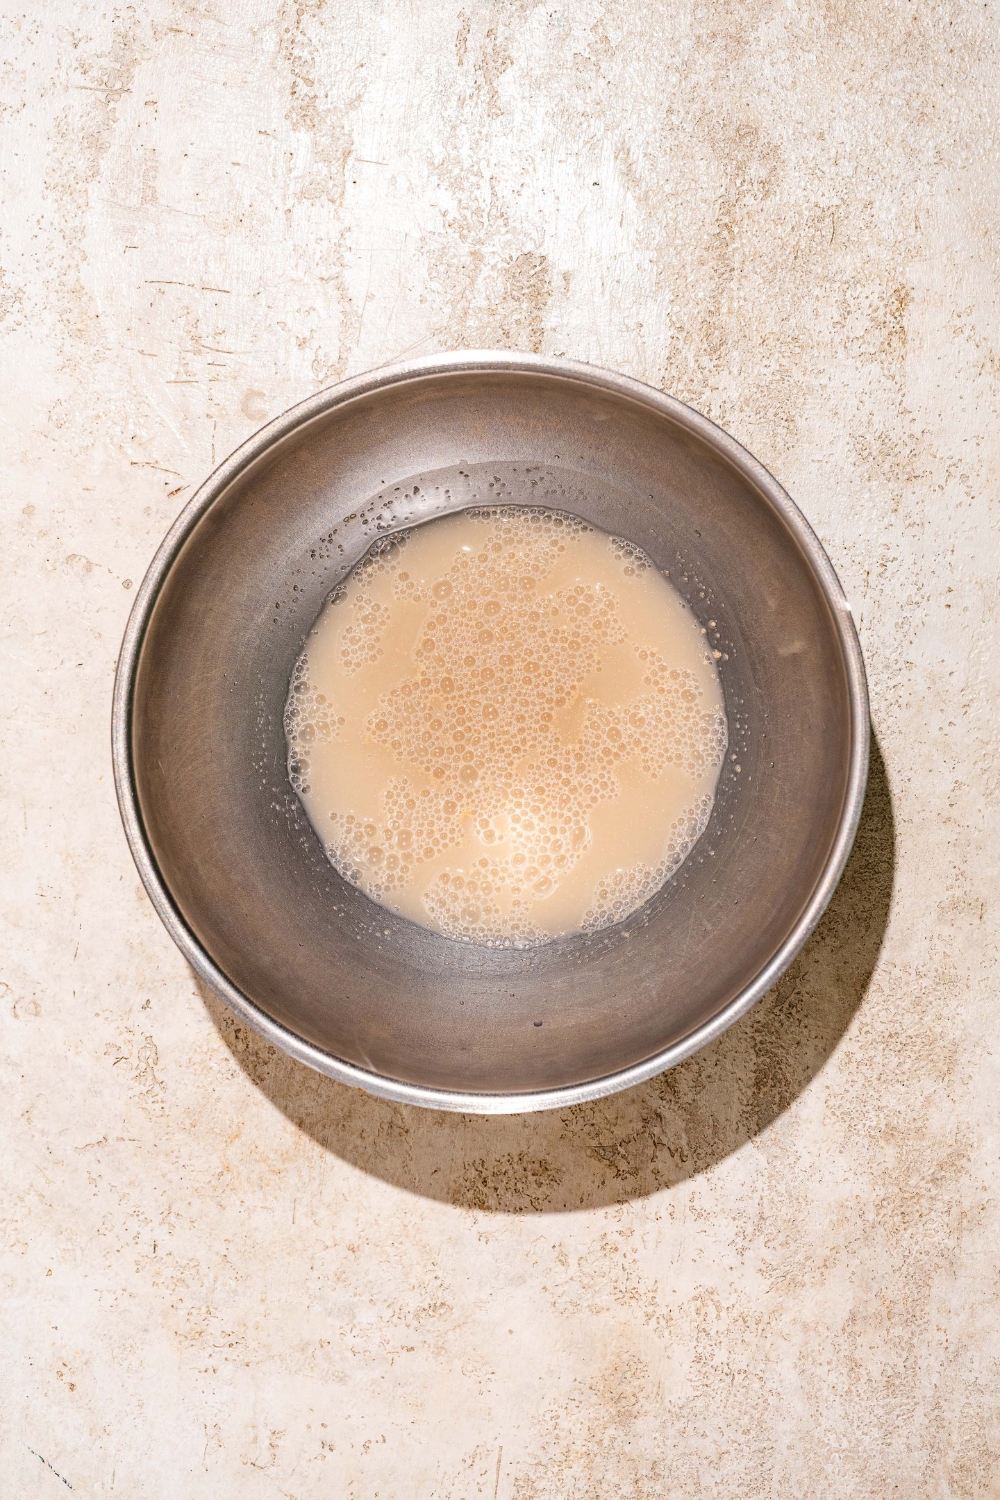
Combine the warm water, yeast, and sugar in a large bowl. If you’re using active dry yeast, let it sit for 5-10 minutes, until the surface looks foamy. Instant yeast can be used right away.
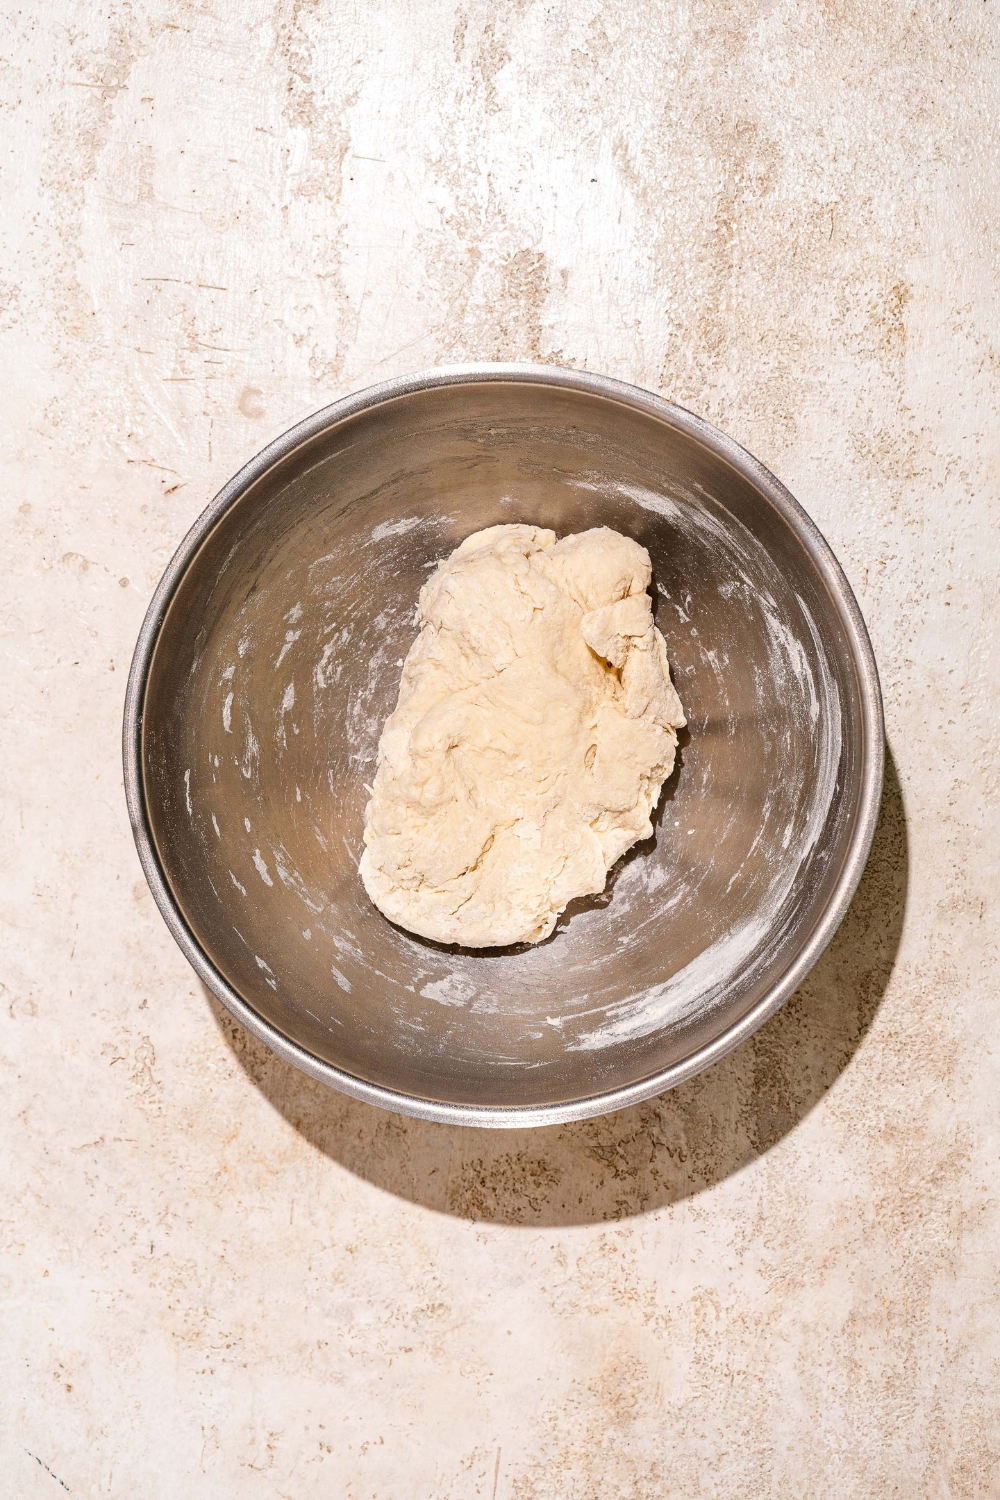
Add the bread flour and salt, then mix until a shaggy dough forms. Work in the softened butter and knead for 8-12 minutes by hand or with a dough hook. The dough is ready when it feels smooth and elastic and springs back slowly when pressed.
Step 2: Let the Dough Rise
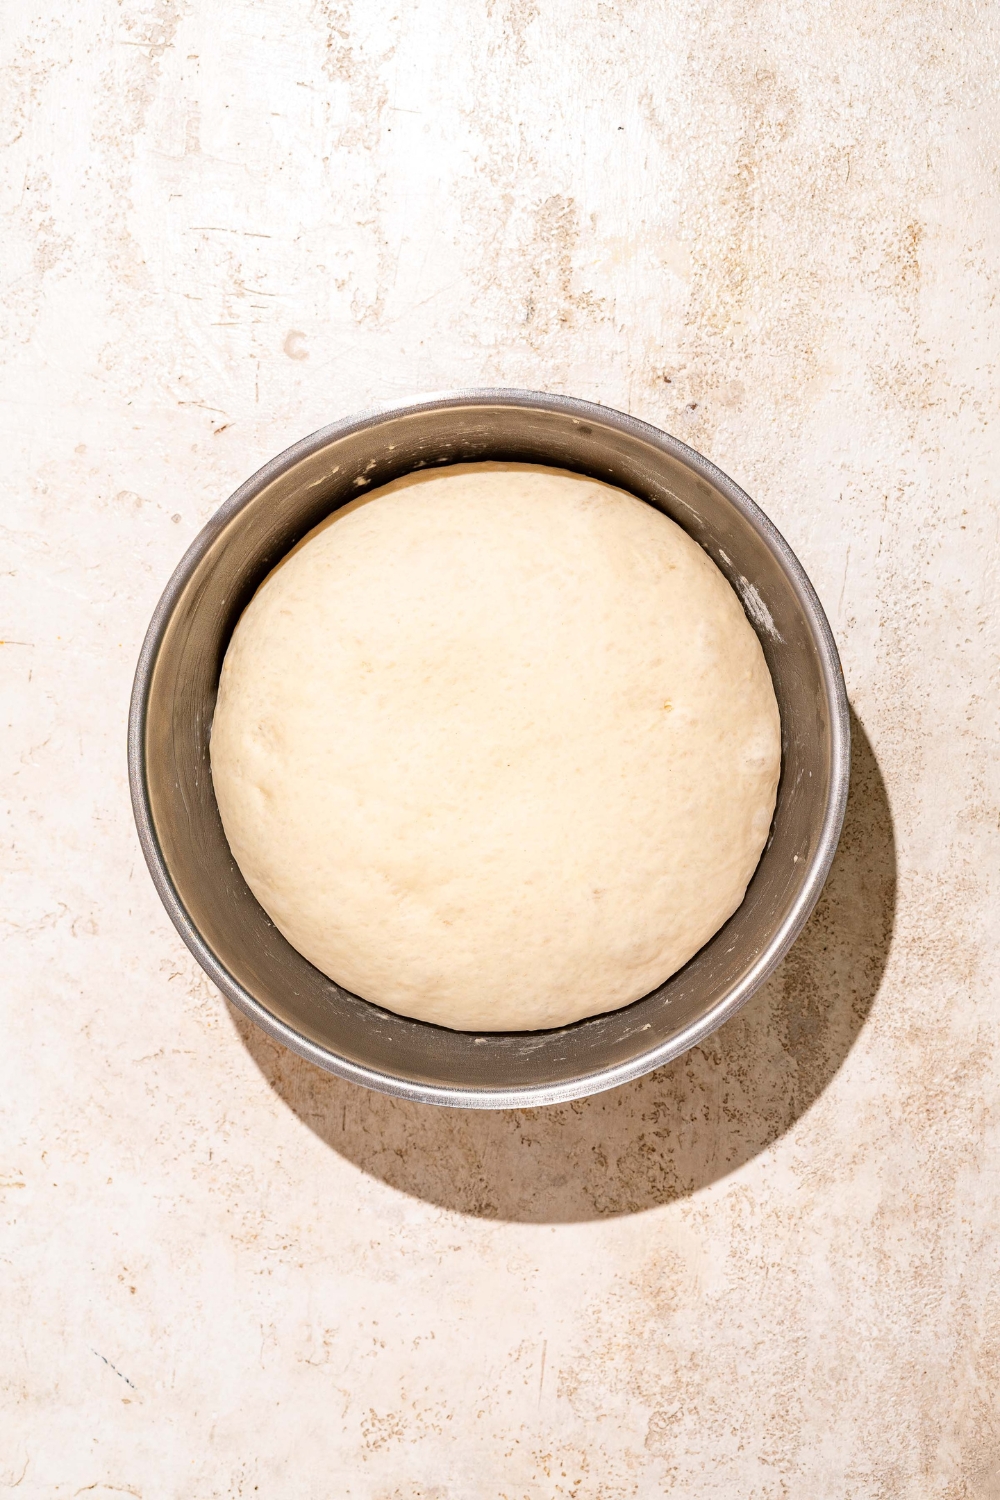
Transfer the dough to a lightly greased bowl, cover, and let it rise in a warm place for 60-90 minutes. It should roughly double in size and feel light and airy.
Step 3: Shape and Proof
Gently deflate the dough, then divide it into buns or shape it into one loaf. I made mine into individual buns so they could be used for sandwiches.
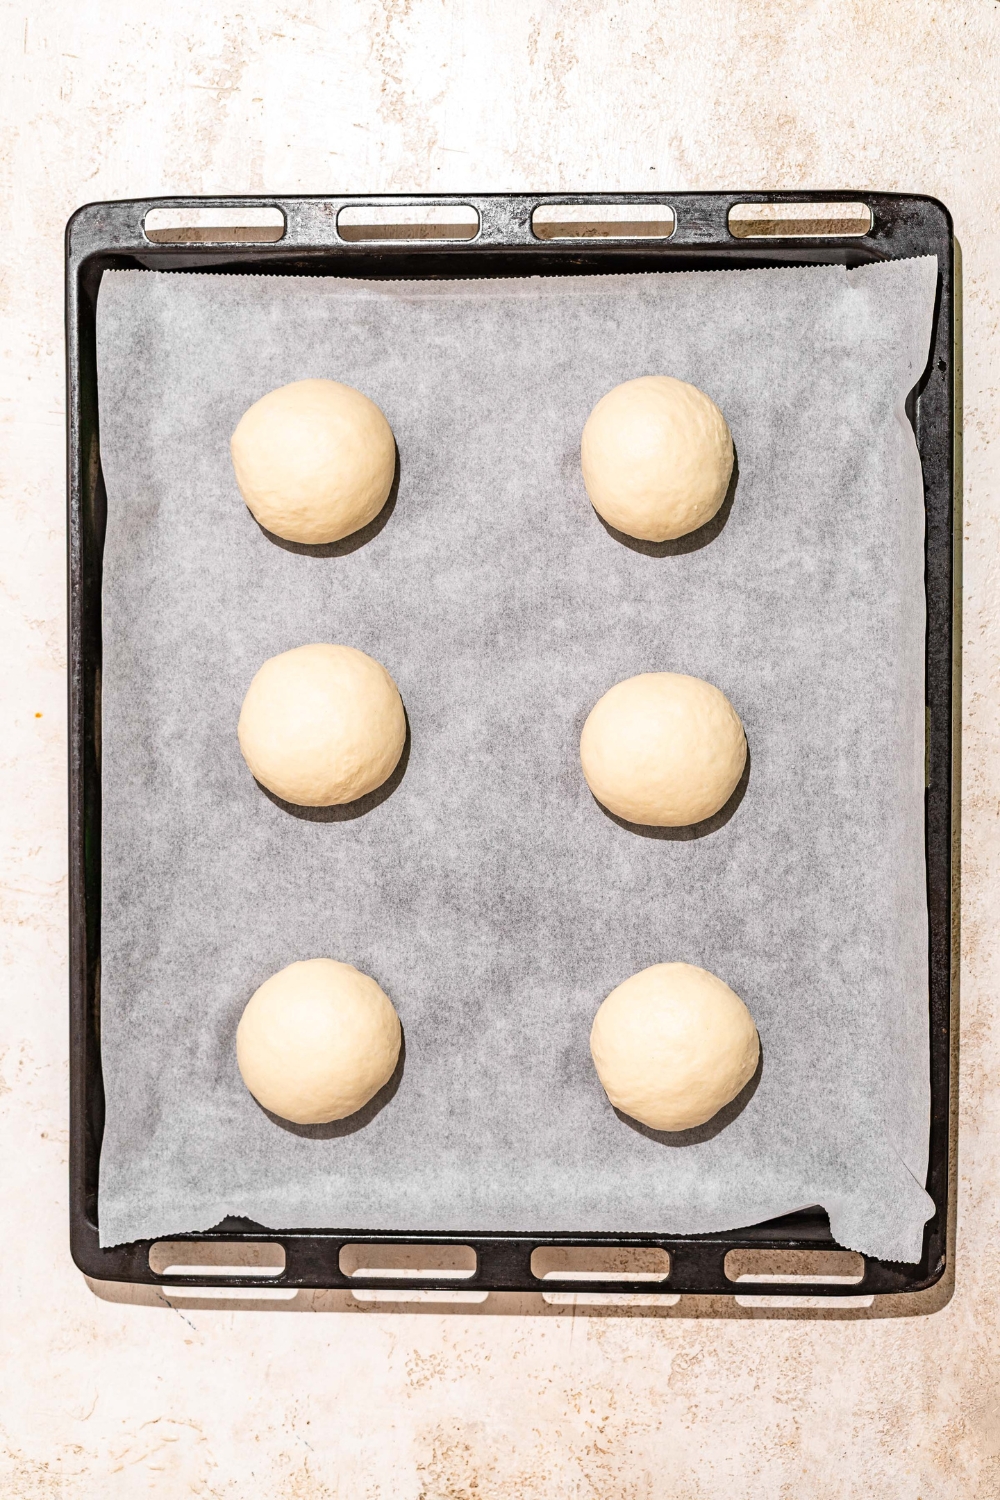
Arrange the shaped dough on a parchment-lined baking sheet, cover loosely, and let it rise for another 30-45 minutes. The buns should look noticeably larger and puffy, but they shouldn’t collapse when lightly touched.
Step 4: Add the Dutch Crunch Topping
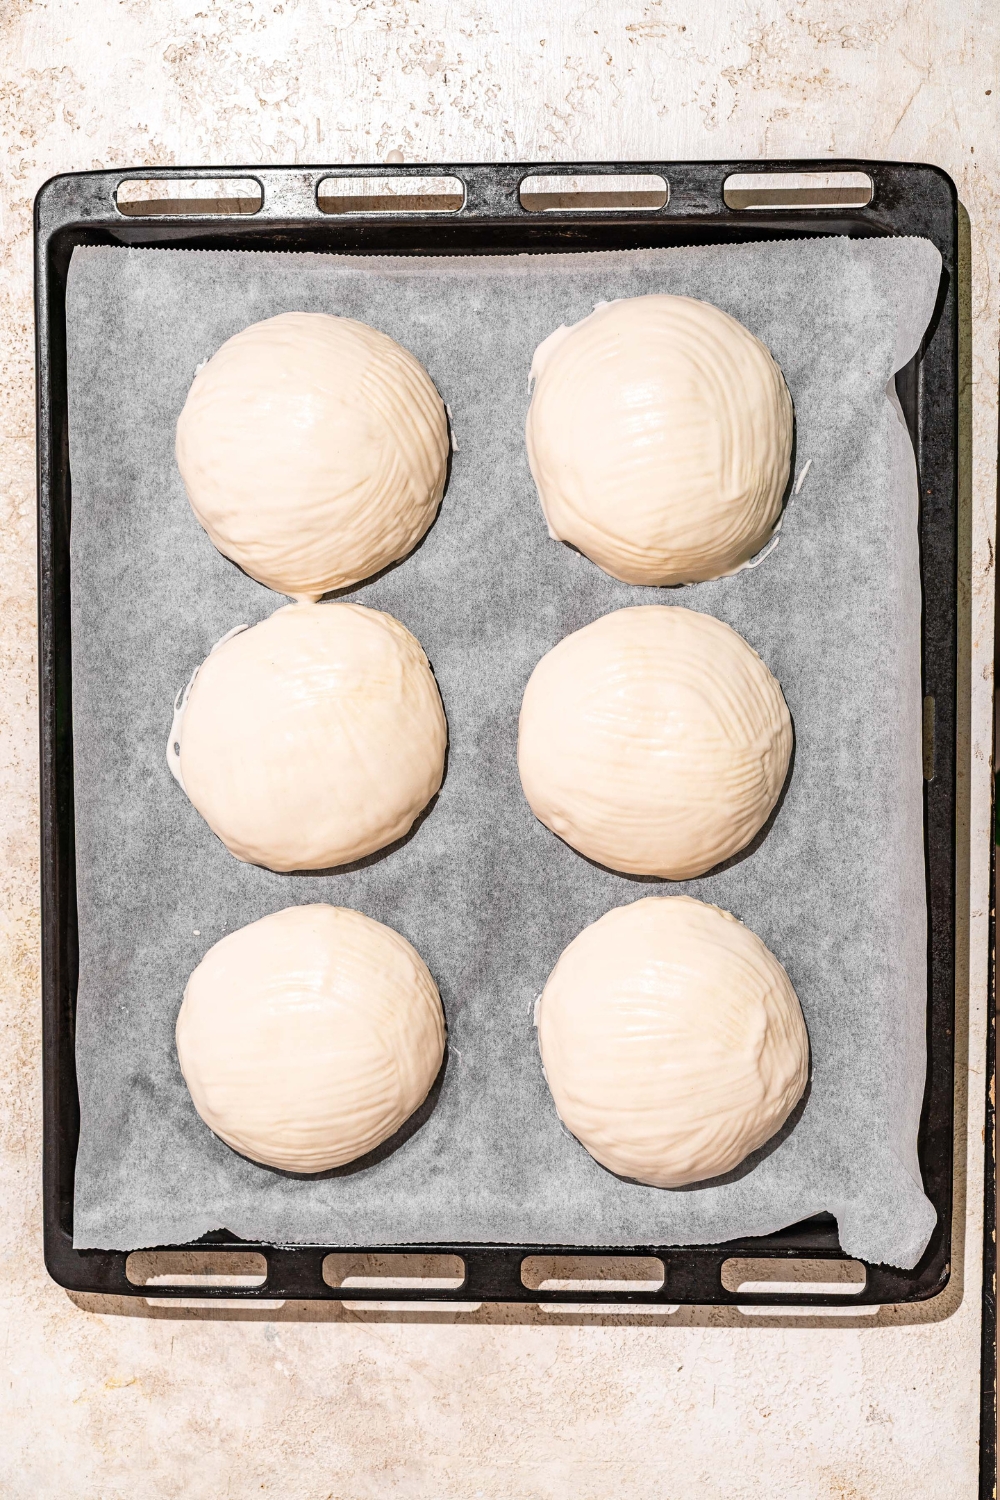
While the dough finishes proofing, mix the rice flour, yeast, sugar, oil, and warm water until smooth. Let the topping rest for 10-15 minutes. The mixture should look like a thick, spreadable paste. Spread a generous, even coating over the tops and sides of the proofed dough. I found that a thin layer barely cracked, while a thicker coating produced the crisp, dramatic tiger pattern.
Step 5: Bake
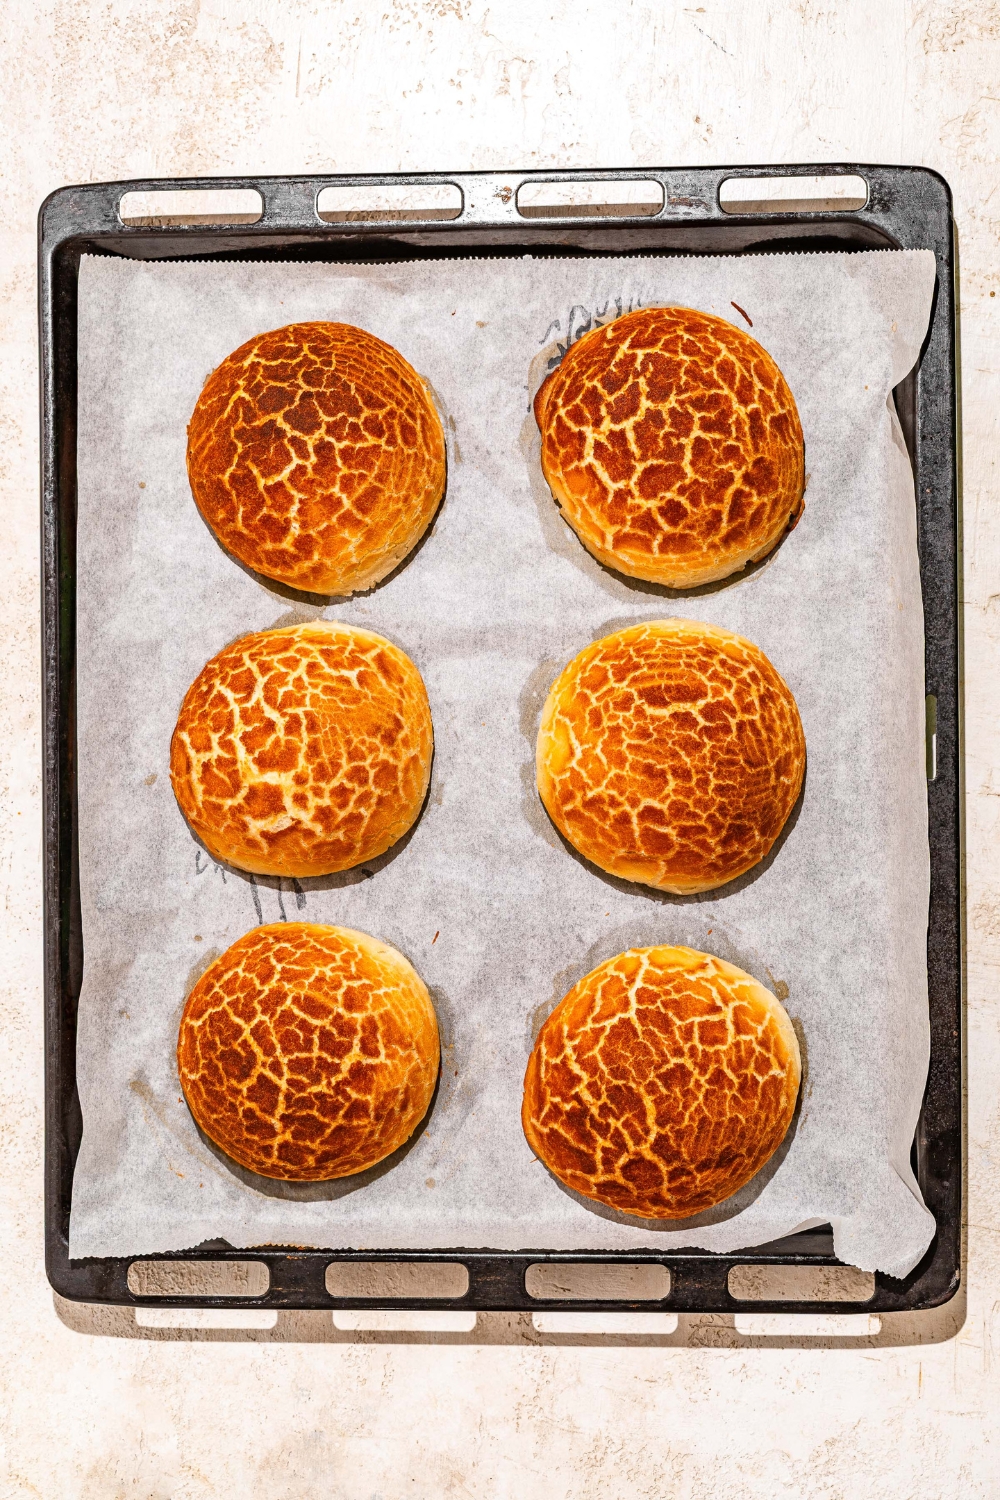
Preheat the oven to 400°F. Bake the buns for 28-30 minutes or a full loaf for 33-35 minutes. The bread is ready when the crust is deeply golden, dry, and visibly crackled. Transfer the bread to a wire rack and let it cool slightly before serving. The topping is crispiest the day the bread is baked, so that’s when I think it tastes best.
My Tips for the Best Dutch Crunch Bread
Create tension when shaping the buns. Pull the dough gently toward the bottom as you shape each piece so the top is smooth and slightly taut. I found that rounded, evenly shaped buns rise more uniformly and give the topping a cleaner surface to crack across.
Weigh the dough before dividing it. Using a kitchen scale helps keep every bun close to the same size, which means they’ll proof and bake at the same rate. This is especially helpful since smaller buns can dry out before larger ones are fully baked.
Don’t overproof the shaped dough. The buns should look puffy, but they should still have enough strength to expand in the oven. If they rise too long, they can deflate while the topping is being spread or bake up flatter than expected.
Leave plenty of room between each bun. Space them several inches apart so air can circulate around the dough. Crowded buns can bake into one another, which prevents the sides from browning and keeps parts of the topping from turning crisp.
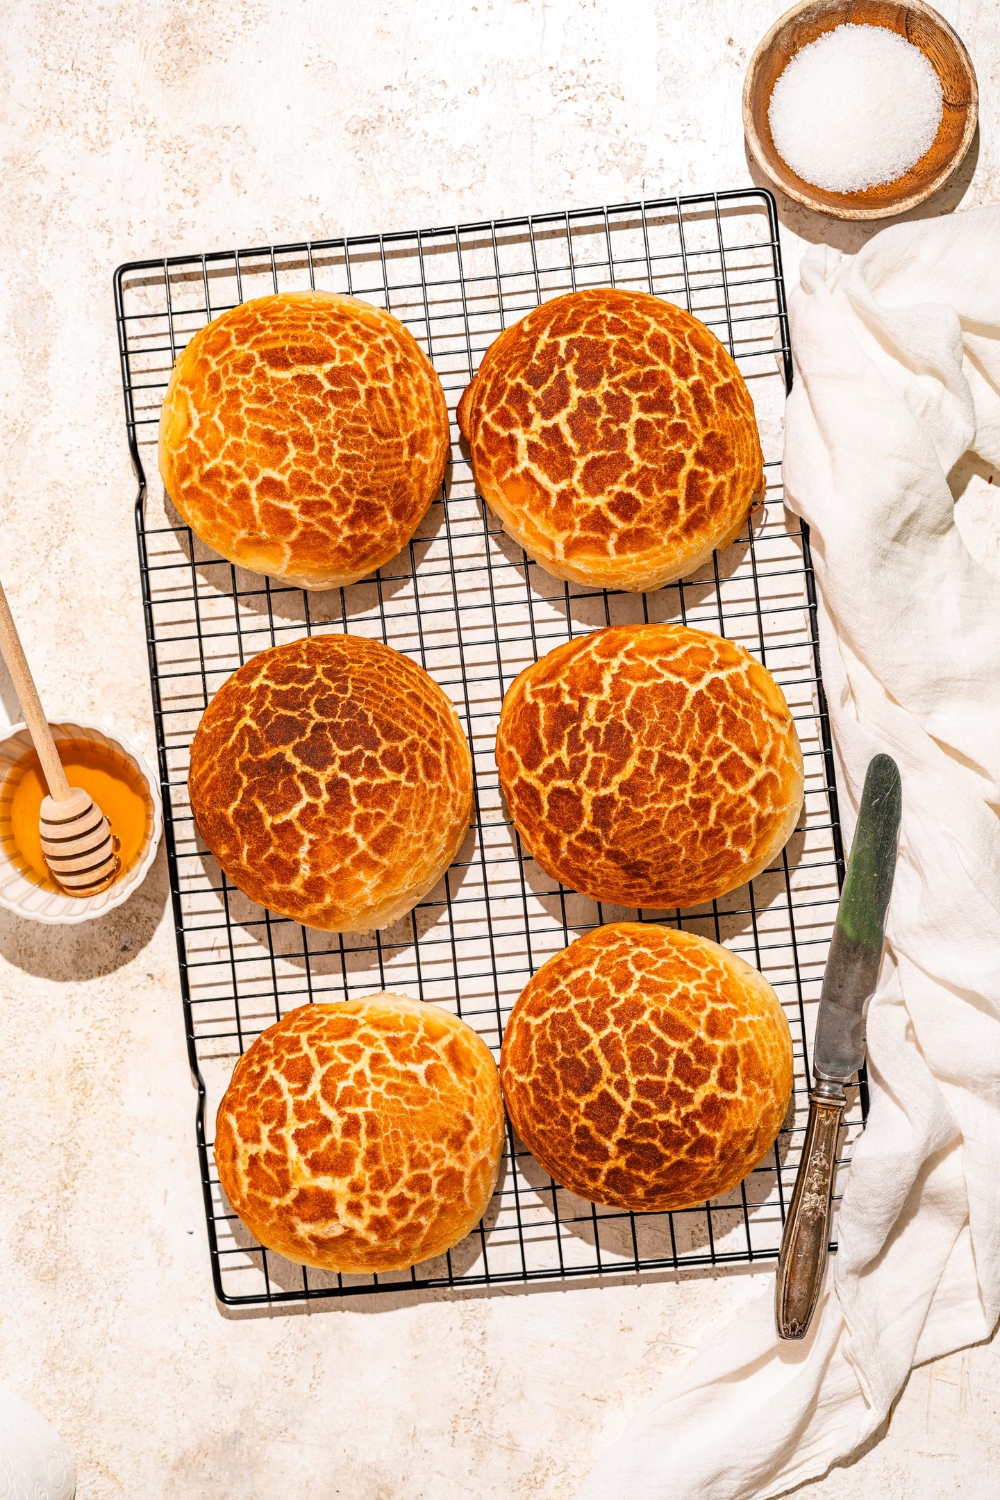
Don’t cover the bread while it’s still warm. Trapping steam around the buns will soften the crackled topping quickly. Let them cool uncovered on a wire rack, then store them only after they’ve cooled completely.
Reheat leftovers in the oven, not the microwave. A few minutes in a 350°F oven helps bring back some of the crunch. The microwave warms the inside, but it makes the rice flour crust soft and chewy.
How to Store Dutch Crunch Bread
Dutch crunch bread is crispiest the day it’s baked, but you can keep leftovers at room temperature for up to 2 days. Once the bread has cooled completely, store it in a paper bag or loosely wrap it in foil. I avoid airtight plastic bags because they trap moisture and soften the crackled topping much faster. Don’t refrigerate the bread, since the cold temperature can dry out the inside while still leaving the crust soft.
For longer storage, wrap individual buns or slices tightly and freeze them for up to 1 month. Let them thaw at room temperature, then warm them in a 350°F oven for 5-8 minutes. This won’t make the crust quite as crisp as it was fresh, but it restores much more crunch than reheating in the microwave.
Dutch Crunch Bread FAQs
What is Dutch crunch bread, and is it the same as tiger bread?
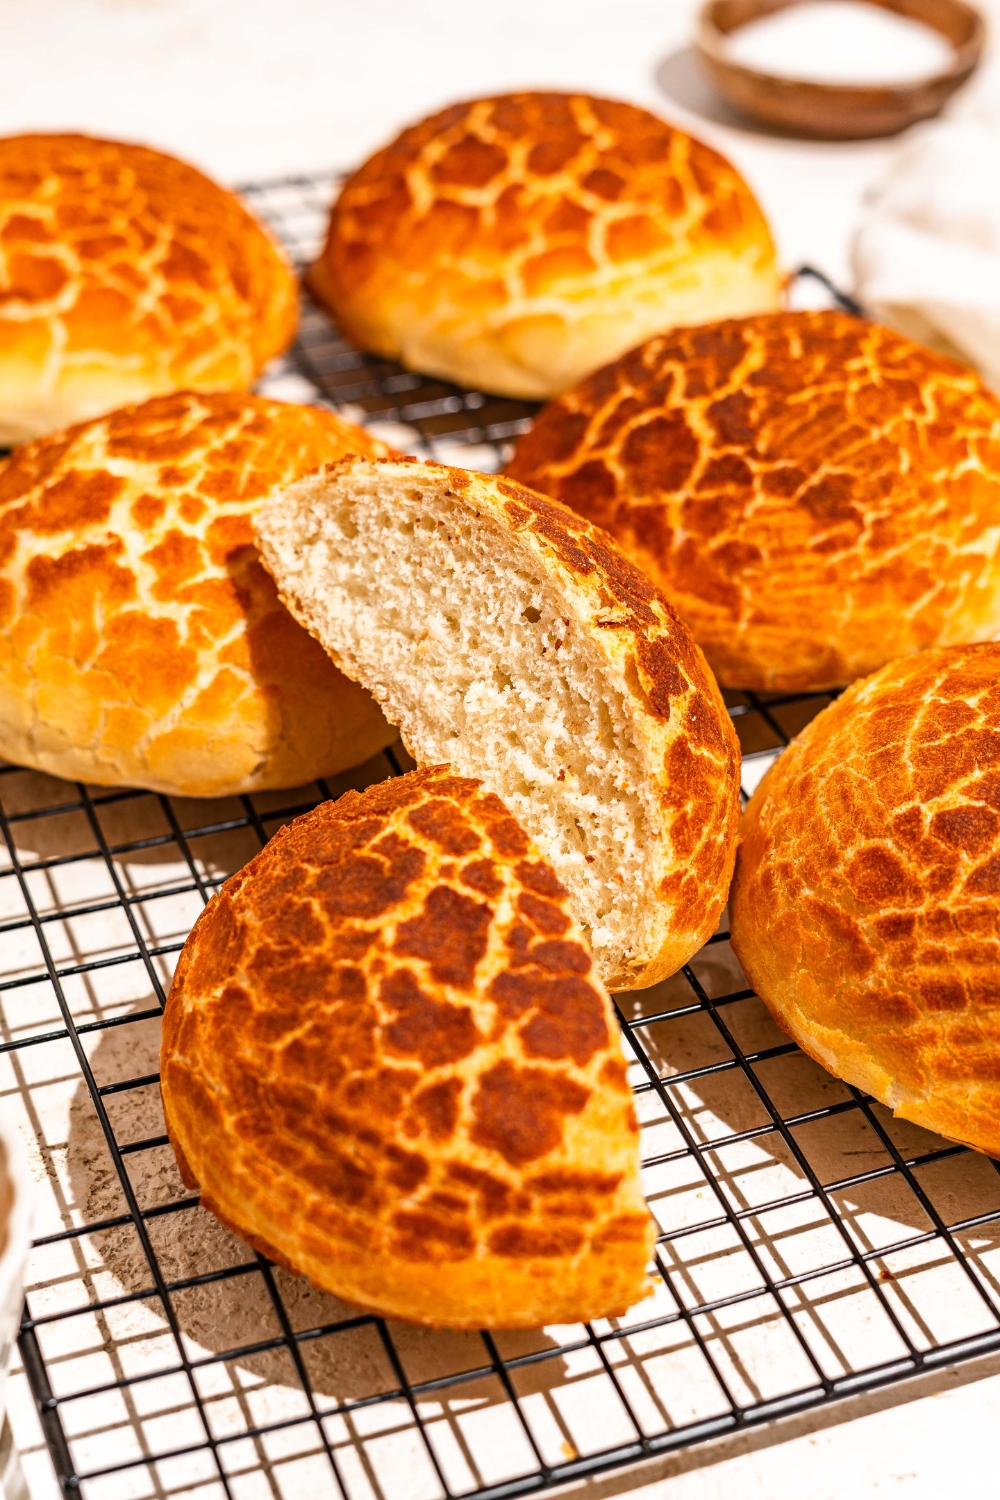
Yes, Dutch crunch bread and tiger bread are two names for the same style of bread. Both have a soft interior covered with a rice flour topping that dries, cracks, and turns crisp as it bakes. The name tiger bread comes from the mottled pattern across the crust.
What does Dutch crunch bread taste like?
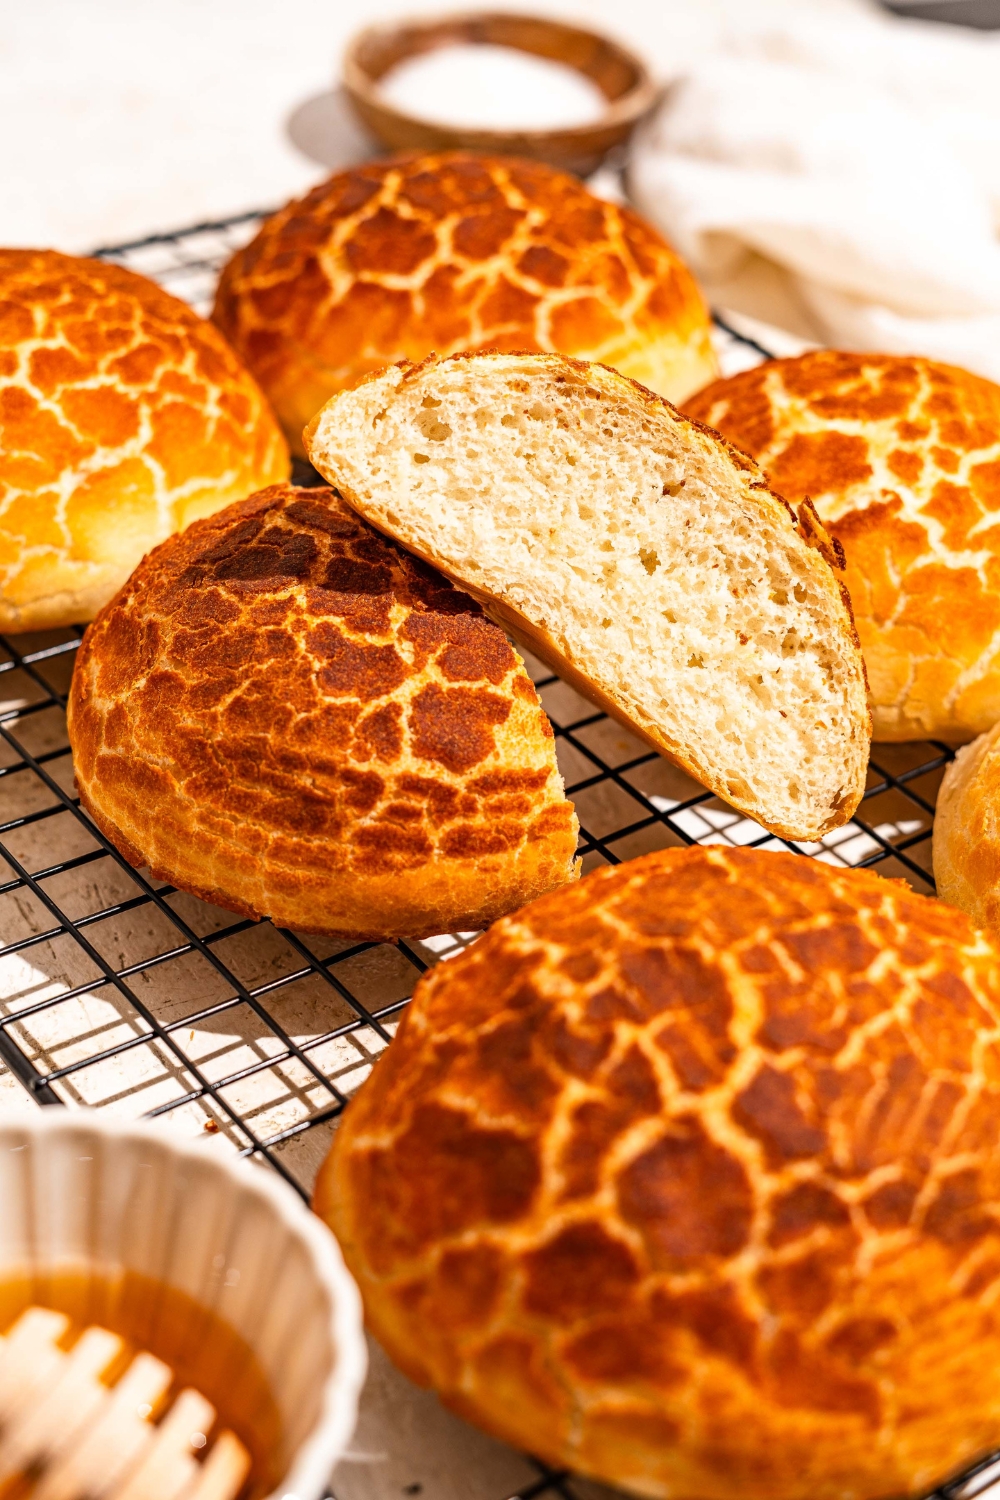
Dutch crunch bread is soft, buttery, and lightly sweet inside, while the topping is crisp and slightly toasted. The topping doesn’t have an overpowering flavor, so the bread works just as well for savory sandwiches as it does served warm with butter.
Why didn’t my Dutch crunch topping crack?
The most common cause is applying the topping too thinly. In my batches, a thick, even coating created much deeper cracks than a light layer. The topping may also fail to crack if it’s too wet, hasn’t rested long enough, or the dough is overproofed and doesn’t expand much in the oven.
Is Dutch crunch bread gluten-free?
No. Although the topping is made primarily with rice flour, the bread dough contains wheat-based bread flour. You’d need a completely different gluten-free bread dough to make the entire recipe gluten-free.
Is Dutch crunch bread sourdough?
This version isn’t sourdough because it uses instant or active dry yeast to make the dough rise. Sourdough versions do exist, but they require an active sourdough starter and different proofing times.
Can I make Dutch crunch bread ahead of time?
You can prepare the dough the night before and let it complete its first rise, covered, in the refrigerator. The next day, let it sit at room temperature until it’s easy to shape, then form the buns and continue with the second rise. Make the rice flour topping shortly before you plan to apply it rather than refrigerating it overnight.
More Bread Recipes to Try Next
Dutch Crunch Bread (Tiger Bread Recipe)

This Dutch crunch bread has a soft, buttery center and a crisp, crackled topping that crunches with every bite. Also known as tiger bread, it gets its signature pattern from a simple rice flour mixture that splits and browns as the dough bakes. Shape it into sandwich rolls or one large loaf, and either way that golden crust makes it hard to stop at just one piece.
Ingredients
Dough:
- 210 ml warm water (90–95°F / 32–35°C)
- 3 g (1 tsp) instant yeast (or 4–5 g active dry yeast)
- 1 tablespoon sugar
- 357 g bread flour
- 1 teaspoon salt
- 42 g unsalted butter, softened
Dutch Crunch Topping:
- 75 g rice flour (or gluten-free flour)
- 7 g yeast
- 2 teaspoon sugar
- 2 teaspoon neutral oil
- 90 ml warm water (90–95°F / 32–35°C)
Instructions
1. In a large bowl, combine the warm water, yeast, and sugar. If using active dry yeast, let the mixture sit for 5–10 minutes until foamy. If using instant yeast, continue directly to the next step.
2. Add the bread flour and salt, then mix until a shaggy dough forms. Add the softened butter and knead for 8–12 minutes, until the dough is smooth, soft, and elastic.
3. Place the dough in a lightly greased bowl, cover, and let it rise for 60–90 minutes, or until doubled in size.
4. Punch down the dough and divide it into individual buns or shape it into a loaf. Place on a parchment-lined baking tray, cover loosely, and let rise for another 30–45 minutes, until puffy.
5. While the dough proofs, prepare the Dutch crunch topping. In a bowl, combine the rice flour, yeast, sugar, oil, and warm water. Mix until smooth and thick, then let the mixture rest for 10–15 minutes.
6. About 30 minutes before baking, spread a generous layer of the topping evenly over the proofed dough.
7. Preheat the oven to 400°F (200°C). Bake buns for 28–30 minutes, or bake a loaf for 33–35 minutes, until golden brown with a crisp, crackled crust.
8. Allow the bread to cool slightly before serving. For the best texture, enjoy the bread the same day it is baked.
Notes
- Apply the topping thickly and evenly for the most dramatic crackle pattern.
- Let the topping paste rest 10 to 15 minutes before applying so the yeast activates.
- Use a kitchen scale for accurate measurements.
- Water should be 90 to 95°F. Too hot kills the yeast; too cool slows the rise.
- Best eaten the same day. Store in a paper bag rather than plastic to preserve crust texture.
Nutrition Information:
Yield:
12Serving Size:
1Amount Per Serving: Calories: 175Total Fat: 4gSaturated Fat: 2gUnsaturated Fat: 3gCholesterol: 7mgSodium: 185mgCarbohydrates: 30gFiber: 1gSugar: 2gProtein: 4g
Leave a Reply