


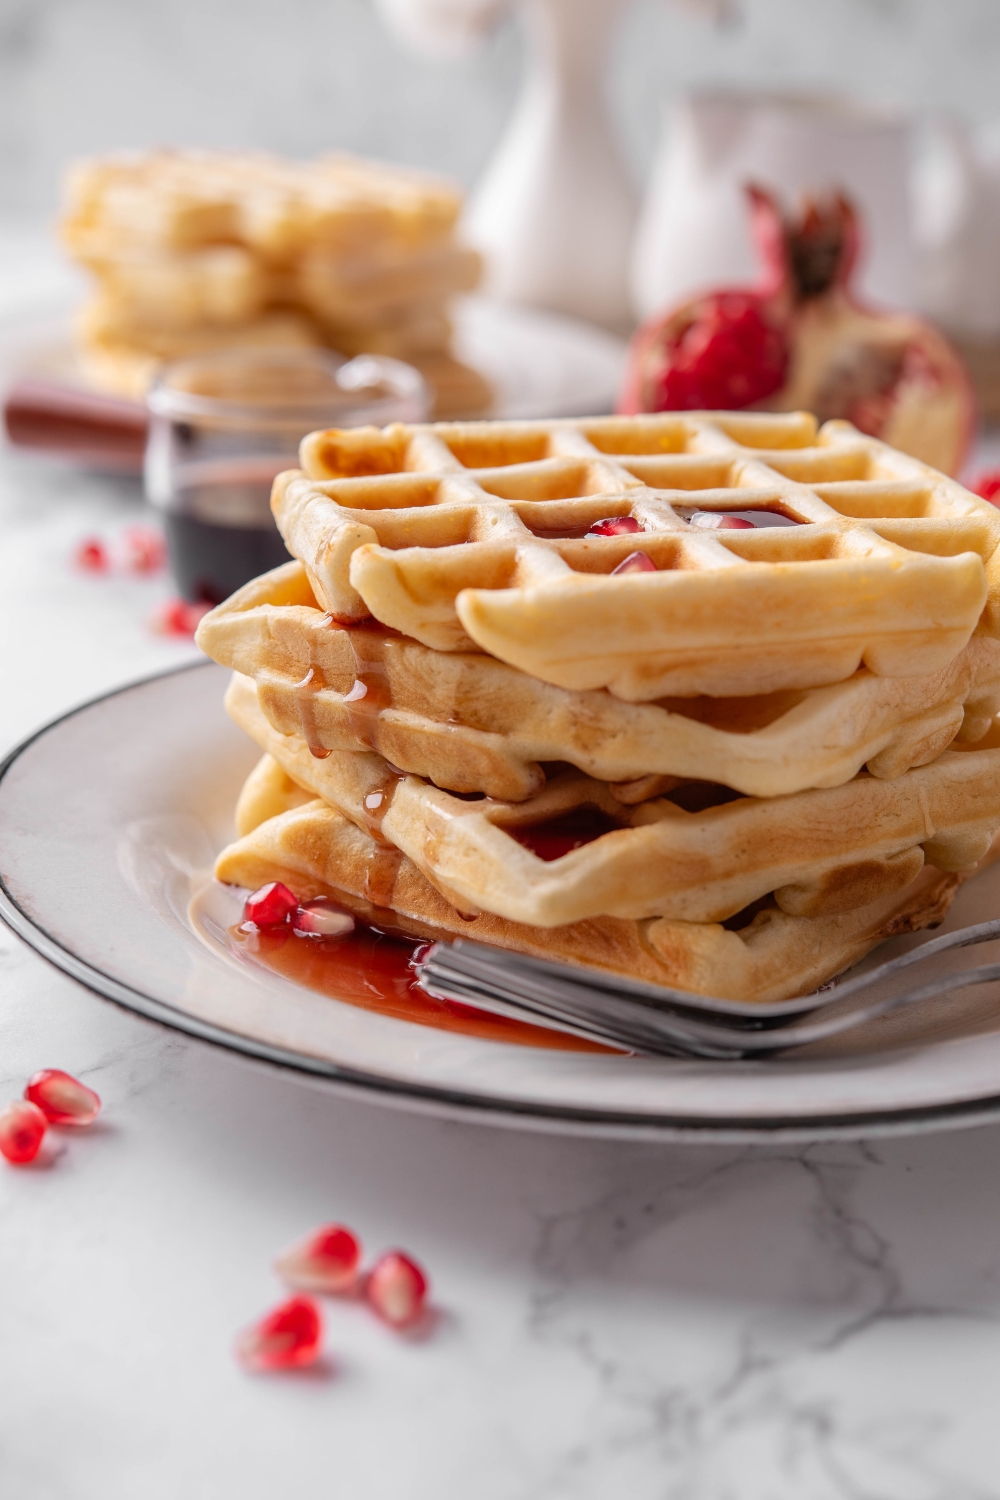
These Bisquick waffles have crisp, golden edges and soft, fluffy centers, with vanilla and a little sugar for extra flavor. Whole milk and vegetable oil give the batter richness, and everything comes together in one bowl. Serve them fresh with maple syrup, or freeze a batch to toast for an easy breakfast later.
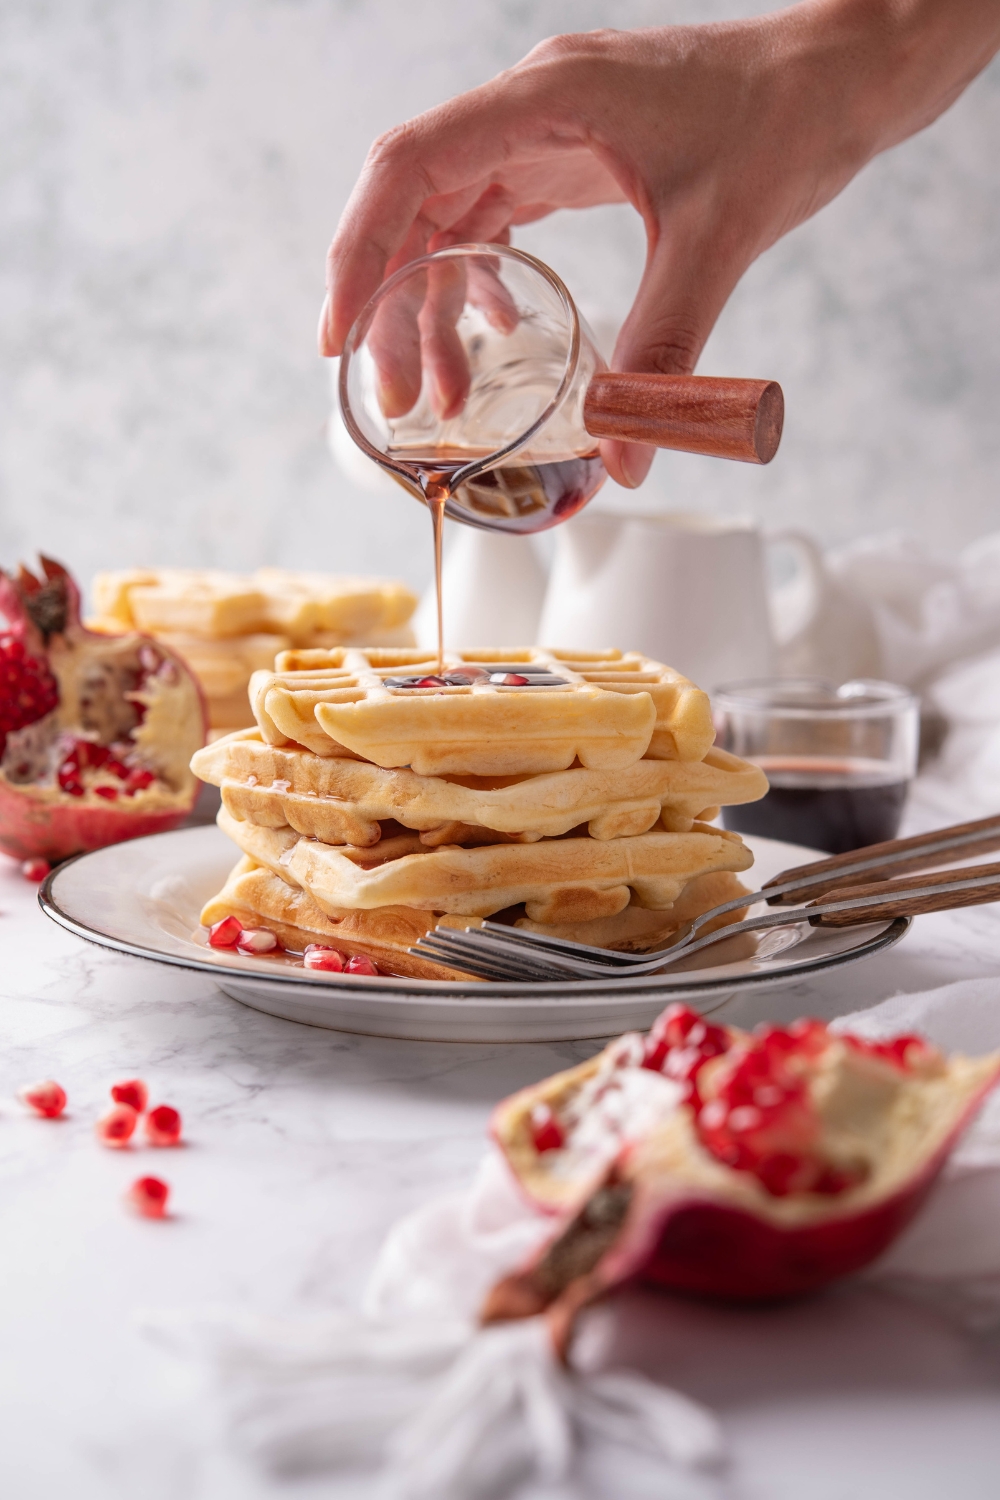
Table of Contents
Why You'll Love My Homemade Bisquick Waffles
There's something so nostalgic about the smell of homemade waffles in the morning. Honestly, they're probably my favorite breakfast food ever. That's why I'm so excited to share my easy Bisquick waffle recipe that makes the classic mix ten times better!
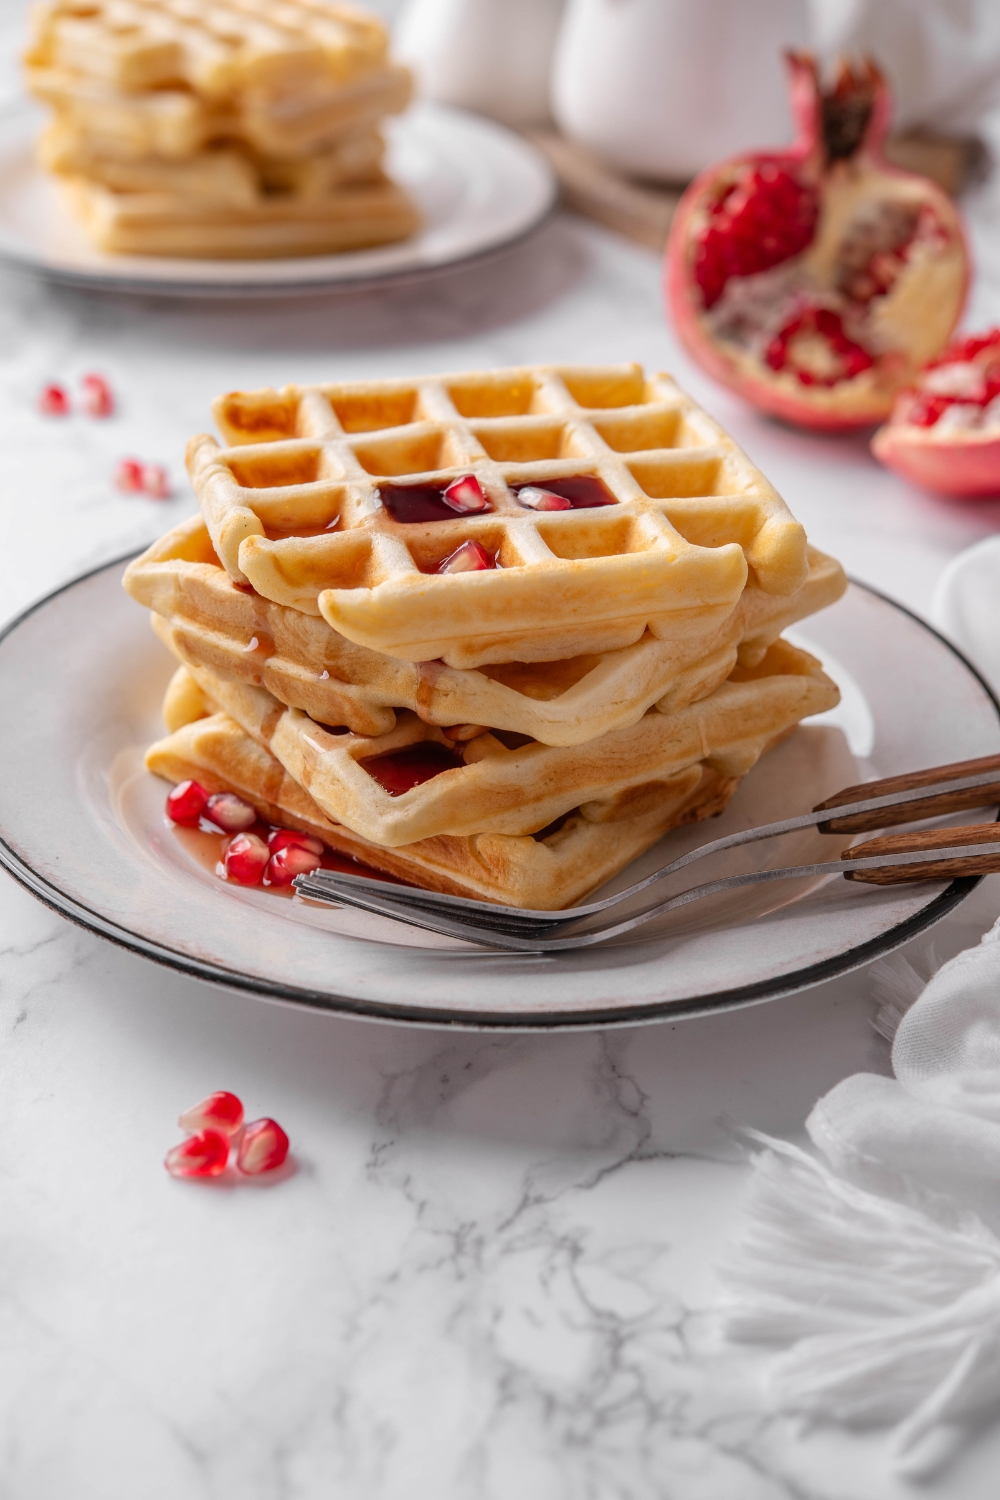
This recipe combines Bisquick mix with a few of my secret ingredients to make diner-worthy waffles. They have a golden brown and slightly crisp crust, yet pillowy soft inside. The texture is so good you don't even need maple syrup, but that certainly makes them even more delicious!
I love whipping up this recipe when I'm having friends over for brunch since it's simple to make but always blows everyone away.
Don't take my word for it though, here's what a reader who made these bisquick waffles had to say about them:
These waffles turned out so flavorful and perfectly crispy. So, so good. Will be making them again this weekend.
By the way, I use this recipe to complete my chicken and waffles recipe. It's honestly one of my favorite brunch recipes of all time. So, if you end up liking these waffles I highly recommend giving that recipe a shot sometime.
Bisquick Waffles Ingredients
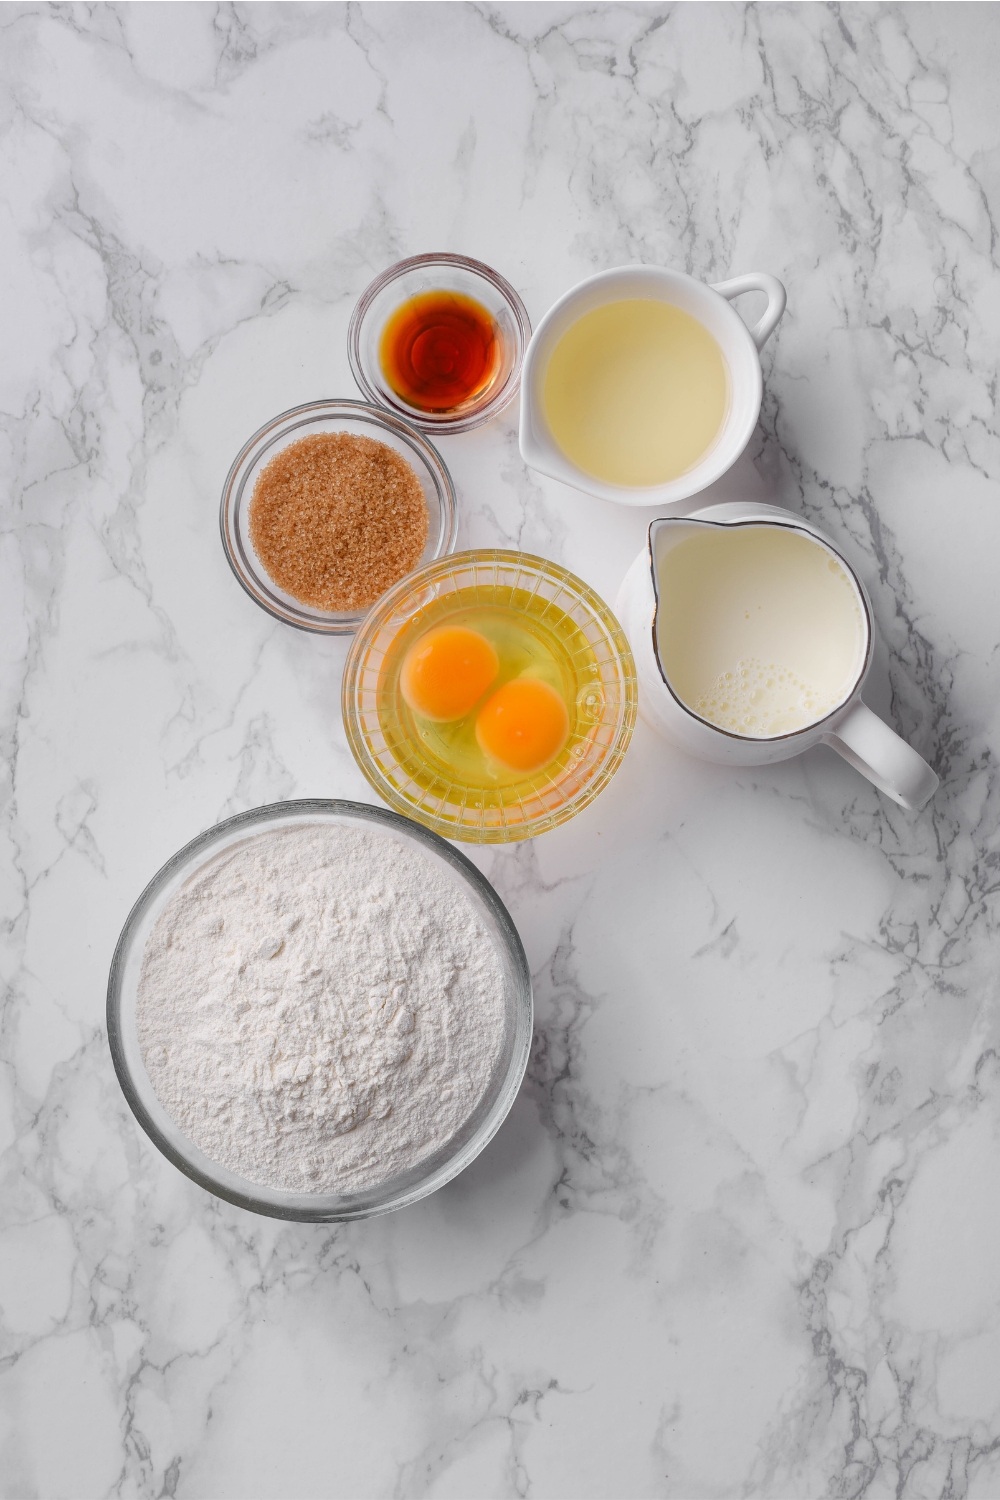
- 2 cups Bisquick Original Pancake & Baking Mix
- 1 cup whole milk
- 2 large eggs
- 1½ tablespoons sugar
- 3 tablespoons vegetable oil
- 1 teaspoon vanilla extract
- Butter and maple syrup, for serving (optional)
If you have leftover Bisquick mix, you have to make my Bisquick coffee cake next!
How to Make Waffles with Bisquick Mix
Step 1: Make the Waffle Batter
Preheat your waffle maker according to the manufacturer’s instructions.
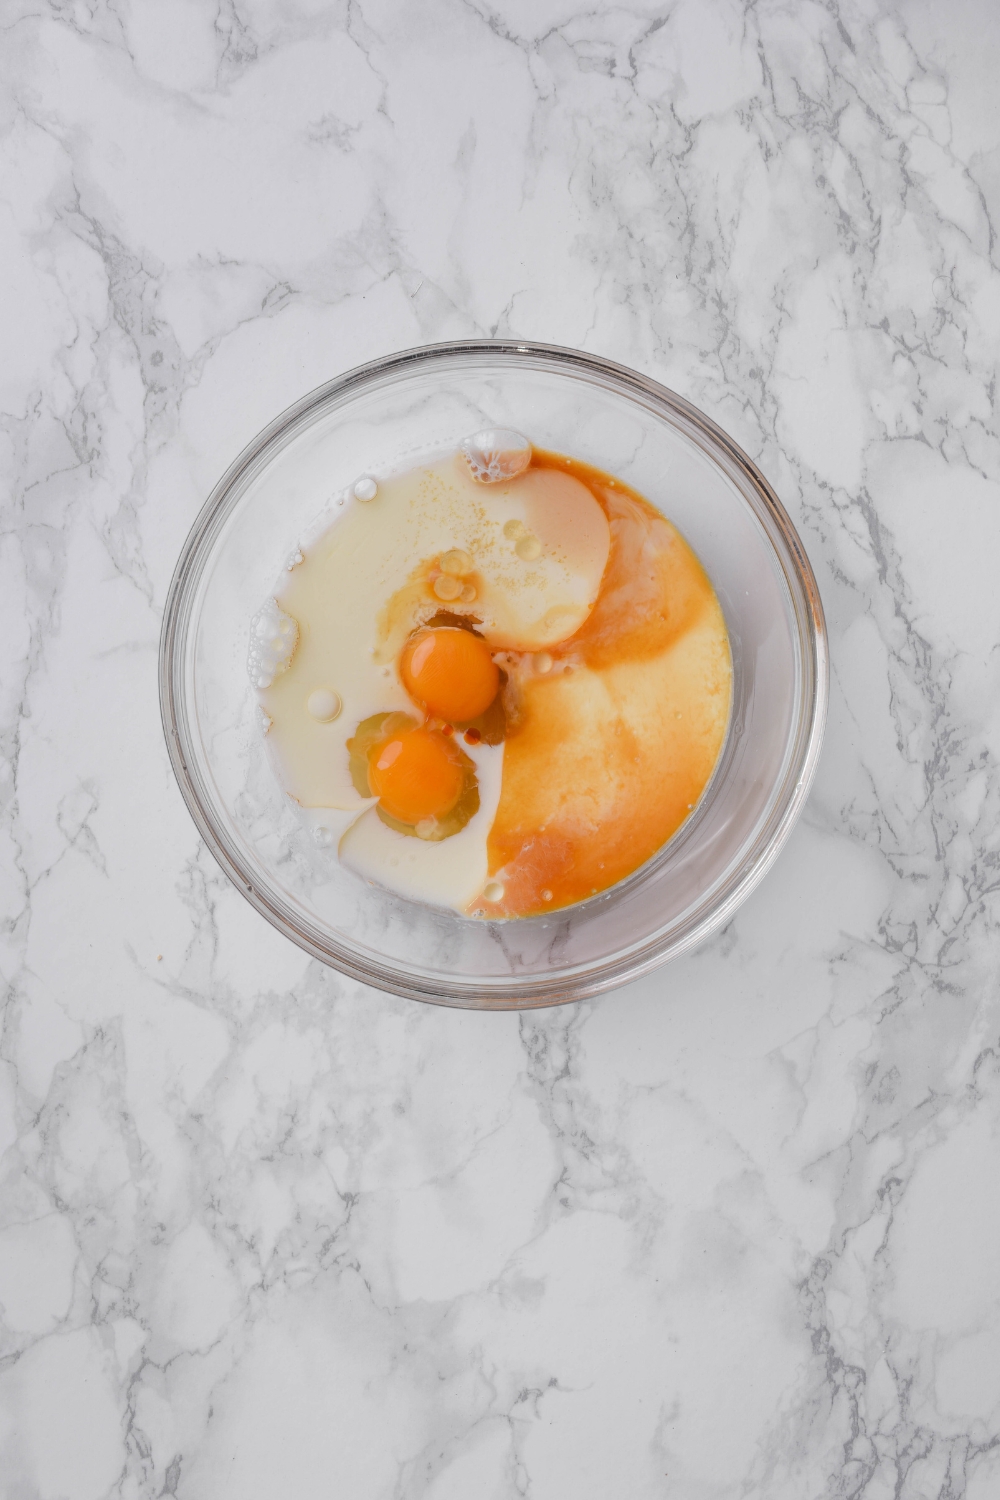
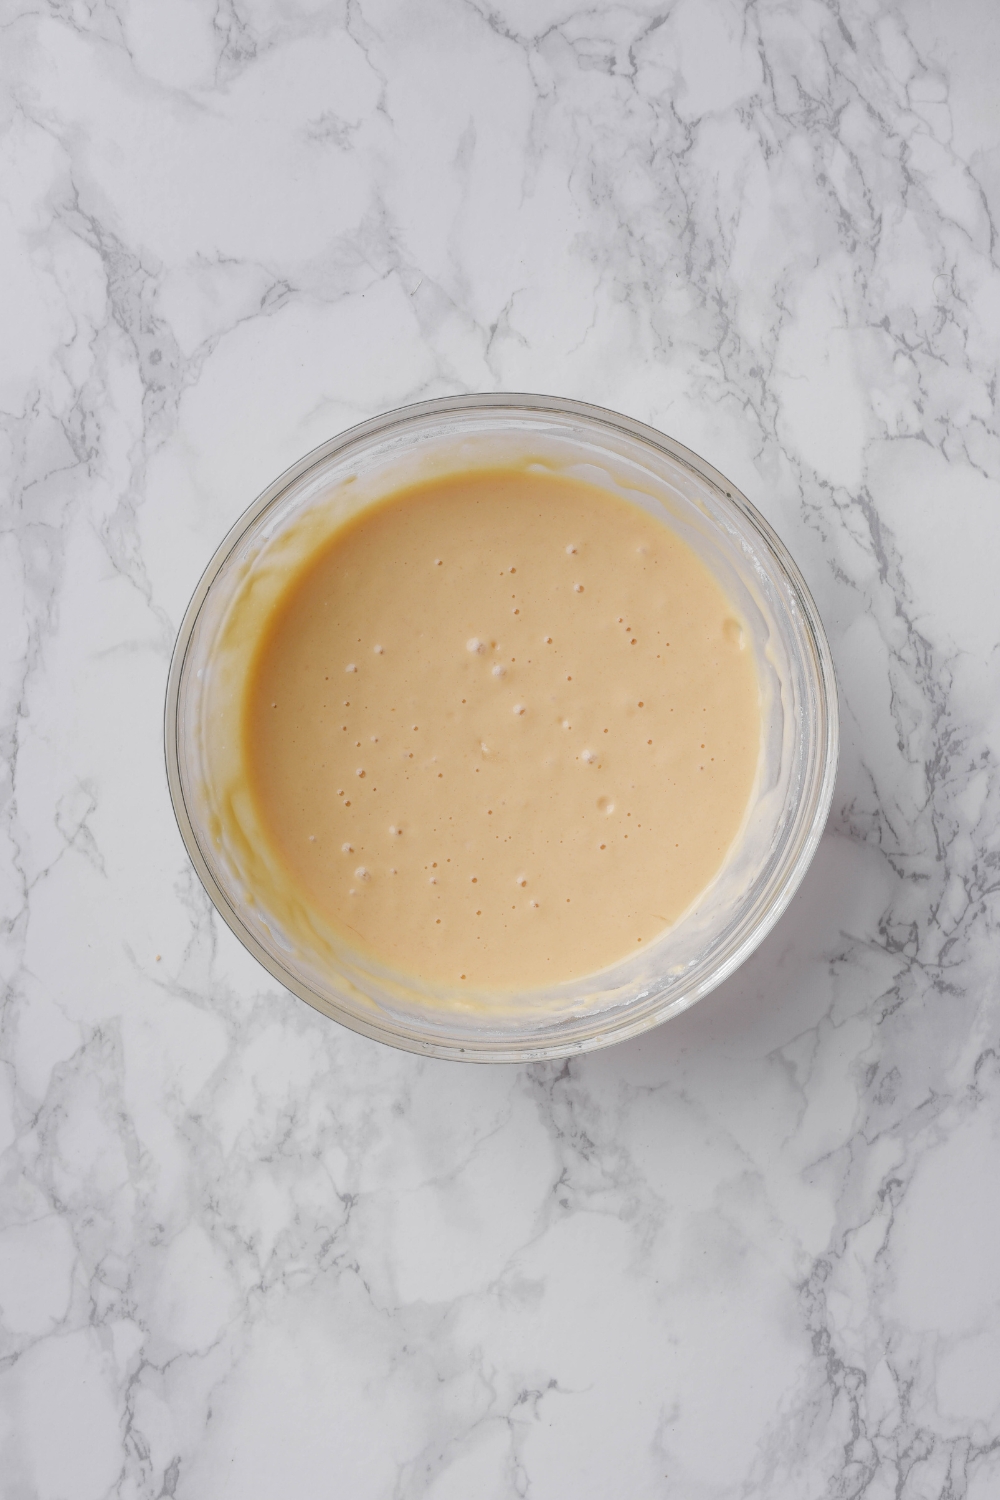
In a large bowl, whisk together the milk, eggs, sugar, vegetable oil, and vanilla extract. Add the Bisquick mix and gently stir just until combined. A few small lumps are fine, so don’t keep mixing until the batter is completely smooth. Let it rest for 5 minutes while the waffle maker heats.
Step 2: Cook the Waffles
If needed, lightly grease the waffle iron plates according to your machine’s instructions. Pour the recommended amount of batter into the center, leaving room for it to spread when you close the lid.
Close the waffle maker and cook until the waffles are golden brown and crisp. Follow your machine’s cooking indicator or recommended timing, since thicker waffles may take longer. Avoid opening the lid too early, which can pull the waffles apart.
Step 3: Serve
Transfer the cooked waffles to a wire rack. To keep them warm while you finish the batch, place them in a single layer on an oven-safe wire rack over a baking sheet in a 200°F oven. Avoid stacking them while they wait, since trapped steam softens the outside.
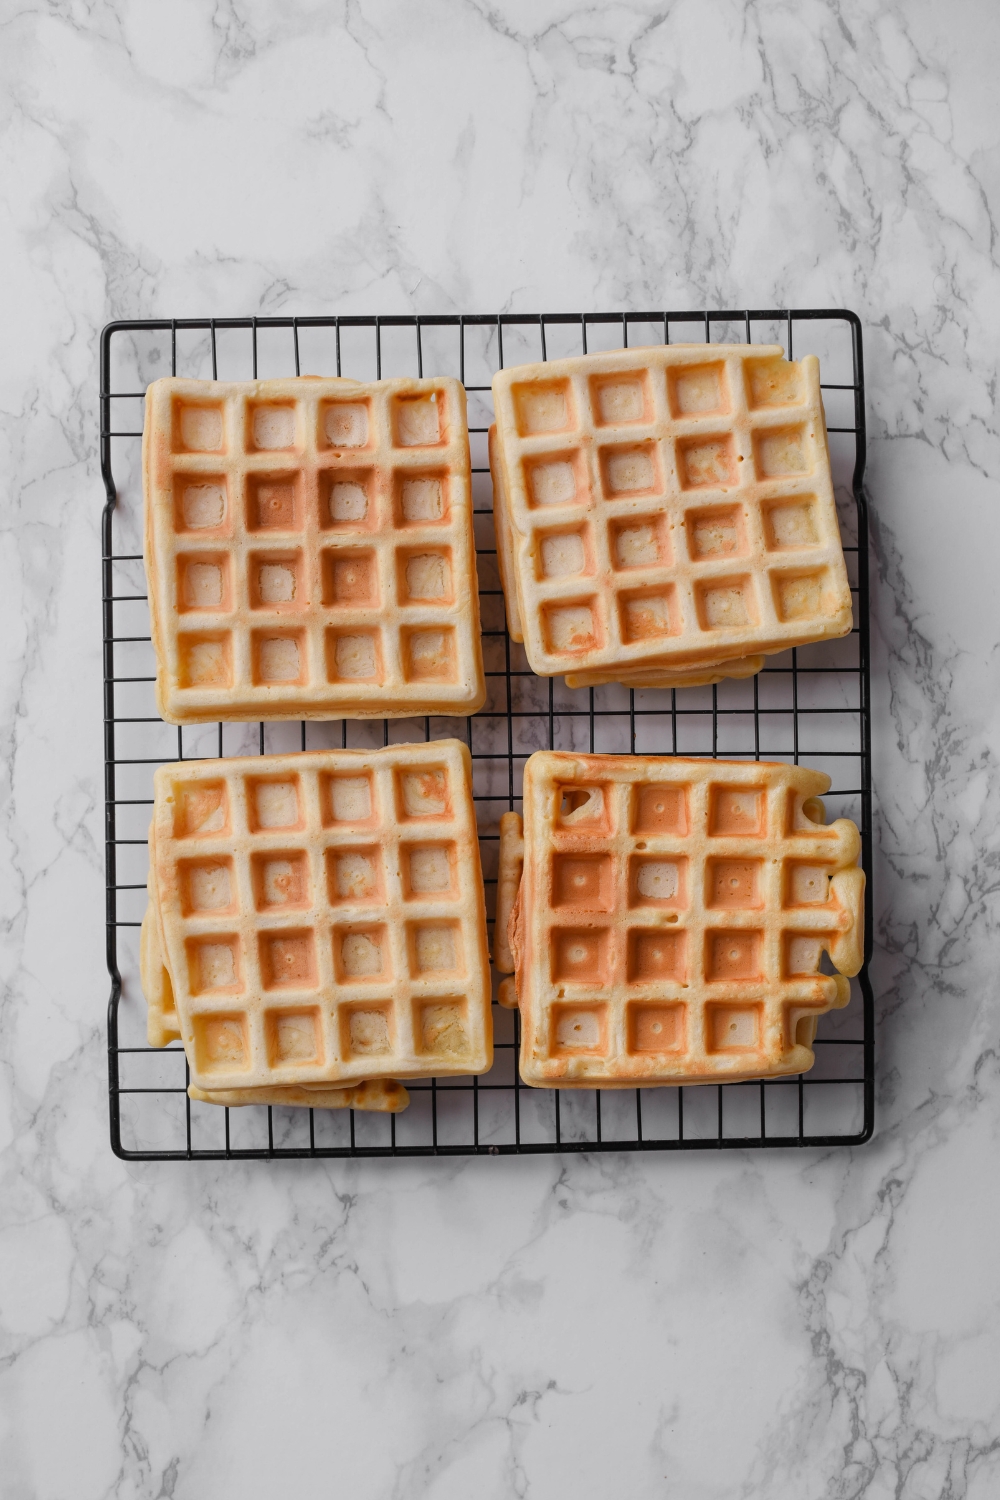
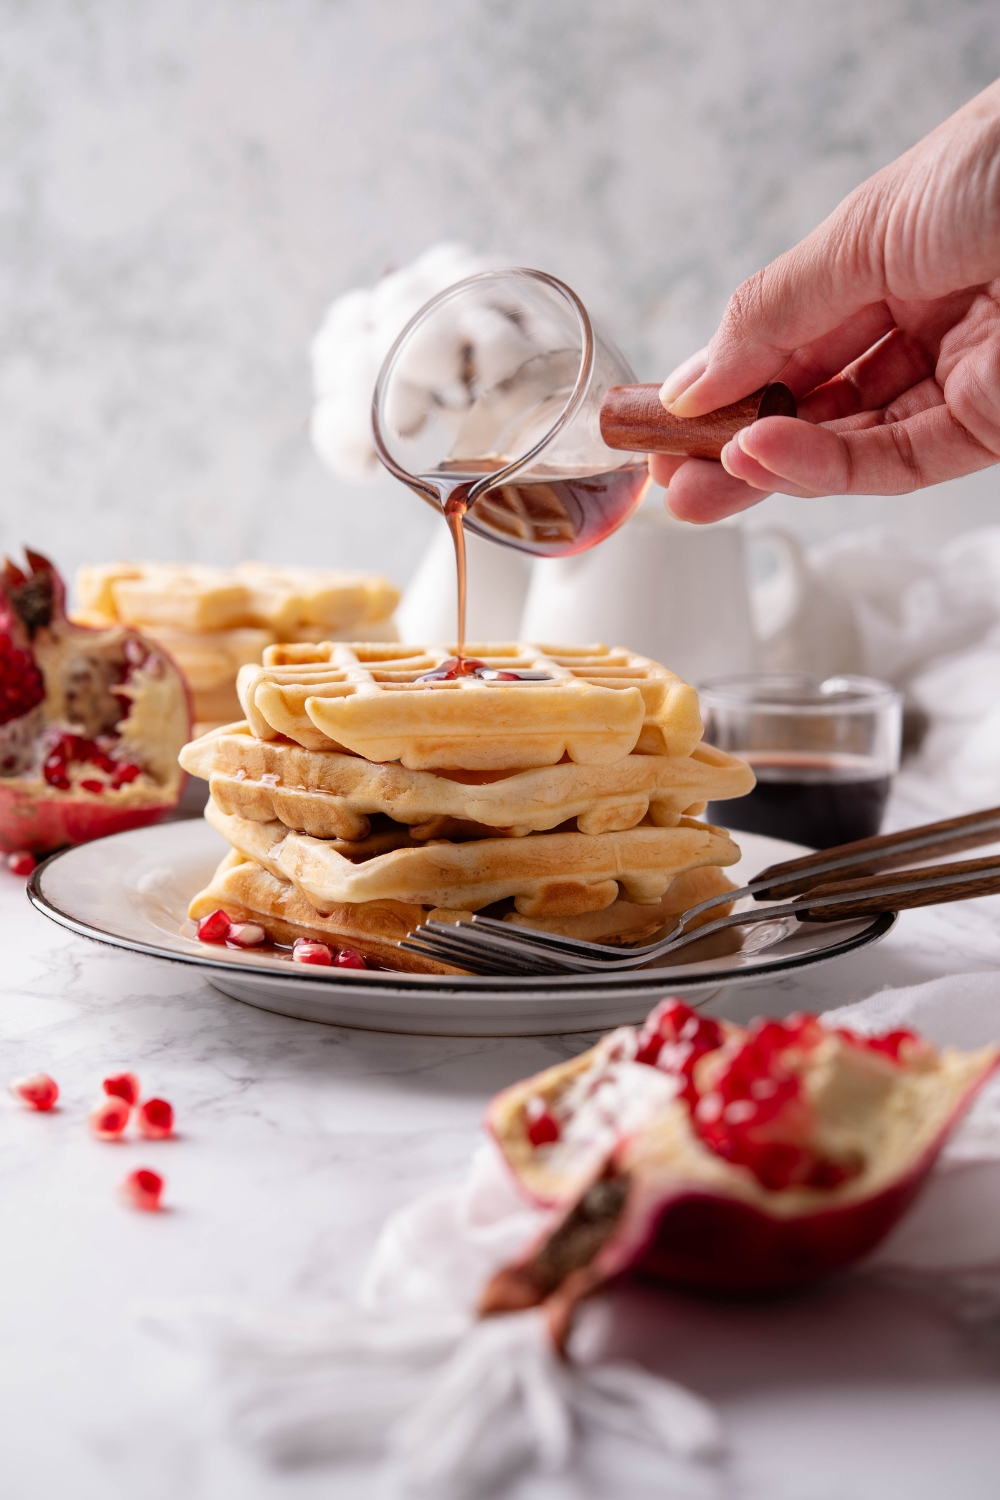
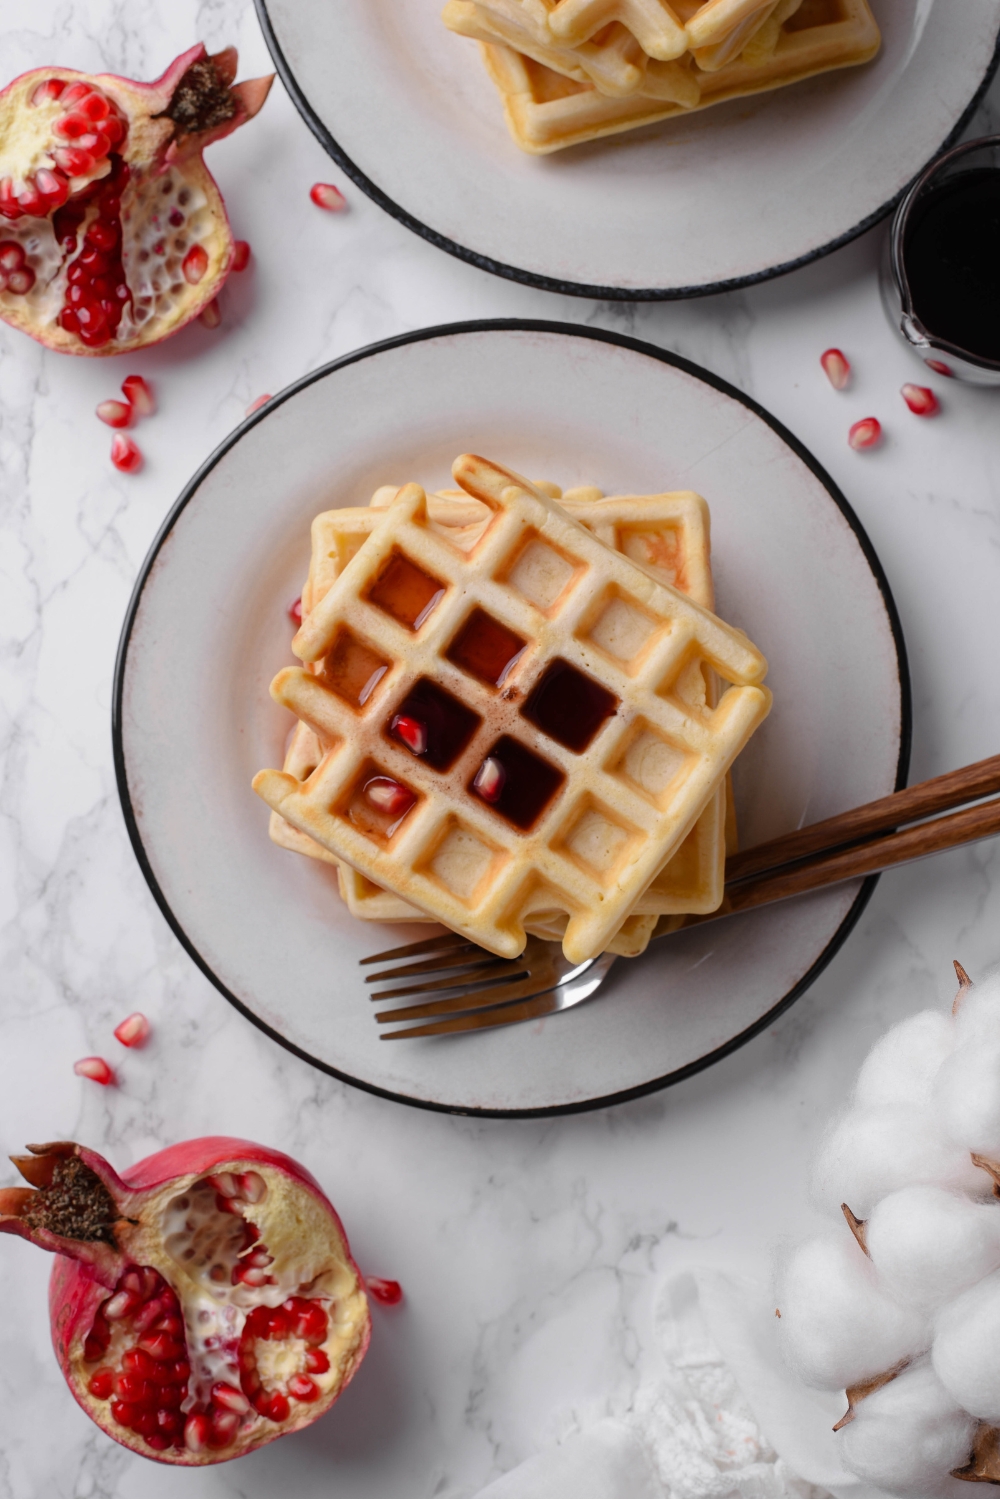
Repeat with the remaining batter, greasing the plates again if needed. Serve warm with butter, maple syrup, or your favorite toppings.
My Expert Tips for The Best Waffles with Bisquick Mix
- Spoon and level the Bisquick. Scooping directly from the box can pack too much mix into the cup, making the batter thicker and the waffles heavier. Lightly spoon it into your measuring cup, then level the top.
- Keep the oil in the batter. The 3 tablespoons of vegetable oil help create a crisp exterior and tender center. Greasing the waffle plates helps with release, but it doesn’t replace the oil mixed into the batter.
- Use the first waffle to adjust your settings. If it’s pale and soft, give the next one more cooking time. If the outside browns before the center cooks through, lower the heat setting slightly and cook longer.
- Let the waffle maker heat back up between batches. Adding batter before the plates recover their heat can give you uneven browning. Wait for the ready indicator before pouring the next batch.
- Add toppings right before eating. Syrup, fruit, and whipped cream soften the crisp exterior as they sit. Keep the waffles plain until they’re on the plate and ready to serve.

How to Store and Reheat Bisquick Waffles
- In the fridge: Let the waffles cool in a single layer on a wire rack, then transfer them to an airtight container. Refrigerate within 2 hours of cooking and use within 3–4 days. Store them without syrup, whipped cream, or other toppings.
- In the freezer: Once cooled, arrange the waffles on a baking sheet and freeze until firm. Transfer them to a freezer-safe bag, placing parchment paper between the waffles so they’re easy to separate. Press out excess air, label the bag, and freeze for up to 3 months for best quality.
- Reheating: For a quick breakfast, reheat plain waffles in a toaster or toaster oven until hot throughout and crisp. You can reheat them straight from frozen without thawing. For a larger batch, arrange the waffles in a single layer on an oven-safe wire rack over a baking sheet. Heat in a preheated 350°F oven, checking refrigerated waffles after 5 minutes; they’ll usually need about 5–10 minutes. Frozen or thicker waffles will take longer. Add toppings just before serving.
Bisquick Waffles FAQs
How do you make Bisquick waffles taste better?
Vanilla, a little sugar, and enough oil help improve the flavor and texture. This recipe uses 1 teaspoon of vanilla, 1½ tablespoons of sugar, and 3 tablespoons of vegetable oil for 2 cups of Bisquick. Whole milk adds richness, and a fully preheated waffle maker helps create a golden exterior.
Why aren’t my Bisquick waffles crispy?
The waffle maker may not be fully heated, or the waffles may need more cooking time. They can also soften when stacked because trapped steam moistens the crust. Cook until golden and crisp, then keep finished waffles in a single layer on a wire rack while you finish the batch.
Can I make these in a Belgian waffle maker?
Yes, but the batter amount, cooking time, and number of waffles will change. Belgian waffle makers have deeper plates and usually need more batter per waffle. Follow your machine’s filling instructions and cook until the center is set and the outside is golden.
Is Bisquick pancake batter the same as waffle batter?
The same Bisquick mix can make both, but the prepared batters aren’t necessarily the same. Waffle recipes typically include additional oil to help create a crisp exterior. Use the waffle ingredient amounts listed here rather than preparing the pancake recipe on the box.
Can I add mix-ins to Bisquick waffles?
Yes! For this batch, try gently folding in ¼–½ cup of mini chocolate chips, fresh blueberries, or finely chopped nuts. Start with one mix-in so you don’t overload the batter. For a spiced version, add ½ teaspoon of cinnamon or pumpkin pie spice. For toppings, try butter and maple syrup, fresh berries and whipped cream, or sliced bananas with a drizzle of chocolate sauce. Add toppings just before serving to keep the waffles crisp.
More Breakfast Recipes to Try
- Bisquick pancake recipe
- Bisquick breakfast casserole
- Dollywood cinnamon bread
- Brioche French toast casserole
- Crescent roll cinnamon rolls
- Mini waffles
- Oven hash browns
- Apple pancakes
Bisquick Waffles (Crispy and Fluffy)
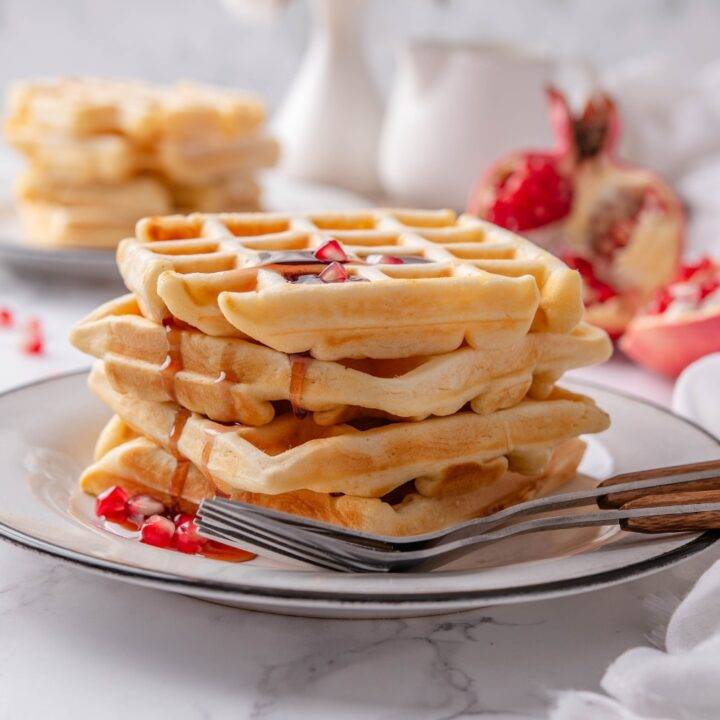
These Bisquick waffles have crisp, golden edges and soft, fluffy centers, with vanilla and a little sugar for extra flavor. Whole milk and vegetable oil give the batter richness, and everything comes together in one bowl. Serve them fresh with maple syrup, or freeze a batch to toast for an easy breakfast later.
Ingredients
- 2 cups Bisquick Original Pancake & Baking Mix
- 1 cup whole milk
- 2 large eggs
- 1 ½ tablespoons sugar
- 3 tablespoons vegetable oil
- 1 teaspoon vanilla extract
- Additional oil or cooking spray, for greasing the waffle maker if needed
- Butter and maple syrup, for serving (optional)
Instructions
- Preheat your waffle maker according to the manufacturer’s instructions.
- Combine the Bisquick mix, milk, eggs, sugar, vegetable oil, and vanilla in a large bowl. Gently whisk just until combined and no dry pockets remain. A few small lumps are fine. Let the batter rest for 5 minutes while the waffle maker heats.
- If your waffle maker requires greasing, lightly grease the plates using the method recommended by the manufacturer.
- Add the amount of batter recommended for your waffle maker, leaving room for it to spread when you close the lid. Cook until the waffle is golden brown and crisp, following your machine’s cooking indicator and instructions. Cooking time will vary with the waffle maker and waffle thickness.
- Transfer the cooked waffle to a wire rack. To keep it warm while cooking the remaining batter, place it on an oven-safe wire rack set over a baking sheet in a 200°F oven. Keep the waffles in a single layer.
- Repeat with the remaining batter, greasing the plates again if needed. Serve warm with your favorite toppings.
Notes
The number of waffles and total cooking time depend on your waffle maker’s size and how many waffles it cooks at once. Follow your machine’s recommended batter amount to prevent overflow.
Nutrition Information:
Serving Size:
1 waffleAmount Per Serving: Calories: 281Total Fat: 15.7gSaturated Fat: 4.1gTrans Fat: 0gUnsaturated Fat: 0gCholesterol: 60mgSodium: 536mgCarbohydrates: 31.5gFiber: 0gSugar: 6.2gProtein: 6.2g
Mary H
These waffles turned out so flavorful and perfectly crispy. So, so good. Will be making them again this weekend.
Lynn
These waffles were perfect