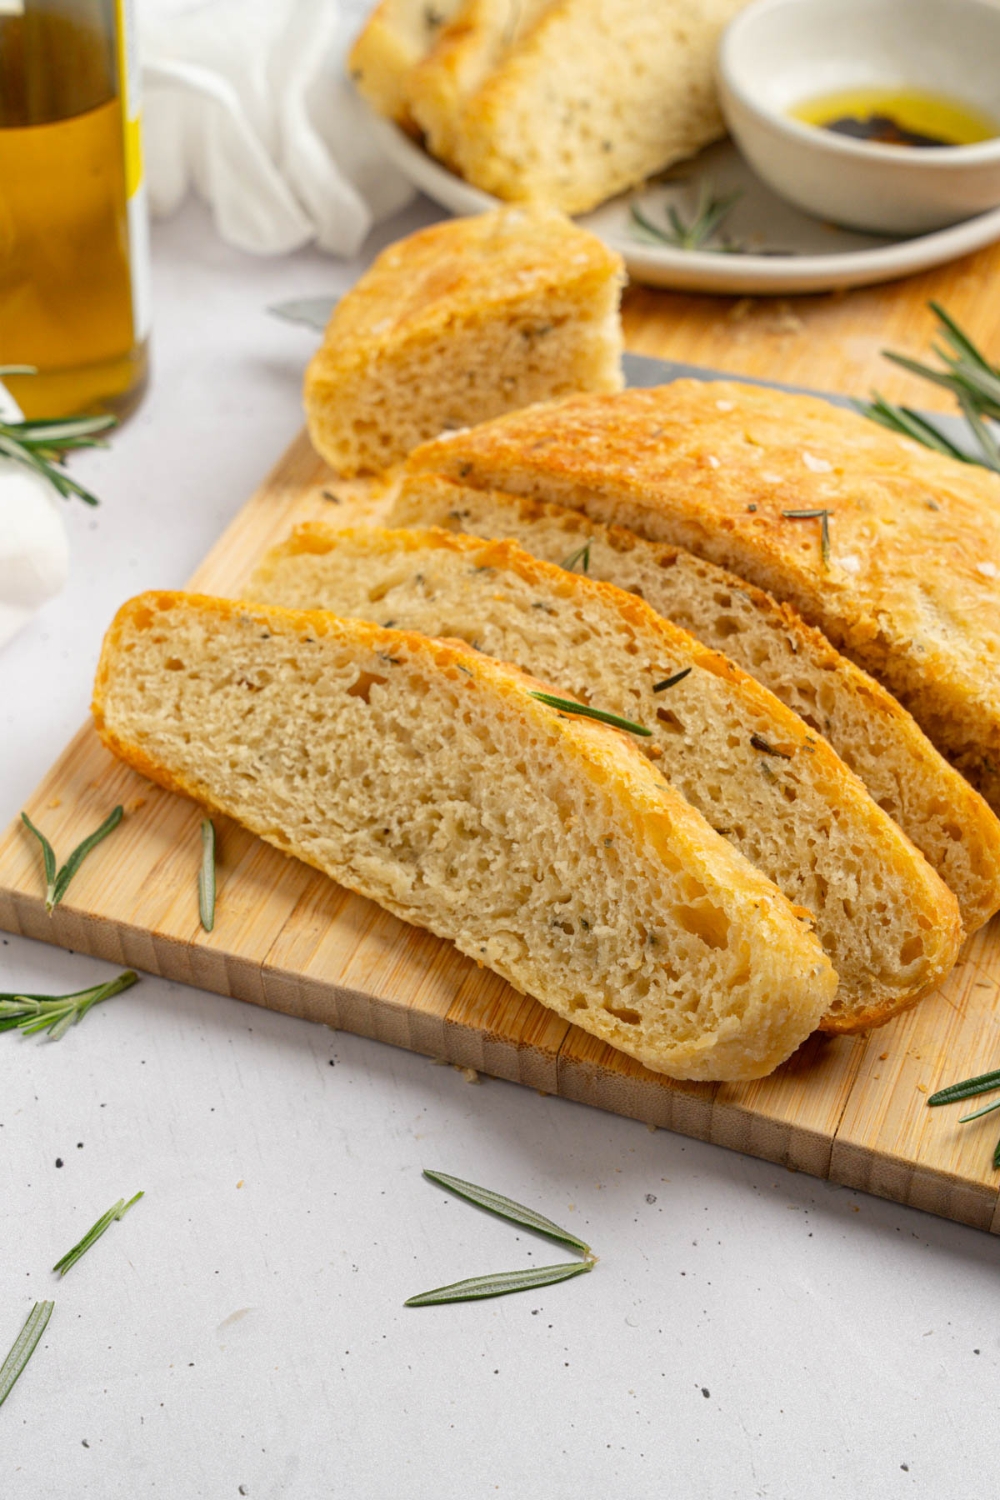
If you love no-knead bread for soup night or serve warm focaccia with pasta, this rosemary bread is your next go-to. It blends elements of my roasted garlic bread and friendship bread to create a rustic garlic rosemary bread that's to die for. It’s soft inside, crisp on the edges, and infused with fresh rosemary and garlic for the kind of flavor that makes the whole kitchen smell like a bakery. Just stir the dough together in five minutes before bed, let it rise overnight, and bake it in a hot cast iron skillet for a golden crust that cracks when you tear into it.
Table of Contents
Why I Love This Rosemary Bread Recipe
The secret to this rosemary bread’s incredible texture is the overnight rest. Instead of kneading, the yeast does the work for you—slowly developing gluten and creating big, airy pockets while the dough rises undisturbed on the counter. This no-knead method makes the dough easy to handle and gives the bread that perfect chewy interior without any special tools.
Baking it in a preheated cast-iron skillet is what takes it to the next level. The hot pan instantly crisps the bottom, giving you that golden, focaccia-style crunch that’s impossible to replicate in a cold dish. As it bakes, fresh rosemary and garlic infuse the loaf, creating an herb-perfumed crust that smells (and tastes) like something from a rustic bakery. It’s the kind of bread that feels fancy but couldn’t be easier to pull off—no stand mixer, no kneading, just time and a good pan.
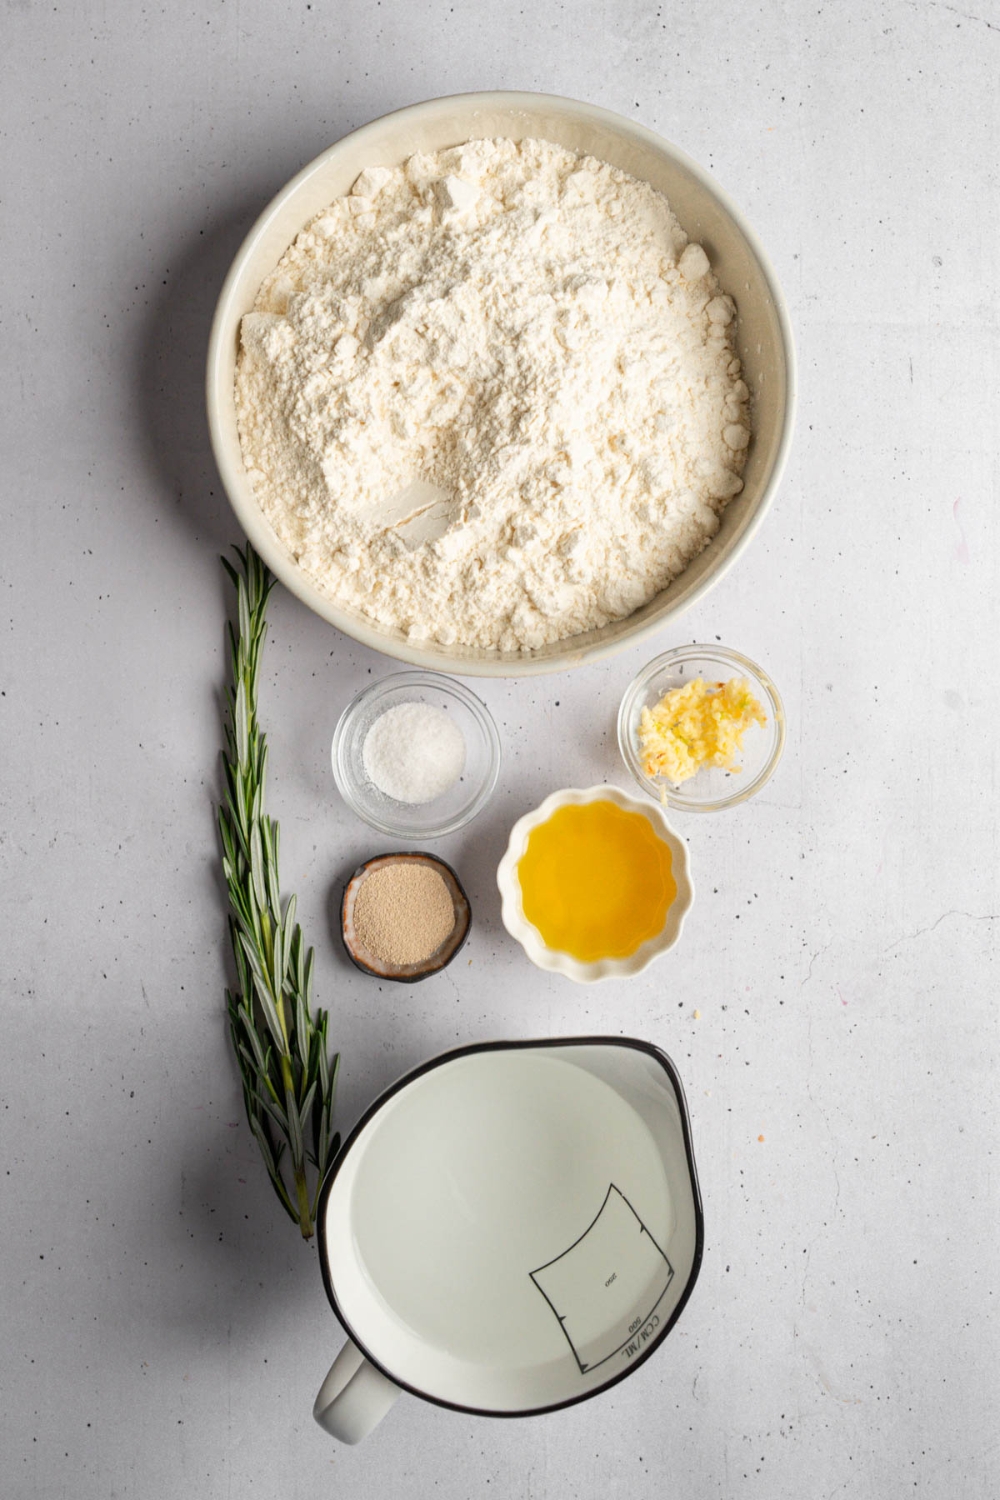
Ingredients You’ll Need
Dough:
3 ½ Cups (420 g) bread flour
1 ½ Cups (355 ml) lukewarm water
1 teaspoon instant yeast
2 teaspoon sea salt
2 teaspoon minced fresh garlic
1 tablespoon chopped fresh rosemary
Topping:
4 tablespoon olive oil, divided
½–1 tablespoon chopped fresh rosemary
½ teaspoon flaky sea salt
How To Make Rosemary Bread (Step-By-Step)
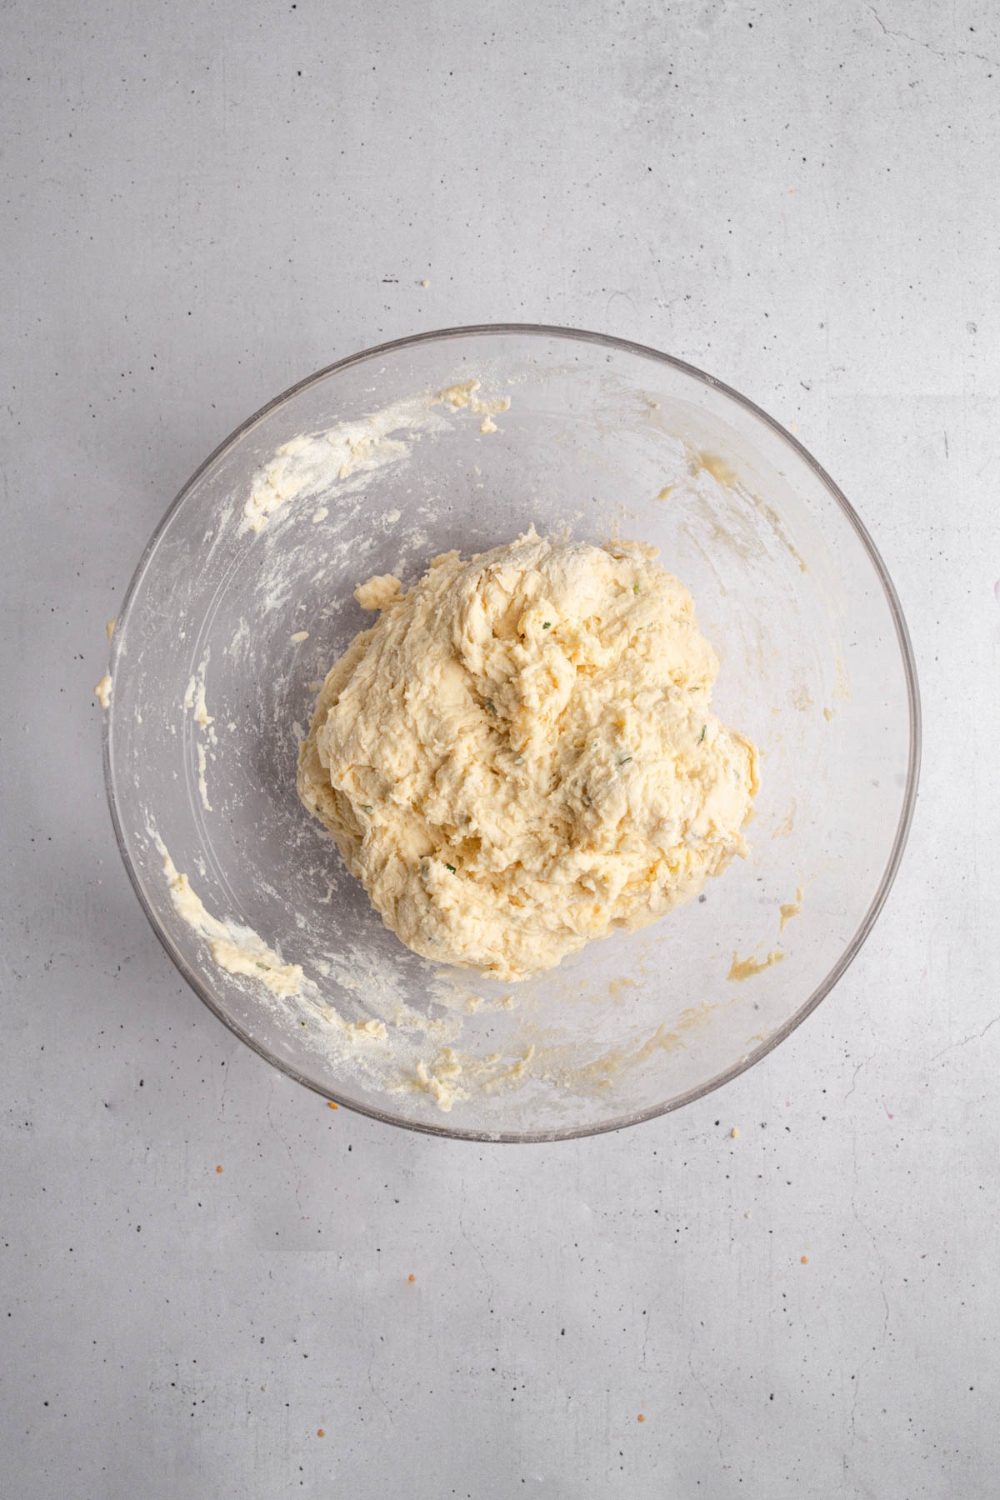
Step 1 – Mix & Rest
Stir the flour, salt, garlic, rosemary, and yeast together in a large bowl. Add the warm water, mix until a sticky ball forms, cover the bowl with plastic wrap, and let the dough rest on the counter for 12–18 hours.
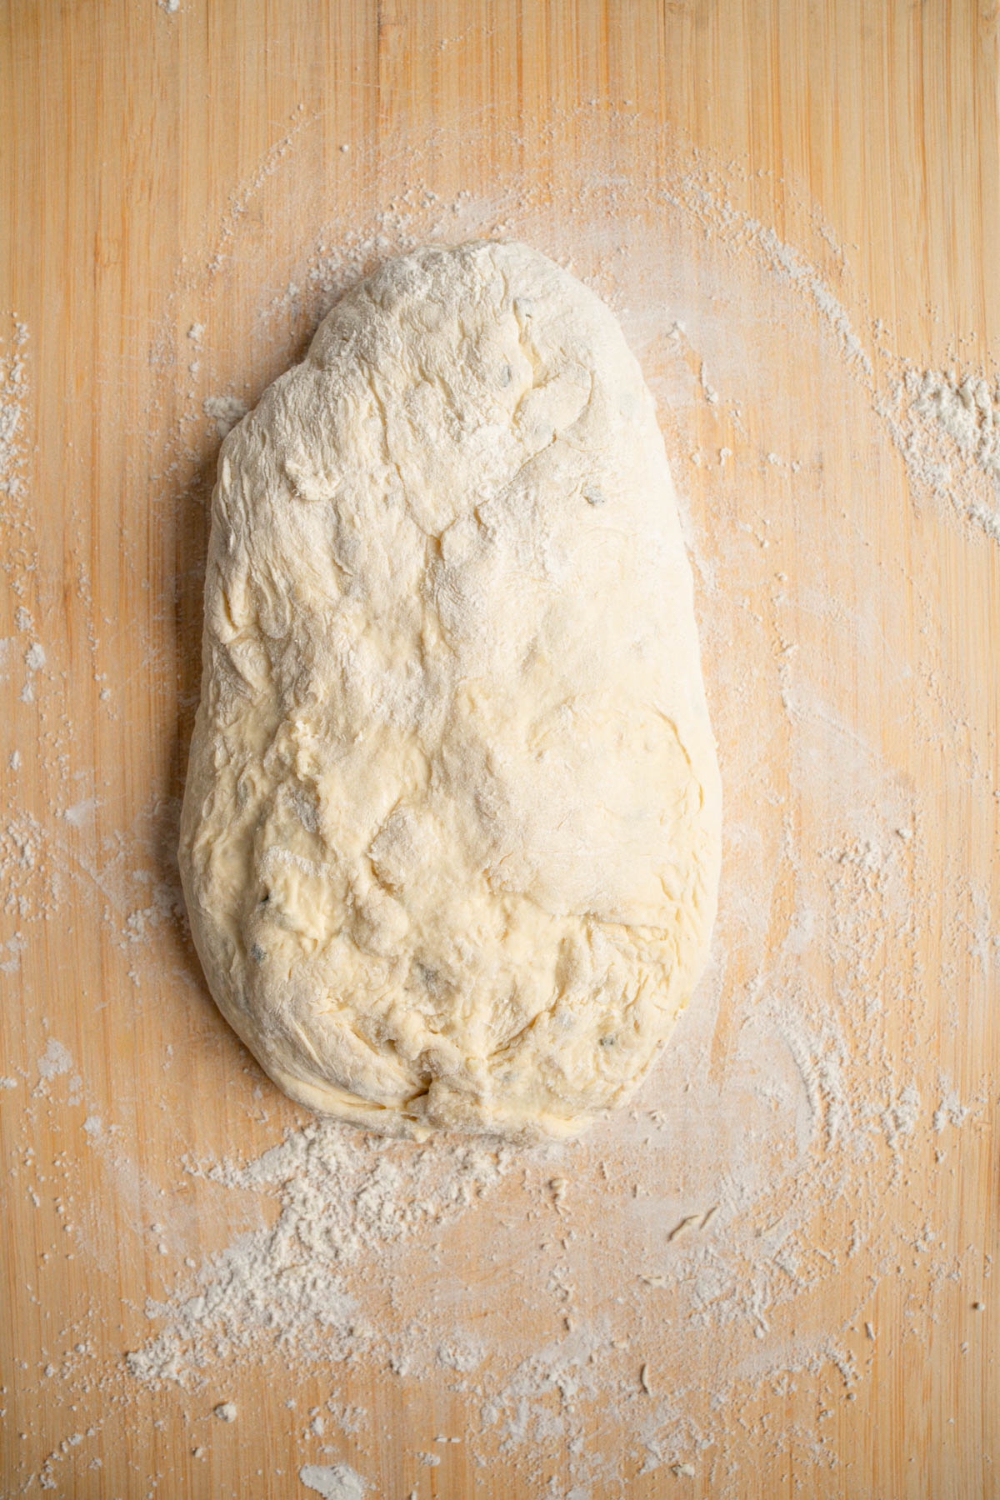
Step 2 – Fold & Shape
The next morning, dust the counter and your hands with flour, gently tip out the bubbly dough, fold its four “corners” toward the center, flip it seam-side down, and tuck it into a smooth round ball.
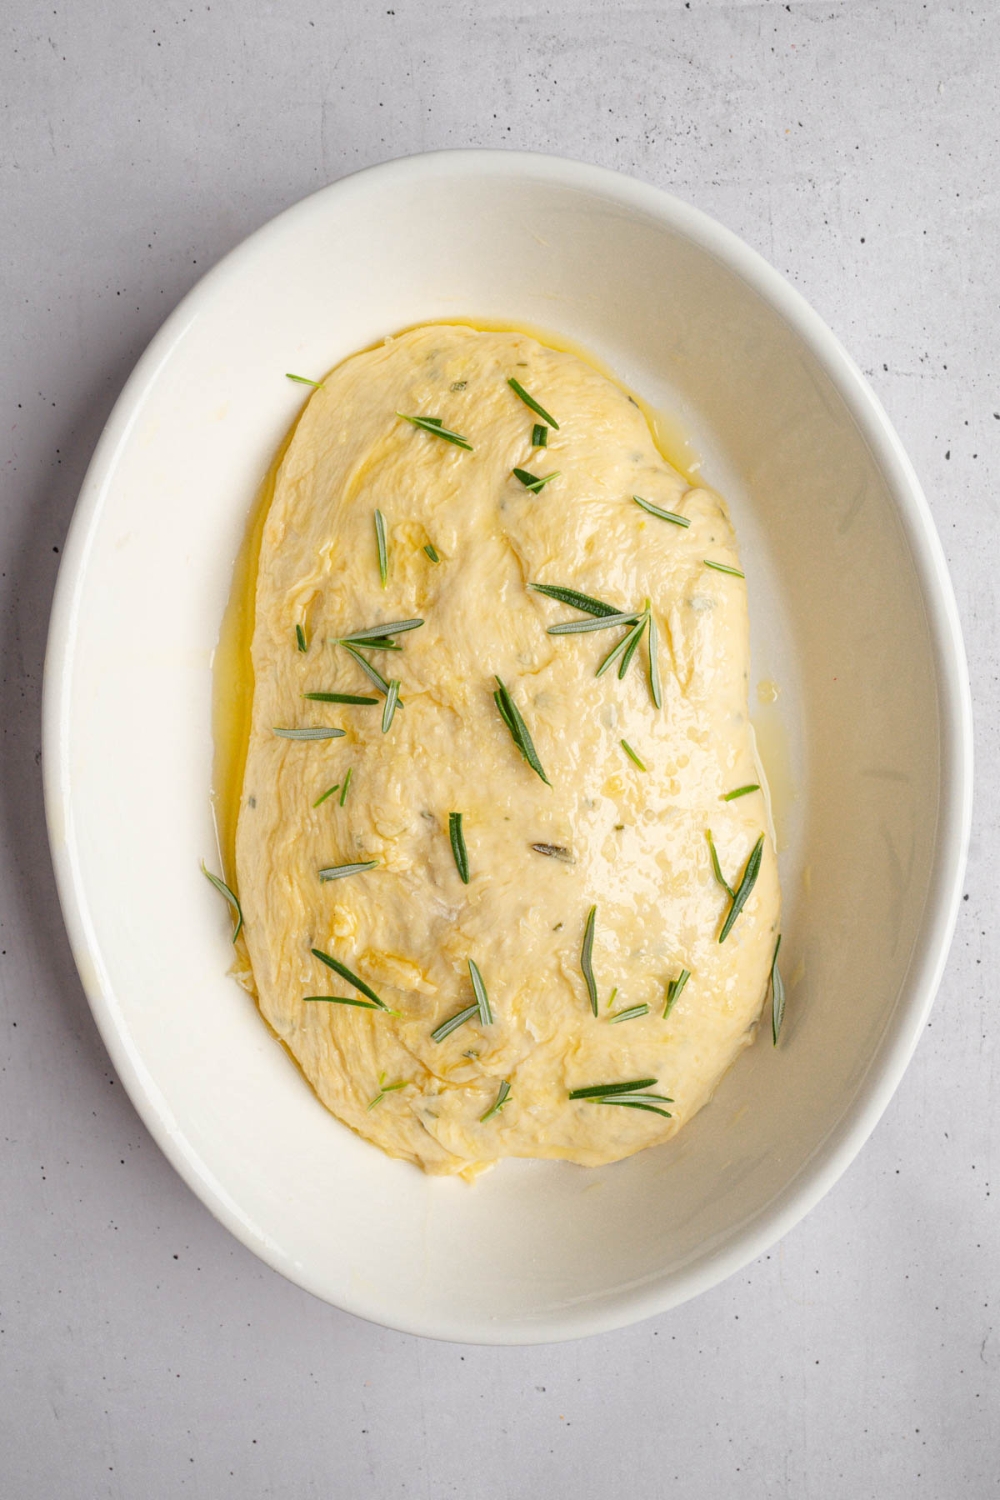
Step 3 – Pan Proof
Brush a cast-iron skillet with 2 tablespoons of olive oil, set the dough seam-side down in the pan, rub the top with 1 tablespoon of oil, sprinkle on the rosemary and flaky salt, cover loosely, and let it puff for 30–60 minutes while the oven heats to 425°F (220 °C).
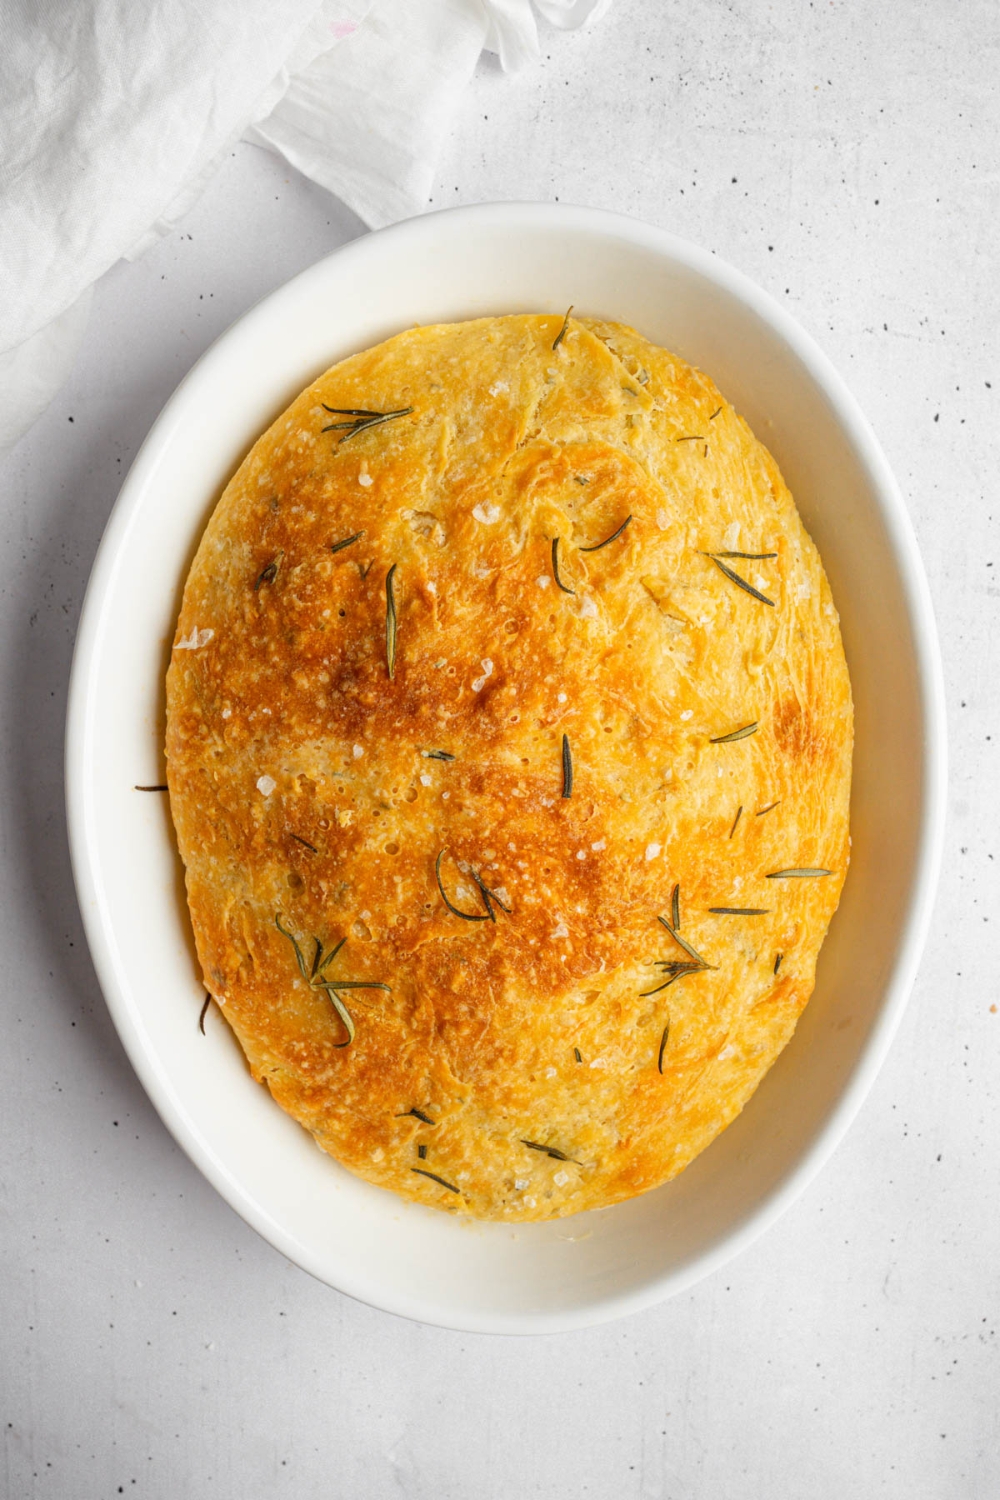
Step 4 – Bake
Slide the skillet onto the center rack and bake for 22–28 minutes, until the crust is deep golden brown and the loaf sounds hollow when tapped.
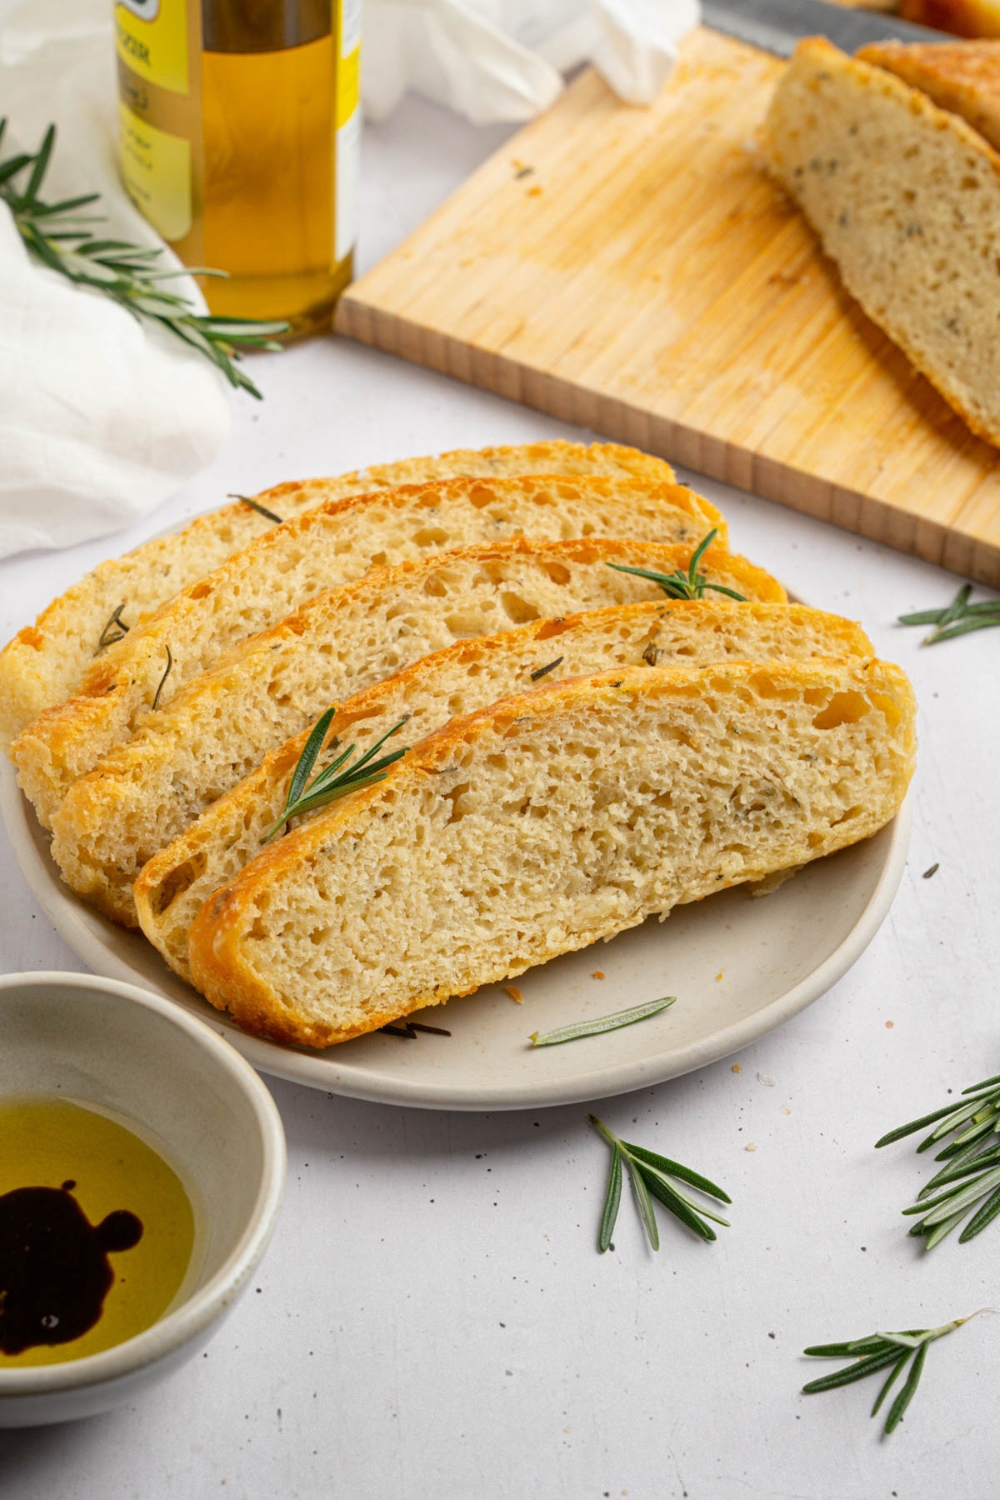
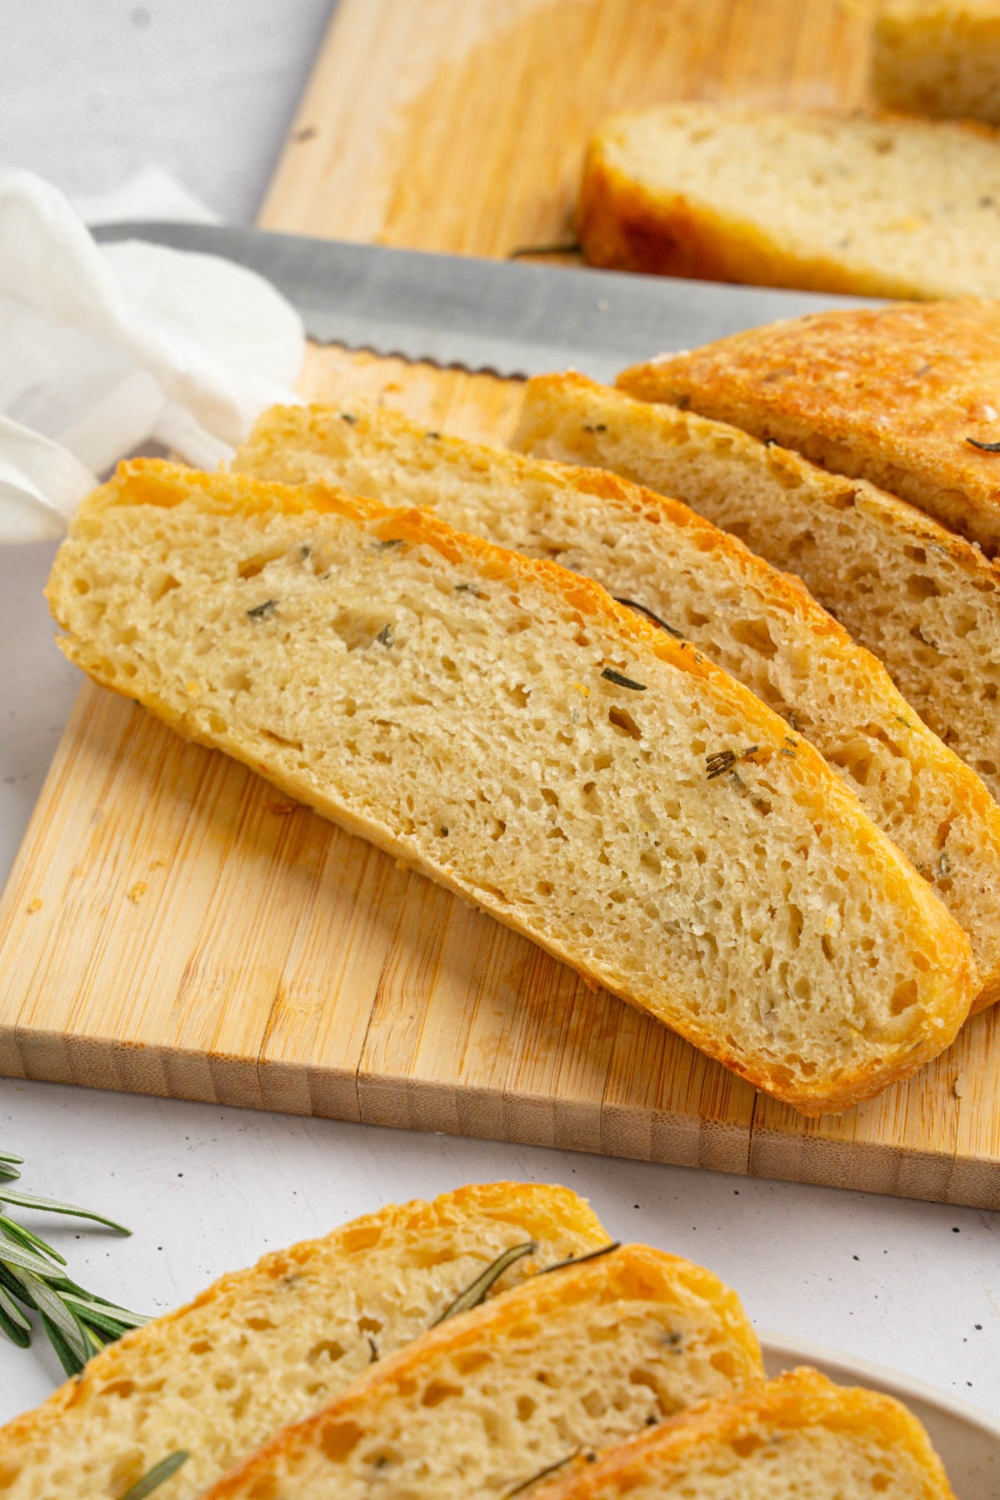
Step 5 – Cool & Slice
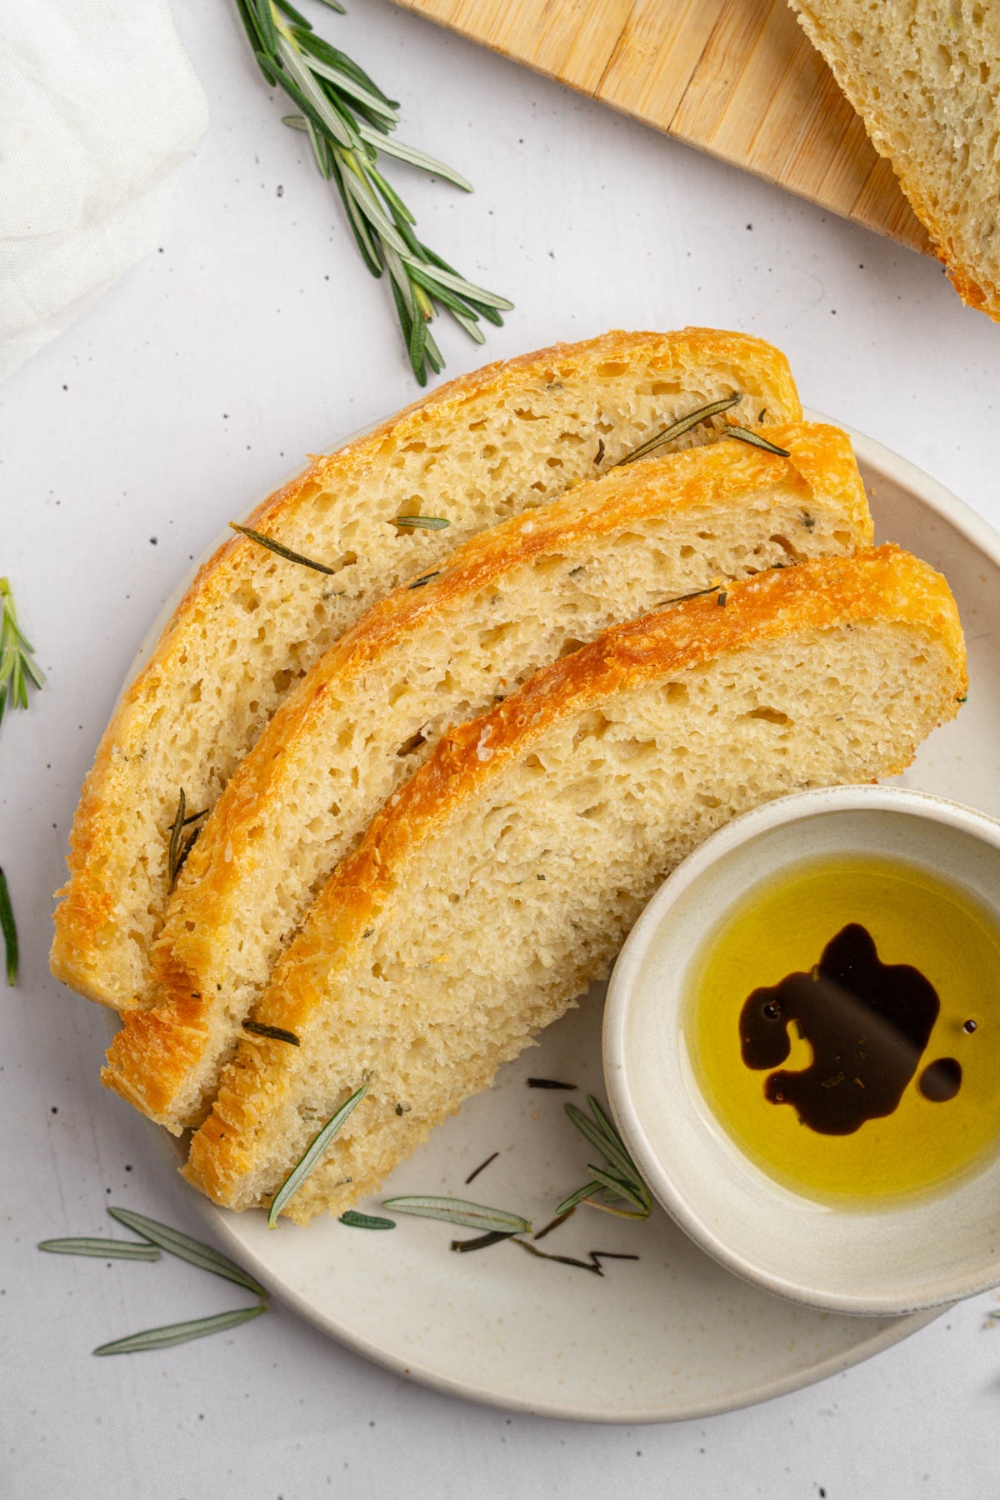
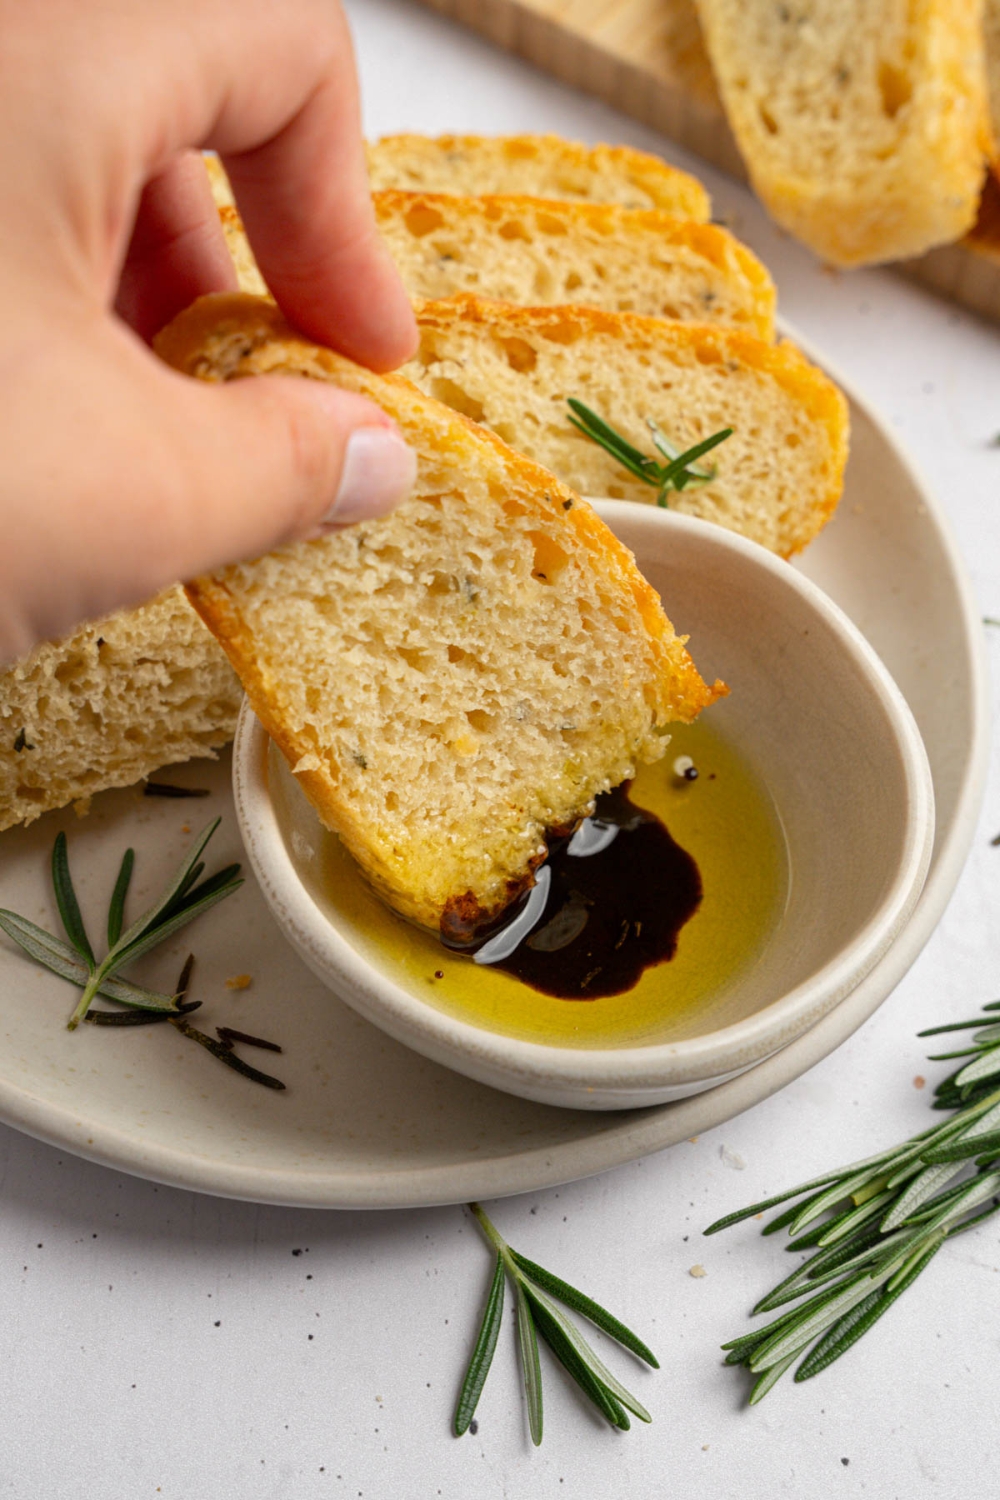
Transfer the bread to a rack, drizzle the remaining tablespoon of olive oil over the crust, wait about 15 minutes so the crumb can set, then slice and serve.
My Expert Tips for The Best Garlic Rosemary Bread
Long Rest Builds Stretchy Bread – While the dough “sleeps,” the yeast gets to work—slowly building up gluten networks that make the bread chewy and flexible without any kneading. The longer the nap, the better the stretch (and the bigger the rise).
Sticky Dough Makes Big Holes – Don’t panic if the dough feels a little sticky—extra hydration means more steam during baking, which creates those gorgeous, bakery-style holes inside the loaf. It’s what gives no-knead bread its signature fluff.
Hot Pan Crunch Trick – A sizzling cast-iron skillet does more than hold the shape—it gives the bottom crust a head start. The dough hits the hot surface and instantly sears, creating a golden, crackly crust that rivals restaurant focaccia.
Garlic Gets Sweet Overnight – Letting minced garlic rest in the dough overnight takes off its raw edge. By morning, it’s mellowed and softened, giving the bread a cozy, roasted flavor without overpowering the rosemary.
Rosemary Turns The Kitchen into a Bakery –As the loaf bakes, fresh rosemary releases essential oils that make the entire kitchen smell like you’ve got a wood-fired oven going. It’s earthy, aromatic, and the perfect pairing with garlic and olive oil.
Flaky Salt for a Finishing Touch – A little sprinkle of flaky salt right before baking creates crisp, salty sparkles on top. It gives each bite contrast and crunch—like sea salt on a chocolate chip cookie, but savory.
Rest Before Slicing – It’s tempting to dig in right away, but letting the bread rest for at least 15 minutes after baking keeps the structure intact and helps the interior set. Slice too early, and you’ll squish the steam right out.
Easy Variations for Your Rosemary Bread
Cheesy Crust: Right before baking, sprinkle about ¼ cup of grated Parmesan over the top of the oiled dough. As it bakes, the cheese melts into a crispy, golden layer that adds a salty, nutty bite to every slice. It’s like garlic bread and focaccia had a very good baby.
Olive Twist: For a Mediterranean feel, fold ¼ cup of chopped olives (Kalamata or green work great) into the dough when you add the rosemary. The briny olives give each bite a burst of flavor and make the bread feel fancy—even though it’s still no-knead and zero stress.
Everything Spice: Instead of flaky salt, sprinkle 1 tablespoon of everything bagel seasoning over the dough before baking. It gives you a garlicky, oniony crunch that’s amazing with cream cheese or alongside eggs in the morning.
Garlic Rosemary Bread FAQs
Can I use all-purpose flour instead of bread flour?
Yes! All-purpose flour works great for this no-knead rosemary bread. Just reduce the water by about 1 tablespoon if the dough feels too loose or runny. Bread flour has more protein, which gives extra chew, but you’ll still get a beautiful loaf with AP flour.
What if I forgot the overnight rise?
No worries—you can still make it. Use warm water (about 100–110°F) and let the dough rise in a warm spot for about 3 hours, or until doubled in size. The flavor won’t be as developed as the overnight version, but it’ll still be delicious and crusty.
How should I store leftover rosemary bread?
Once the bread has fully cooled, wrap it in foil or beeswax wrap and store at room temperature for up to 2 days. To refresh that crispy crust, warm individual slices in a 350°F oven for about 5 minutes before serving.
Can I freeze rosemary garlic bread?
Definitely. Let the loaf cool completely, then wrap it tightly in plastic wrap and foil. Freeze for up to 2 months. When ready to enjoy, thaw at room temperature and warm in a 325°F oven for 10 minutes to bring back that just-baked texture.
What if my dough feels too wet or too dry?
This dough should be soft and slightly sticky—but not soupy. If it’s too wet, sprinkle in 1 tablespoon of flour at a time until it comes together. If it’s too dry or crumbly, add a splash of water and mix gently until smooth and pliable.
My Final Thoughts
This garlic-rosemary bread proves you don’t need kneading or fancy techniques to make something bakery-worthy at home. Just mix the dough tonight, let it rest overnight, and bake it tomorrow for a crusty, herby loaf that makes your whole kitchen smell incredible. The flavor is bold but balanced, the crust shatters in the best way, and the no-fuss method makes it a repeat-worthy recipe.
Feel free to make it your own—add-ins like Parmesan, olives, or roasted garlic are always welcome. And if you try a new variation, I’d love to hear how it turned out! So make sure to leave a comment and review below.
If you love no-knead bread for soup night or serve warm focaccia with pasta, this rosemary bread is your next go-to. It blends elements of my roasted garlic bread and friendship bread to create a rustic garlic rosemary bread that's to die for. It’s soft inside, crisp on the edges, and infused with fresh rosemary and garlic for the kind of flavor that makes the whole kitchen smell like a bakery. Just stir the dough together in five minutes before bed, let it rise overnight, and bake it in a hot cast iron skillet for a golden crust that cracks when you tear into it.
Prep Time30 minutes
Cook Time28 minutes
Additional Time25 minutes
Total Time1 hour23 minutes
Ingredients
3 ½ cups bread flour
2 teaspoon sea salt
2 teaspoon fresh minced garlic
1 tablespoon fresh rosemary, roughly chopped
1 teaspoon yeast
1 ½ cups lukewarm water
4 tablespoon olive oil divided
½ - 1 tablespoon fresh rosemary
½ teaspoon flaky sea salt
Instructions
1. In a large bowl, combine bread flour, salt, minced garlic, chopped rosemary, and instant yeast.
2. Pour in the water and stir until everything comes together into a sticky, shaggy dough. Adjust with a bit more flour or water if needed to get the right consistency.
3. Once fully mixed, cover the bowl with plastic wrap and leave it at room temperature overnight to rise.
4. By the next day, the dough should be bubbly and doubled in size. Lightly flour your work surface and your hands.
5. Gently turn the dough out onto the floured area. Imagine the dough has four corners—fold each one toward the center to create a rough round shape with a seam on top. Flip it so the seam is underneath.
6. Using cupped hands, gently rotate and pull the dough against the surface to create a smooth, tight ball.
7. Coat a cast iron skillet with olive oil (you can also use a baking sheet or pizza stone). Place the dough seam-side down in the pan, then rub the top with more olive oil to coat. Sprinkle with flaky sea salt and extra rosemary.
8. Cover loosely and let it rest for 30 to 60 minutes while the oven preheats to 425°F (220°C).
9. Once the dough has puffed up by about half its size, place the pan in the oven and bake for 22 to 28 minutes, or until the top is a rich golden brown.
10. Allow the bread to cool for 10 to 20 minutes before slicing so it holds its shape when cut.


Leave a Reply