


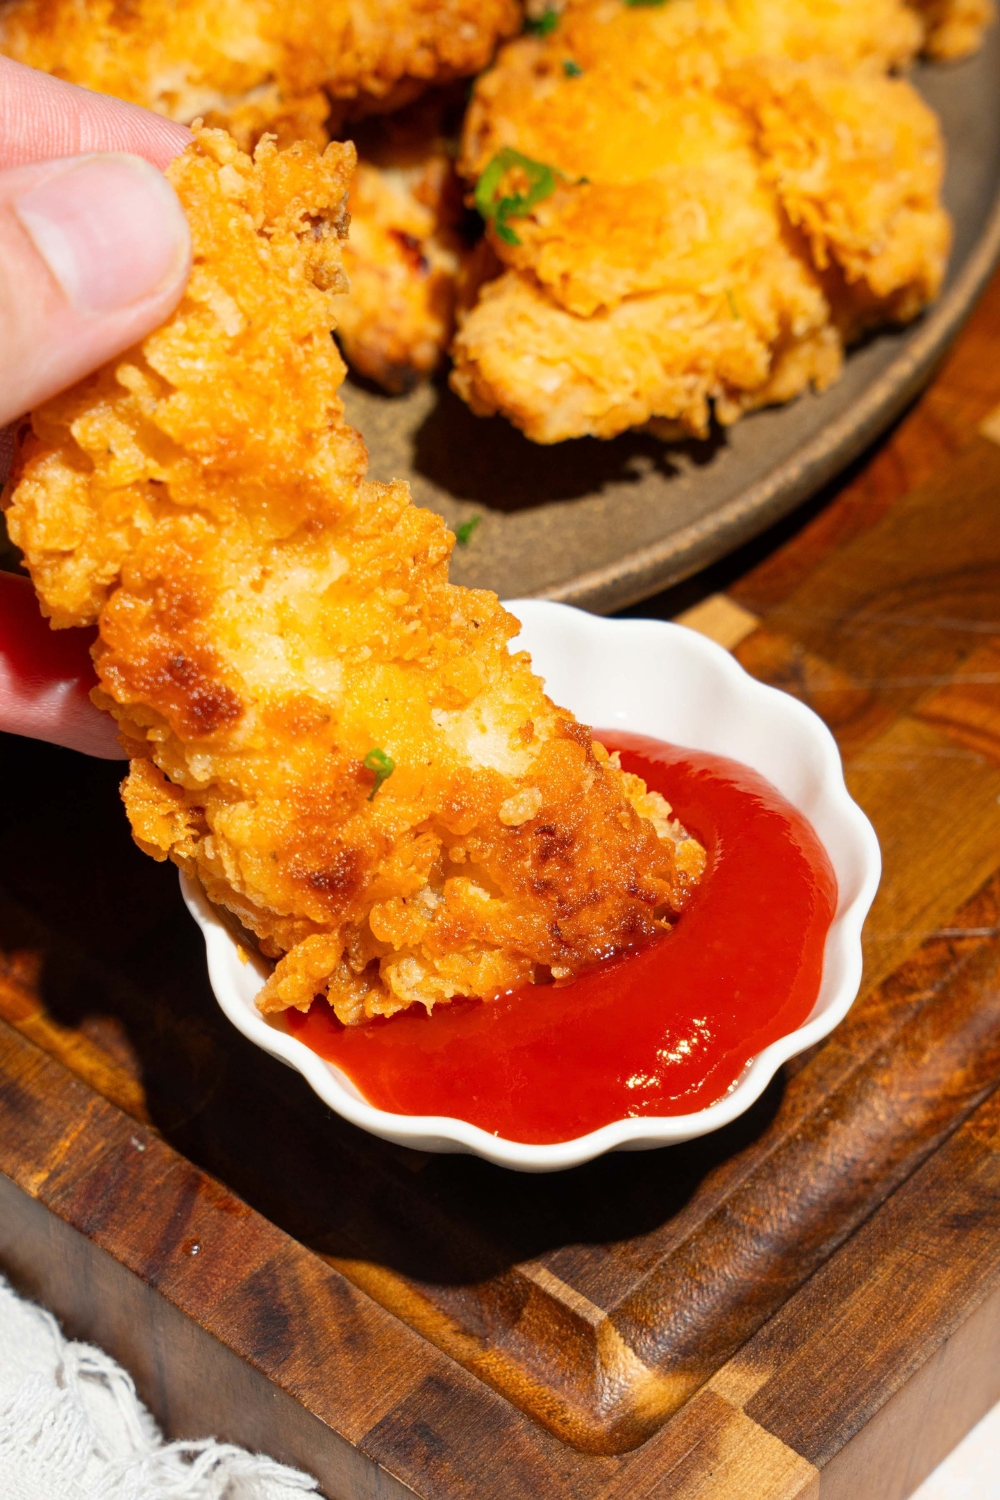
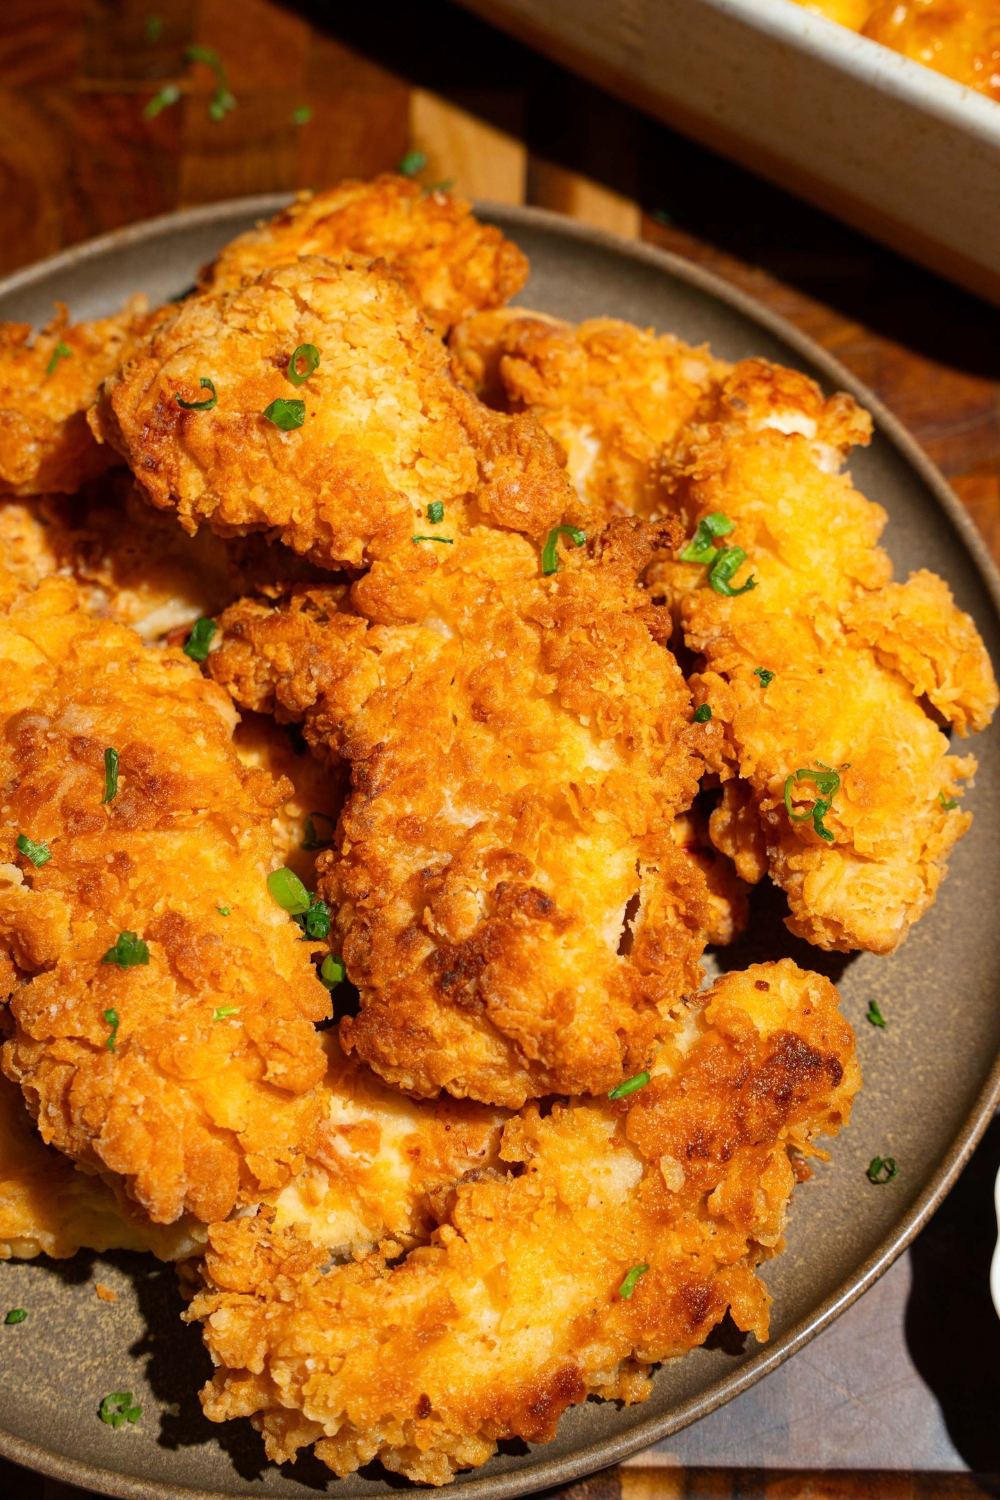
These Chick-fil-A chicken tenders have juicy chicken inside and a thick, craggy coating that fries up golden and crispy. They have that classic fast food chicken tender texture and they’re easy to make at home with simple ingredients. Serve them hot with your favorite dipping sauce for a homemade version of crispy Chick-fil-A Chick-n-Strips.
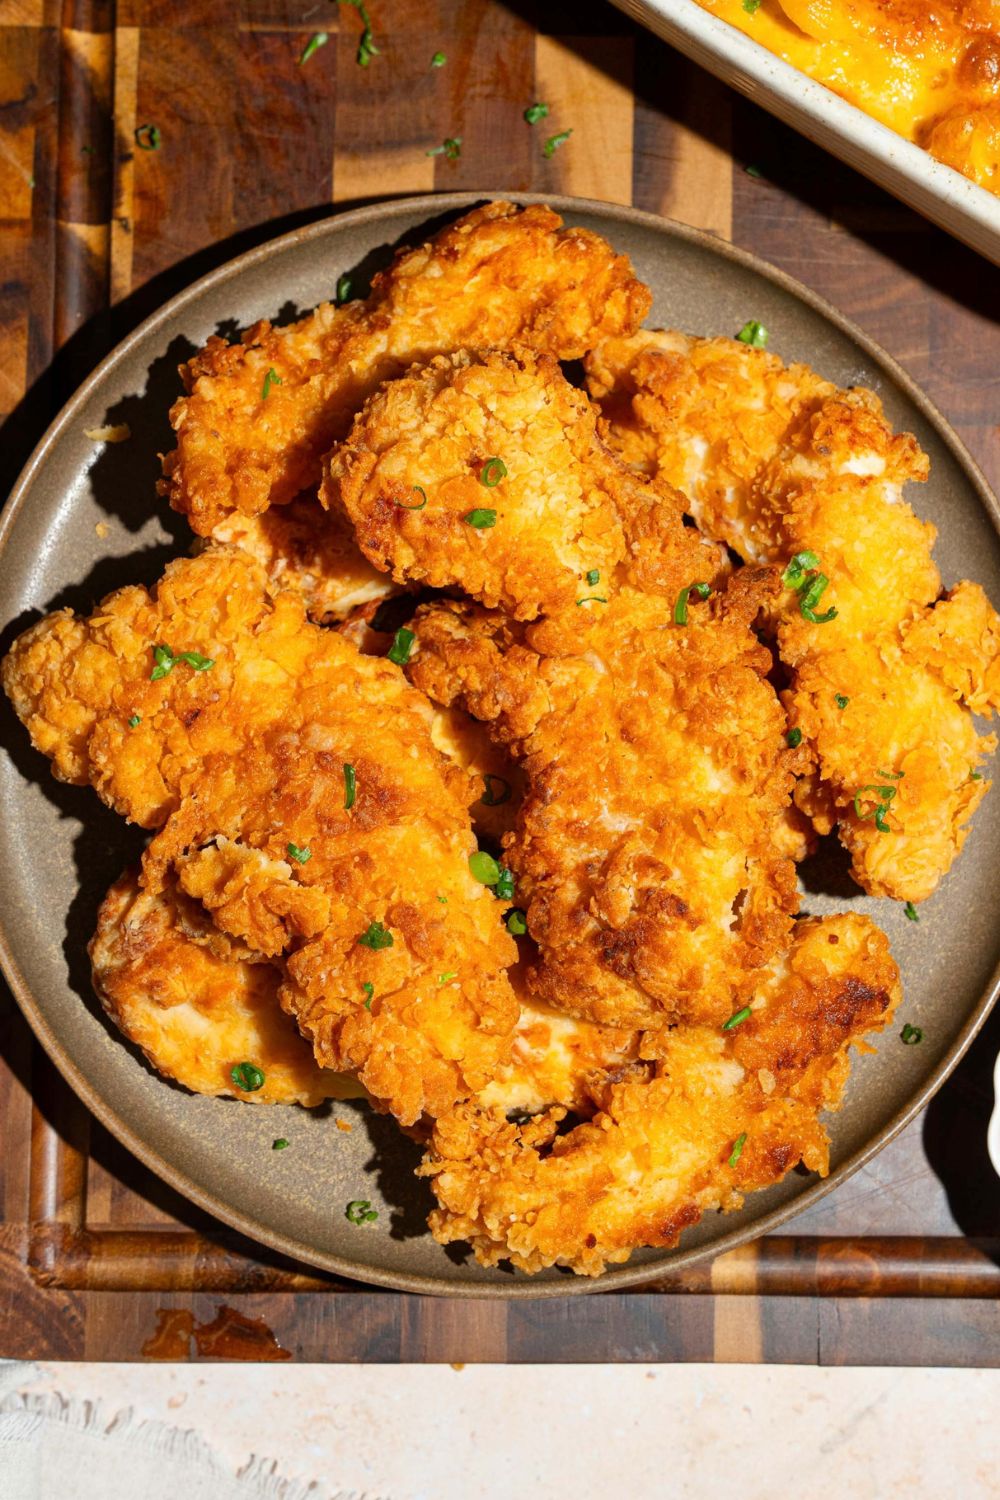
Table of Contents
Why I Love These Crispy Copycat Chicken Tenders
I think the chicken strips are one of the most underrated things on the Chick-fil-A menu. They’ve been one of my go-to orders for years, and I honestly think they deserve more attention.
Since I’m convinced just about everything tastes better homemade, I wanted to make a copycat version of what I think are some of the best fast food chicken tenders out there. I experimented with different seasoning combinations and coating techniques until I got the texture and flavor where I wanted them.
The final version has juicy chicken inside and a thick, craggy coating that fries up really crispy. They’re well seasoned all the way through, easy to dip, and exactly what I want from a homemade chicken tender.
Ingredients You'll Need
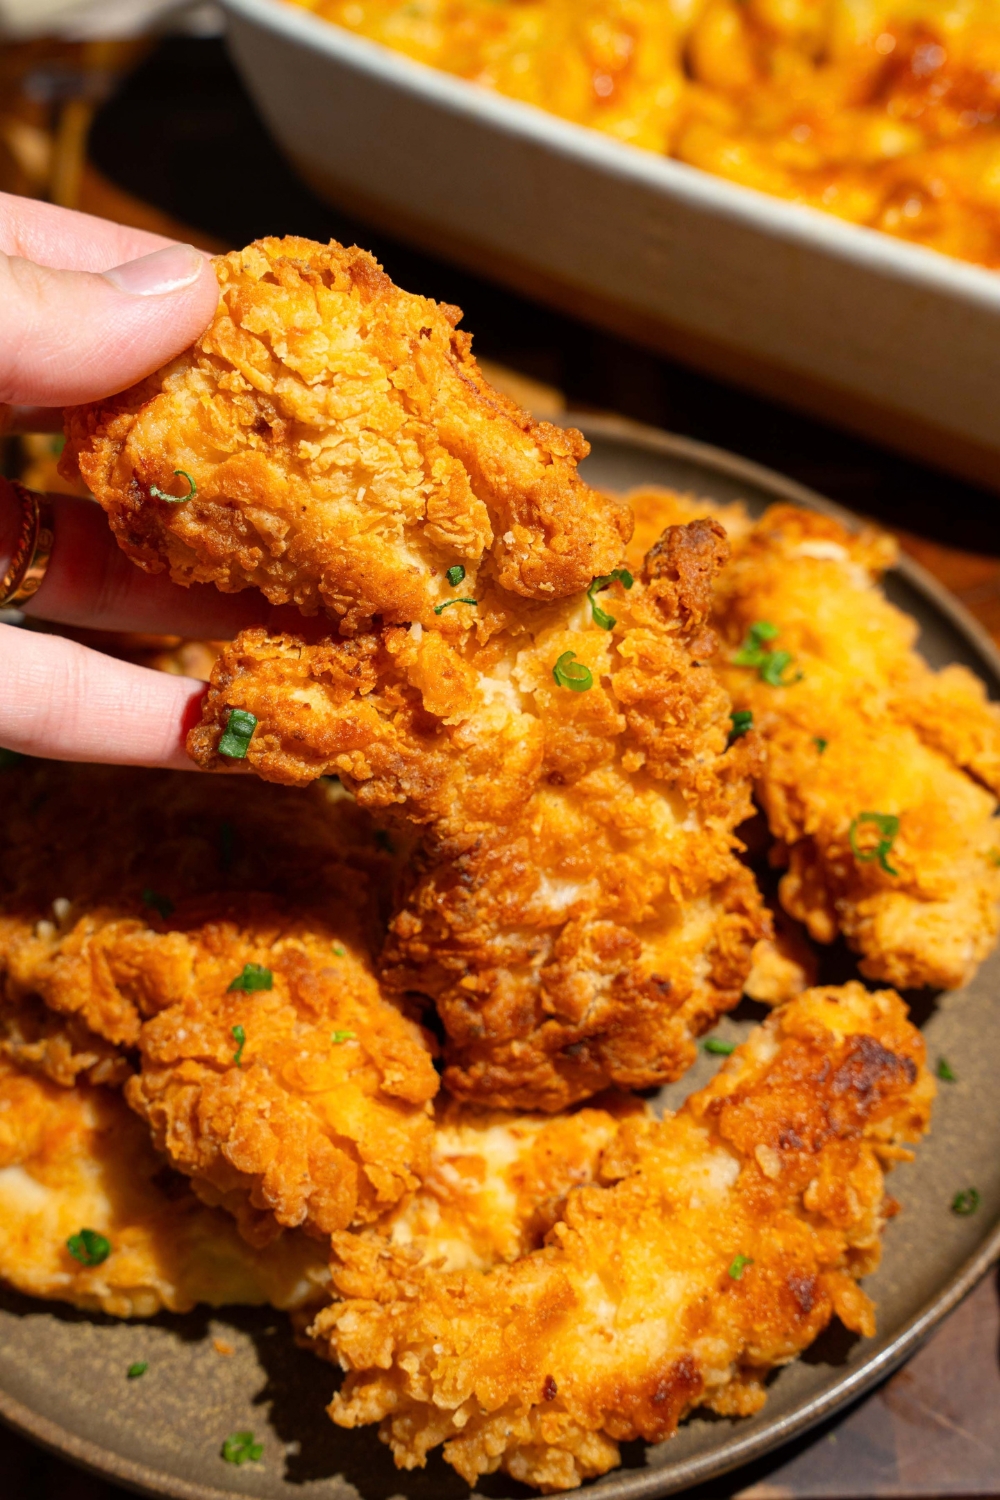
- 2 lbs. chicken breast, cut into strips
- 2 large eggs
- 6.75 oz. water
- 3.4 oz. milk
- 1 garlic clove, grated, or garlic powder
- 1 teaspoon salt
- 1 teaspoon paprika
- 1 teaspoon chicken seasoning
- ½ teaspoon baking soda
- 2 cups all-purpose flour
- Neutral oil, for frying
- All-purpose flour, as needed for coating
- Salt, to taste
Ingredient Notes That Make These Chicken Tenders Better
- Chicken: I use chicken breasts cut into strips, but chicken tenderloins work really well too and save you a little prep. Whichever you use, keep the pieces similar in size so they cook at the same rate.
- Chicken seasoning: Use your favorite all-purpose chicken seasoning here. Since blends can vary quite a bit in salt, check the label and adjust the additional salt if needed.
- Baking soda: A small amount goes into the batter to help create a lighter, crispier coating. Don't add extra since too much can affect the flavor.
- Milk and water: Using both gives the batter enough richness without making it overly heavy. Whole milk works best, but 2% is perfectly fine.
- All-purpose flour: You'll use flour in both the wet batter and the final coating. For the outer coating, really press the flour onto the chicken to create those rough little pieces that turn extra crispy in the oil.
- Frying oil: Use a neutral oil with a high smoke point, such as canola, vegetable, or peanut oil. Peanut oil is especially good if you want more of that classic fast-food fried chicken flavor.
How to Make Chick-fil-A Chicken Tenders
Step 1: Make the Batter
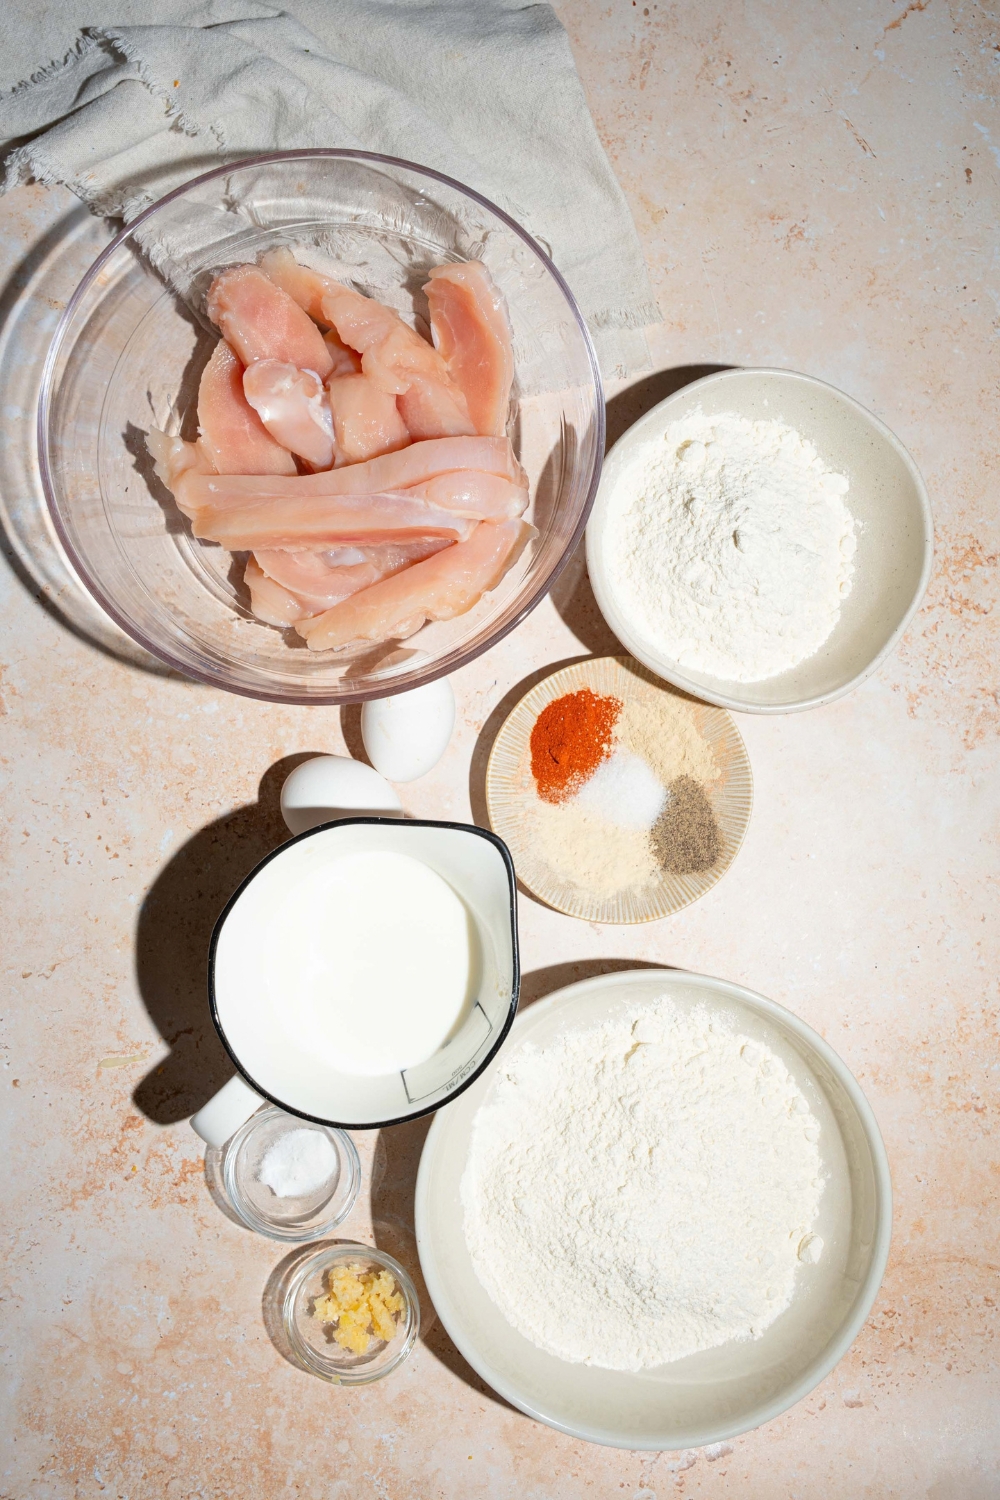
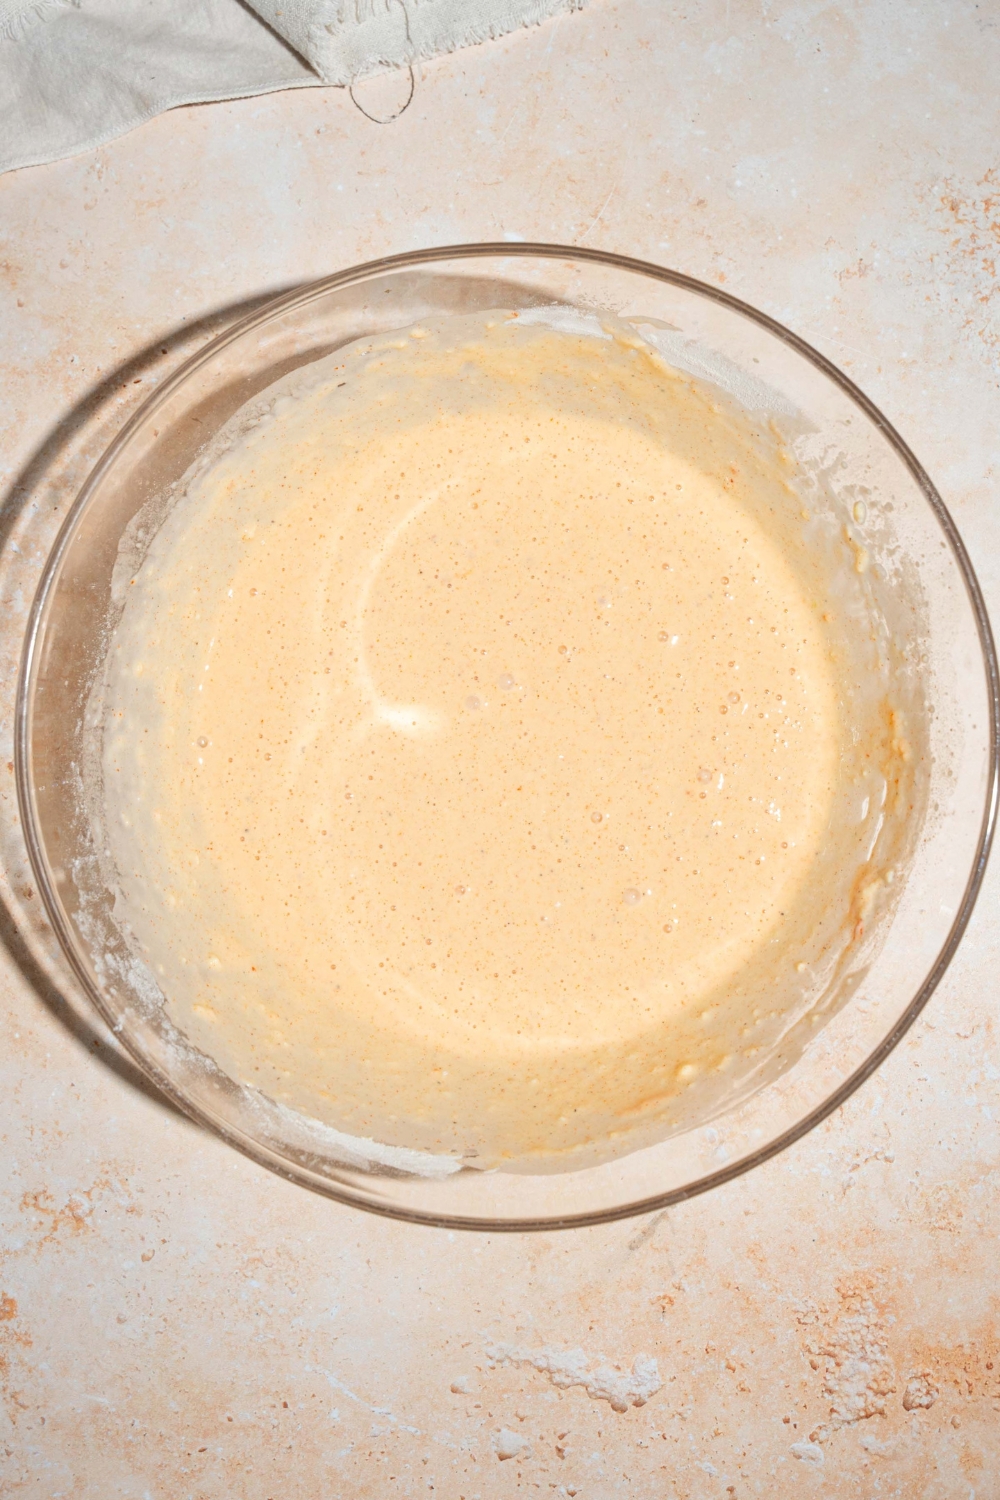
In a large bowl, whisk together the eggs, water, milk, garlic, salt, paprika, chicken seasoning, and baking soda. Add the flour and whisk until a smooth, thick batter forms.
Step 2: Coat and Chill the Chicken
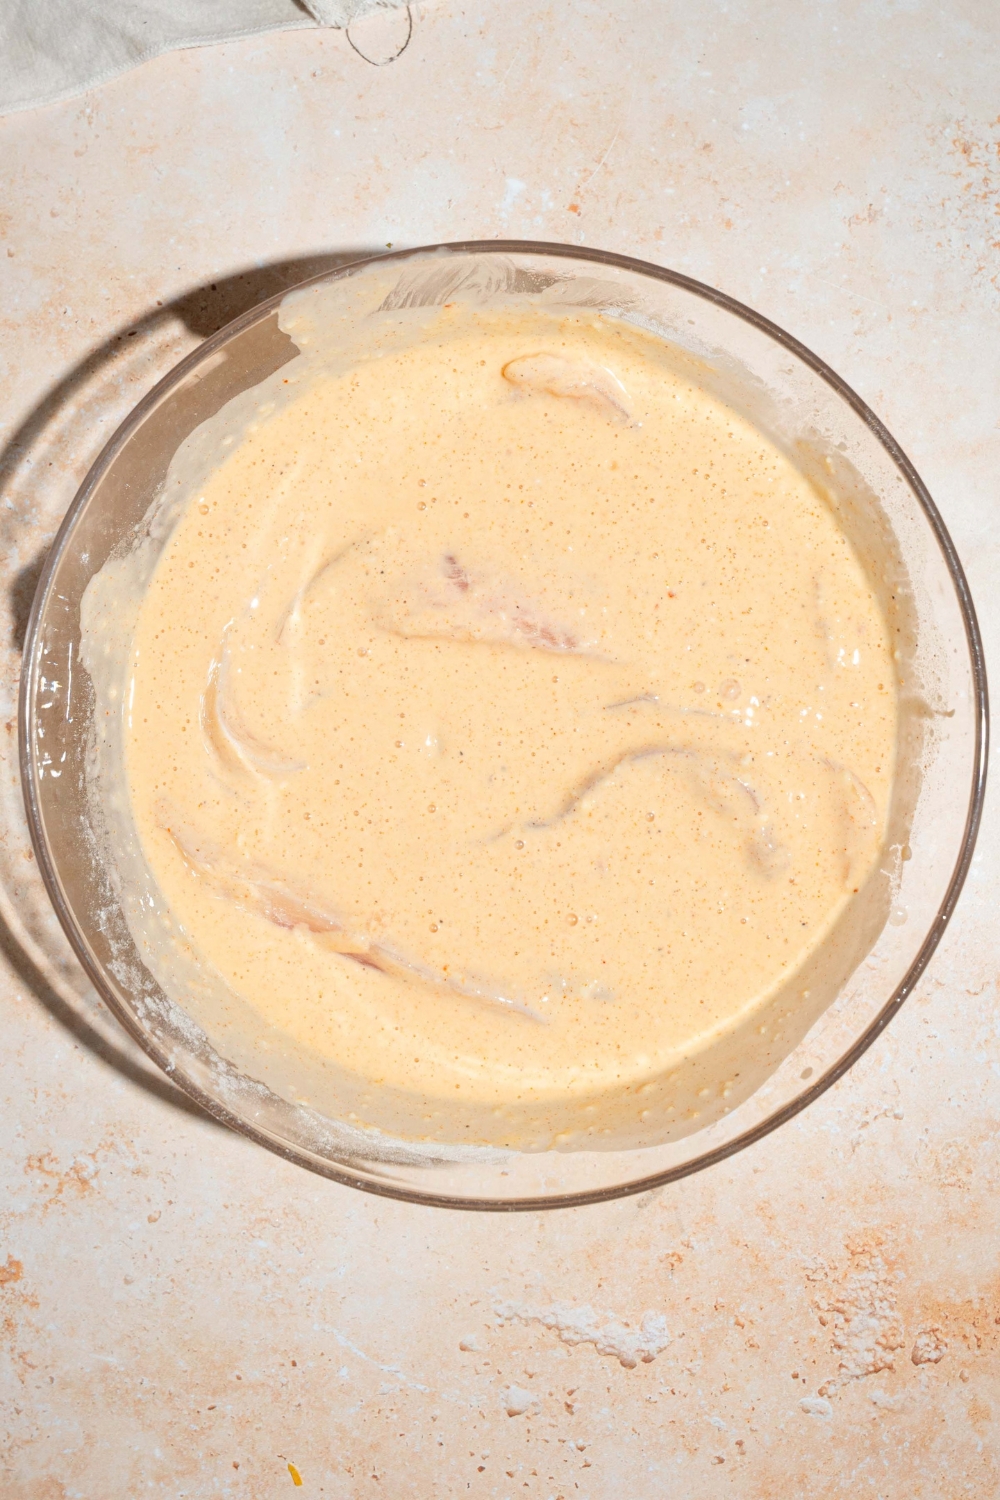
Cut the chicken breast into strips, add the chicken strips to the batter, and toss until completely coated. Cover the bowl and refrigerate for at least 30 minutes.
Step 3: Dredge the Chicken
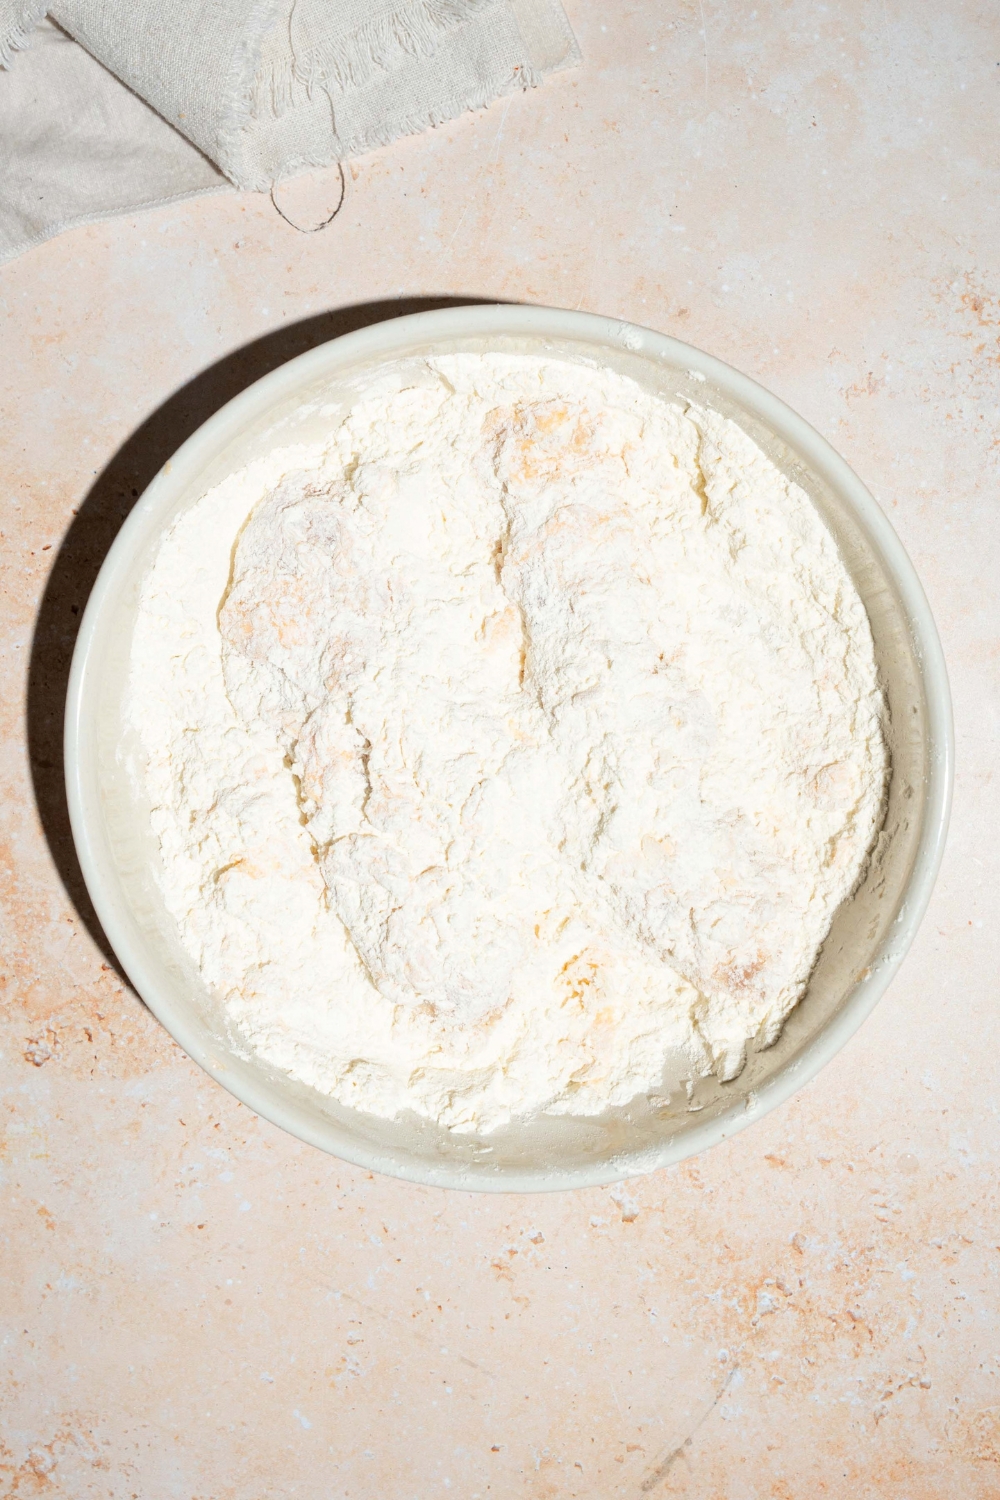
Add flour and a little salt to a separate bowl. Remove each chicken strip from the batter, let the excess drip off, then press it firmly into the flour. Make sure the chicken is well coated and leave some rough, craggy bits of flour on the outside for extra crunch.
Step 4: Fry the Chicken Tenders
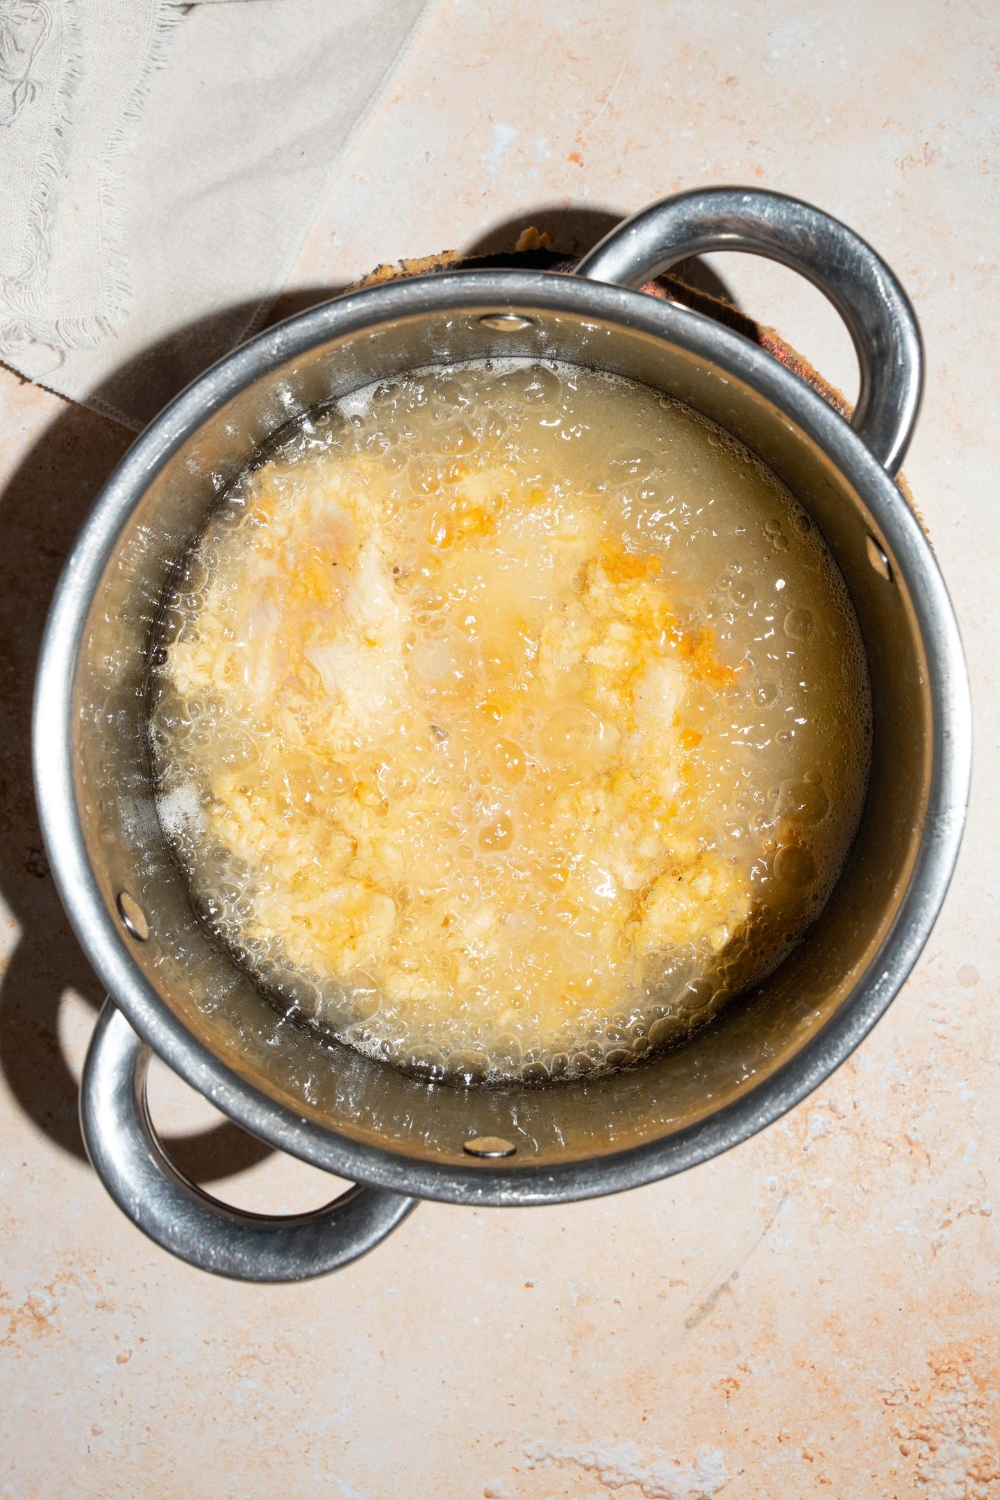
Heat the oil to 350°F. Fry the chicken in batches for 5-7 minutes, or until the coating is golden brown and crispy and the chicken reaches an internal temperature of 165°F.
Step 5: Drain and Serve
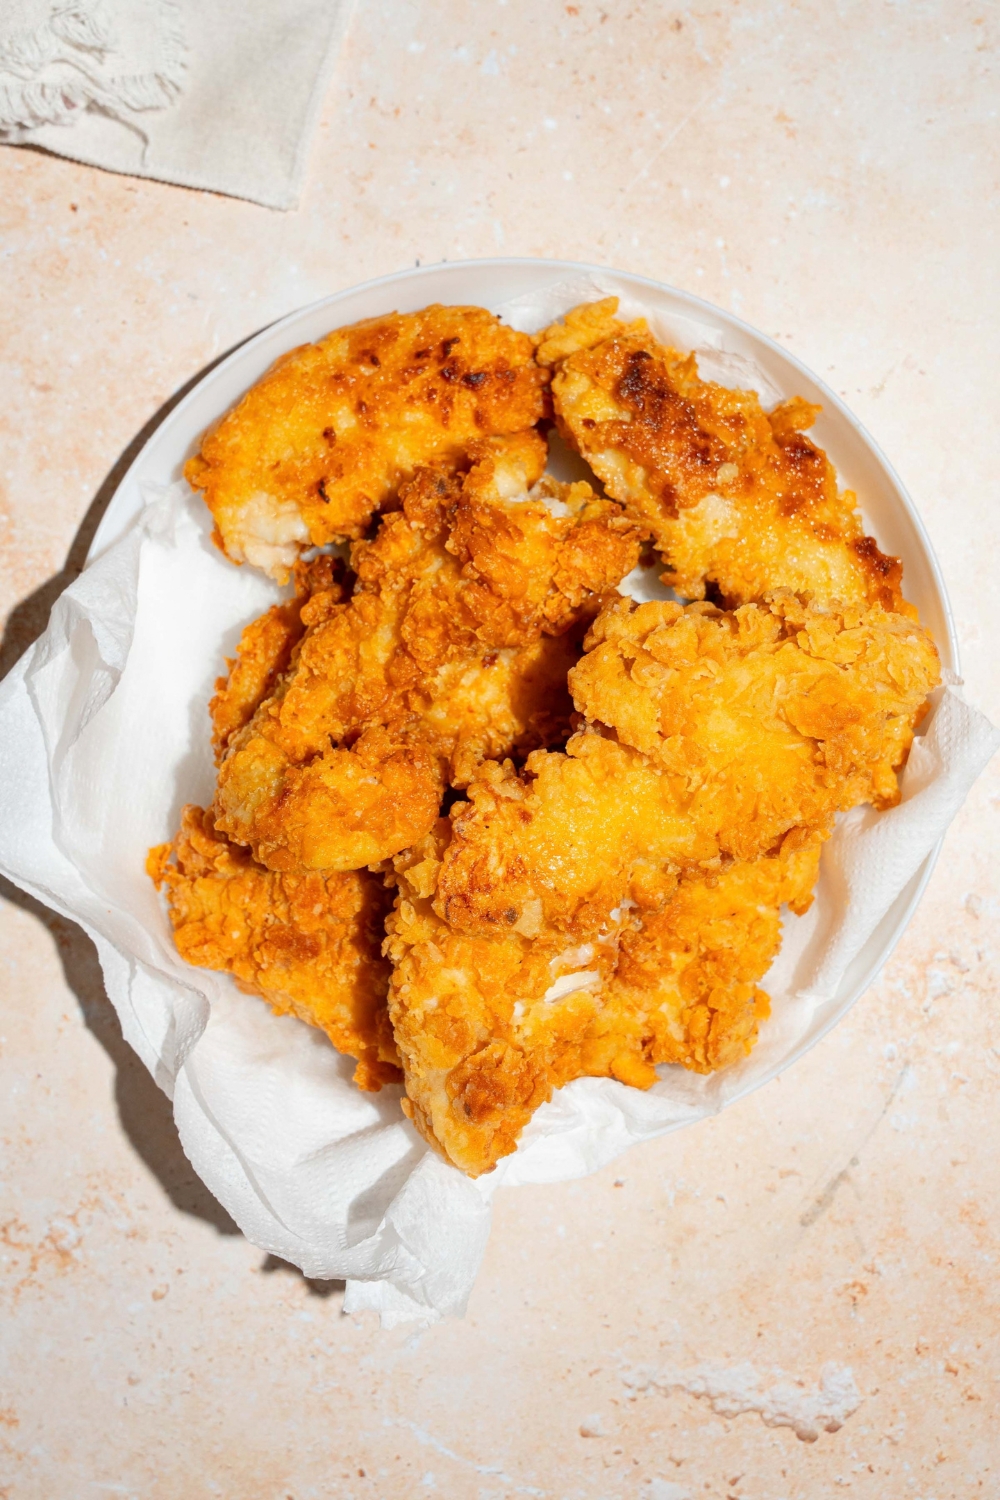
Transfer the fried chicken tenders to a wire rack and let them drain for a few minutes. Serve hot with Chick-fil-A sauce, honey mustard, ranch, or your favorite dipping sauce.
Pro Tips For Extra Crispy Chicken Tenders
- Add a little batter to the flour. Drizzle a tablespoon or two of the wet batter into the flour coating and toss it around with your fingers. Those small clumps stick to the chicken and fry into extra-crispy, craggy pieces.
- Keep the oil around 350°F. This is the sweet spot for getting the coating crisp and golden without burning it before the chicken cooks through. If the temperature drops too much, the breading can absorb oil and turn greasy.
- Let the coating rest before frying. After breading the chicken, let the strips sit for about 5 minutes. This gives the flour time to absorb some moisture from the batter so the coating adheres better instead of sliding off in the oil.
- Use enough oil for the chicken to float. A deeper layer of oil helps the tenders cook evenly and keeps the coating from sitting against the bottom of the pan, where it can burn before the chicken is done.
- Check the chicken for doneness. The coating should be deeply golden and crisp, but the most reliable way to know the chicken is ready is with an instant-read thermometer. The thickest part of each tender should reach 165°F.
- Monitor the oil between batches. The temperature will drop as soon as you add cold chicken. Let it come back up to about 350°F before frying the next batch so each round gets equally crisp.
- Remove loose breading from the oil. Use a fine-mesh strainer or slotted spoon to scoop out burnt crumbs between batches. This keeps the oil cleaner and prevents dark, bitter bits from sticking to the next batch.
- Don't cover the tenders after frying. Trapping hot chicken under foil or inside a container creates steam, which softens the crust quickly. Keep the tenders uncovered until you're ready to serve them. I like to put them on a wire rack.
- Keep batches crisp in the oven. If you're cooking a lot of tenders, place finished batches on a rack in a low 200°F oven while you fry the rest. They'll stay warm without getting soggy.
Chick-Fil-A Tenders FAQs
Can I use chicken tenderloins instead of chicken breast?
Yes. Chicken tenderloins are actually a great choice for this recipe because they’re already the right size for chicken strips. If you use chicken breasts, just slice them into evenly sized strips so they cook at the same rate.
Are these the same as Chick-fil-A Chick-n-Strips?
These are my homemade copycat version inspired by Chick-fil-A’s Chick-n-Strips. They aren’t the restaurant’s exact recipe, but they’re made to have that same juicy chicken and crispy, seasoned fast-food-style coating.
Can I make these chicken tenders ahead of time?
You can prepare the chicken and batter a few hours ahead and keep it covered in the refrigerator. For the crispiest results, wait to add the final flour coating and fry the tenders until shortly before serving.
How do I store leftover chicken tenders?
Let the tenders cool, then store them in an airtight container in the refrigerator for up to 3-4 days. Placing a paper towel underneath them can help absorb some excess moisture while they’re stored.
What's the best way to reheat chicken tenders so they stay crispy?
An air fryer or oven works best. Reheat the tenders at about 375°F until hot and crispy again. I avoid the microwave when possible since it tends to soften the breading.
Can I freeze fried chicken tenders?
Yes. Let the cooked tenders cool completely, then freeze them in a single layer before transferring them to a freezer-safe bag or container. They'll keep well for up to 2-3 months. Reheat them straight from frozen in the oven or air fryer until hot and crisp.
Can I air fry these Chick-fil-A chicken tenders instead of deep frying?
I wouldn't recommend air frying this exact recipe as written. The wet batter and flour coating are designed for hot oil, which is what gives the tenders their thick, craggy crust. Air frying can leave patches of dry flour and won't produce quite the same fast-food-style texture.
Chick-fil-A Copycat Recipes to Try Next
- Chick-fil-A nuggets
- Chick-fil-A mac and cheese
- Chick-fil-A grilled nuggets
- Chick-fil-A grilled chicken sandwich
Chick-fil-A Chicken Tenders

These Chick-fil-A chicken tenders have juicy chicken inside and a thick, craggy coating that fries up golden and crispy. They have that classic fast food chicken tender texture and they’re easy to make at home with simple ingredients. Serve them hot with your favorite dipping sauce for a homemade version of crispy Chick-fil-A Chick-n-Strips.
Ingredients
- 2 lbs. chicken breast, cut into strips
- 2 large eggs
- 6.75 oz. (200 ml) water
- 3.4 oz. (100 ml) milk
- 1 garlic clove, grated, or garlic powder
- 1 teaspoon salt
- 1 teaspoon paprika
- 1 teaspoon chicken seasoning
- ½ teaspoon baking soda
- 2 cups (240g) all-purpose flour
- Neutral oil, for frying
- All-purpose flour, as needed for coating
- Salt, to taste
Instructions
- In a large bowl, whisk together the eggs, water, milk, garlic, salt, paprika, chicken seasoning, and baking soda. Add the flour and whisk until a smooth, thick batter forms.
- Cut the chicken breasts into evenly sized strips. Add the chicken strips to the batter and toss until completely coated. Cover and refrigerate for at least 30 minutes.
- In a separate bowl, combine flour with salt for the coating.
- Remove each chicken strip from the batter, allowing the excess to drip off. Coat generously in the seasoned flour, pressing the flour onto the chicken to create a rough, craggy coating. Add more flour as needed.
- Heat the frying oil to 350°F (175°C). Fry the chicken strips in batches for 5–7 minutes, or until golden and crispy and the chicken reaches an internal temperature of 165°F (74°C).
- Transfer to a wire rack to drain and serve hot with your favorite dipping sauce.
Nutrition Information:
Yield:
4Serving Size:
1Amount Per Serving: Calories: 711Total Fat: 13gSaturated Fat: 4gUnsaturated Fat: 9gCholesterol: 315mgSodium: 995mgCarbohydrates: 52gFiber: 4gSugar: 0gProtein: 89g
Leave a Reply