These vanilla lunchbox cakes are my new favorite make-ahead dessert. Think fluffy vanilla sponge layered with cloud-soft whipped cream frosting, then tucked into cute takeaway boxes—perfect for birthdays at school, office surprises, or a sweet treat on the go. Five easy steps, one cake mix, and a little cookie-cutter magic turn a basic sheet cake into three adorable personal cakes that travel like a dream. It's just too good and is my favorite cake recipe right now, along with my Ooey-Gooey Neiman Marcus Cake.
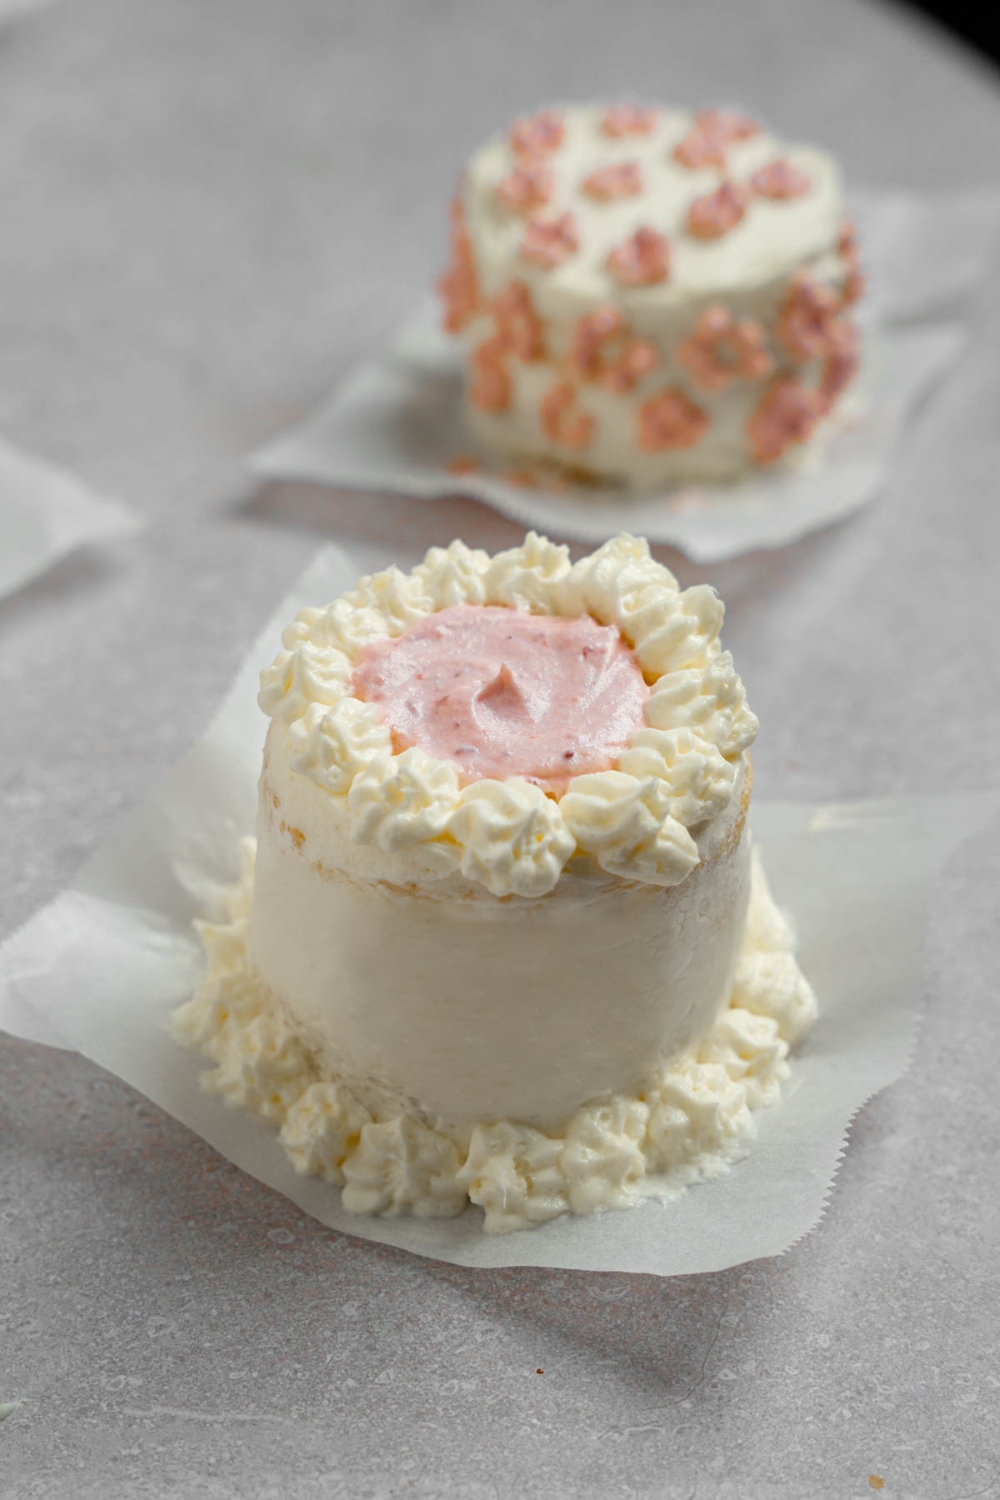
Table of Contents
Why I Love This Lunchbox Cake Recipe
I started making these mini lunchbox cakes (also known as bento cakes) after my nephew asked if he could bring “his own cake” to school for his birthday. I didn’t want to mess with complicated baking pans or oversized sheet cakes, so I kept it simple: bake a single layer using a boxed vanilla mix, then use a biscuit cutter to make individual mini cake rounds. It worked perfectly, and now it’s my go-to lunchbox cakes recipe whenever I want something cute, easy, and celebration-ready.
What makes these cakes so special is the size, each one is just the right portion for a personalized dessert, whether you're making them for birthdays, party favors, or just a sweet midday treat. A quick vanilla syrup adds moisture and flavor to every layer, while the light whipped cream frosting keeps the cake balanced—not too sweet, but still indulgent. They're easy to decorate, fit neatly into takeout containers, and are fun to customize with sprinkles, fruit, or piping.
If you're new to the bento cake trend, this is a great place to start. It's low-effort, super customizable, and a lot more forgiving than tiered or fully frosted cakes. Plus, they store well in the fridge and are easy to transport, making them perfect for gifting, parties, or lunchboxes.
Ingredients You’ll Need
For the Cake:
- 1 box vanilla cake mix
- Eggs, oil, and water (as listed on the box)
Optional Soaking Syrup:
- ½ cup water
- ½ cup white sugar
- ½ teaspoon vanilla extract
For the Whipped Cream Frosting:
- 1 ⅓ cups cold heavy whipping cream
- ⅓ cup powdered sugar
- 1 teaspoon vanilla extract
- Pinch of salt

How To Make Vanilla Lunch Box Cake
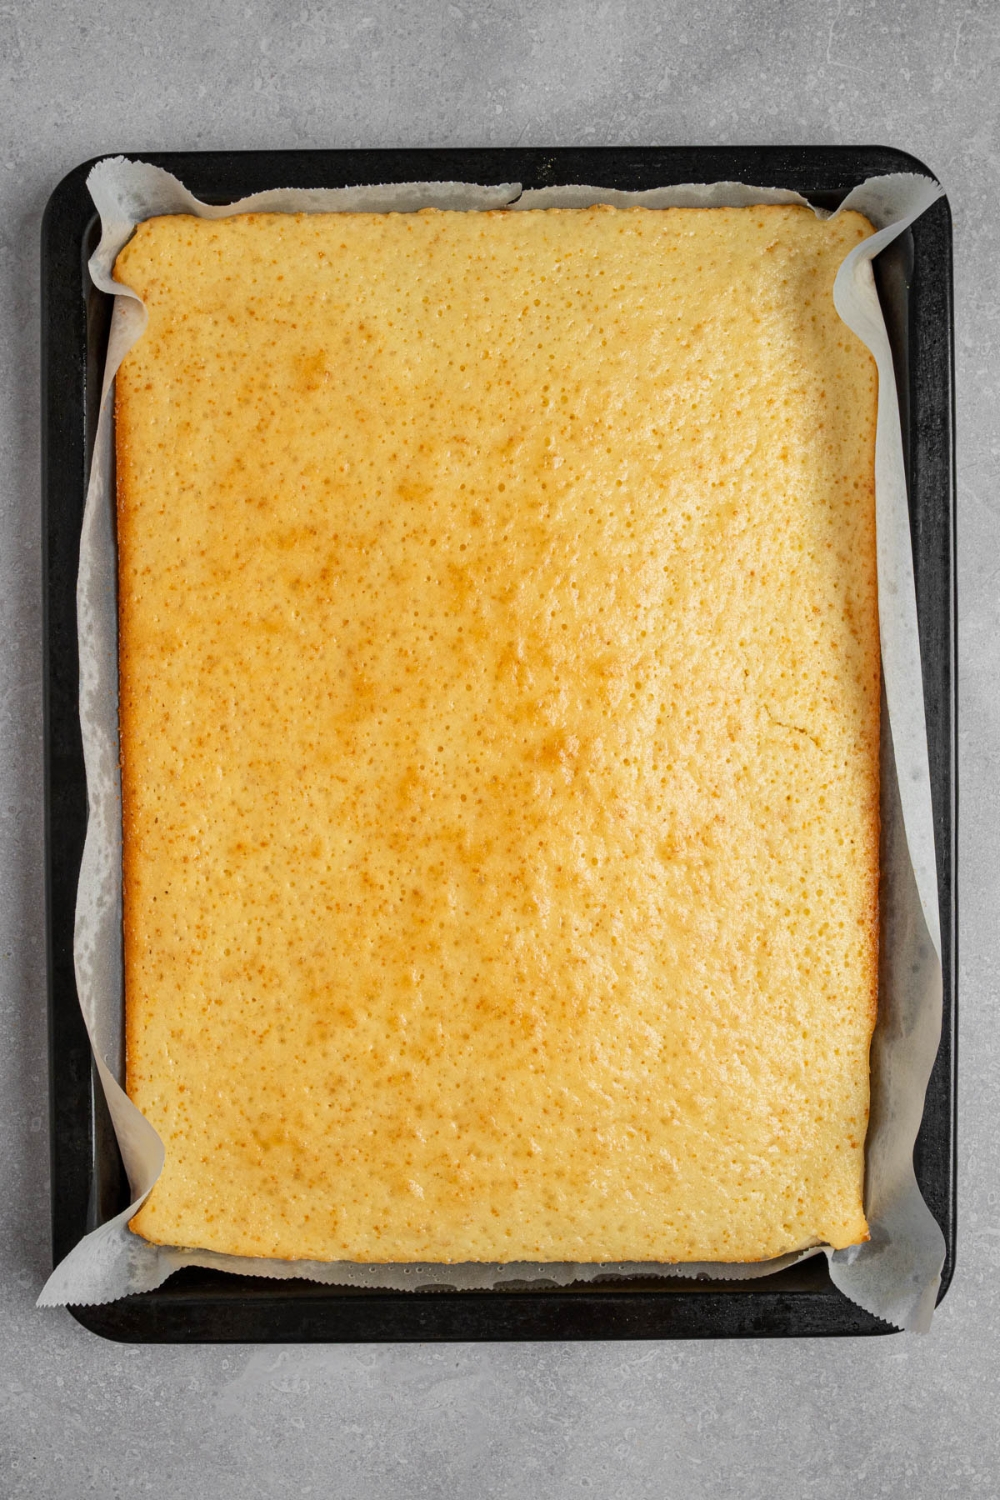
Step 1 – Bake the Cake
Preheat the oven to 350 °F (180 °C). Grease and line a 9 × 13-inch pan with parchment. Prepare the vanilla cake mix per the box directions, pour it into the pan, and bake until a toothpick comes out clean. Let the baked cake cool completely.
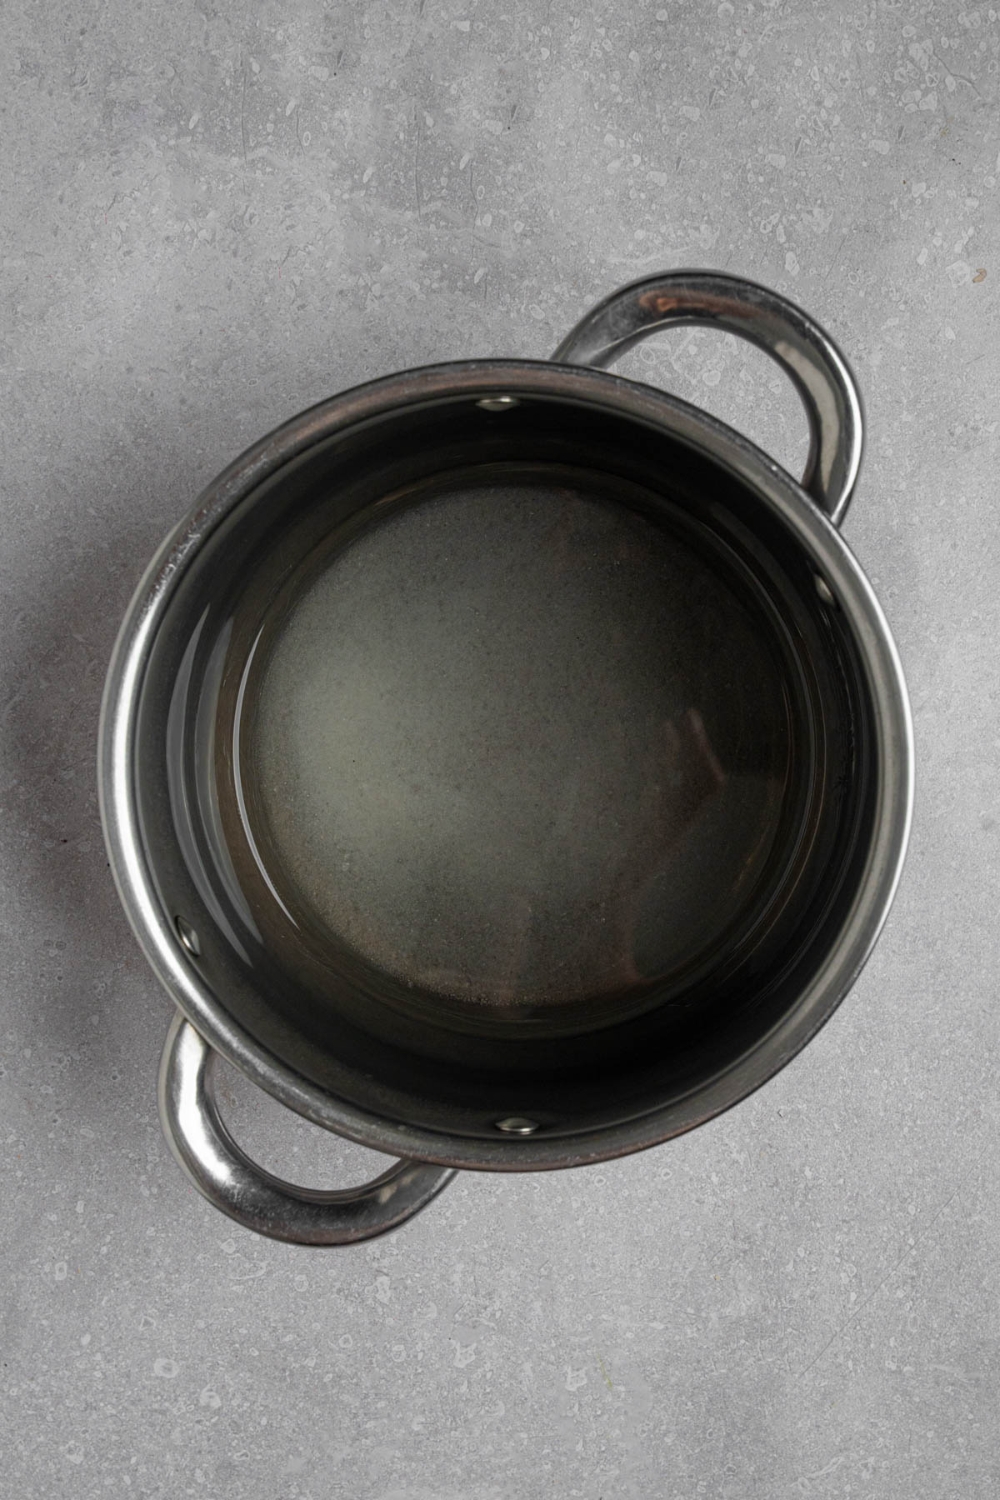
Step 2 – Make the Vanilla Syrup (Optional but Recommended)
Warm the water and sugar in a small saucepan over medium heat, stirring just until the sugar dissolves. Let it cool, then stir in vanilla. Set aside.
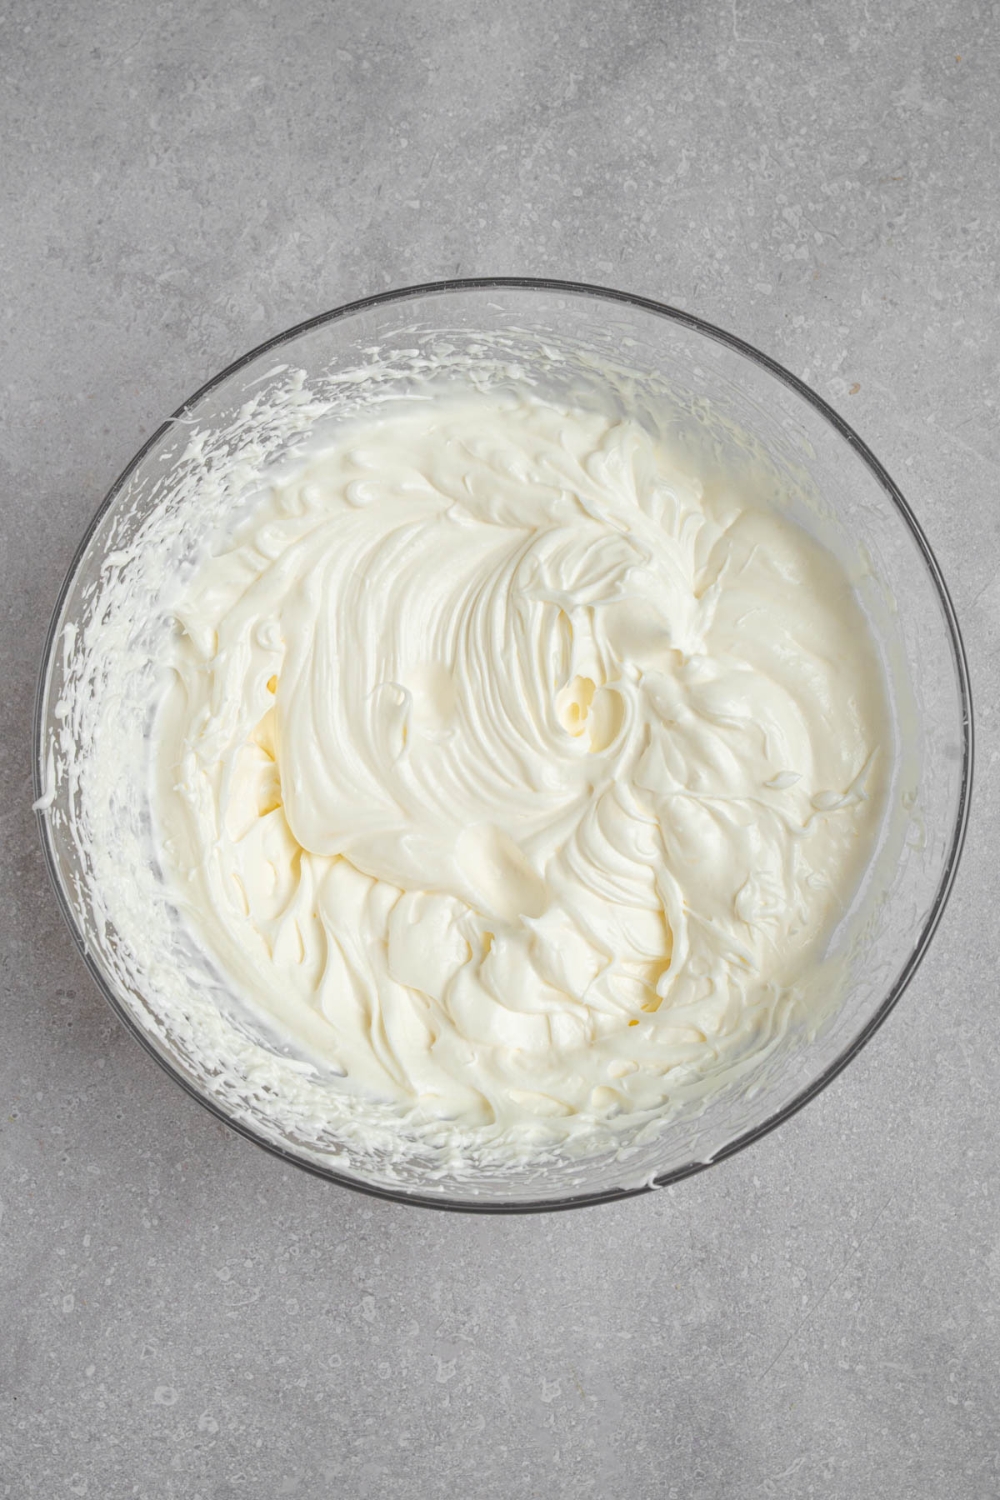
Step 3 – Whip the Cream
Chill your mixing bowl and beaters for 15 minutes. Beat the cold cream on high for 1 minute, add powdered sugar, vanilla, and salt, then whip just to stiff peaks. Refrigerate until needed.
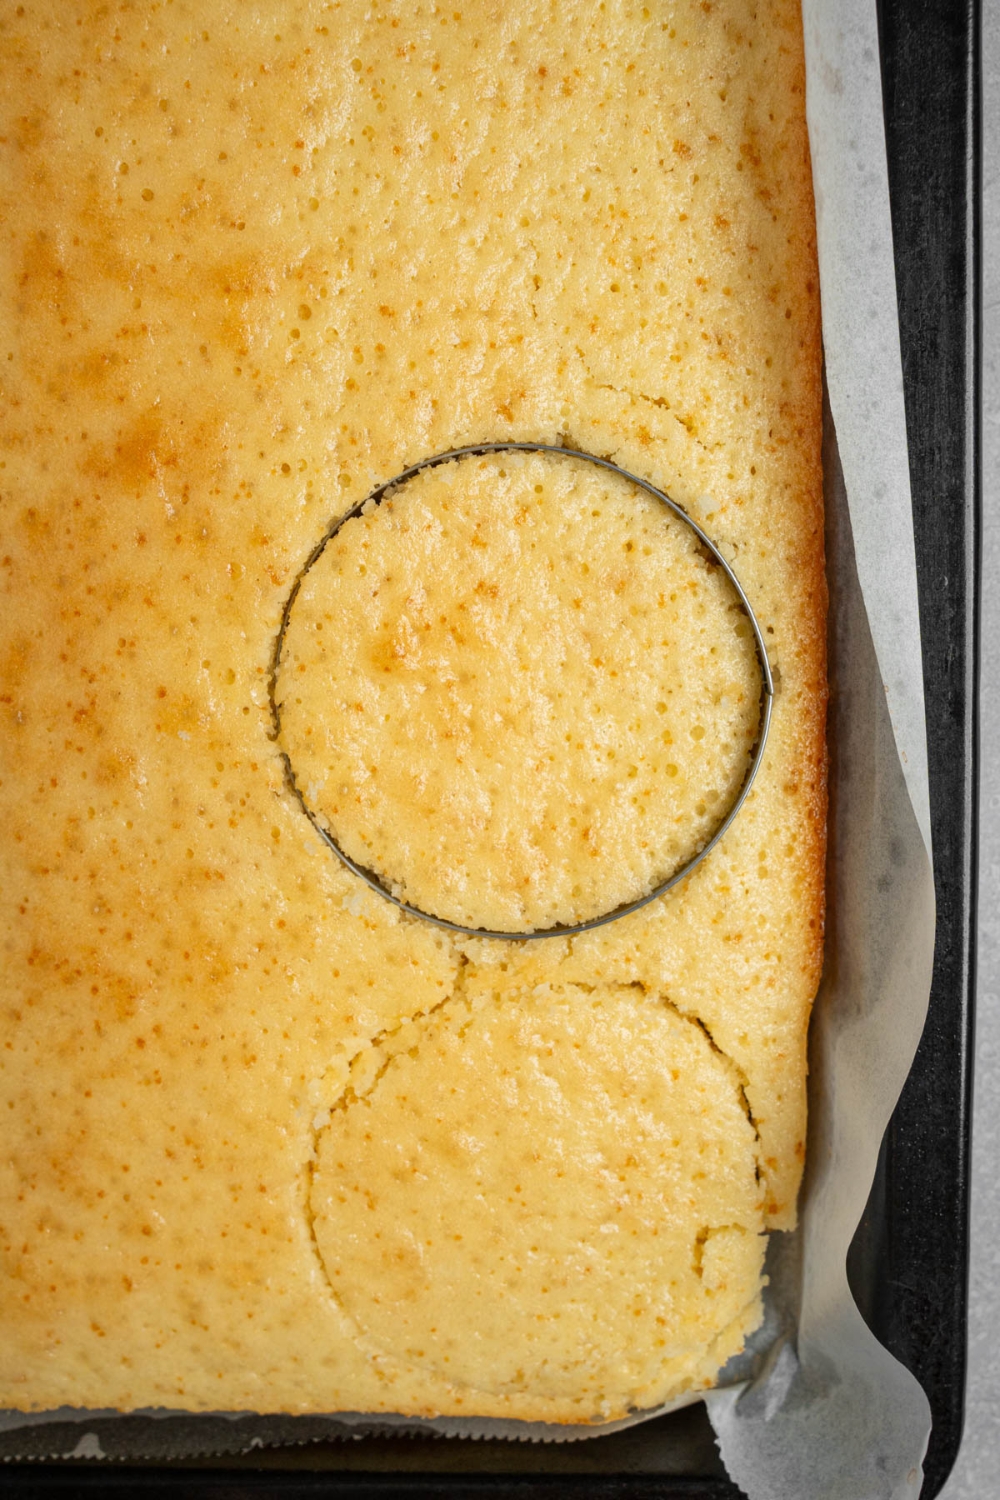
Step 4 – Cut & Layer the Cake
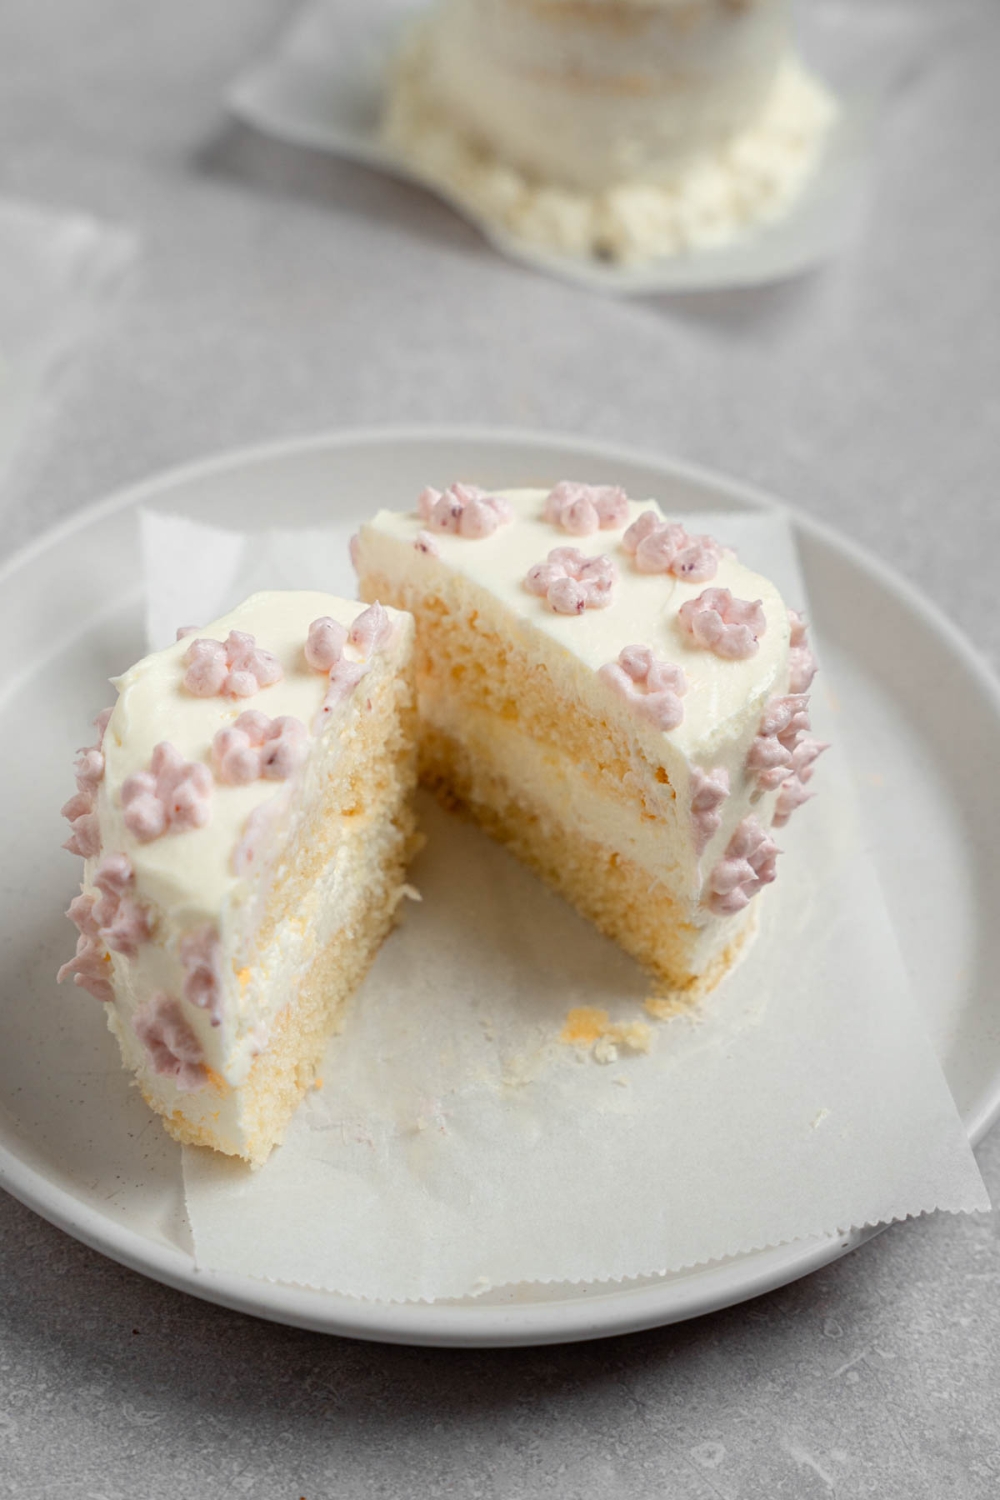
Use a 3-inch round cookie cutter to punch out six cake circles. Pair them into three sets.
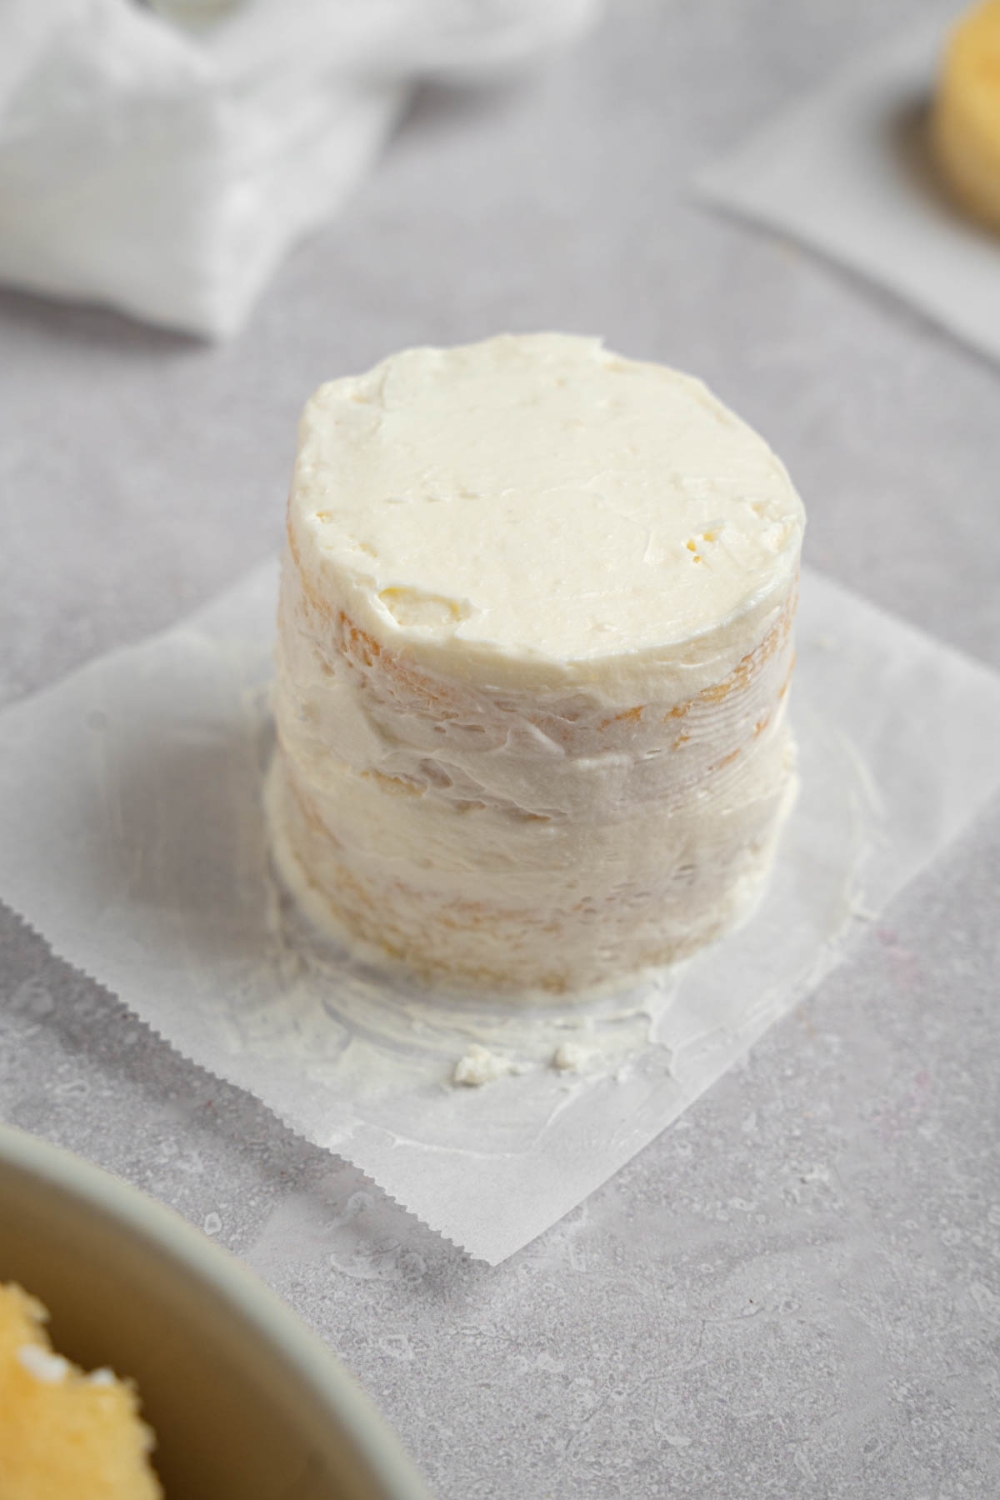
On a 5×5-inch parchment square, dab a little frosting to anchor the first layer, brush with syrup if using, then spread a thick layer of whipped cream.

Top with the second cake round, brush with syrup again if desired, and coat the top and sides with frosting. Smooth with an offset spatula, turning the parchment for clean edges.
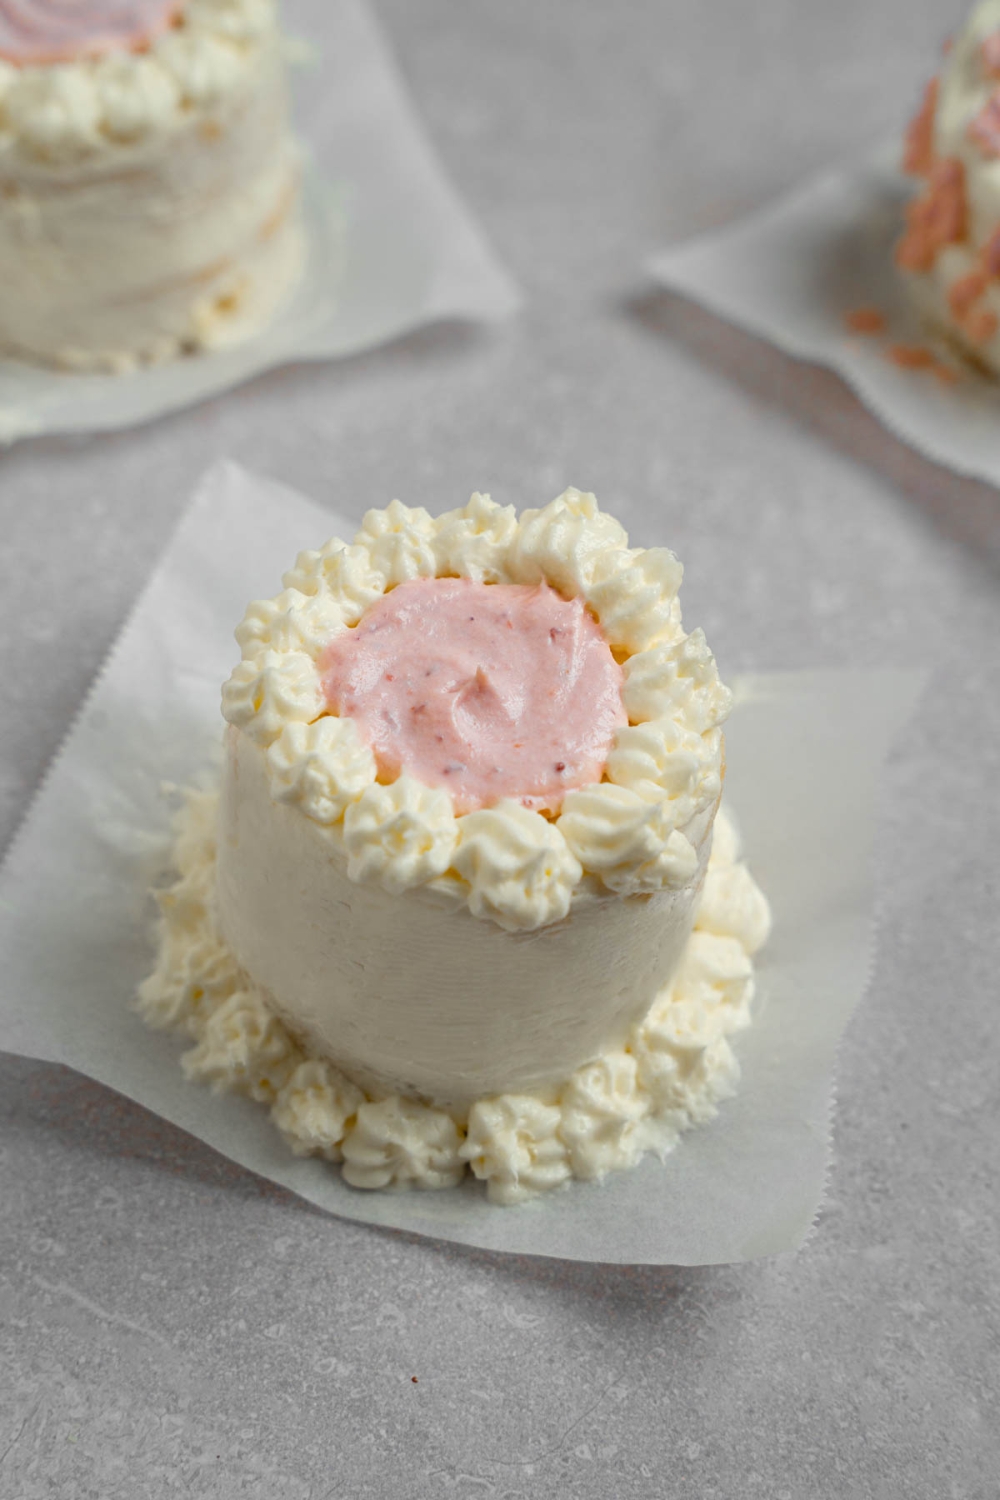
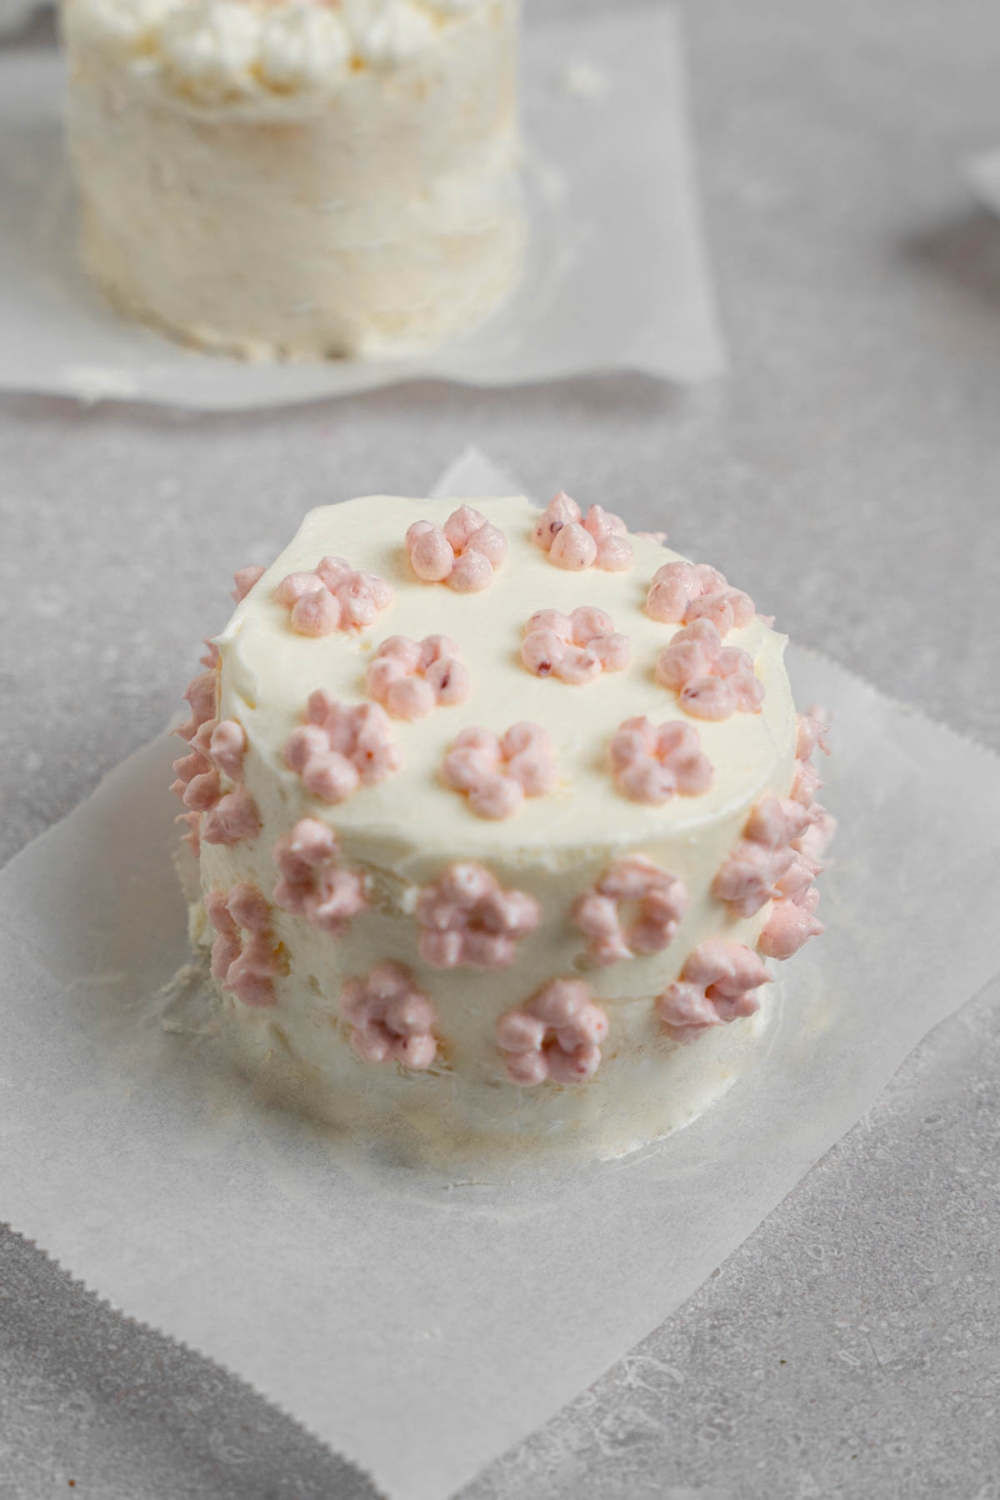
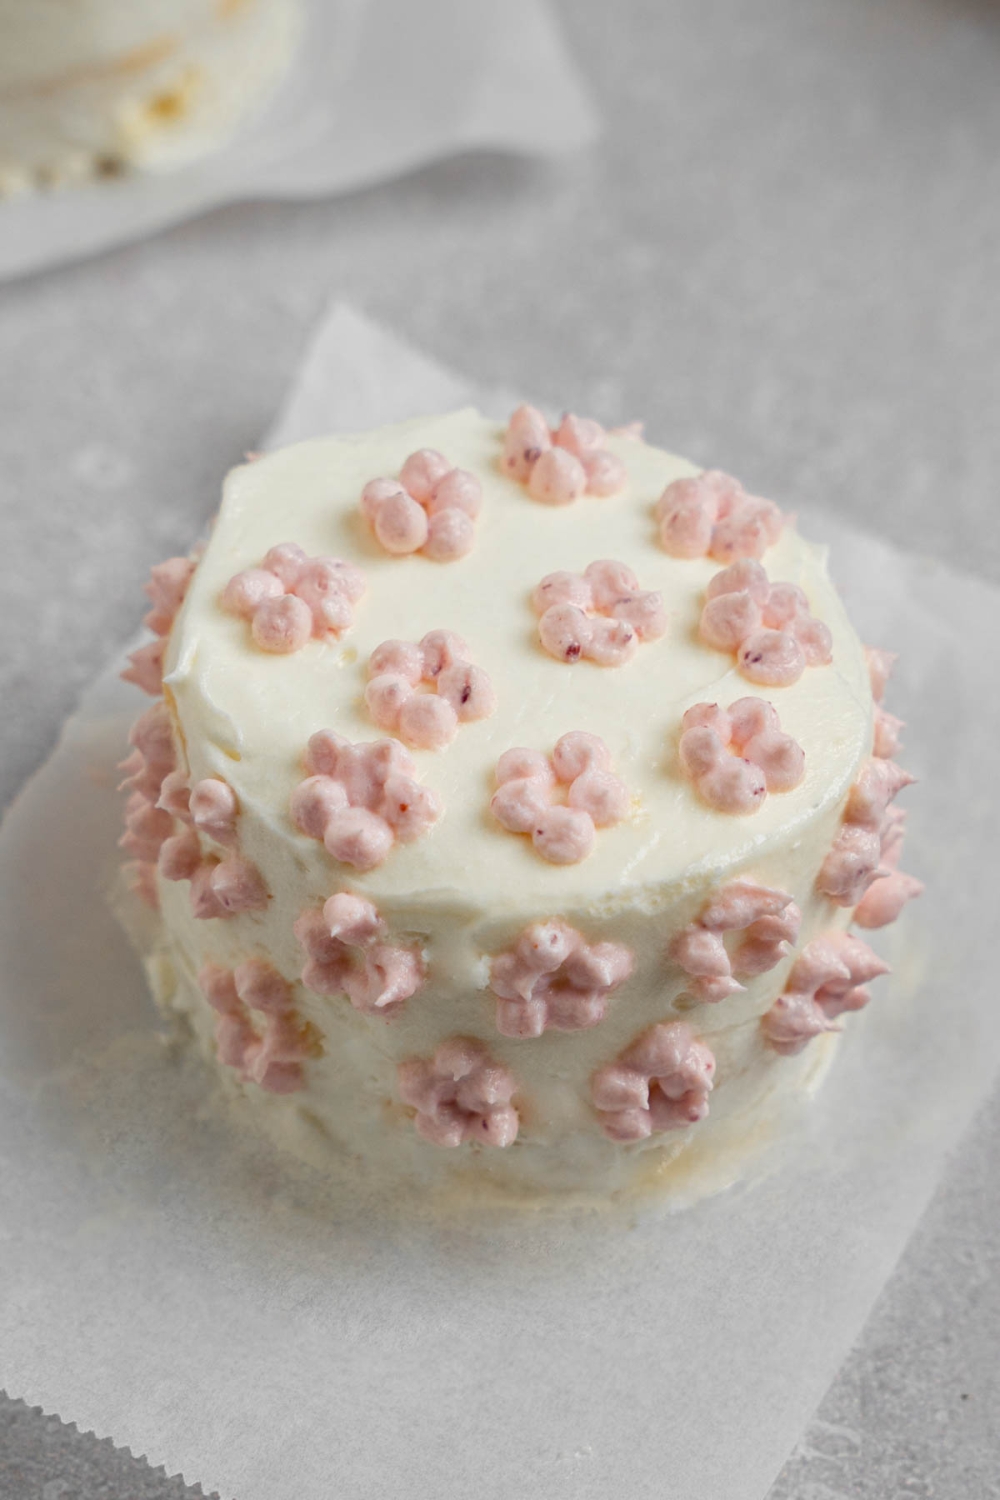
Step 5 – Decorate & Pack
Add sprinkles, fresh berries, or piping as you like. Lift each parchment square and nestle the mini cakes into clamshell lunch boxes or containers. Keep chilled until serving and ready to eat.
My Expert Tips to Make The Best Lunchbox Cakes
- Upgrade the mix: Substitute milk for the water on the box to add richness, switch the oil for melted butter if you want a bakery-style crumb, and add one extra egg yolk for a tighter, moister crumb that’s easier to cut cleanly.
- Baking science: Spread the batter evenly to the corners—boxed mixes puff higher in the center. A quick swipe with an offset spatula levels the surface so every cut-out is the same thickness. If the top domes slightly, lay a sheet of parchment over the warm cake and press gently with a flat pan to flatten.
- Syrup strategy: The 1:1 sugar-to-water ratio gives a simple syrup that’s thin enough to absorb fast but still adds moisture. Flavor riffs: swap vanilla for almond, coconut, or ½ teaspoon instant espresso for mocha vibes. Make up to two weeks ahead and store in the fridge.
- Whipped-cream insurance: Everything needs to be COLD—cream, bowl, and beaters. For extra stability in warm lunch boxes, bloom ½ teaspoon unflavored gelatin in 1 tablespoon water, melt, cool, and stream it into the cream as you whip. Alternatively, beat in 1 tablespoon instant vanilla pudding mix or 2 tablespoon mascarpone; both keep peaks firm for 48 hours without weeping.
- Cutting clean circles: Dip the cookie cutter in hot water, wipe dry, then punch out the sponge. Twist gently before lifting to avoid tearing. Leftover scraps? Toast them at 300 °F for 10 minutes and pulse into crumbs for ice-cream toppers.
- Crumb-coat shortcut: For razor-sharp sides, swipe on a super-thin layer of whipped cream, chill 10 minutes to set, then add the final coat. This seals loose crumbs and gives bakery-worthy edges.
- Color & flavor play: Tint the whipped cream with a drop of gel food coloring or fold in crushed freeze-dried fruit powder for natural color. For cookies-and-cream cakes, sprinkle crushed Oreos between layers.
- Packing for travel: Slip a 4 × 4-inch piece of non-skid shelf liner beneath each parchment square before placing in the box—no sliding around in transit. Keep an ice pack under the box if the cakes will be unrefrigerated for more than an hour.
- Shelf life & food safety: Because of the dairy frosting, store the cakes below 40 °F. They hold their texture for 48 hours; after that the whipped cream starts to deflate. If using gelatin-stabilized cream, you get an extra day of freshness.
- Dietary tweaks: Gluten-free boxed vanilla cake works beautifully; just extend bake time by 2–3 minutes. For dairy-free, frost with whipped coconut cream (chill cans overnight, scoop solid cream, whip with powdered sugar).
Variations To Try
- Funfetti Lunch Box Cakes: Stir ¼ cup rainbow sprinkles into the batter before baking.
- Chocolate-Vanilla Twist: Swap half the whipped cream for chocolate frosting between layers.
- Lemon-Vanilla Burst: Add 1 tablespoon lemon zest to the batter and a squeeze of lemon juice to the syrup.
- Berry Shortcake Minis: Layer fresh sliced strawberries and a drizzle of strawberry syrup between the cake rounds.

FAQS About This Lunchbox Cake Recipe
Can I bake the cake ahead of time?
Yes! You can bake the cake base up to 2 days in advance. Once cooled completely, wrap the whole sheet tightly in plastic wrap and store it at room temperature. Wait to cut and frost the cakes until you’re ready to assemble—this helps keep the texture soft and the layers neat. If you’re prepping further in advance, you can freeze the uncut cake for up to 2 months.
How long do these mini lunchbox cakes stay fresh?
They’re best eaten within 48 hours of assembling. Store them in airtight containers in the refrigerator to keep the frosting stable and the cake moist. Thanks to the whipped cream and soaking syrup, the layers stay fluffy without drying out. Let them sit at room temp for 10–15 minutes before serving for the best texture.
Do I need the vanilla soaking syrup?
It’s optional, but highly recommended—especially if the cakes will be served the next day or stored in the fridge. The syrup adds a subtle extra layer of vanilla flavor and keeps the cake incredibly moist and tender. For same-day serving, you can skip it, but once you’ve tried it, you might not want to.
What size cutter works best for lunchbox cakes?
A 3-inch round cutter is ideal. It allows you to cut six rounds from a standard 9x13 cake, which makes three two-layer mini cakes—perfect for packing in standard 6-inch takeout clamshell containers or reusable lunchboxes. You can also use square cutters or trim your own shapes to avoid waste.
Can I frost these with buttercream instead of whipped cream?
Absolutely. While whipped cream keeps the cake light and less sweet (and is true to Korean-style bento cakes), you can swap in vanilla buttercream or cream cheese frosting for a richer, sturdier finish. Buttercream holds up better at room temperature and is a great choice if you won’t be refrigerating the cakes or want to pipe detailed decorations.
Are lunchbox cakes the same as bento cakes?
Yes—lunchbox cakes and bento cakes are often used interchangeably. Both refer to miniature, personal-sized layer cakes that are typically packaged in takeout-style containers. They’re popular for birthdays, events, or gifting because they’re cute, affordable, and easy to personalize.
Can I make different flavors?
Of course! While this version uses vanilla cake and whipped cream, you can easily use chocolate cake, red velvet, or even a funfetti-style mix. The filling and frosting are also customizable—try adding jam, Nutella, fruit, or flavored whipped cream between the layers for a twist.
My Final Thoughts
These mini vanilla lunch box cakes prove that a humble cake mix can turn into something totally gift-worthy. They’re quick, customizable, and ridiculously cute—ideal for classroom birthdays, work treats, or anytime you want a personal-sized slice of vanilla heaven. Give them a try and let me know how you decorate yours—leave a comment and review below!
More Cake Recipes To Try Next
Vanilla Lunchbox Cakes (Easy Bento Cake Recipe)

These vanilla lunchbox cakes are my new favorite make-ahead dessert. Think fluffy vanilla sponge layered with cloud-soft whipped cream frosting, then tucked into cute takeaway boxes—perfect for birthdays at school, office surprises, or a sweet treat on the go. Five easy steps, one cake mix, and a little cookie-cutter magic turn a basic sheet cake into three adorable personal cakes that travel like a dream. It's just too good and is my favorite cake recipe right now, along with my Ooey-Gooey Neiman Marcus Cake.
Ingredients
- 1 box vanilla cake mix
- Eggs, oil, and water
- ½ cup water
- ½ cup white sugar
- ½ teaspoon vanilla extract
- 1 ⅓ cups heavy whipping cream
- ⅓ cup powdered sugar
- 1 teaspoon vanilla extract
- Pinch of salt
Instructions
1. Preheat your oven to 350°F (180°C). Grease and line a 9x13-inch baking pan with parchment paper.
2. Prepare the cake mix according to the package instructions.
3. Pour into the lined baking pan and bake until cooked through. Let it cool completely in the pan.
4. In a small saucepan, combine water and sugar over medium heat. Stir until sugar is fully dissolved—do not boil. Let it cool, then stir in the vanilla. Set aside or refrigerate until needed.
5. Place your mixing bowl and beaters in the fridge for at least 15 minutes.Pour the cold whipping cream into the chilled bowl. Beat on high speed for about 1 minute, then add powdered sugar, vanilla, and a pinch of salt.
6. Continue beating just until stiff peaks form. Don’t overwhip. Chill until ready to use.
7. Once the cake is completely cool, use the round cookie cutter to cut out 6 cake circles. Match them in couples for 3 mini layered cakes.
8. Place a dab of whipped cream frosting on a 5x5 parchment square. Place the first cake round on top to anchor it.
9. Brush with soaking syrup if using, then spread a thick layer of whipped cream on top. Add the second cake round and brush with syrup again if desired.
10. Frost the top and sides with whipped cream, smoothing it with an offset spatula or bench scraper. Turn the parchment paper as needed to get clean edges.
11. Add sprinkles, fruit, or piping on top as you like.
12. Carefully lift the parchment and place each cake into a clamshell lunch box or container. Keep chilled until serving.
Steph
Love love love these mini vanilla cakes!!