


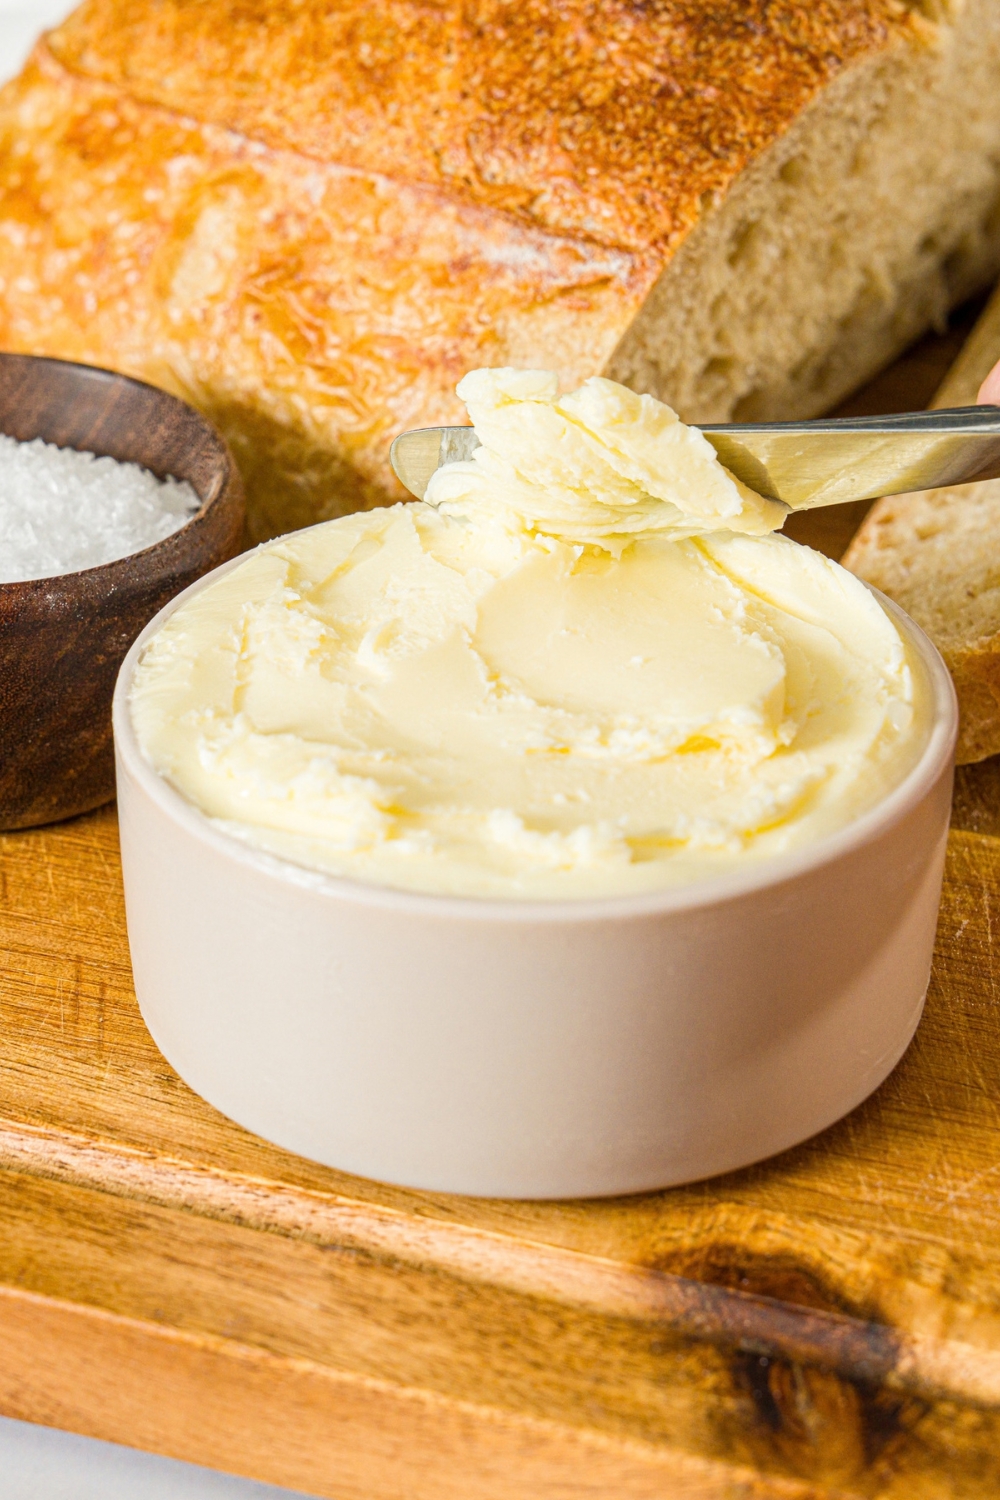
This homemade cultured butter is rich, tangy, and much more flavorful than regular butter. It’s made by fermenting heavy cream with live yogurt cultures, then churning it until the butter separates, giving you fresh butter and cultured buttermilk from the same batch. I love spreading it on warm bread and biscuits, but it’s just as good melted over vegetables, potatoes, or anything that could use a little extra richness.
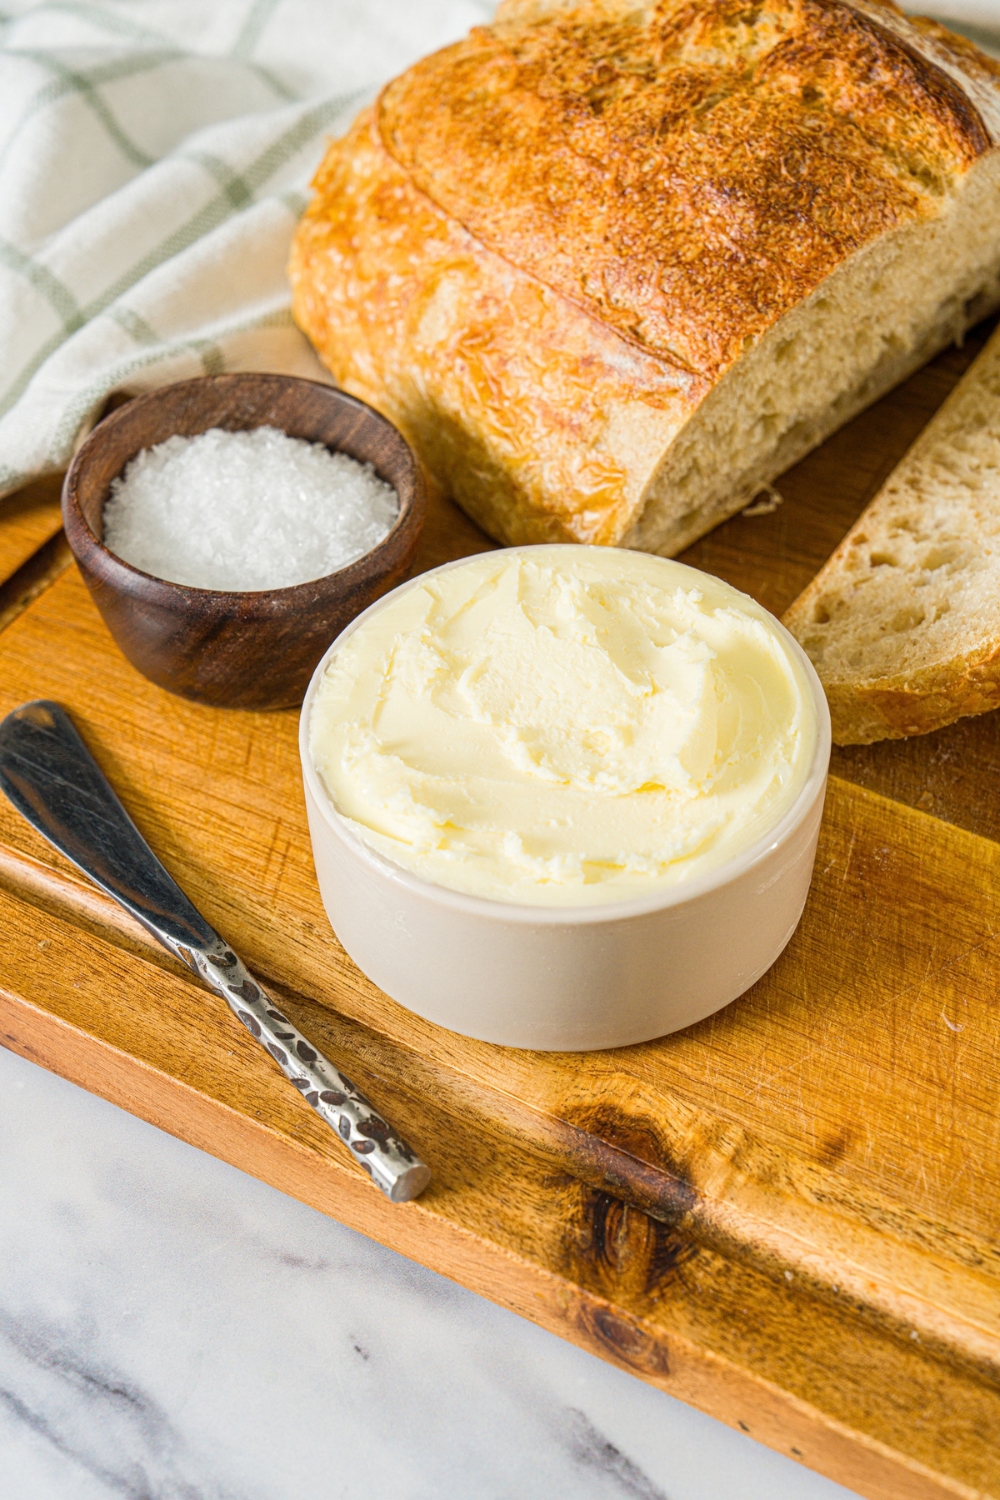
Table of Contents
What Is Cultured Butter?
Cultured butter is made by letting cream ferment with live cultures before churning it into butter. That extra fermentation step gives it a deeper, tangier flavor than regular sweet-cream butter, while still keeping the same rich, creamy texture.
I wanted to make it at home because I kept seeing how simple the process actually is. You only need heavy cream, live-culture yogurt, and a little salt, and most of the time is hands-off while the cream cultures. The bonus is that you also end up with homemade cultured buttermilk, which I save for biscuits, pancakes, or baking.
Ingredients You'll Need
- 1 liter heavy cream
- 100g plain whole-milk yogurt with live active cultures
- Fine sea salt, to taste
Ingredient Notes That Make This Cultured Butter Better
- Heavy cream: Use a good-quality heavy cream with a high butterfat content for the richest butter. Regular pasteurized cream is my first choice, and I try to avoid creams with a long list of stabilizers when possible.
- Plain yogurt: Make sure the yogurt contains live active cultures since those are what ferment the cream. I prefer plain whole-milk yogurt for a richer flavor, but another plain live-culture yogurt can work too.
- Salt: This is completely optional. I like adding fine sea salt after the butter has been washed so I can taste and adjust it gradually. Leave it unsalted if you plan to use the butter for baking.
- Ice water: You’ll need very cold water for washing the finished butter. Rinsing away the remaining buttermilk helps the butter stay fresh longer and gives it a cleaner texture.
How to Make Cultured Butter
Step 1: Culture the cream
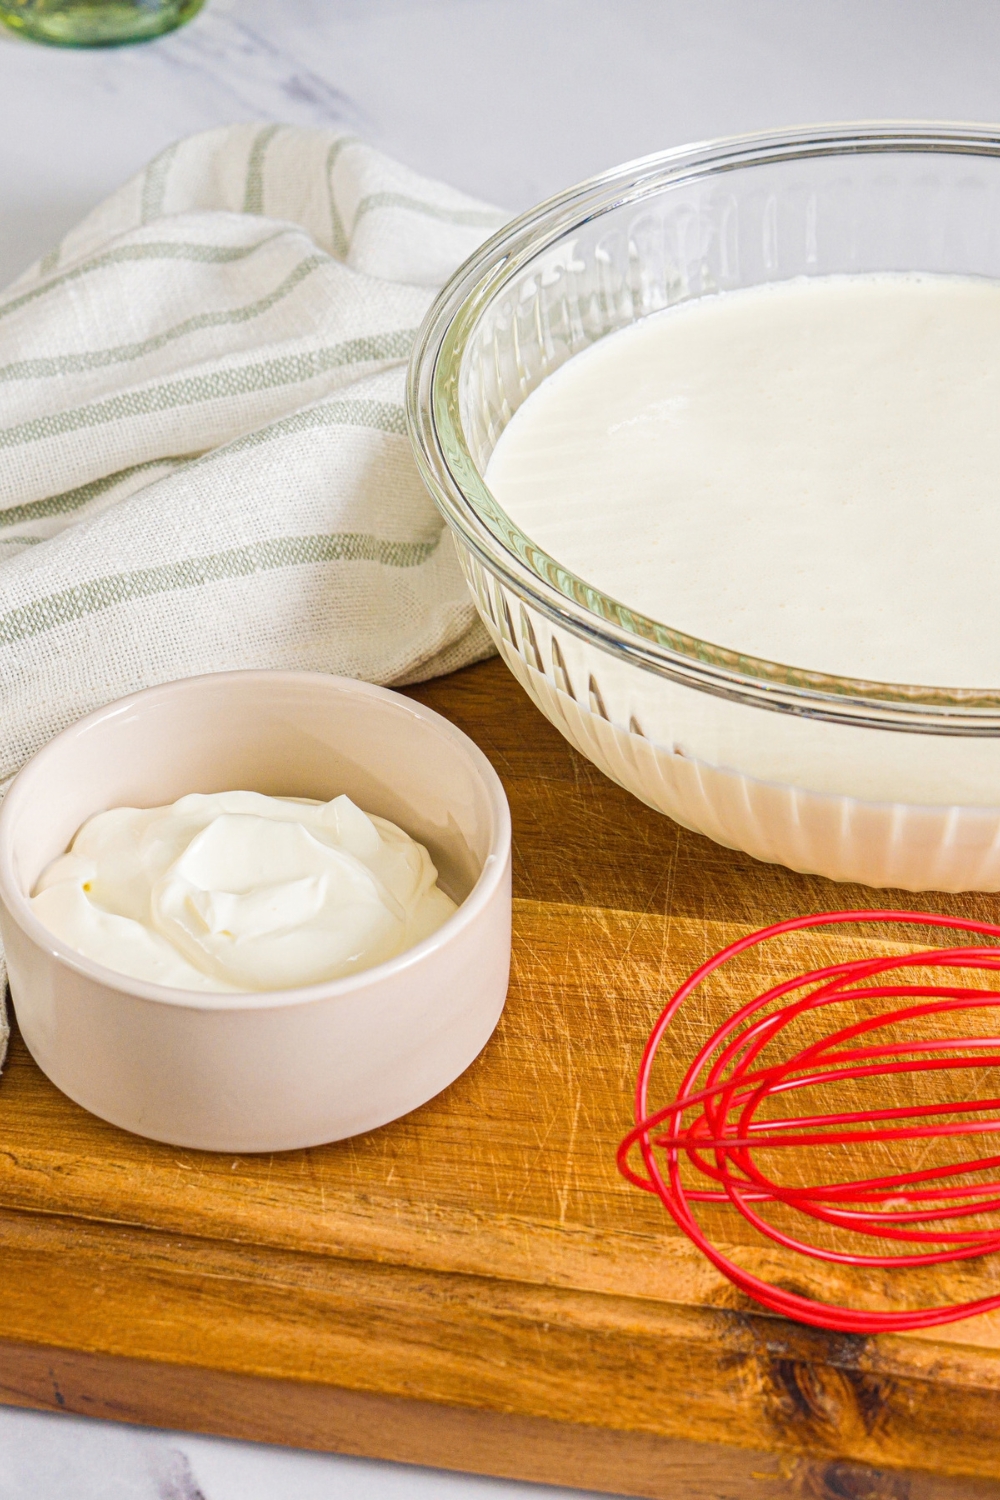
Add the heavy cream and plain live-culture yogurt to a medium bowl and stir until combined.
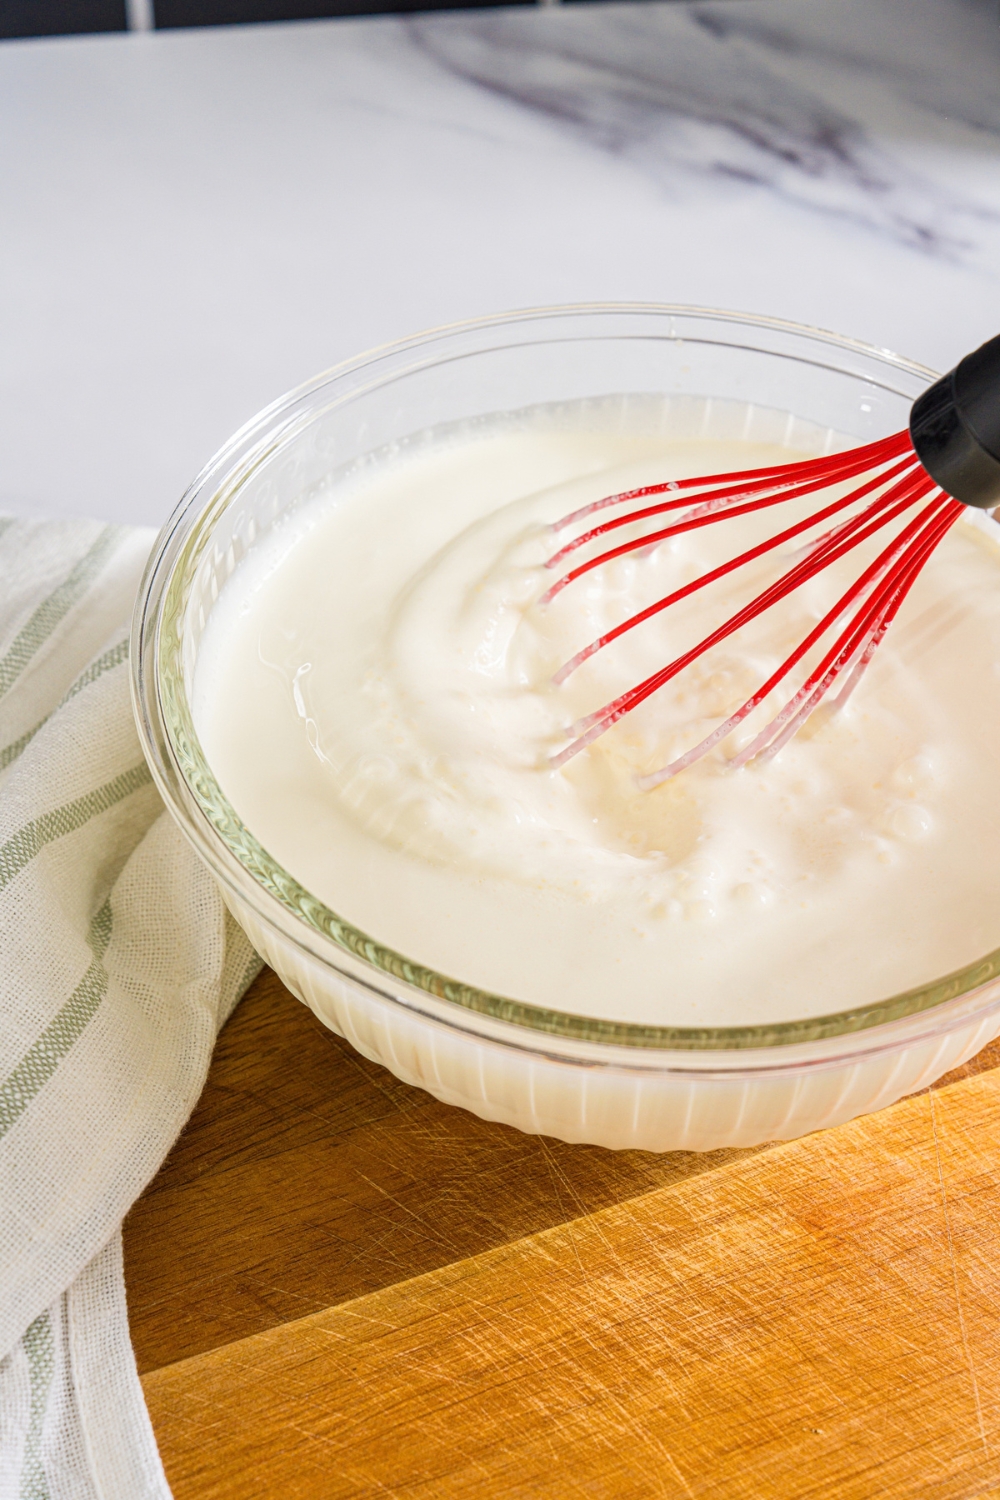
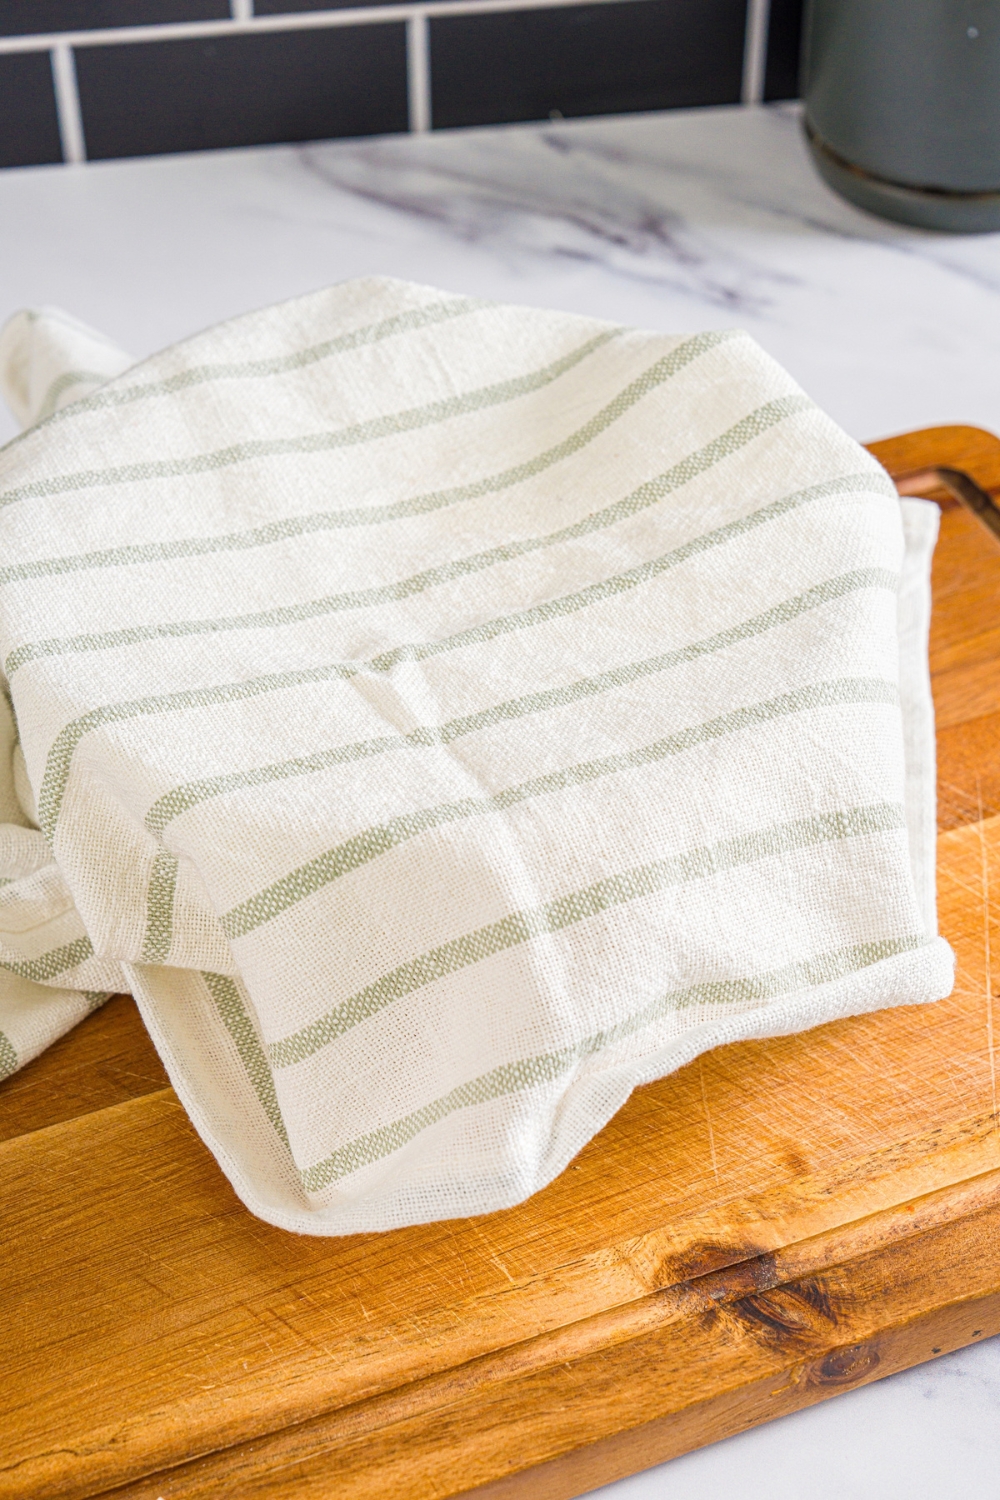
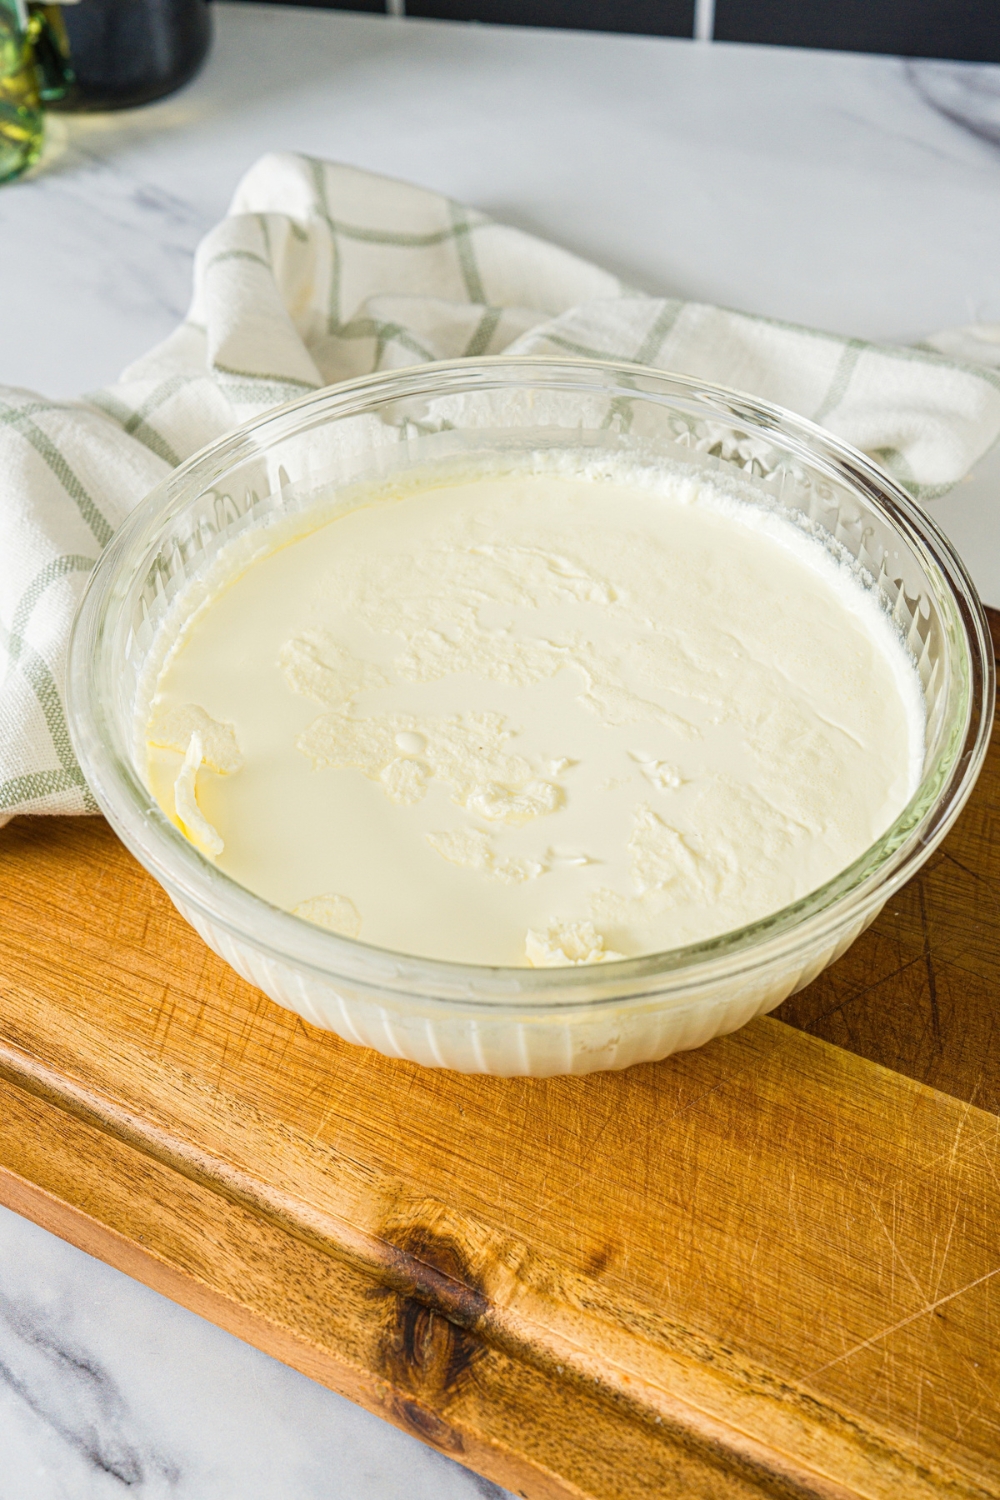
Cover with a clean cloth and leave at room temperature for about 12–24 hours, or until the cream has noticeably thickened and smells pleasantly tangy. In a cooler kitchen, it may take closer to 36 hours.
Step 2: Chill the culture cream
Transfer the cultured cream to the refrigerator for 4–5 hours, or until completely chilled. Chilling it before churning makes the butter easier to separate.
Step 3: Churn the butter
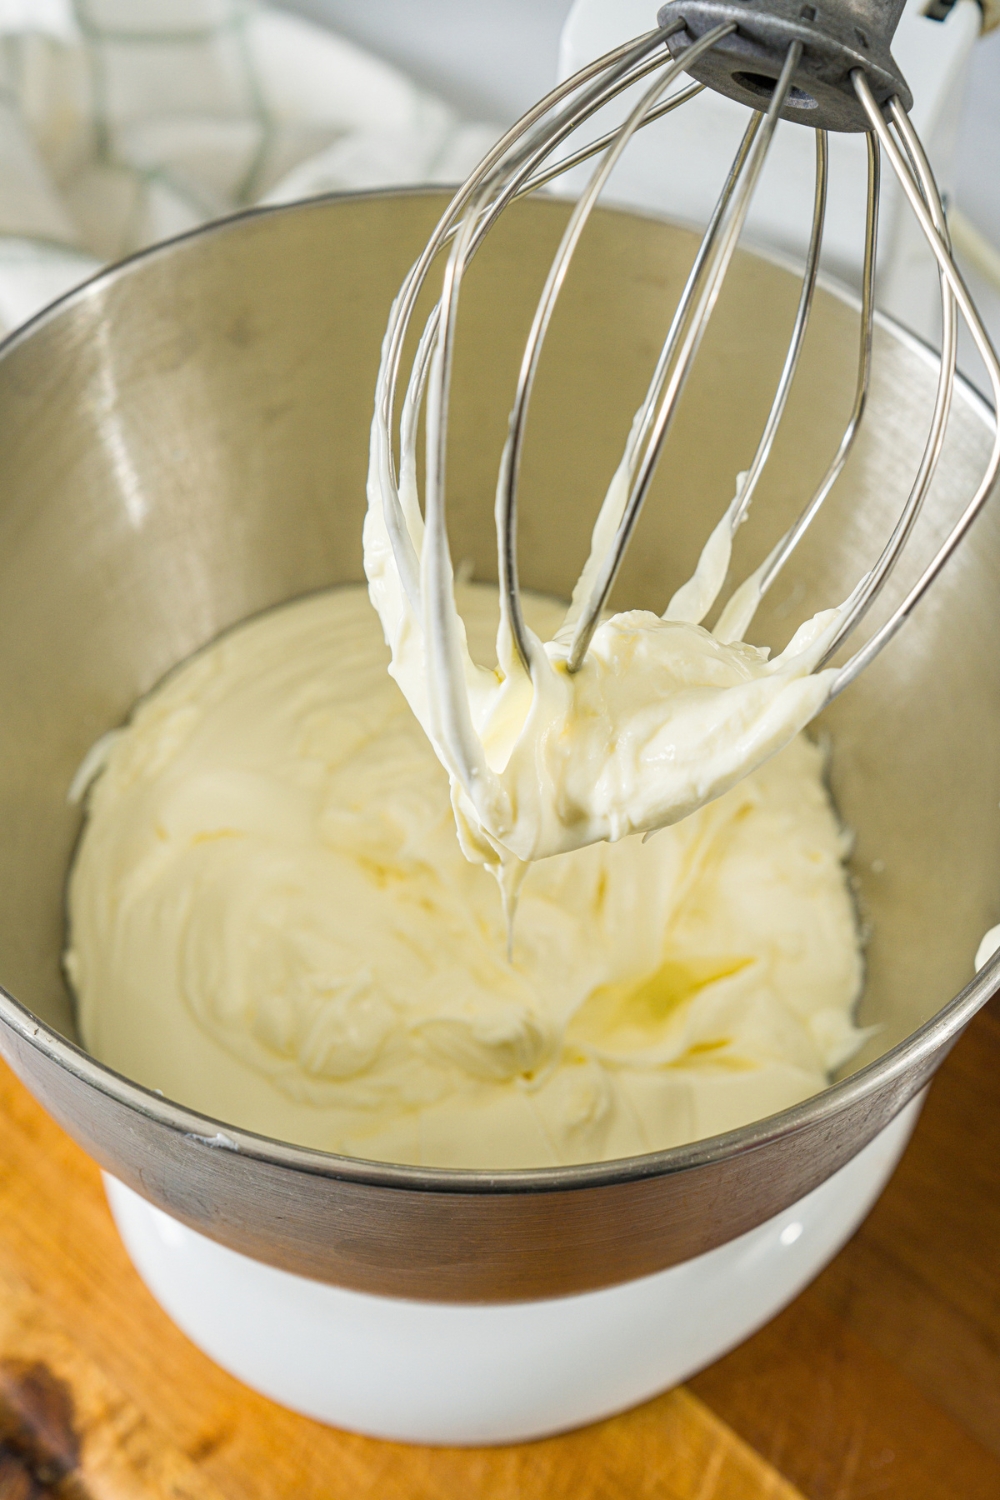
Pour the cold cultured cream into the bowl of a stand mixer. Beat on medium-high speed until it goes from whipped cream to grainy butter solids and liquid buttermilk. Keep mixing until the butter has clearly separated from the buttermilk.
Step 4: Drain and wash the butter
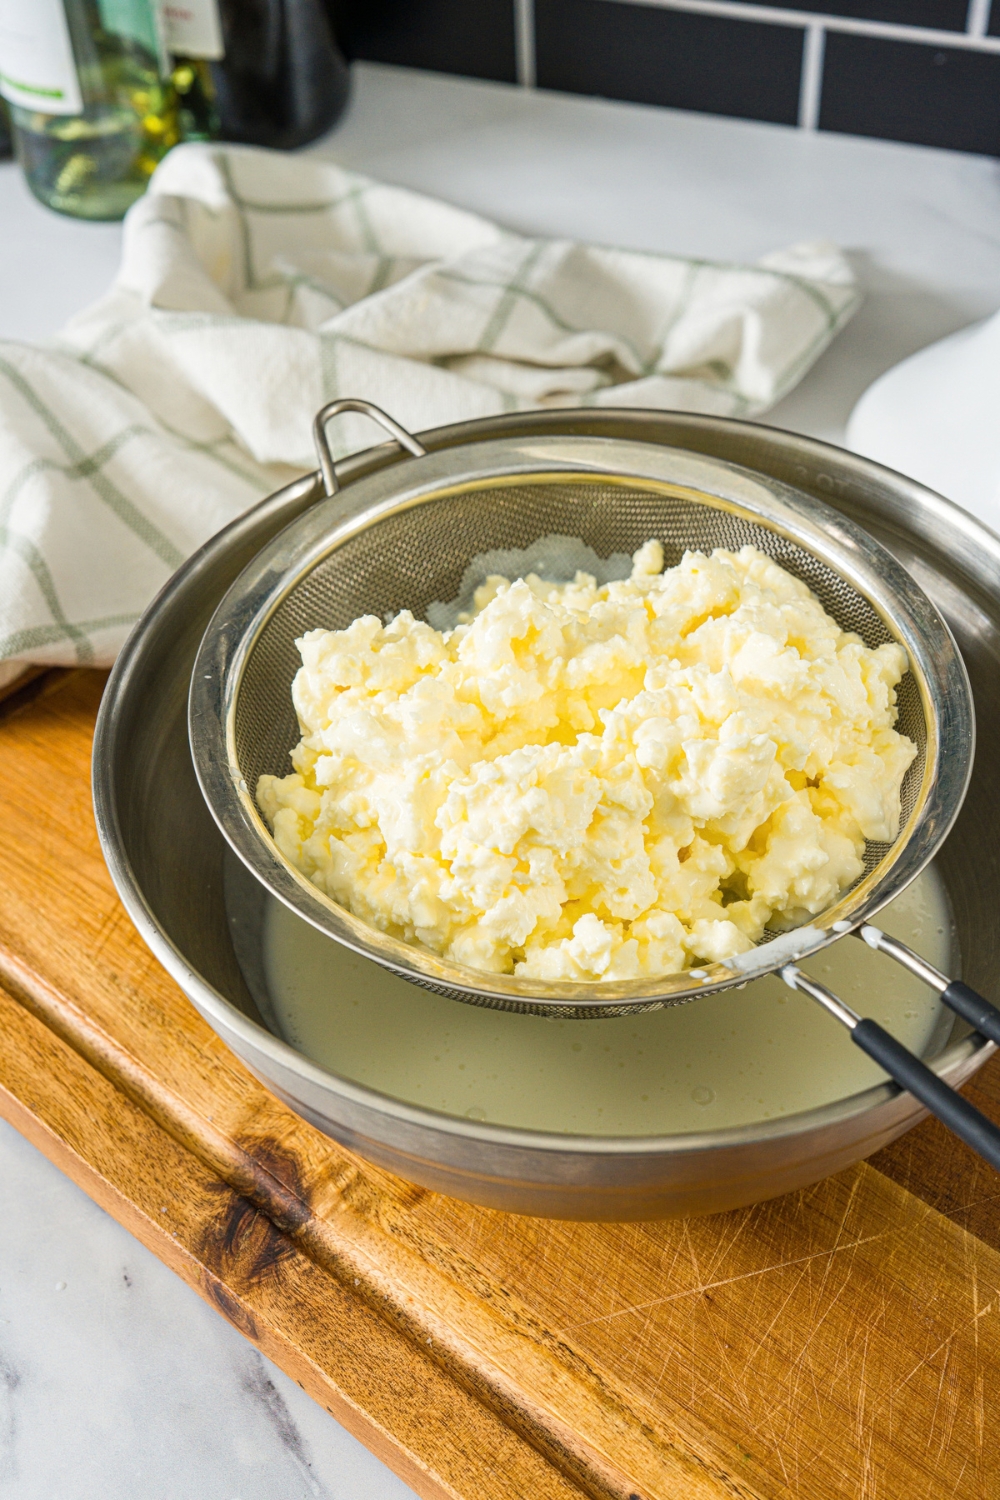
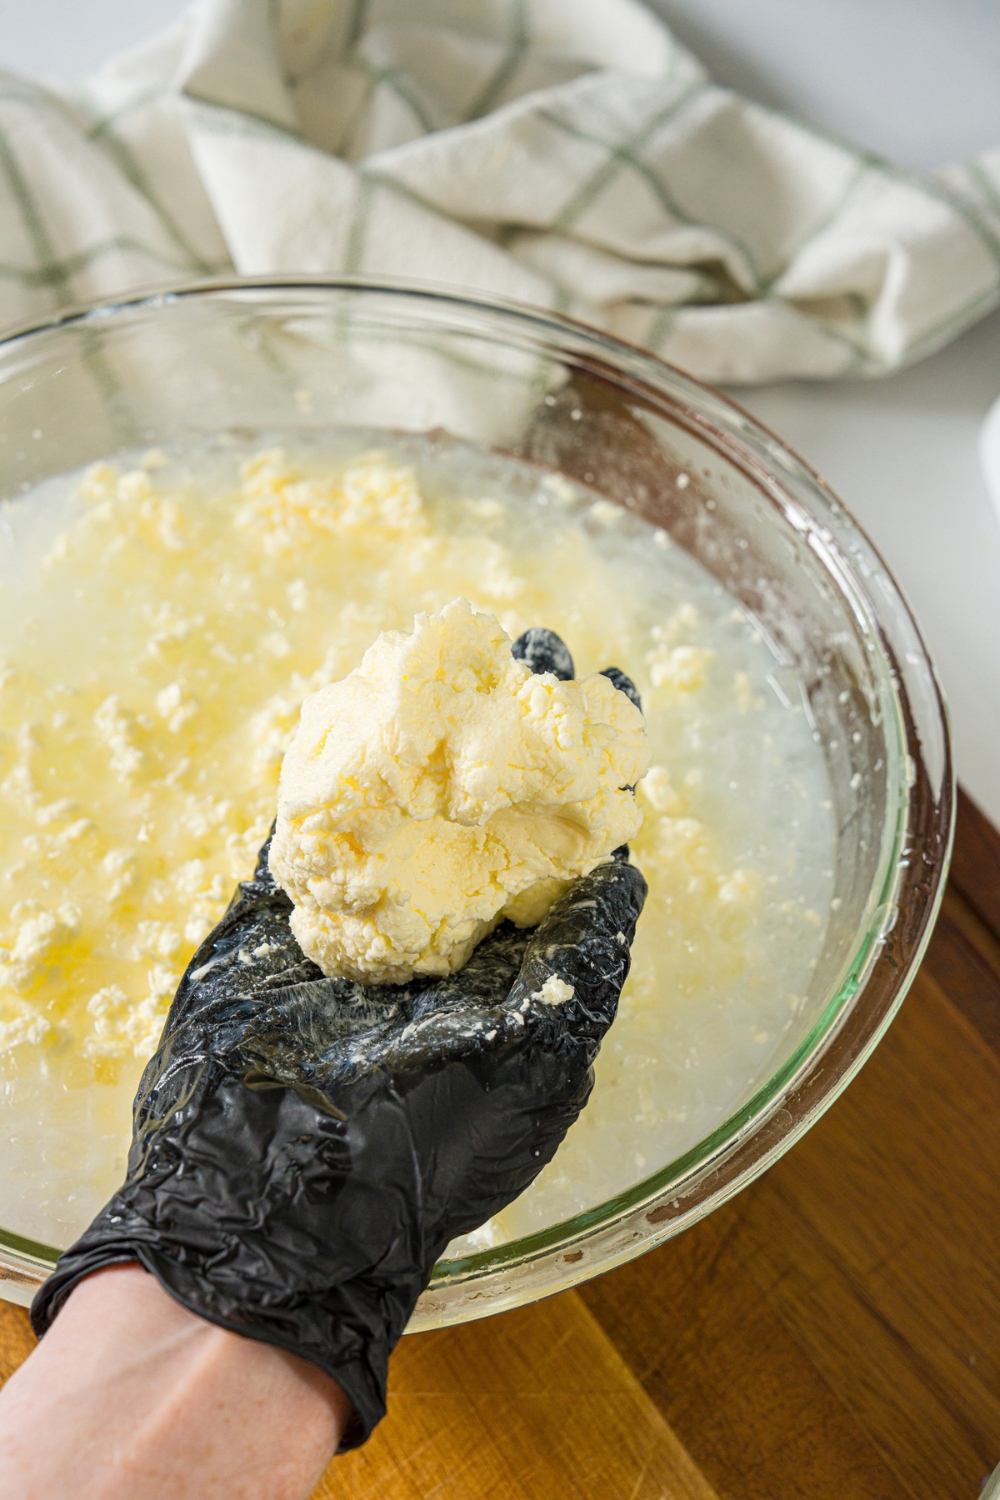
Strain off the cultured buttermilk and save it for another recipe. Transfer the butter solids to a bowl of ice-cold water and gently press and knead the butter to release any remaining buttermilk. Pour off the cloudy water and repeat with fresh cold water until the water stays clear.
Step 5: Season and store the butter
Press out as much excess water as possible, then mix in fine sea salt to taste if you want salted cultured butter. Shape the butter, transfer it to an airtight container, and refrigerate until ready to use.
My Expert Tips for the Best Cultured Butter
- Start with very clean equipment. Since the cream sits out while it cultures, make sure your bowl, spoon, mixer bowl, and utensils are freshly washed and clean before you begin.
- Pay attention to your kitchen temperature. A warmer room will culture the cream faster, while a cool kitchen can take considerably longer. Go by the thickened texture and pleasantly tangy smell rather than the clock alone.
- Use a large mixer bowl. Once the butter starts separating, the buttermilk can splash quite a bit. A deep bowl or splash guard will save you a mess.
- Watch closely once the whipped cream starts looking grainy. The change from whipped cream to separated butter happens quickly. Turn the mixer down if needed once liquid starts appearing so buttermilk doesn’t splash everywhere.
- Press out as much liquid as possible. After washing, use a spatula or clean hands to gently work out any trapped water. Less leftover liquid gives the butter a firmer texture and helps it keep better.
- Save the cultured buttermilk. Don’t pour off that liquid. Keep it refrigerated and use it in pancakes, waffles, biscuits, cornbread, or other recipes that call for buttermilk.
Ways to Use Cultured Butter
You can use cultured butter anywhere you’d normally use regular butter, but I especially like it in recipes where you can really taste the butter. The slightly tangy, rich flavor makes even simple foods taste better.
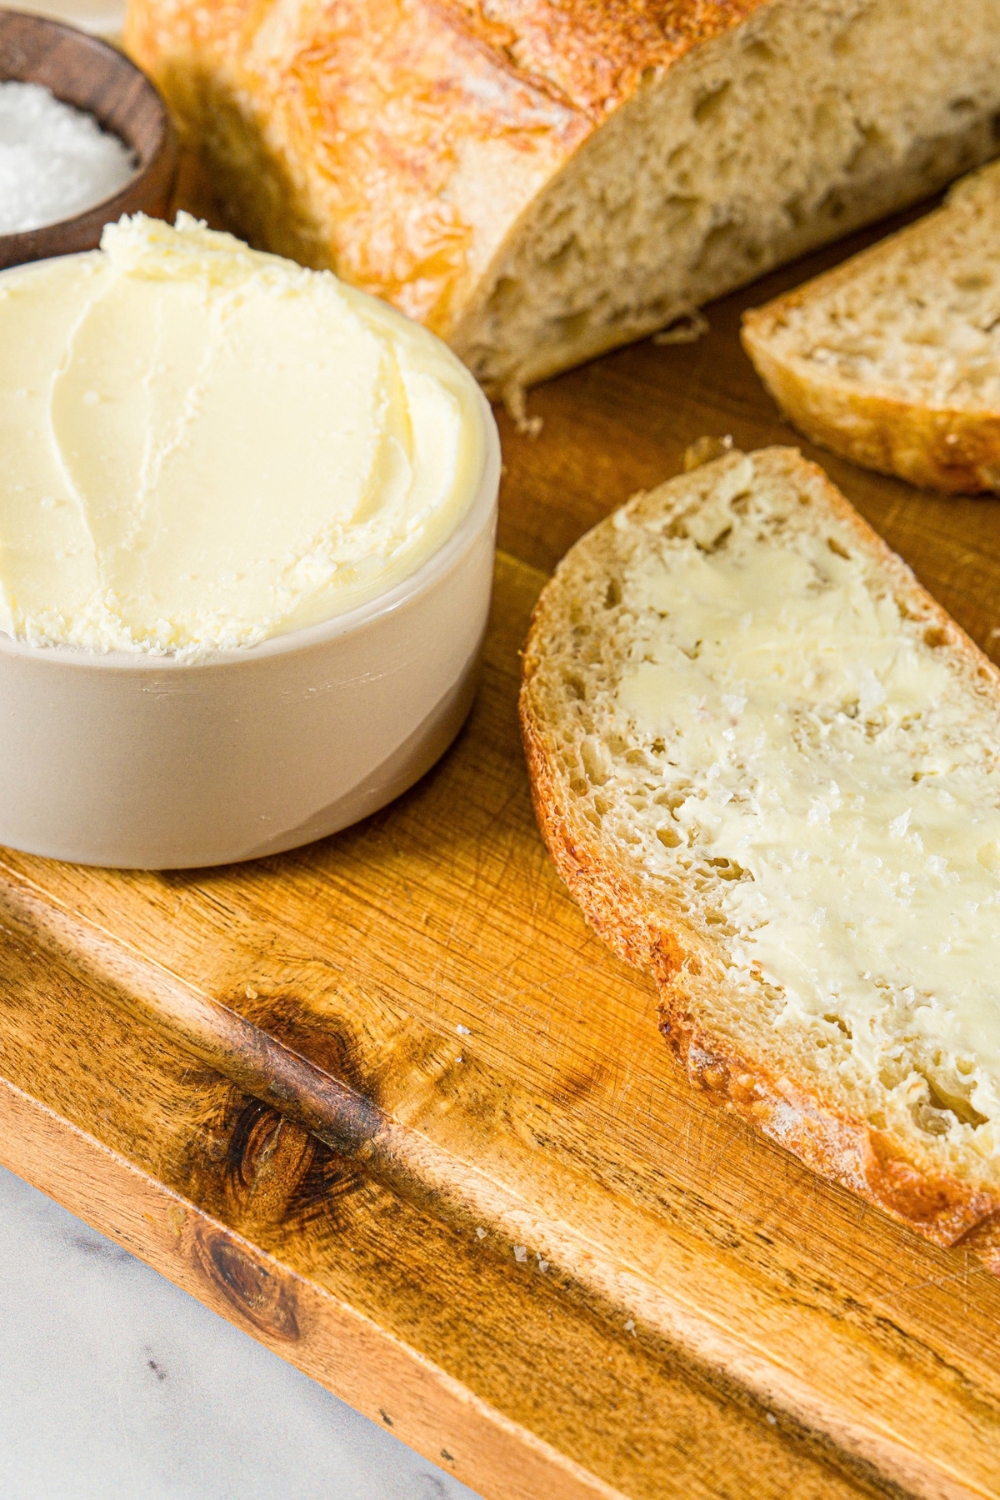
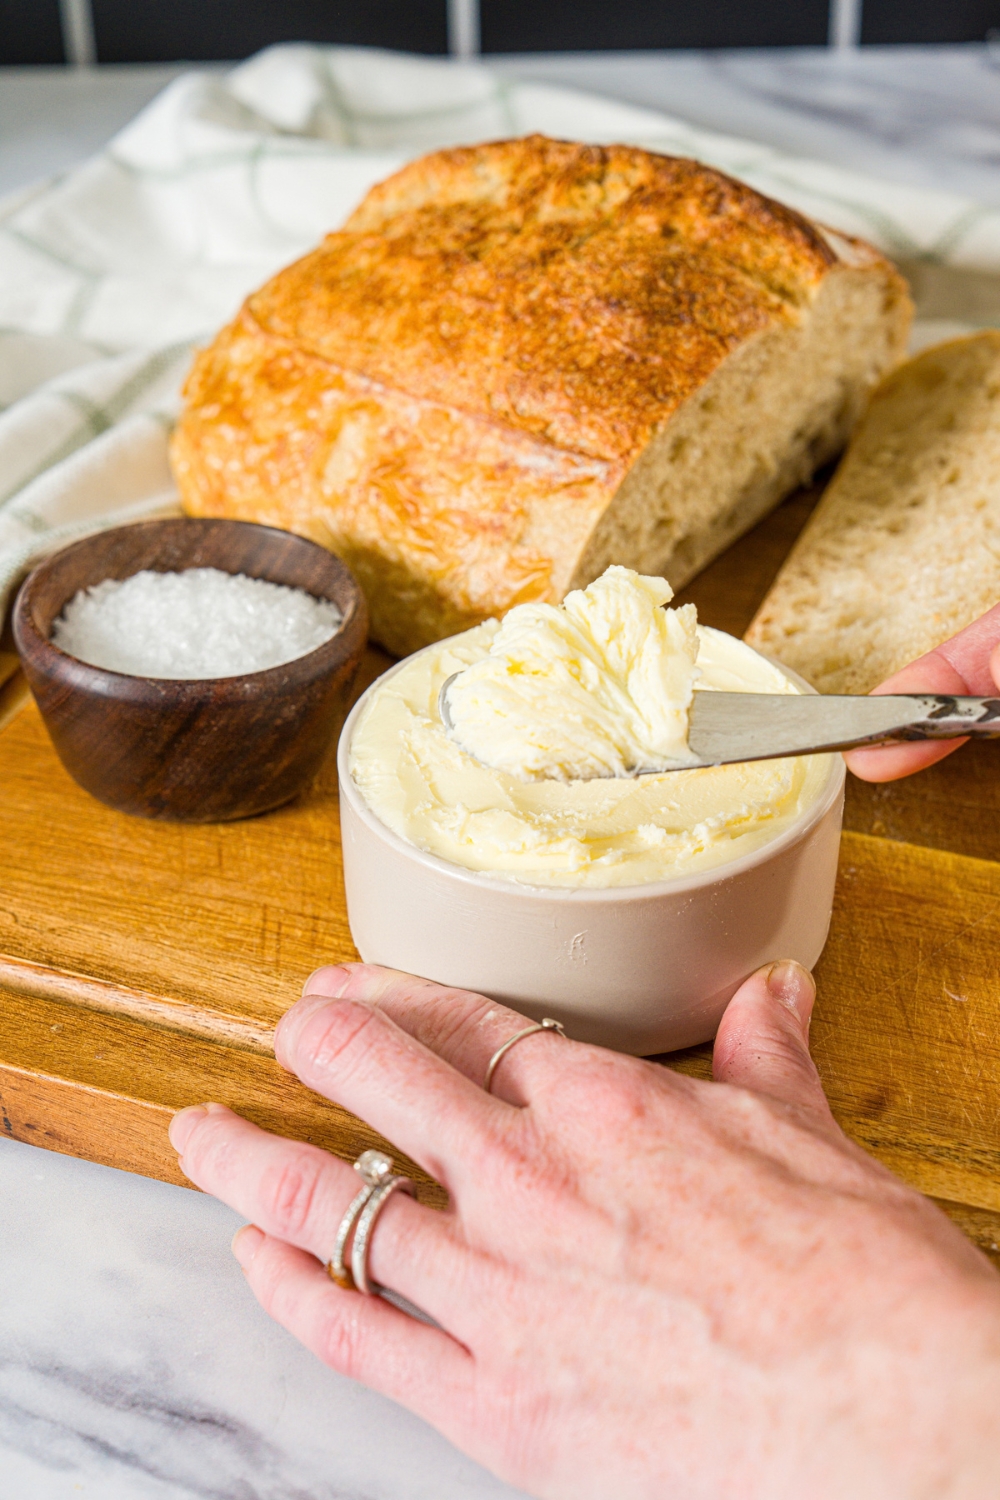
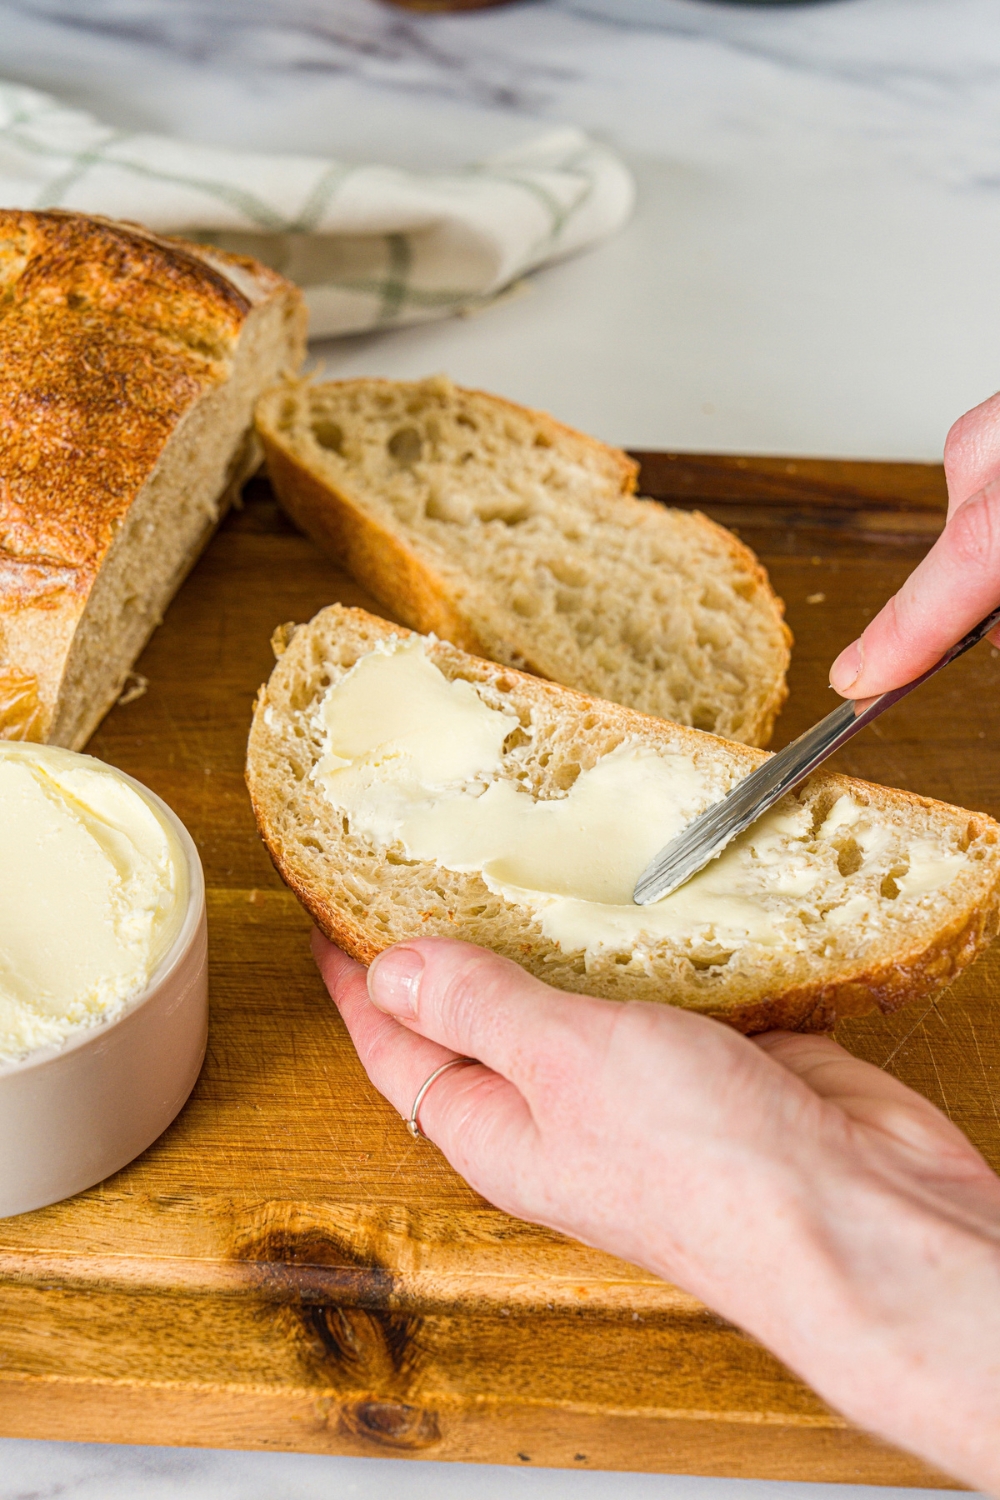
- Spread it on warm bread. This might be my favorite way to eat it. Add a little flaky salt and spread it over sourdough, toast, dinner rolls, or a warm baguette.
- Serve it with biscuits. Cultured butter is amazing melted into fresh biscuits, especially my butter swim biscuits or Cracker Barrel biscuits.
- Use it on pancakes and waffles. Let a pat melt over hot pancakes or waffles and finish with maple syrup.
- Melt it over potatoes and vegetables. Baked potatoes, mashed potatoes, roasted carrots, corn, and other simple vegetables are especially good with cultured butter.
- Cook eggs in it. Use it for scrambled eggs or fried eggs when you want a little more buttery flavor.
- Use it for baking. You can substitute cultured butter for regular butter in cookies, cakes, biscuits, pie crusts, and other baked goods. It works especially well in recipes where butter is one of the main flavors.
- Finish savory dishes with it. Melt a little over steak, chicken, pasta, rice, or roasted vegetables right before serving.
How to Store Cultured Butter
- Keep it as dry as possible: Before storing, press out as much water and leftover buttermilk as you can. Thoroughly washing and draining the butter helps it keep longer and gives it a cleaner texture.
- In the refrigerator: Pack the cultured butter into an airtight container and refrigerate for up to 1 month. Keeping it tightly covered helps protect the flavor from other foods in the fridge. Take out only the amount you plan to use and let it soften briefly at room temperature. I prefer keeping the main batch refrigerated rather than repeatedly warming and chilling the whole container.
- In the freezer: Wrap the cultured butter tightly and store it in a freezer-safe bag or airtight container for up to 3 months. Divide it into smaller portions first so you can thaw only what you need. Transfer frozen cultured butter to the refrigerator and let it thaw overnight. Once thawed, keep it refrigerated and use it like fresh butter.
Cultured Butter FAQs
What is the difference between cultured butter and regular butter?
Regular butter is typically churned from fresh cream, while cultured butter is made from cream that has been fermented first. That extra step gives cultured butter a more complex, tangy flavor that’s especially noticeable when you spread it on bread or biscuits.
How do I know when the cream is properly cultured?
The cream should be noticeably thicker than when you started and have a pleasantly tangy, slightly sour aroma. Depending on the temperature of your kitchen, this can take anywhere from about 12–36 hours.
Can I use Greek yogurt to make cultured butter?
Yes, as long as it’s plain and contains live active cultures. A plain whole-milk yogurt is my first choice, but plain Greek yogurt with live cultures can also work.
Why won’t my cream turn into butter?
Keep mixing. The cream first becomes whipped cream, then starts looking grainy before the butter solids finally separate from the liquid buttermilk. If the cream is very cold, the process may take a little longer.
What is the liquid left over after making cultured butter?
The liquid that separates from the butter is cultured buttermilk. Save it in the refrigerator and use it in biscuits, pancakes, waffles, cornbread, or other recipes that call for buttermilk.
Why do you wash homemade butter in ice water?
Washing removes the remaining buttermilk trapped inside the butter. Continue rinsing and gently working the butter in cold water until the water stays clear, then press out as much excess liquid as possible before storing it.
Can I make cultured butter without a stand mixer?
Yes. A hand mixer, food processor, or even vigorous shaking in a tightly sealed jar can separate cream into butter and buttermilk. A stand mixer is simply the easiest method for a batch this size.
Can I use cultured butter for baking?
Yes. Cultured butter can generally be used anywhere you would use regular butter, including cookies, cakes, biscuits, pie crusts, and breads. Its slightly tangy flavor is especially noticeable in recipes where butter is a major ingredient.
Should cultured butter be salted or unsalted?
Either works. Leave it unsalted if you want maximum flexibility for baking, or work fine sea salt into the finished butter if you plan to use it mostly for spreading and cooking.
Homemade Cultured Butter

This homemade cultured butter is rich, tangy, and much more flavorful than regular butter. It’s made by fermenting heavy cream with live yogurt cultures, then churning it until the butter separates, giving you fresh butter and cultured buttermilk from the same batch. I love spreading it on warm bread and biscuits, but it’s just as good melted over vegetables, potatoes, or anything that could use a little extra richness.
Ingredients
- 1 liter (33.8 oz.) heavy cream
- 100g plain whole-milk yogurt with live active cultures
- Fine sea salt, to taste
Instructions
1. In a medium bowl add the cream and yogurt. Cover with a clean cloth and set on the counter for 24-36 hours until it is thickened and soured.
2. Chill for 4-5 hours before beating. Into a stand mixer bowl add the soured cream mixture and beat on medium high until the butter has separated from the butter milk.
3. Strain out the butter milk and set that aside for another use.
4. Add the butter to a bowl of ice water and rinse until the water is clear and there is no remaining buttermilk in the butter solids.
5. Salt if desired and enjoy.
Nutrition Information:
Yield:
8Serving Size:
1Amount Per Serving: Calories: 21Total Fat: 2gSaturated Fat: 1gUnsaturated Fat: 1gCholesterol: 5mgSodium: 10mgCarbohydrates: 1gSugar: 1gProtein: 1g
Leave a Reply