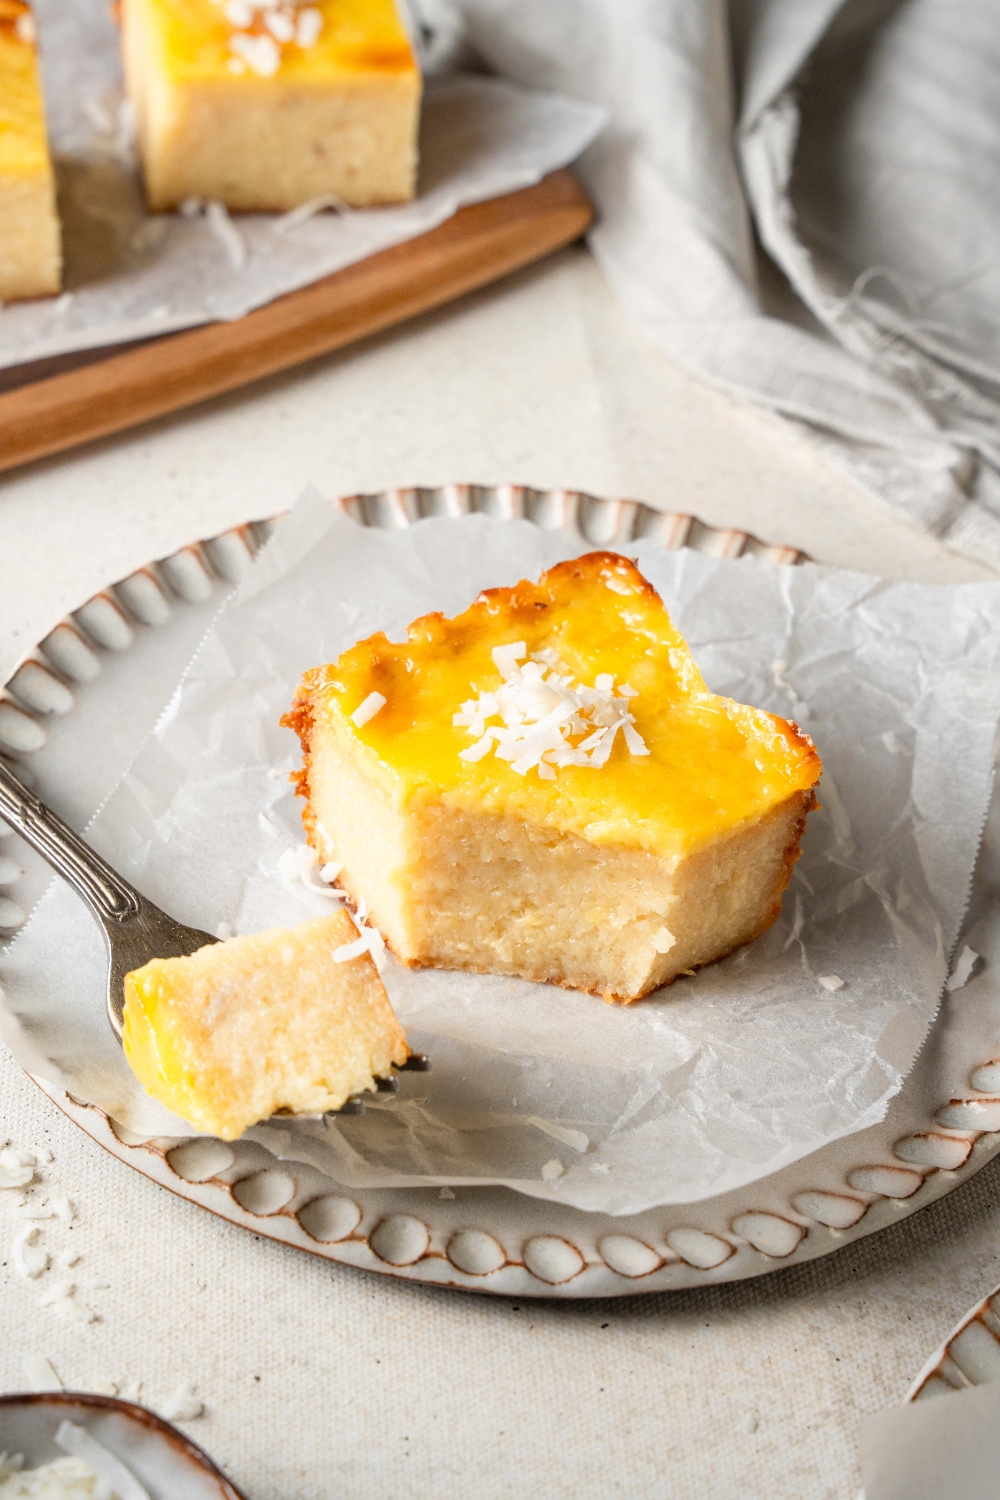
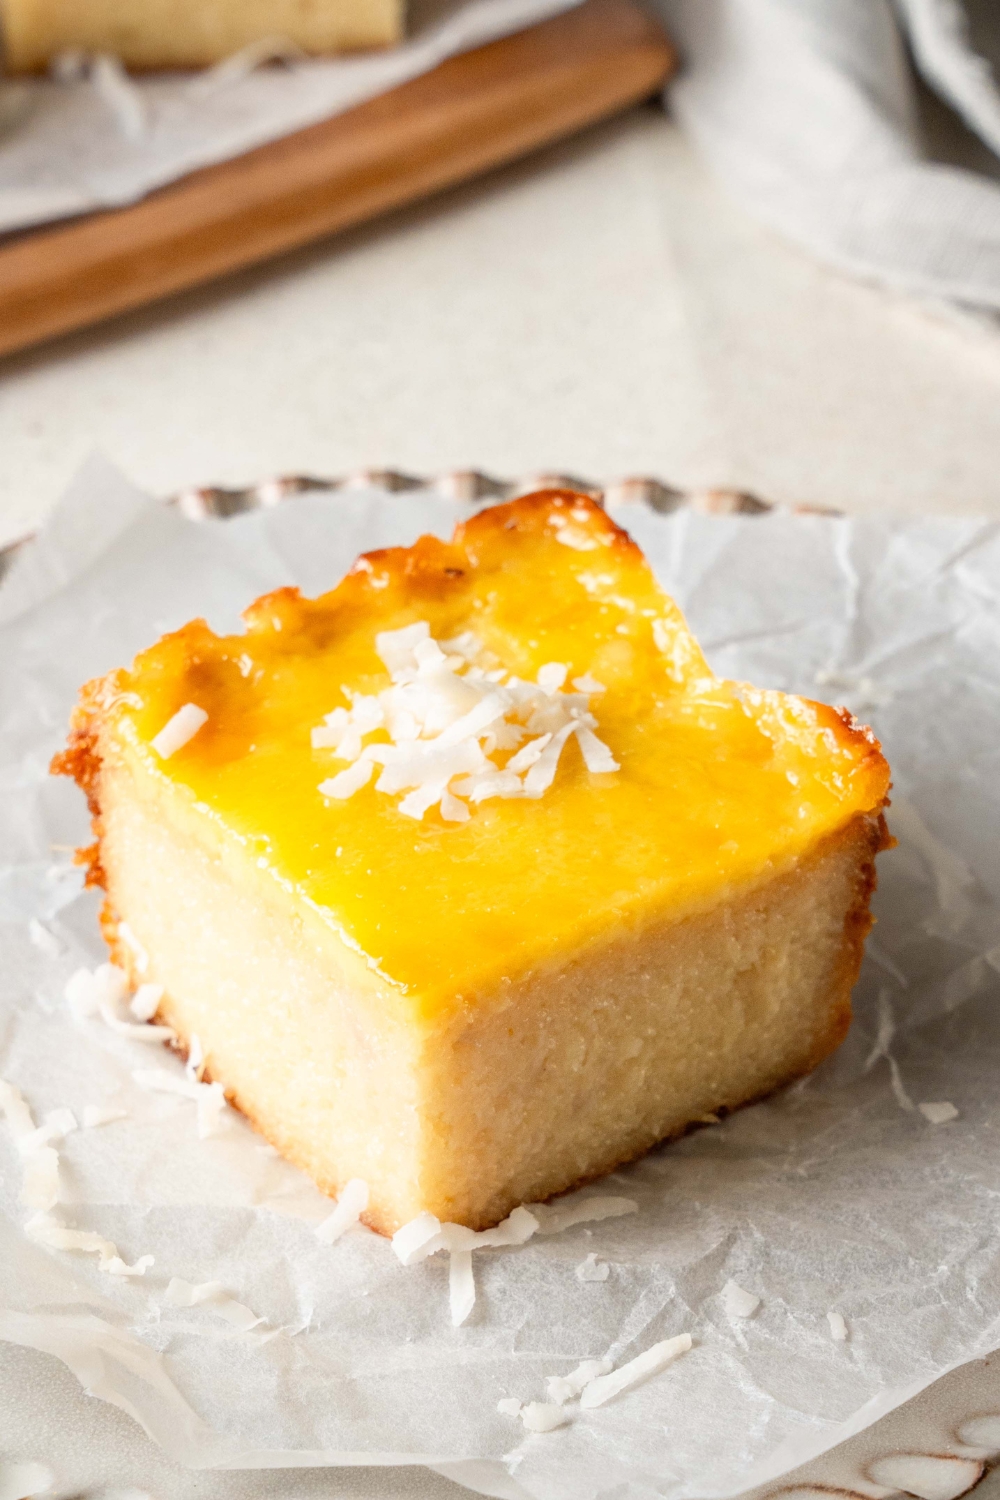
This cassava cake recipe is downright addicting. It bakes up incredibly moist and tender—almost custardy in the center—with a rich, creamy, lightly nutty flavor. Every bite has that classic Filipino cassava cake texture that keeps you coming back for “just one more” slice. The best part is how simple it is to make. You stir everything together in a bowl, pour it into a pan, bake, and you’re done—no mixer, no layers, no fussy steps. If you’ve made my Mango Cake or Milk Cake, then you already know I’m all about turning classic desserts into easy-to-make ones that still taste bakery-worthy.

Table of Contents
Why I Love This Cassava Cake Recipe
I love this Filipino-style cassava cake because it’s one of those desserts that completely disappears every time I bring it to a party or holiday gathering. Seriously, whenever I serve it—especially around the holidays—I never have to worry about leftovers. The pan is scraped clean, and everyone wants the recipe. It has that super nostalgic, comfort-food feel if you grew up eating cassava cake, but it still blows people away even if it’s their first time trying it.
It’s also a dream for planning make-ahead desserts. You can bake this cassava cake the night before you need it, let it chill, and it’s just as good—if not even better—the next day. The flavors have more time to meld, the texture sets up perfectly, and you get to cross dessert off your list before guests even arrive. When I’m cooking a big meal, knowing this is already done and waiting in the fridge is a huge relief.
Just like my slow cooker chicken adobo, chicken tocino, and Filipino pork adobo, this cassava cake stays true to classic Filipino flavors and technique. It uses the ingredients and textures you expect from an authentic Filipino cassava cake—nothing overly “reimagined” or complicated—just a tried-and-true version that works every single time. It’s easy enough for beginners, special enough for holidays, and honestly, one of my favorite desserts to make for family and friends.
Ingredients
For the cake:
- 1 lb. Cassava - also called yuca or tapioca, this root vegetable is subtle and sweet, with a pleasant nutty flavor.
- 1 Egg - to help bind the ingredients together and ensure a moist cake base.
- ½ cup Coconut milk - another subtly sweet ingredient that adds moisture to the cake.
- ½ can Evaporated milk - adds richness to the cake and thickens up the batter. It also aids in a creamy taste.
- ½ can Condensed milk - this thick syrup is milky and ultra sweet thanks to the added sugar and reduced water content.
- 2 tbsps. Butter - this staple ingredient adds structure to the cake ensuring it holds it's shape and doesn't become crumbly after baking.
For the topping:
- ¼ cup Coconut milk - this is the liquid used in making the coconut topping.
- ¼ cup Condensed milk - adds sweetness to the topping and helps to thicken it up a bit.
- 1 Egg yolk - for richness, and also to help emulsify the ingredients.
- ½ tbsp. Corn starch - used as a thickening agent for the coconut topping.
- 2 tbsp. Shredded coconut - to garnish the dish with. Sweetened or unsweetened shredded coconut will work fine here. Whichever you prefer.

How to Make Cassava Cake
Step 1: Grate the Cassava
Preheat your oven to 350°F. Peel and finely grate the cassava root using the grater side of a box grater.

Step 2: Strain the Cassava
In batches, place the grated cassava into a sieve and squeeze out as much of its liquid as you can.

Step 3: Add the Cassava to a bowl
Transfer the strained cassava to a medium-sized bowl. You should end up with approximately 2 cups of cassava.

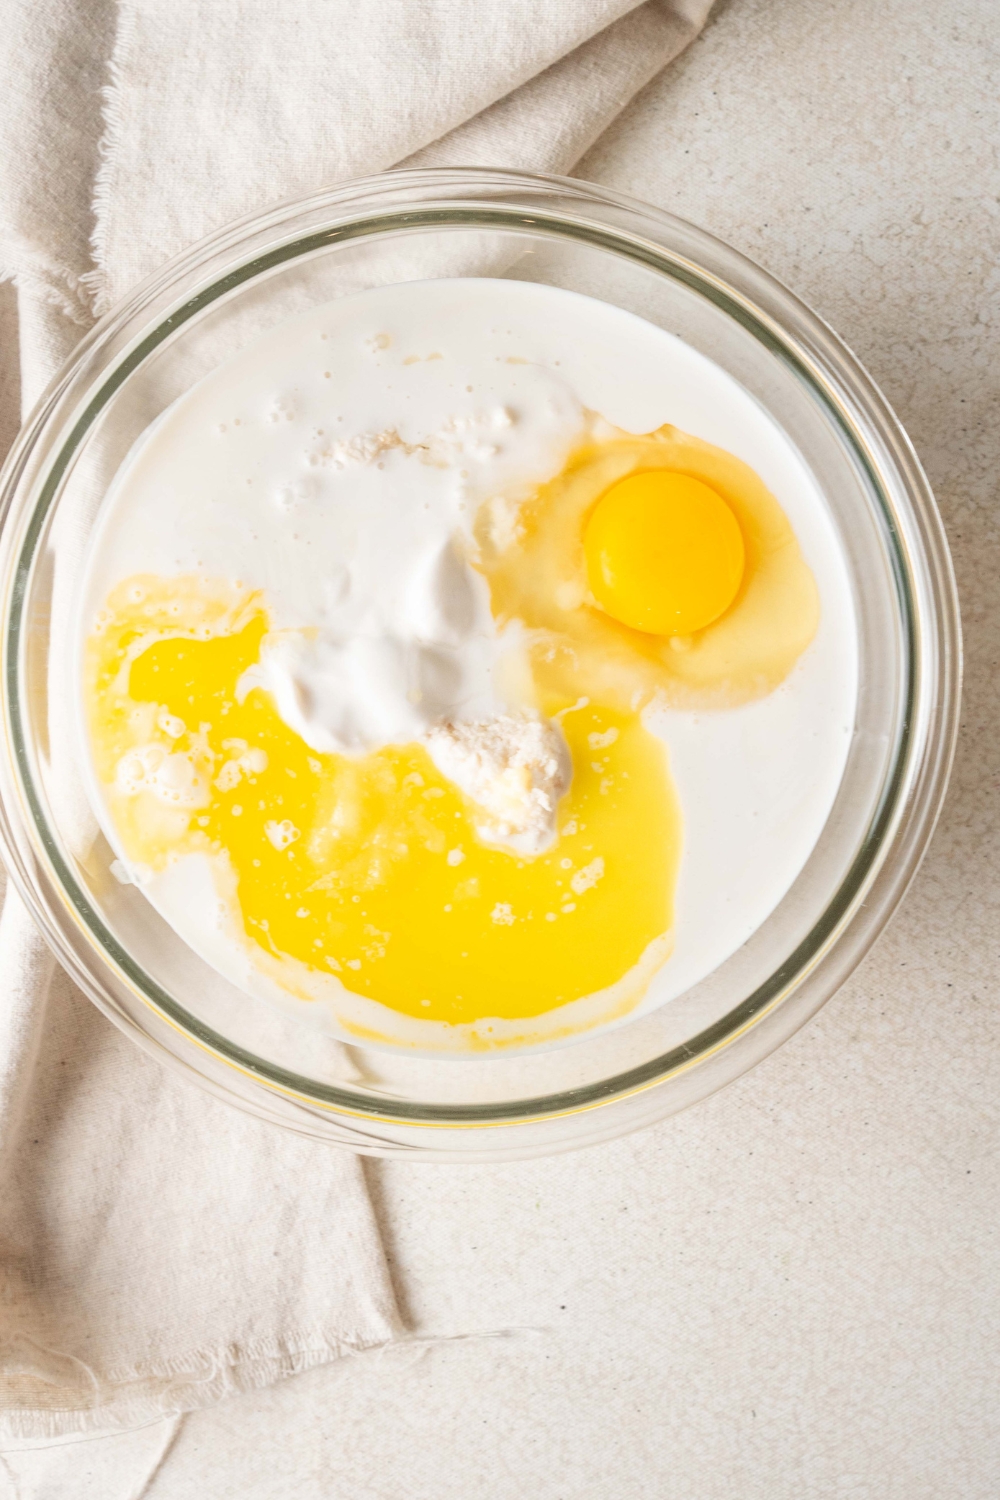
Step 4: Combine the ingredients
Add the egg, coconut milk, evaporated milk, condensed milk, and butter to the bowl with the cassava. Mix everything until combined.
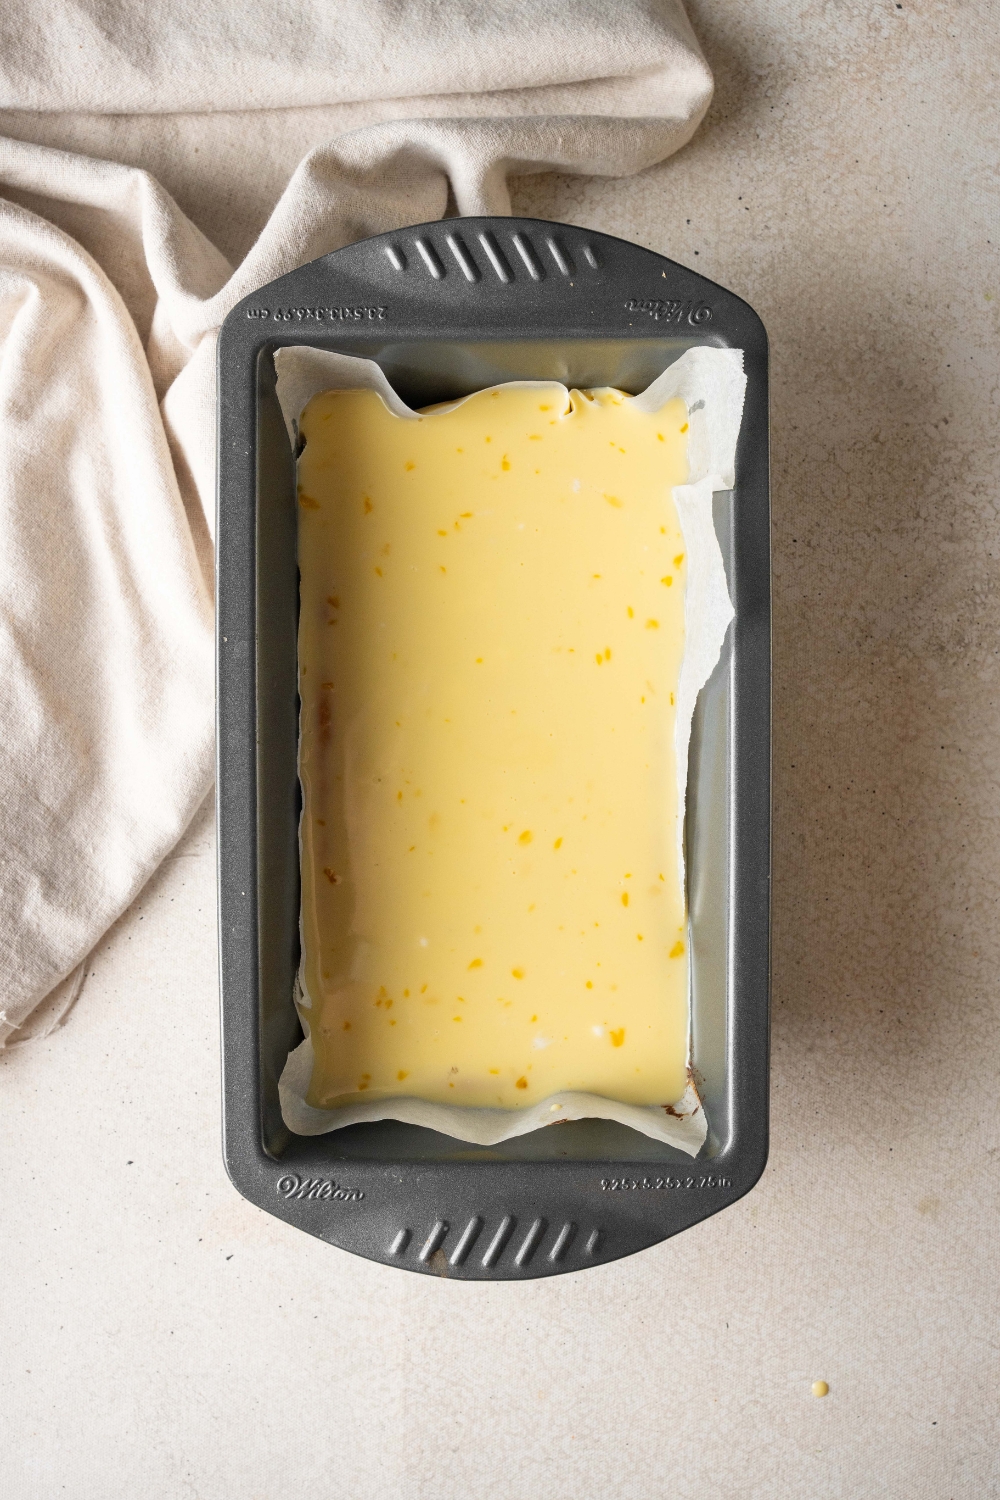
Step 5: Transfer and bake
Grease a loaf pan with butter - or line it with parchment paper - and cover the sides of the pan well with it. Pour the batter into the pan and bake it in the oven for 45-50 minutes.

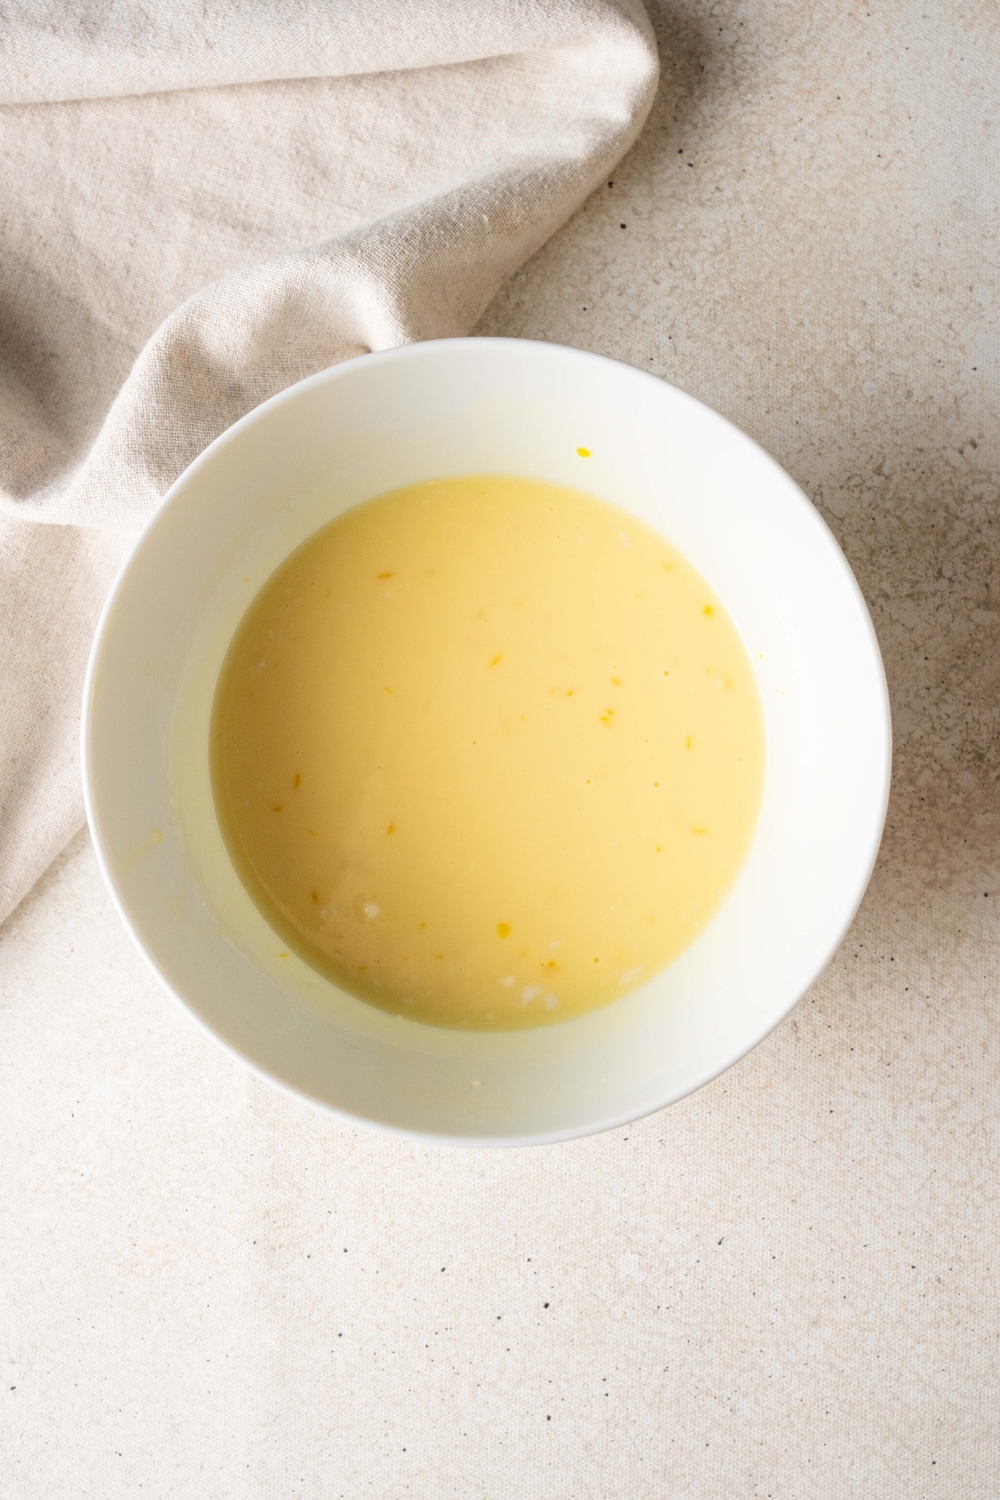
Step 6: Make the topping
Add the coconut milk, condensed milk, egg yolk, and cornstarch to a bowl and whisk everything together until combined.
Step 7: Top the cake
Once the cassava cake has fully baked and firmed up, take it out of the oven and pour the topping over the cake. Then, after you've added the topping, return the baking dish/pan to the oven for around 15 minutes - or until the top is bubbly and golden.
Step 8: Cool and serve
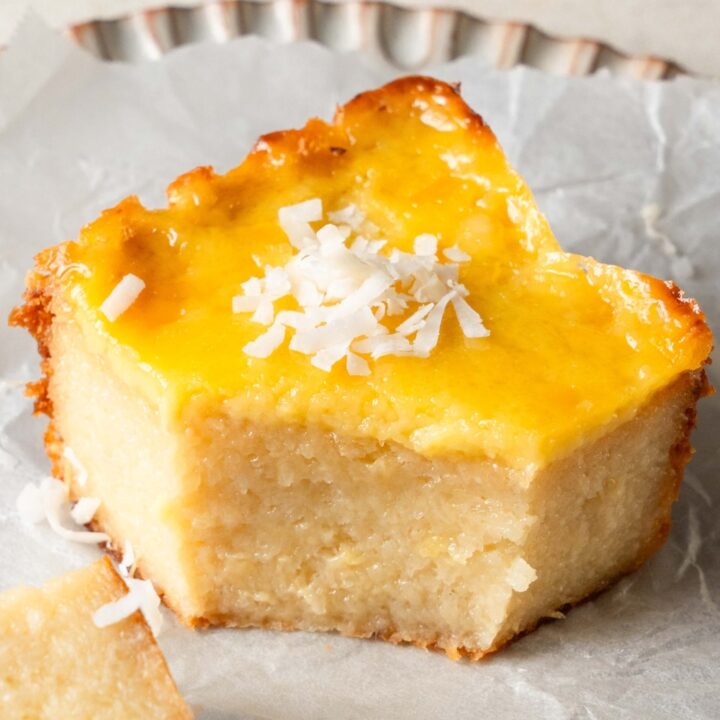
Set the cake aside and let it cool completely. Once it's cooled you can cut it into 6 squares. Then, after you've got it cut up, you can get it on a plate and garnish each slice with some shredded coconut.

Expert Tips for Making The Best Cassava Cake
- Don’t overbake or it will turn rubbery. Cassava cake should be moist, tender, and slightly chewy—not dry or bouncy. Start checking for doneness a few minutes before the suggested bake time. The edges should look set and lightly golden, and the center should be mostly set with a tiny jiggle. If you bake it too long, the cassava starch tightens and the cake turns tough.
- Watch the topping like a hawk. The topping goes from perfectly caramelized to overcooked fast. Once you add the topping and put the cake back in the oven (or under the broiler, if that’s how you finish yours), stay close and keep checking every minute or so. You’re looking for a deep golden color and tiny bubbles—not dark brown or burnt spots.
- Strain the cassava well to avoid a soggy cake. If you’re using grated cassava from a package, make sure to strain off any excess liquid before mixing it with the other ingredients. Too much moisture in the batter can make the cake bake unevenly or stay gummy in the center. You want the cassava to be moist but not dripping.
- Use room-temperature eggs for a smoother batter. Cold eggs don’t mix as easily into rich, creamy ingredients. Let your eggs sit out for 20–30 minutes before you start so they can come to room temperature. They’ll whisk in more smoothly, which helps you get an even, cohesive batter and a better final texture.
- Stir the batter just until combined. You don’t need to aggressively whisk the cassava cake batter. Mix just until everything is evenly combined, and there are no obvious streaks. Overmixing can incorporate too much air, which slightly changes the texture and can cause uneven baking.
- Let the cassava cake cool and set before slicing. It’s tempting to cut into it right away, but cassava cake slices much better once it has had time to cool and set. Let it cool at room temperature, then chill if you like. This helps the texture firm up just enough, so you get clean slices that still taste soft and custardy.
- Use a light-colored pan if possible. If you have the choice, use a light-colored baking pan instead of a very dark one. Dark pans absorb more heat and can cause the bottom and edges of the cake to brown faster, which makes it easier to accidentally overbake.
- Taste and adjust the sweetness with the topping. If you prefer a sweeter cassava cake, you can lean into it with the topping instead of overloading the base. Keep the cake layer balanced, then add a slightly richer or thicker topping for extra sweetness and flavor. It’s easier to control the final sweetness this way, and you won’t lose the classic cassava texture in the base.
How To Store Leftover Cassava Cake
In the fridge: The best way to store cassava cake is in the refrigerator. Let the cake cool completely, then wrap the pan tightly in plastic wrap or transfer individual slices to an airtight container. Stored this way, cassava cake will keep for about 3–4 days. The texture actually stays really nice and slightly chewy straight from the fridge, or you can gently warm slices before serving.
In the freezer: If you’re not going to finish the cake within a few days, you can freeze it for longer storage. Once it’s completely cool, cut the cassava cake into slices, wrap each piece tightly in plastic wrap, then place the wrapped slices in a freezer-safe bag or container. Freeze for up to 1 month. When you’re ready to enjoy, thaw slices in the fridge overnight, then serve chilled or warm them gently in the microwave or oven until just heated through. Avoid over-heating or the texture can turn a bit tough.

Cassava Cake Recipe FAQS
How do I get clean, perfect squares of cassava cake?
For the neatest slices, let the cassava cake cool completely, and chilling it in the fridge for a couple of hours makes cutting even easier. Use a very sharp knife and wipe the blade clean between each cut so the edges stay smooth and tidy. If you want perfectly even pieces, you can lightly mark the top with a ruler or the back of a knife to guide your cuts before slicing all the way through.
Do I need to refrigerate cassava cake?
Yes, because cassava cake is made with ingredients like coconut milk, evaporated/condensed milk, and eggs, it’s safest to store it in the refrigerator once it has cooled. You can serve it at room temperature for a few hours, but for longer storage, keep it chilled and bring out only what you plan to serve.
Can I reheat cassava cake?
You can enjoy cassava cake chilled, at room temperature, or slightly warm. If you prefer it warm, reheat individual slices in the microwave in short bursts (10–15 seconds at a time) just until they’re warmed through. You can also warm them in a low oven (around 300°F/150°C) for a few minutes. Avoid high heat or long reheating times, which can dry the cake out or make it rubbery.
Can I make cassava cake ahead of time?
Definitely. Cassava cake is a great make-ahead dessert. You can bake it a day before you need it, let it cool, then cover and refrigerate overnight. The texture sets up beautifully, the flavors meld, and you can simply slice and serve the next day. It’s perfect for holidays and parties when you want dessert done in advance.
What exactly is cassava?
Cassava is a starchy, mildly sweet root vegetable that’s native to South America and very popular in Filipino cooking and many other cuisines. In the US, it’s often labeled as cassava, yuca (not to be confused with the ornamental yucca plant), or used to make tapioca. The same plant is what tapioca pearls in bubble tea are made from. When grated and baked with coconut milk and sugar, it gives cassava cake its signature chewy, custardy texture.
Can I use frozen or packaged grated cassava for this recipe?
Yes, frozen or packaged grated cassava is actually the most convenient and consistent option for cassava cake. Just make sure to thaw it completely and strain off any excess liquid before mixing it with the other ingredients, so you don’t end up with a watery batter.
More Cake Recipes
Authentic Filipino Cassava Cake (Easy Cassava Cake Recipe)
This cassava cake recipe is downright addicting. It bakes up incredibly moist and tender—almost custardy in the center—with a rich, creamy, lightly nutty flavor. Every bite has that classic Filipino cassava cake texture that keeps you coming back for “just one more” slice. The best part is how simple it is to make. You stir everything together in a bowl, pour it into a pan, bake, and you’re done—no mixer, no layers, no fussy steps. If you’ve made my Mango Cake or Milk Cake, then you already know I’m all about turning classic desserts into easy-to-make ones that still taste bakery-worthy.
Ingredients
Cake:
- 1 lb cassava
- 1 egg
- ½ cup coconut milk
- ½ can evaporated milk
- ½ can condensed milk
- 2 tablespoon melted butter
Topping:
- ¼ cup coconut milk
- ¼ cup condensed milk
- 1 egg yolk
- ½ tablespoon corn starch
- 2 tablespoon shredded coconut
Instructions
- Preheat your oven to 350F/175C. Peel and finely grate the cassava root using the grater side. In batches, place the grated cassava into a sieve and squeeze out as much of its liquid as you can.
- Transfer to a bowl. You should end up with approximately 2 cups of cassava.
- Add the egg, coconut milk, evaporated milk, condensed milk, and butter. Mix until fully incorporated.
- Grease a 10”x6” baking sheet or pan with some butter, covering the sides as well. Pour the batter into one flat layer. Transfer to the oven and bake for 45-50 minutes.
- Meanwhile, prepare the topping. Add ¼ cup coconut milk, ¼ cup condensed milk, 1 egg yolk. And corn starch to a bowl. Whisk until combined.
- Once the cassava cake has fully baked and firmed up, take it out of the oven. Pour the topping over the cake and return the baking dish/pan to the oven for 15 minutes until the top is bubbly and golden.
- Set the cake aside and let it cool completely. Cut into 6 squares using a sharp knife. Plate it up and garnish each slice with some shredded coconut.
Nutrition Information:
Serving Size:
1 sliceAmount Per Serving: Calories: 611Total Fat: 49gSaturated Fat: 33gCholesterol: 349mgSodium: 274mgCarbohydrates: 35gFiber: 4gSugar: 17gProtein: 9g
Jules
This cassava cake was really legit.