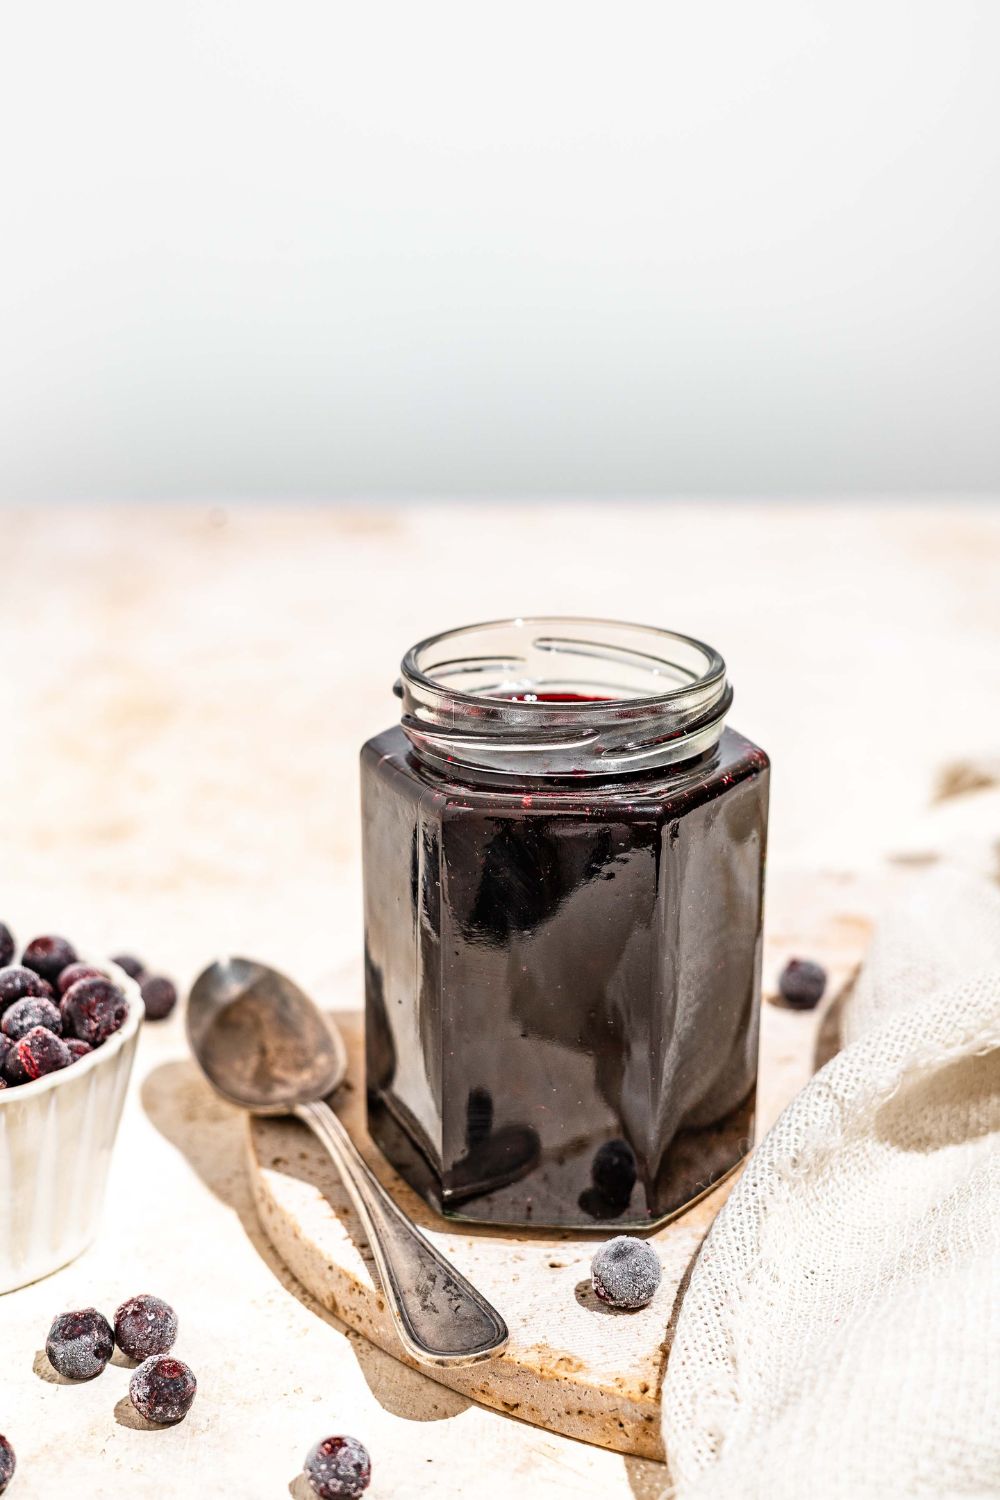
This elderberry jam is rich, deeply fruity, and just sweet enough, with a texture that turns thick and spoonable without needing any pectin. It’s made with only three ingredients, and it works just as well with fresh elderberries as it does with frozen ones. Once it’s cooked down, it’s perfect on toast, spooned into yogurt, or put into a jar for gifting.
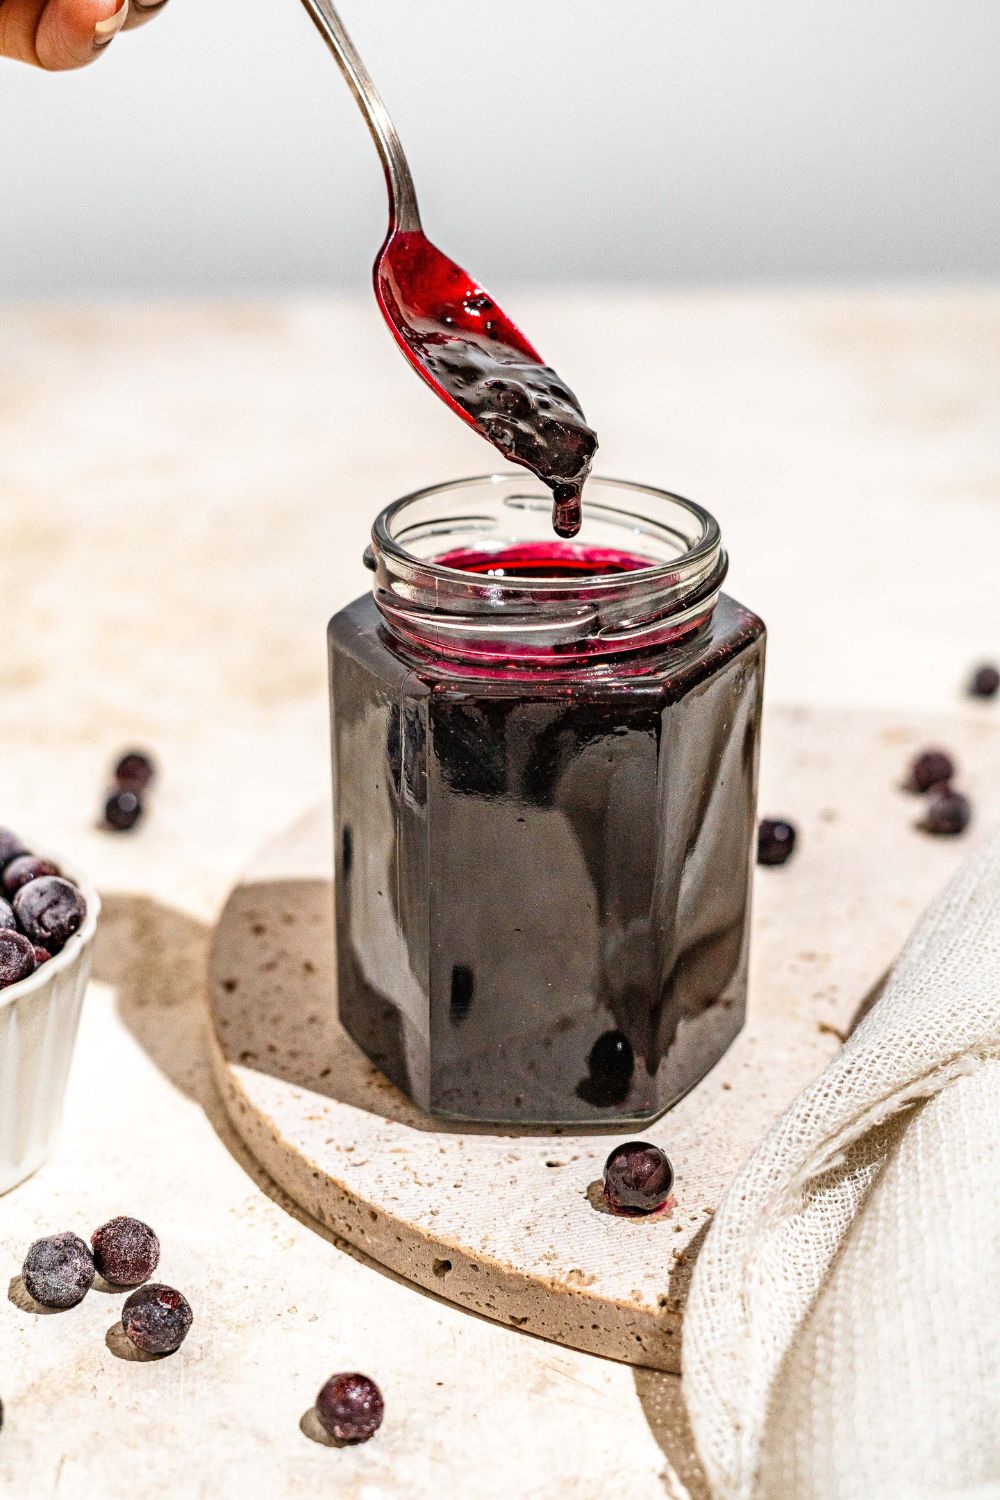
Table of Contents
Why This Elderberry Jam Recipe Works
I've made a few different homemade jams at this point, including a strawberry jam and a chokecherry jelly, and I was looking for a new flavor to add to the rotation. Since it's summer and elderberry season, I wanted to make an elderberry jam. It has that deep, slightly tart flavor I really like in homemade preserves, but it still tastes different enough to stand on its own.
What makes this recipe work is how simple it is. Elderberries have enough natural pectin that, with sugar and a little lemon juice, the jam thickens on its own as it cooks. You don’t need any added pectin or a long ingredient list to get a jam that sets well and spreads nicely. Once it’s done, the flavor is rich, fruity, and a little deeper than a lot of other homemade jams.
One important thing with elderberries is that they need to be fully ripe and fully cooked before eating. The stems, leaves, and unripe berries should be avoided, and the full cook time here matters. Once the berries are properly cooked down into the jam, you’re left with a really good homemade preserve that’s worth keeping around.
Ingredients You'll Need
- 16 oz elderberries (fresh or frozen)
- 12 oz granulated sugar
- 1 tablespoon lemon juice
How to Make Elderberry Jam
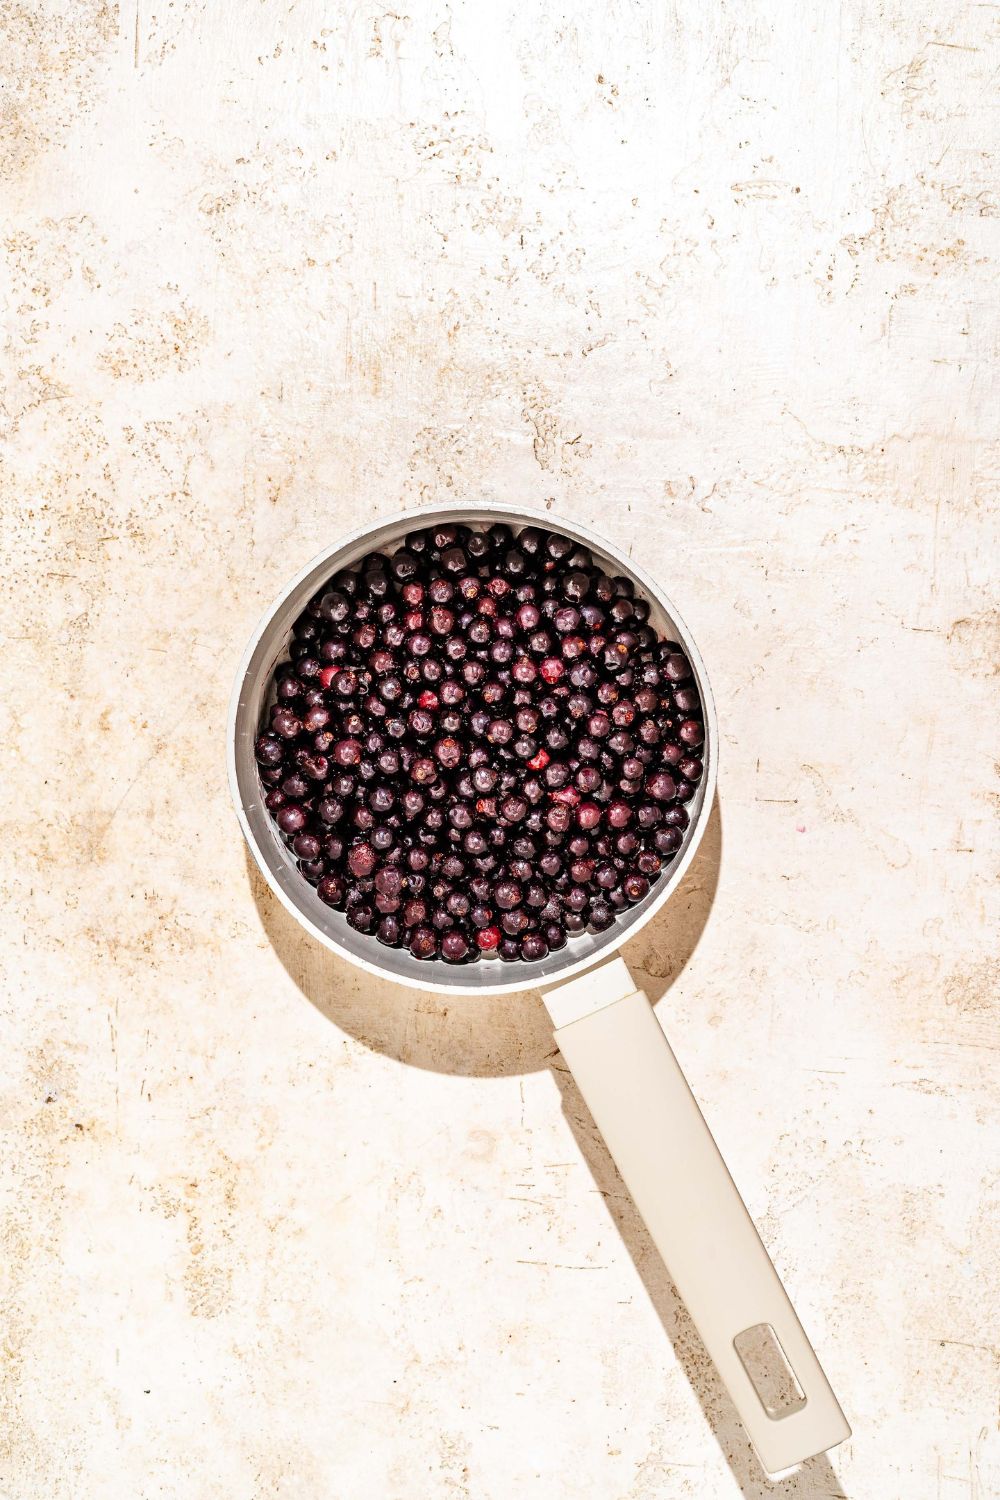
Step 1: Prep the Berries
If using frozen elderberries, let them thaw completely first. Wash and dry the berries thoroughly, making sure to remove any stems, leaves, or unripe green berries, as these parts should never be used. Add the cleaned, fully ripe berries to a heavy-bottomed pot.
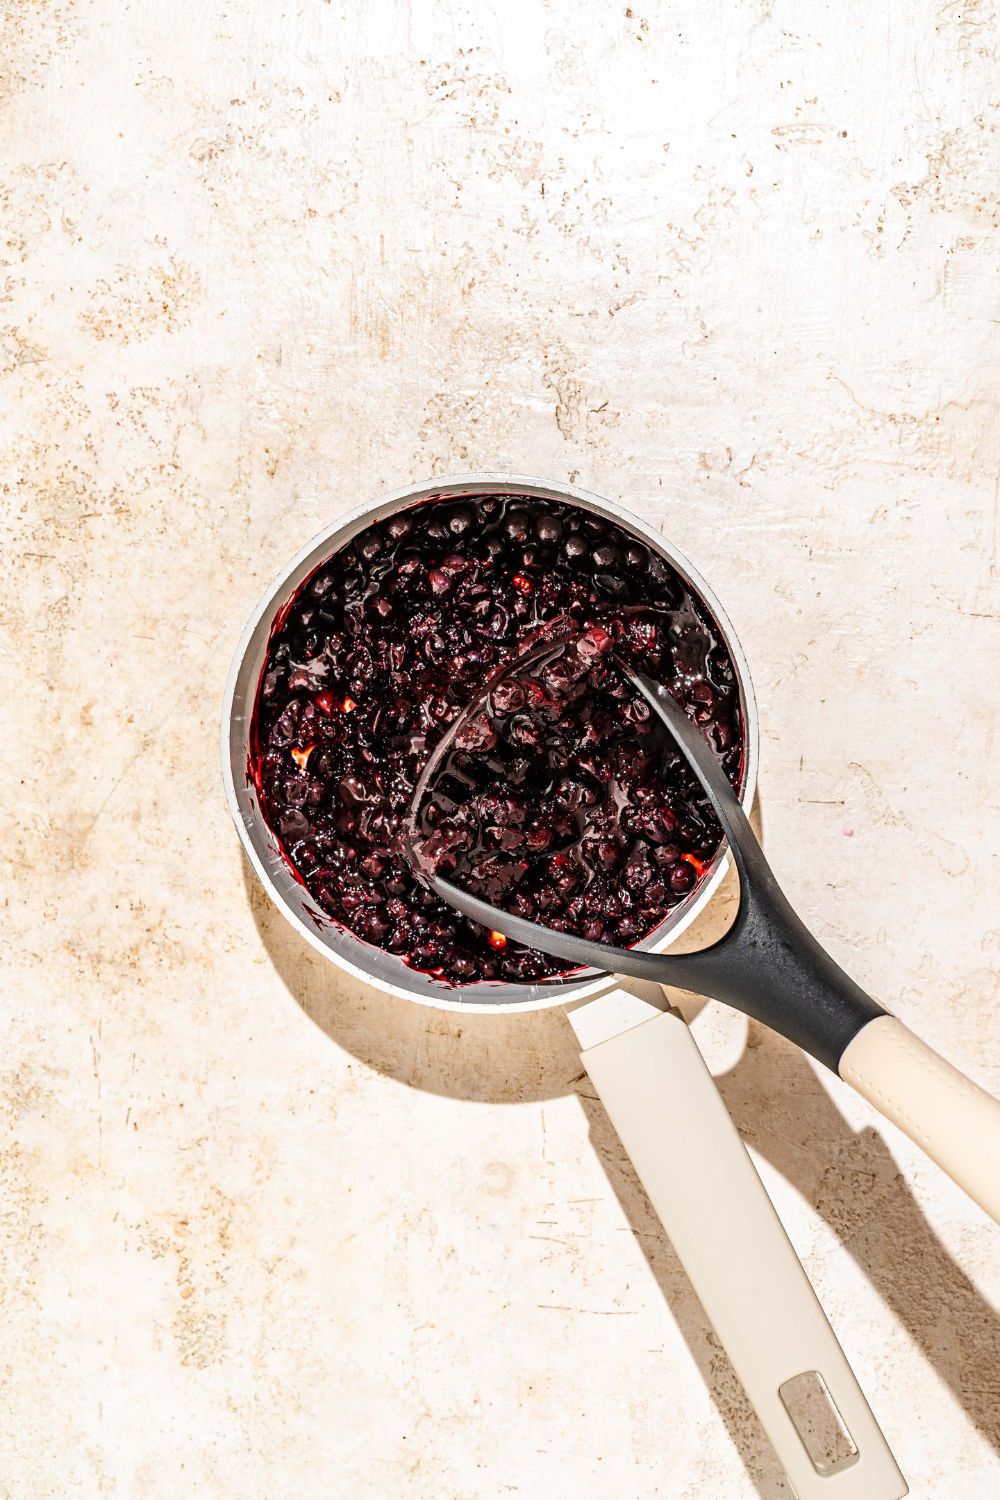
Step 2: Crush the Berries
Use a potato masher to gently crush the berries directly in the pot, releasing their juices. You don't need to crush them completely smooth, some texture is part of what makes a good jam.
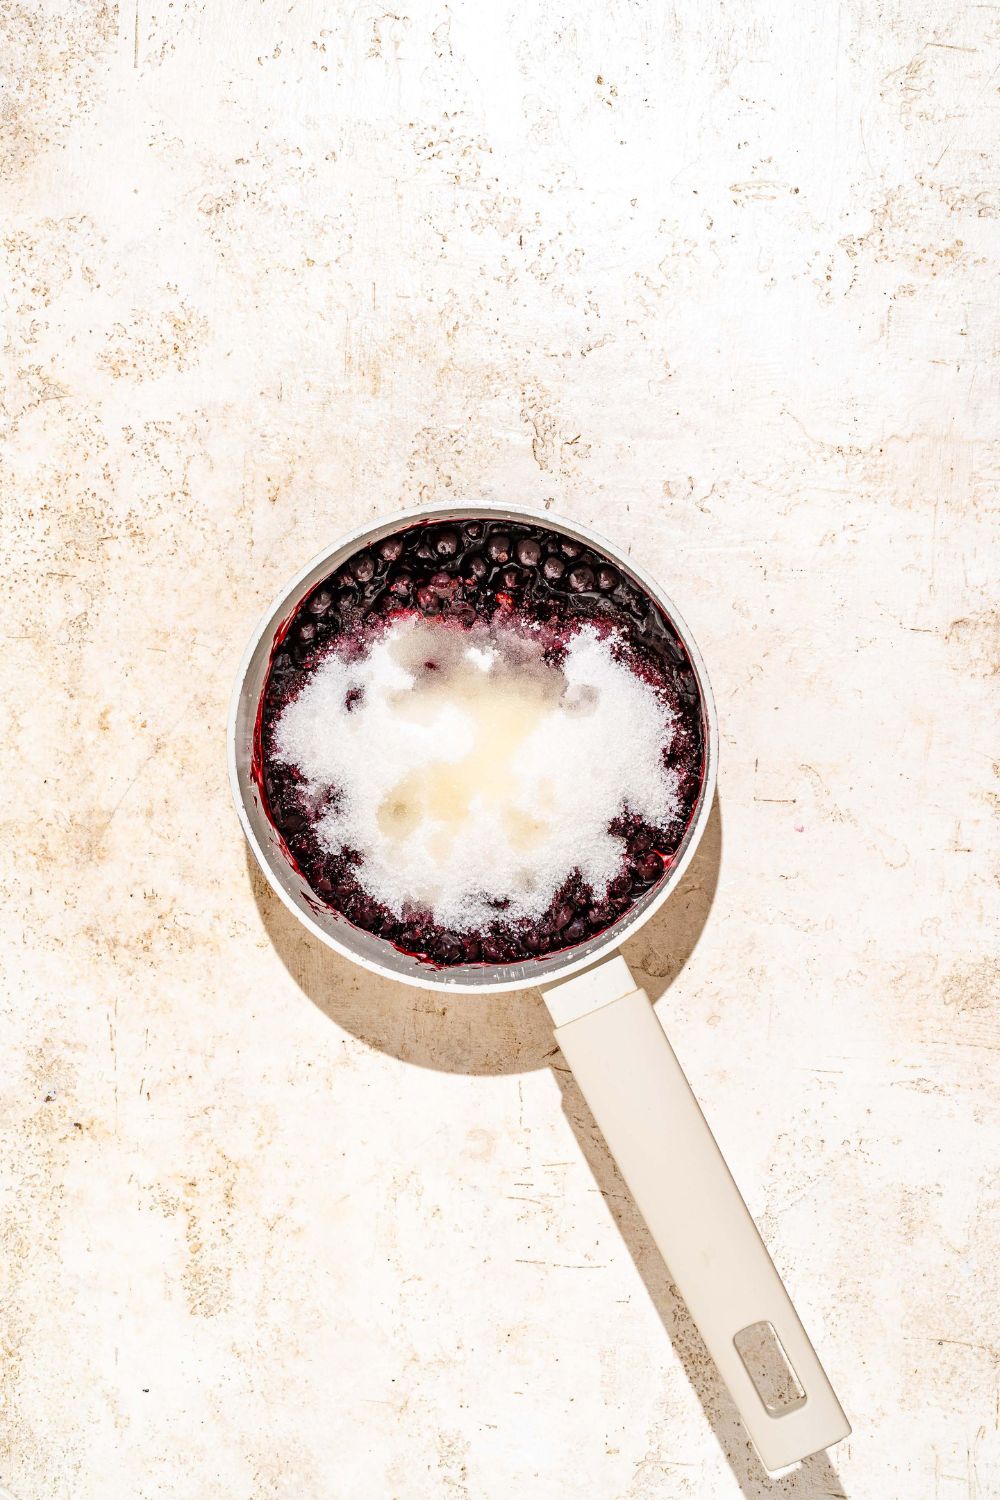
Step 3: Add the Sugar and Lemon Juice
Add the granulated sugar and lemon juice to the pot, stirring until everything is well combined. The lemon juice adds brightness and also helps balance the natural pectin in the berries for a better set.
Step 4: Cook the Jam
Place the pot over low heat and cook for about 20 minutes, stirring occasionally to prevent sticking or scorching on the bottom, until the jam thickens and the berries are fully and thoroughly cooked through. This full cook time is essential, both for the texture of the finished jam and to make sure the elderberries are safe to eat.

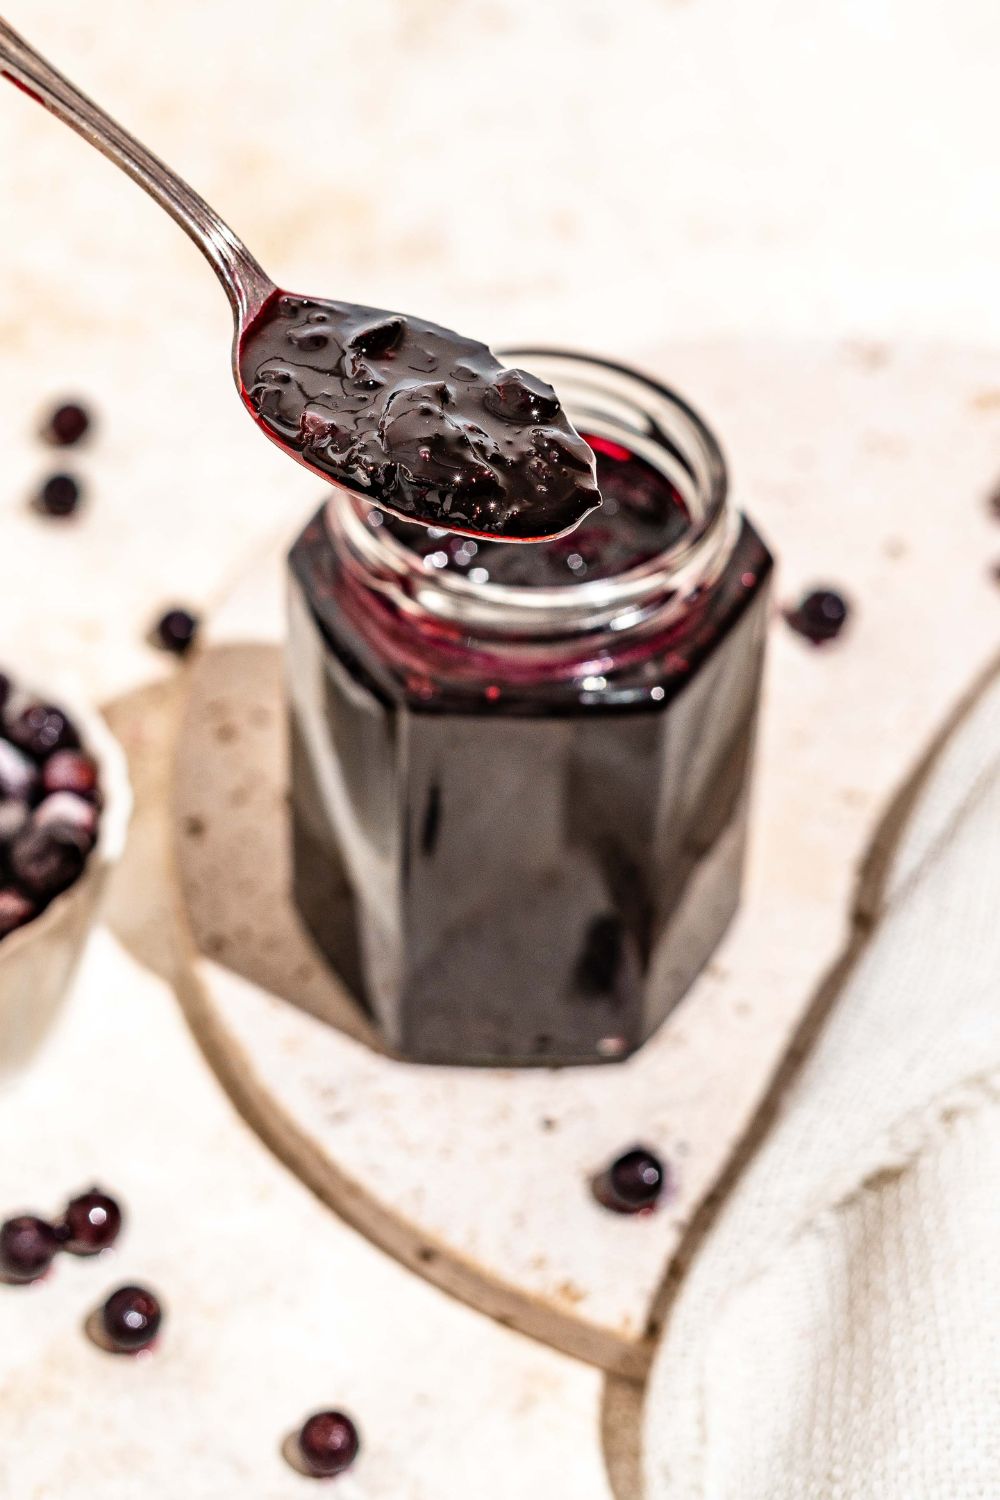
Step 5: Test for Doneness
To check if the jam is ready, spoon a small amount onto a chilled plate and place it in the refrigerator for 3 minutes. If it forms a light skin on top and wrinkles when you push it gently with your finger, it's done. If it's still too loose, continue cooking for another 5-10 minutes and test again.
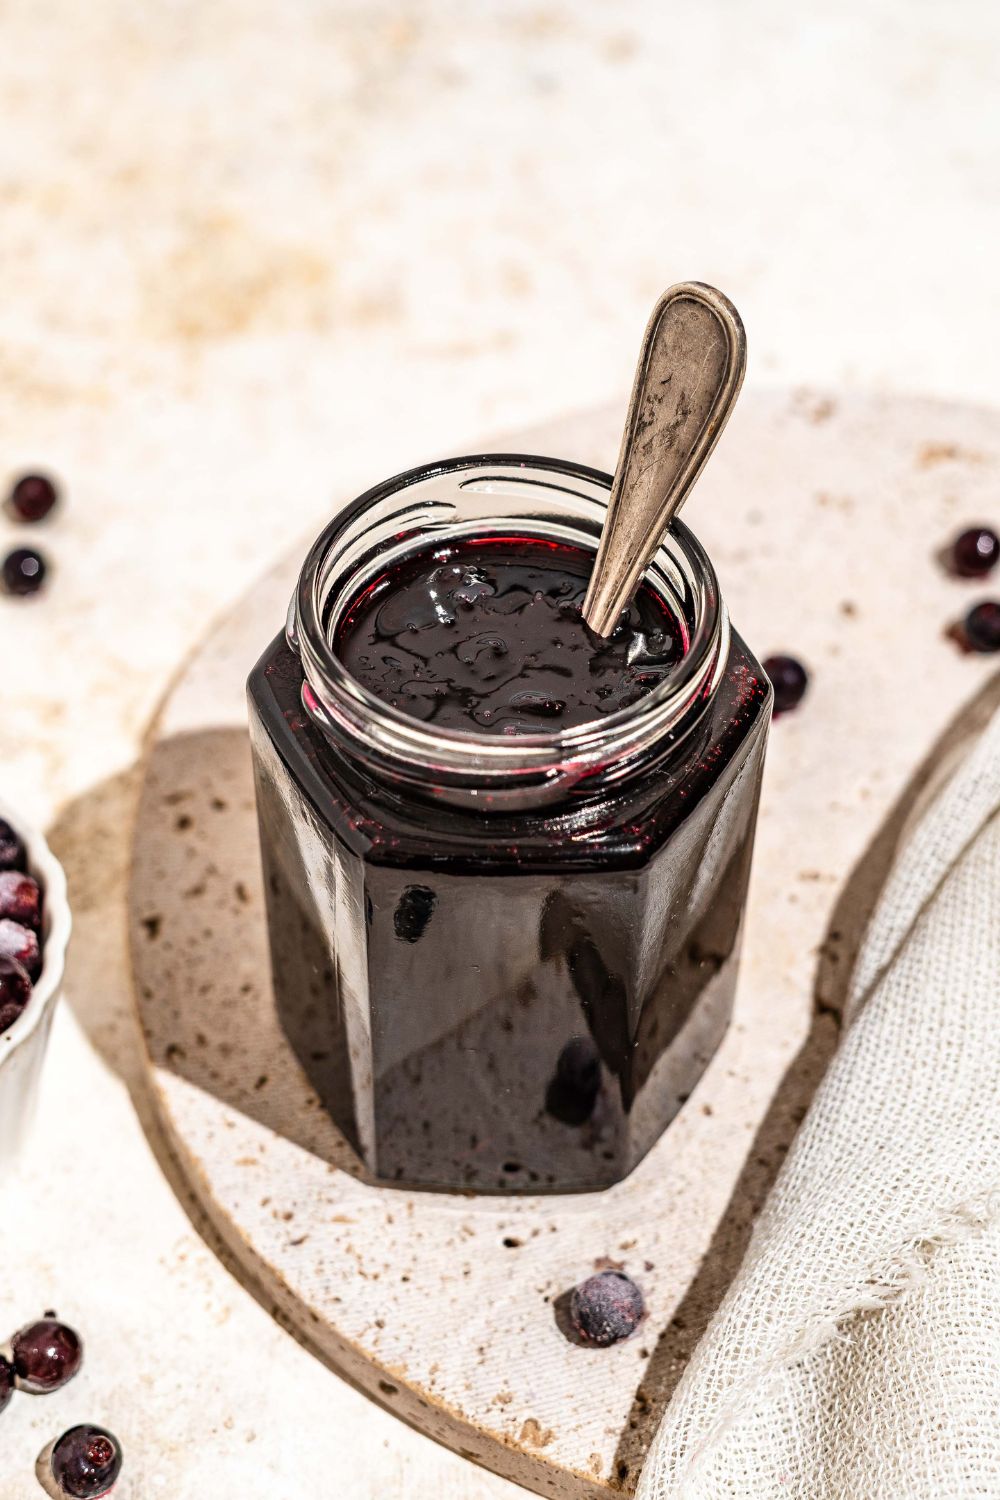
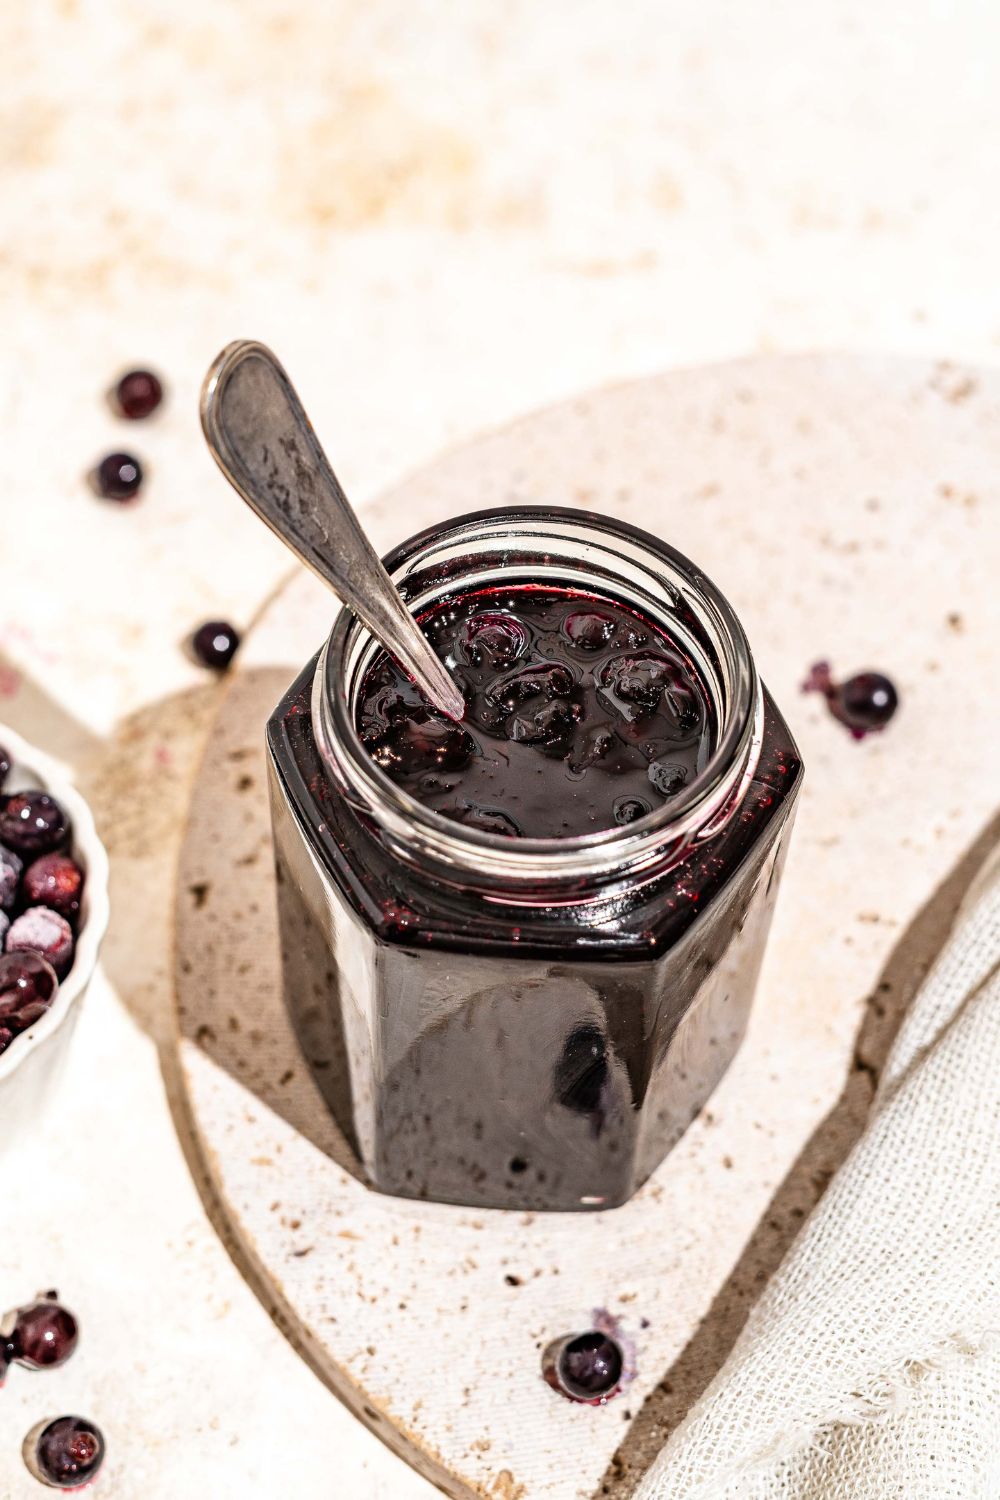
Step 5: Jar and Store
Carefully ladle the hot jam into sterilized jars, leaving a small amount of headspace at the top of each jar. Refrigerate for immediate use within a few weeks, or process the jars in a hot water bath using proper canning procedures if you plan to store them at room temperature for longer.
Tips for Making Elderberry Jam Safely
Use only fully ripe elderberries. The berries should be a deep purple-black color. Skip any green or red berries, since unripe elderberries shouldn’t be used in jam.
Remove all stems and leaves. Take a few extra minutes to pick through the berries carefully. For this recipe, you only want the ripe berries in the pot.
Don’t cut the cook time short. The full simmer matters here. It helps the jam thicken properly and makes the elderberries safe to eat.
Stir as it cooks. You don’t need to stand over the pot the whole time, but stir often enough to keep the fruit and sugar from sticking or scorching on the bottom.
Use the cold plate test to check if it’s ready. This is more reliable than going by time alone. If the jam wrinkles slightly when you push it with your finger, it’s ready.
Start with clean, sterilized jars. Whether you’re refrigerating the jam or processing it for longer storage, using properly cleaned jars helps it keep better.
Elderberry Jam FAQs
Are elderberries safe to eat?
Yes, as long as they’re fully ripe and fully cooked. Raw or undercooked elderberries, along with the stems, leaves, and unripe berries, can cause stomach upset. For this recipe, only use ripe elderberries and make sure they cook for the full time.
Can I use frozen elderberries?
Yes. Frozen elderberries work well here. Just thaw them first and drain off any excess liquid before cooking so the jam doesn’t end up too loose.
Do you need pectin for elderberry jam?
No. Elderberries have enough natural pectin that, with sugar and a little lemon juice, the jam can thicken on its own without added pectin.
Why is my elderberry jam too thin?
It usually just needs more time. Keep simmering it in 5-10 minute increments and test it again on a cold plate until it reaches the consistency you want.
Can I reduce the sugar in elderberry jam?
I wouldn’t cut it too much. The sugar helps with the flavor, the texture, and how well the jam keeps. Reducing it a lot can leave you with a looser jam that doesn’t store as well.
Do I need to can elderberry jam?
No, not if you’re planning to keep it in the fridge and use it within a few weeks. Canning is only necessary if you want to store it at room temperature for longer-term shelf storage.
How long does homemade elderberry jam last?
If you’re not canning it, store it in the refrigerator for up to 3 weeks. If it’s properly processed in a hot water bath and sealed, it can be stored at room temperature for much longer. Once opened, keep it in the fridge.
Elderberry Jam

This elderberry jam is rich, deeply fruity, and just sweet enough, with a texture that turns thick and spoonable without needing any pectin. It’s made with only three ingredients, and it works just as well with fresh elderberries as it does with frozen ones. Once it’s cooked down, it’s perfect on toast, spooned into yogurt, or put into a jar for gifting.
Ingredients
- 16 oz elderberries (fresh or frozen)
- 12 oz granulated sugar
- 1 tablespoon lemon juice
Instructions
1. If using frozen elderberries, let them thaw completely. Wash and dry the berries, then add them to a heavy-bottomed pot.
2. Use a potato masher to gently crush the berries, releasing their juices.
3. Add the sugar and lemon juice, stirring until everything is well combined.
4. Place the pot over low heat and cook for about 20 minutes, stirring occasionally, until the jam thickens.
5. To check if the jam is ready, spoon a small amount onto a chilled plate and refrigerate for 3 minutes. If it forms a light skin and wrinkles when pushed with your finger, it's done. If not, continue cooking for another 5–10 minutes and test again.
6. Carefully ladle the hot jam into sterilized jars.
7. Refrigerate for immediate use, or process the jars in a hot water bath if you plan to store them at room temperature.
Notes
- Use only fully ripe, dark purple elderberries, and remove all stems and leaves before cooking.
- Never shorten the cook time. Full cooking is essential for both texture and food safety.
- The cold plate test is the most reliable way to check if the jam has set.
- Refrigerated jam keeps for up to 3 weeks; properly canned jars can be stored at room temperature for up to a year.
Nutrition Information:
Yield:
8Serving Size:
2 tbsps.Amount Per Serving: Calories: 195Total Fat: 0gSaturated Fat: 0gUnsaturated Fat: 0gSodium: 1mgCarbohydrates: 49gFiber: 2gSugar: 46gProtein: 1g
Leave a Reply