If you’ve ever wanted to make ice cream the fun, viral way, this snow ice cream recipe is it. You whip heavy cream, sweetened condensed milk, and vanilla until it hits very stiff peaks, then let the snow outside do the chilling work. It tastes like a rich homemade vanilla ice cream base, but with that classic snow day vibe that kids (and adults) both love.
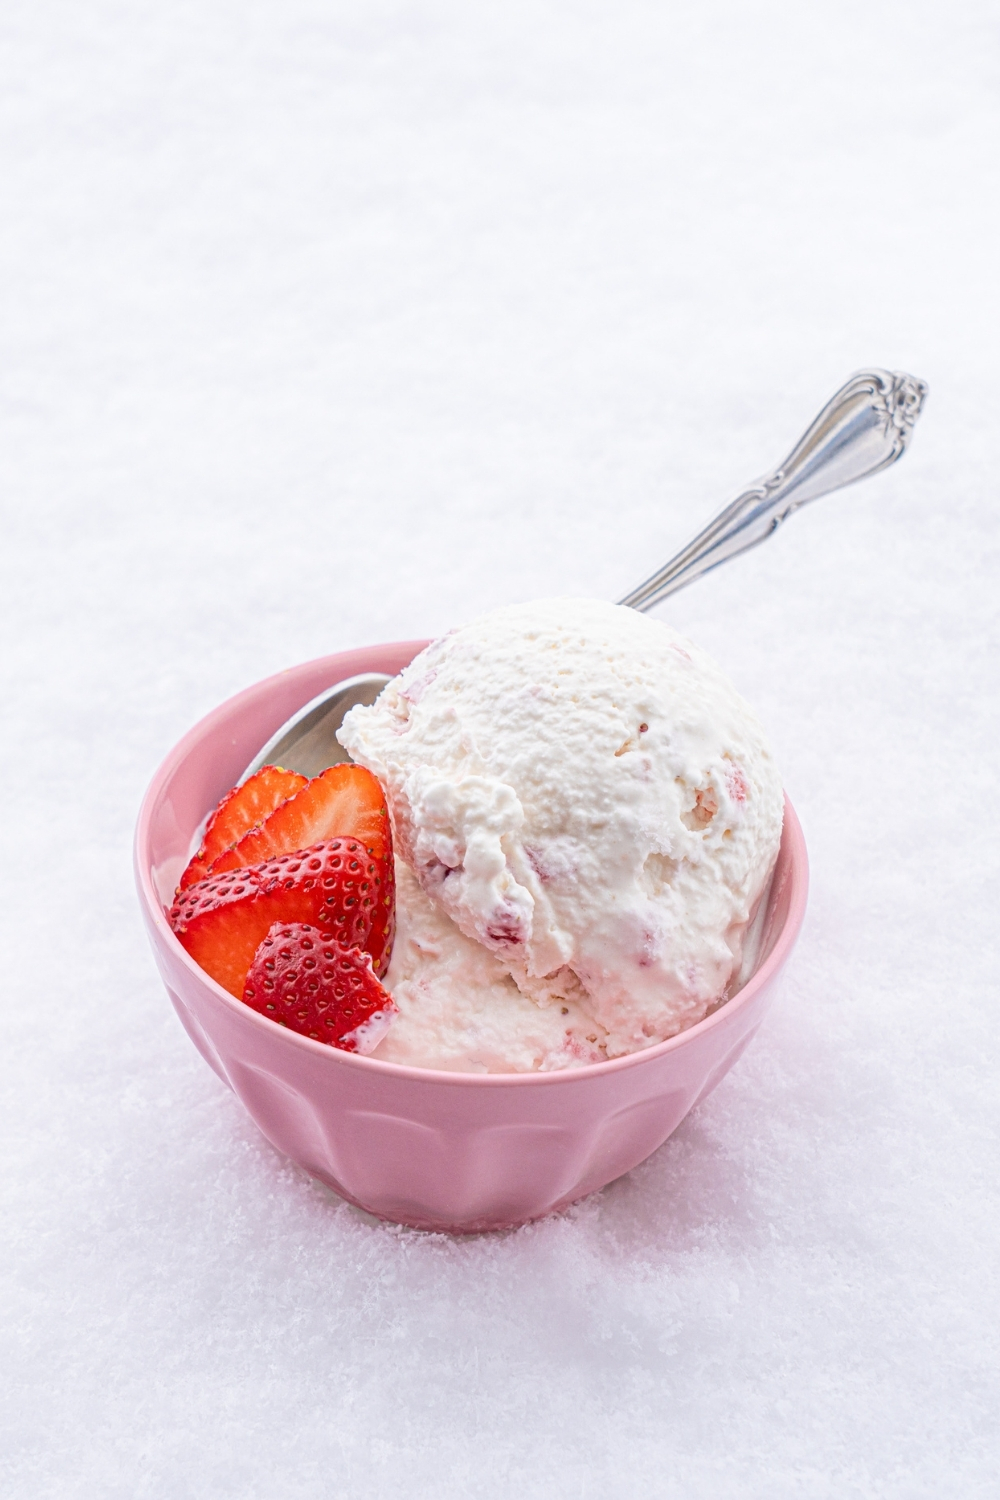
Table of Contents
Why You'll Love This Snow Ice Cream
Snow ice cream has been all over TikTok (I’ve seen it almost as much as the viral Biscoff yogurt cheesecake), and it’s popular for a reason. It’s quick, it’s fun, and it feels like a little science experiment you can eat.
The base is a classic no-churn combo, heavy cream + sweetened condensed milk, so you get a creamy texture without an ice cream machine. Since I live in Buffalo, NY, and we get probably the most snow in the US, this is a recipe I've been making constantly!
What makes this version extra easy is the method. Instead of mixing the snow into the ice cream, you’re using the snow as the freezing agent by nestling the bowl into a little “snow cradle” outside. That keeps things cold fast while your whipped base stays thick and fluffy. After a short freeze (with one quick stir halfway), it scoops like real ice cream.
And it’s endlessly customizable. Keep it classic vanilla, fold in Oreos, swirl in chocolate, add sprinkles, or go full “blizzard” style with whatever you’ve got. Whipping to very stiff peaks is the key that makes it reliable, it gives you a stable base that sets up beautifully once it’s chilled.
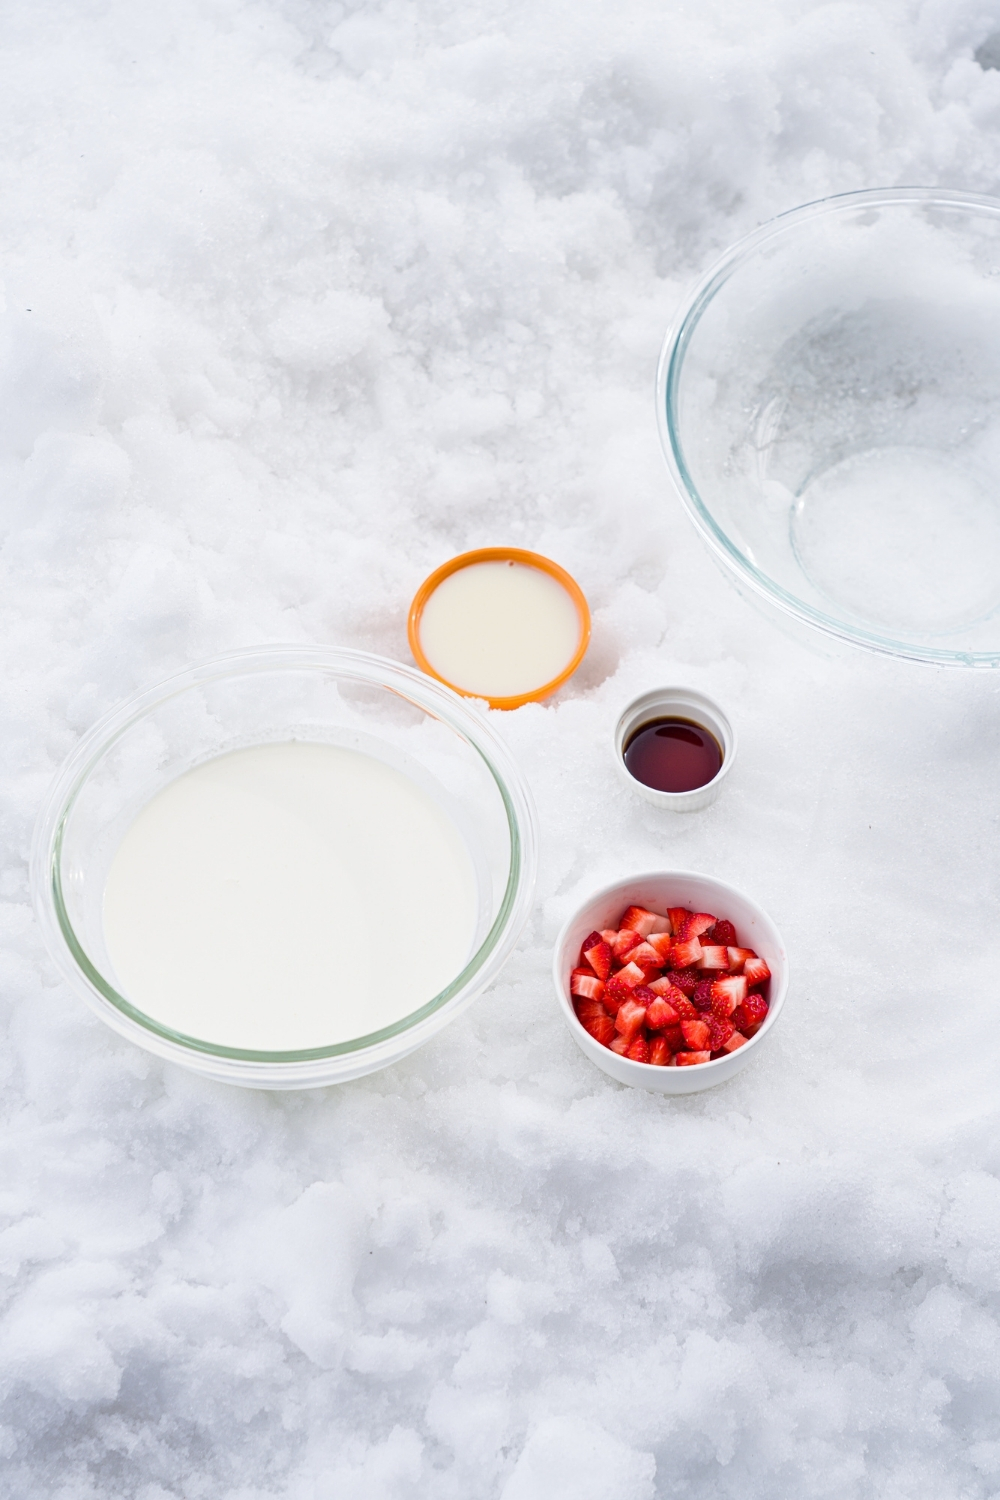
Snow Ice Cream Ingredients
- 2 cups heavy cream
- ¼ cup sweetened condensed milk
- 1 teaspoon vanilla extract
- Toppings of choice (optional)
- Ice cream cones (optional)
How to Make Snow Ice Cream
Step 1: Make a snow “nest”
In a large bowl, create an imprint in the snow to fit the bowl. (Or place a large bowl into a bigger bowl packed with snow to keep it cold.)
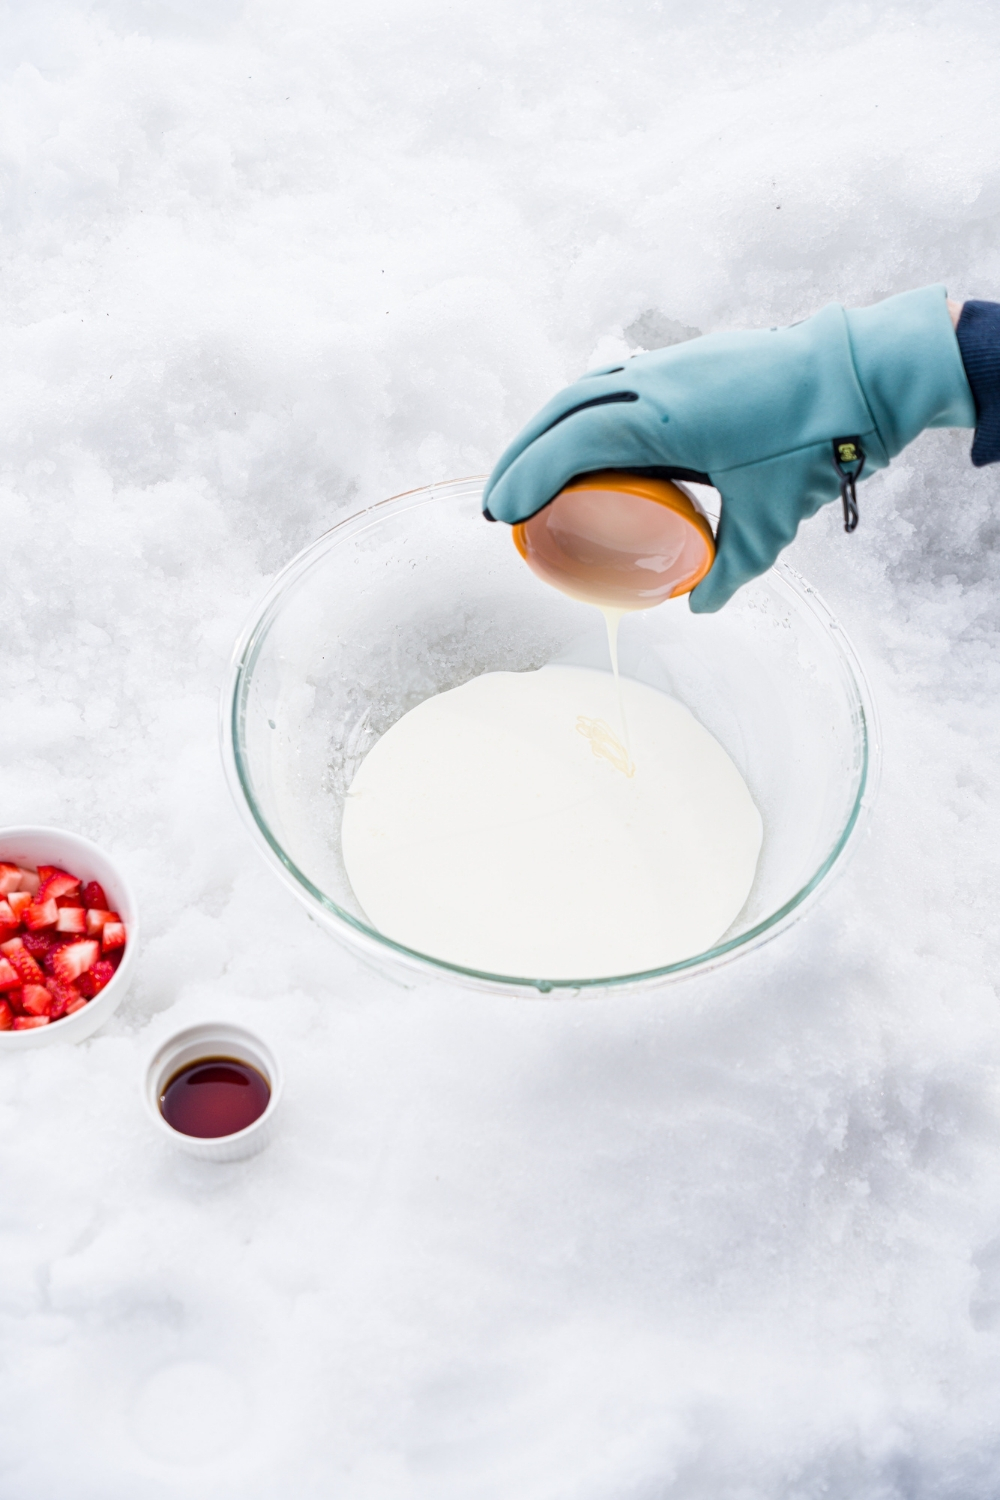
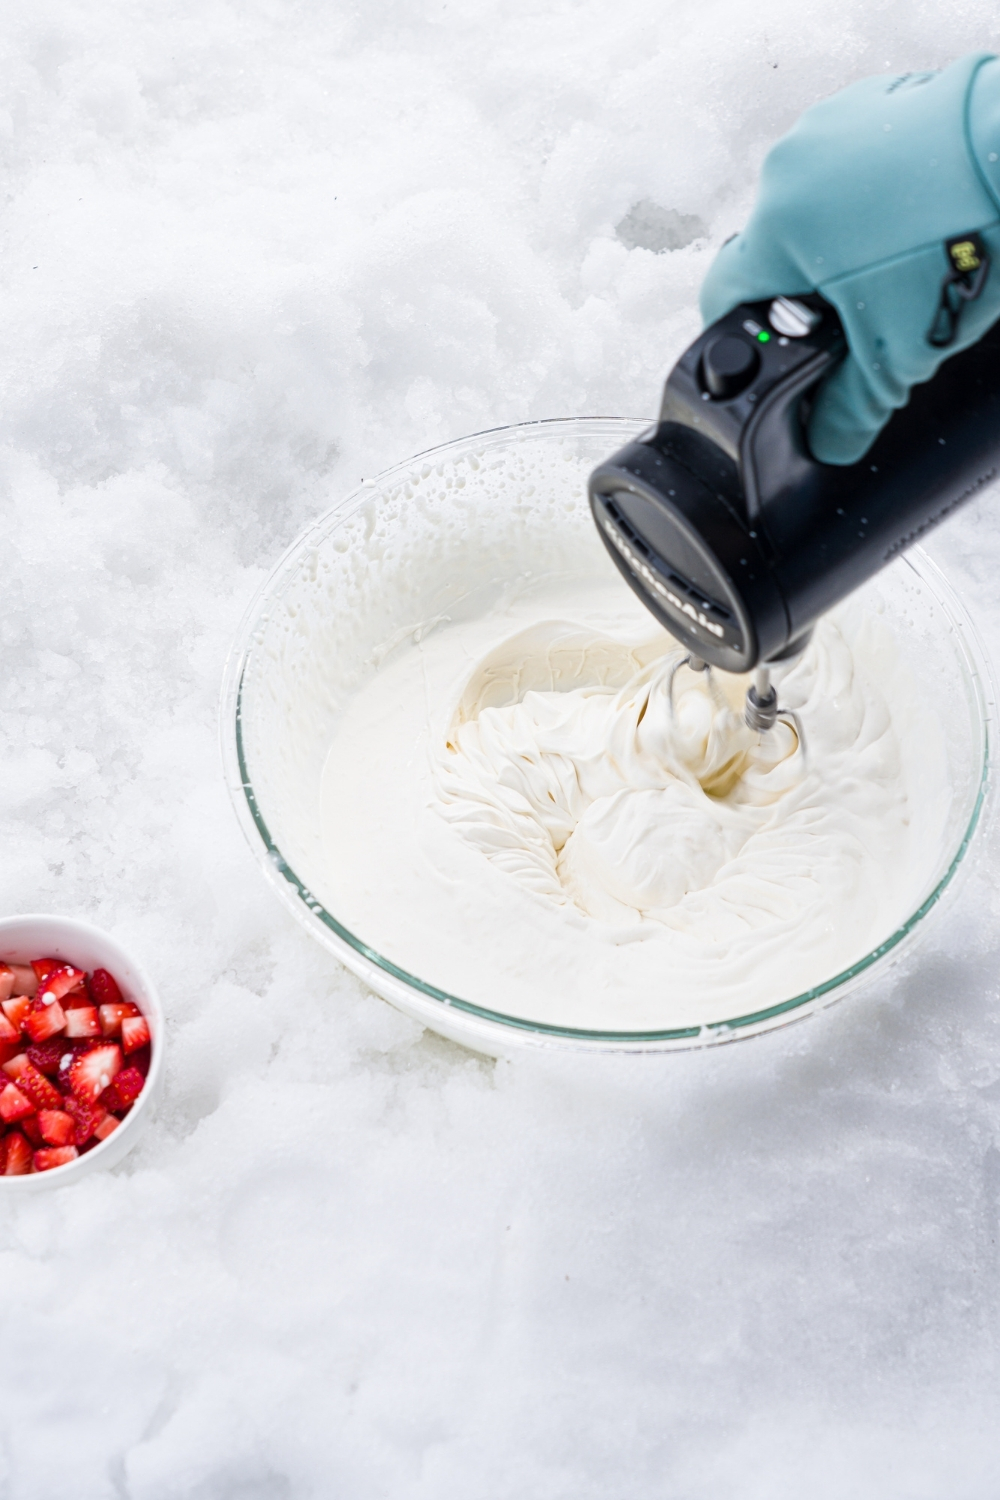
Step 2: Mix the base
Add heavy cream, sweetened condensed milk, and vanilla extract to a mixing bowl.
Step 3: Whip to stiff peaks
Using an electric hand mixer, beat the mixture for 10-15 minutes until it reaches very stiff peaks. It should look thick, fluffy, and hold its shape.
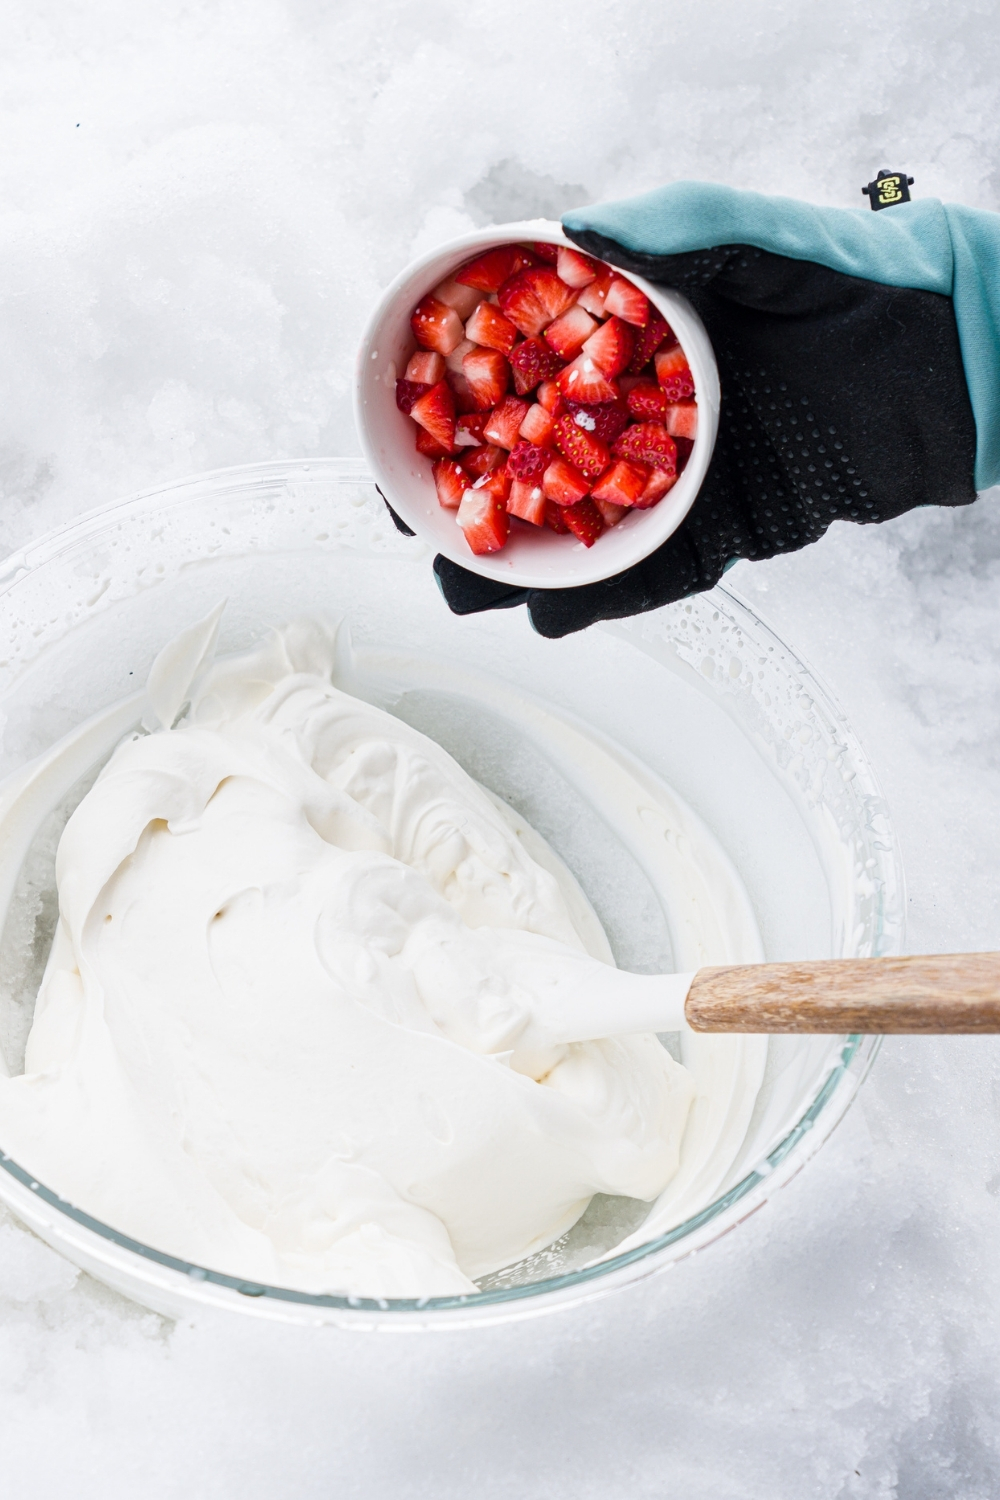
Step 4: Fold in toppings
Fold in your toppings of choice (if using). Keep it gentle so you don’t knock out the air you just whipped in.
Step 5: Freeze to set
Freeze for about 1 hour to firm up, stirring after about 30 minutes. This helps it set evenly.
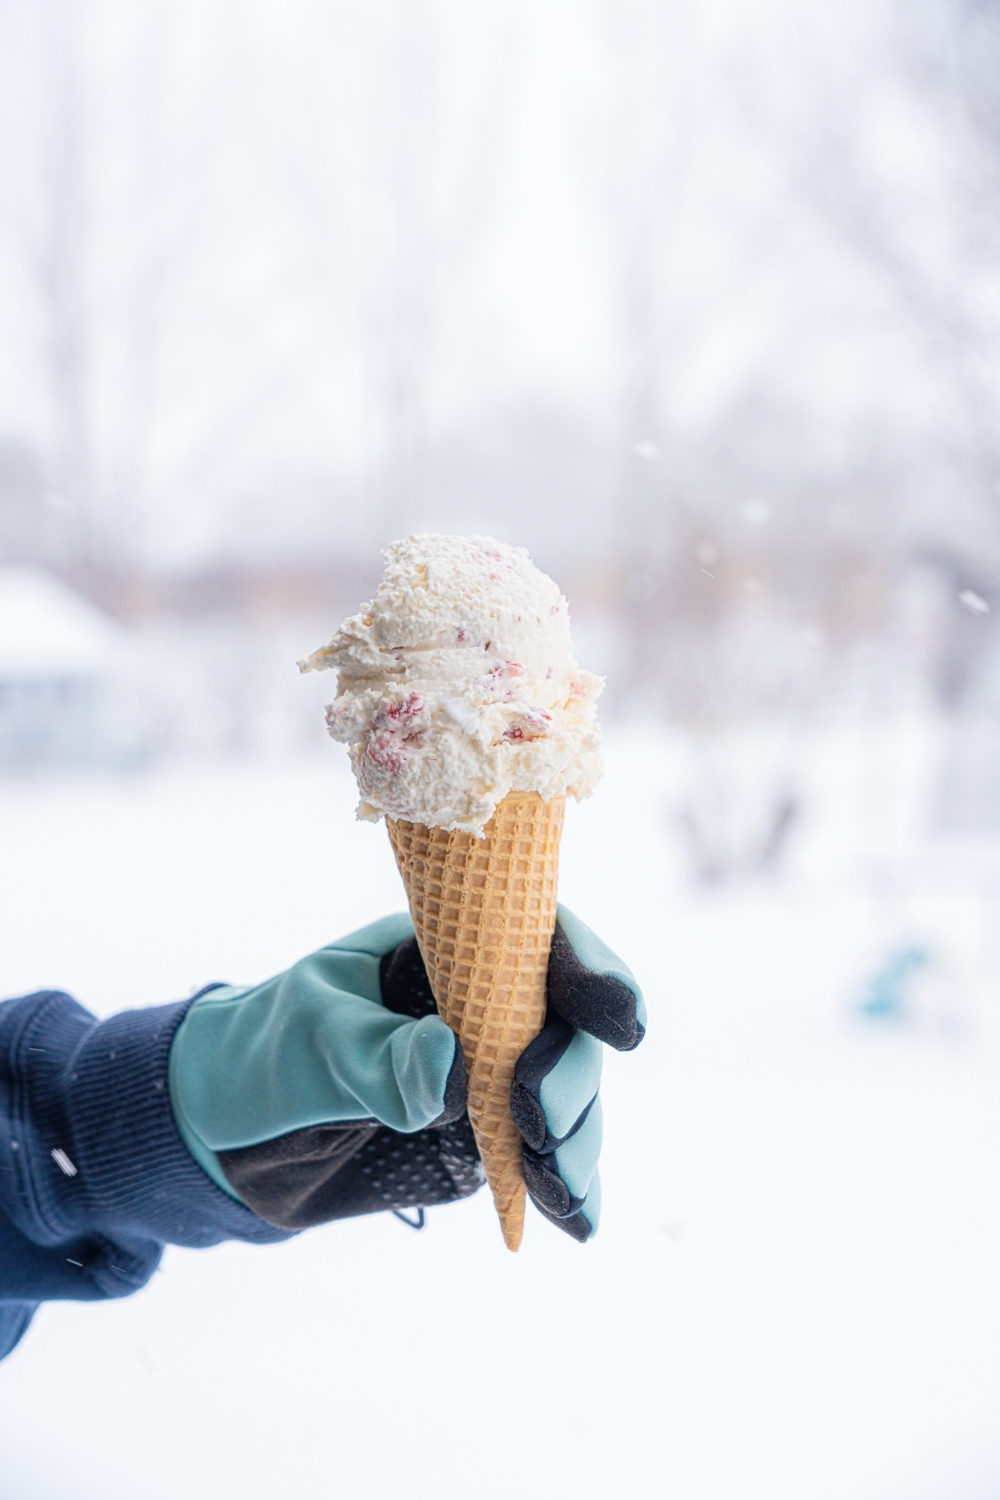
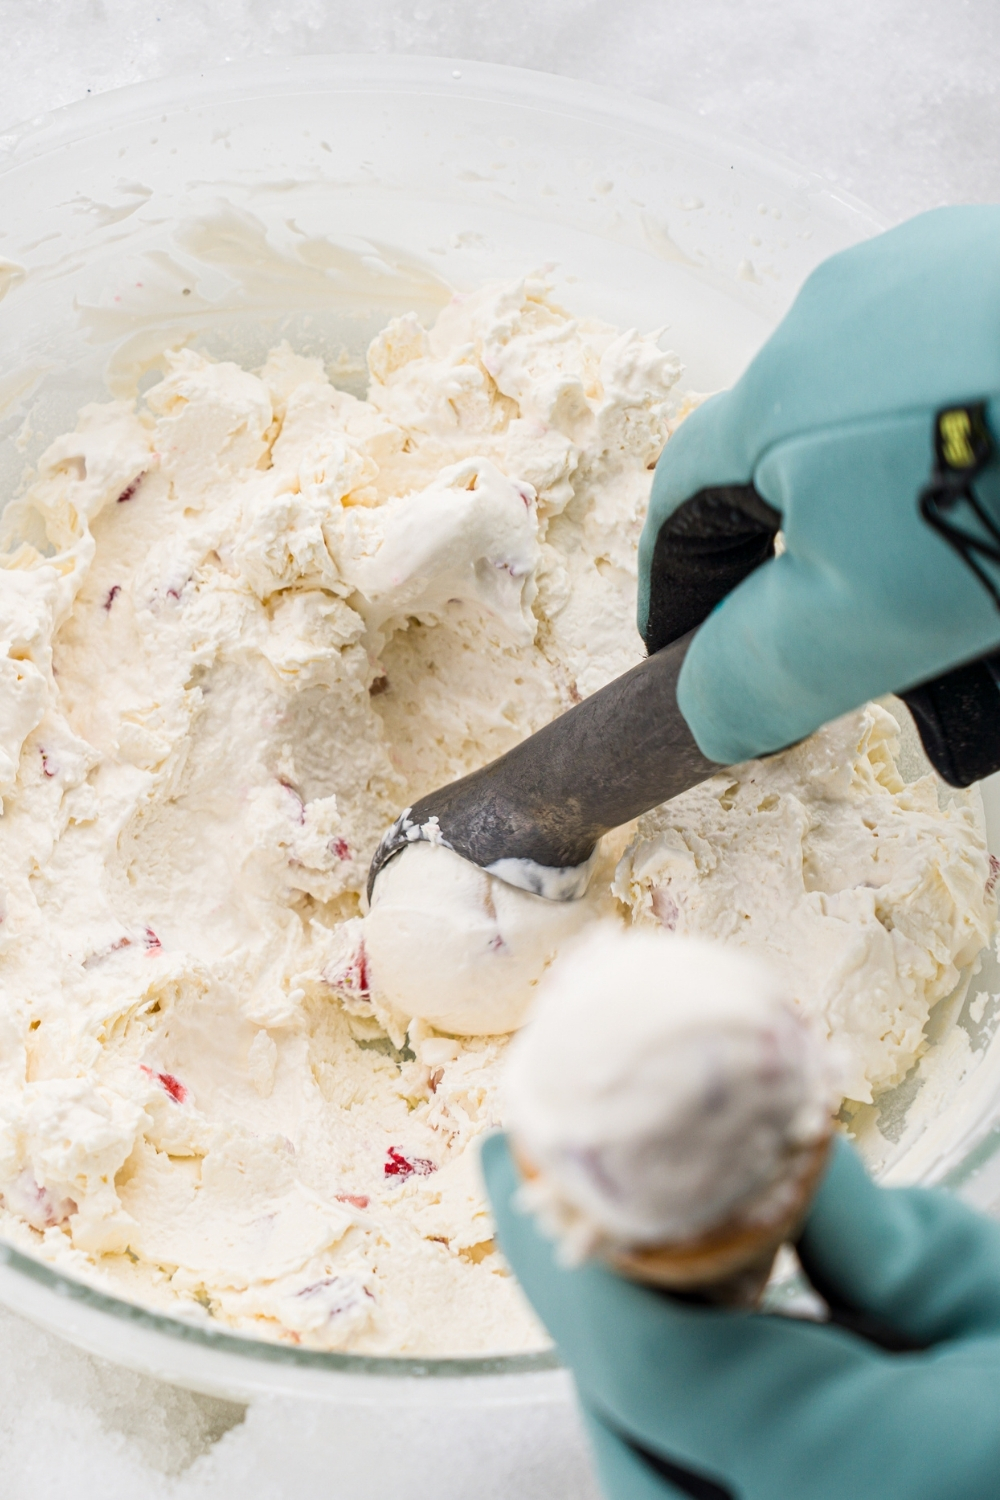
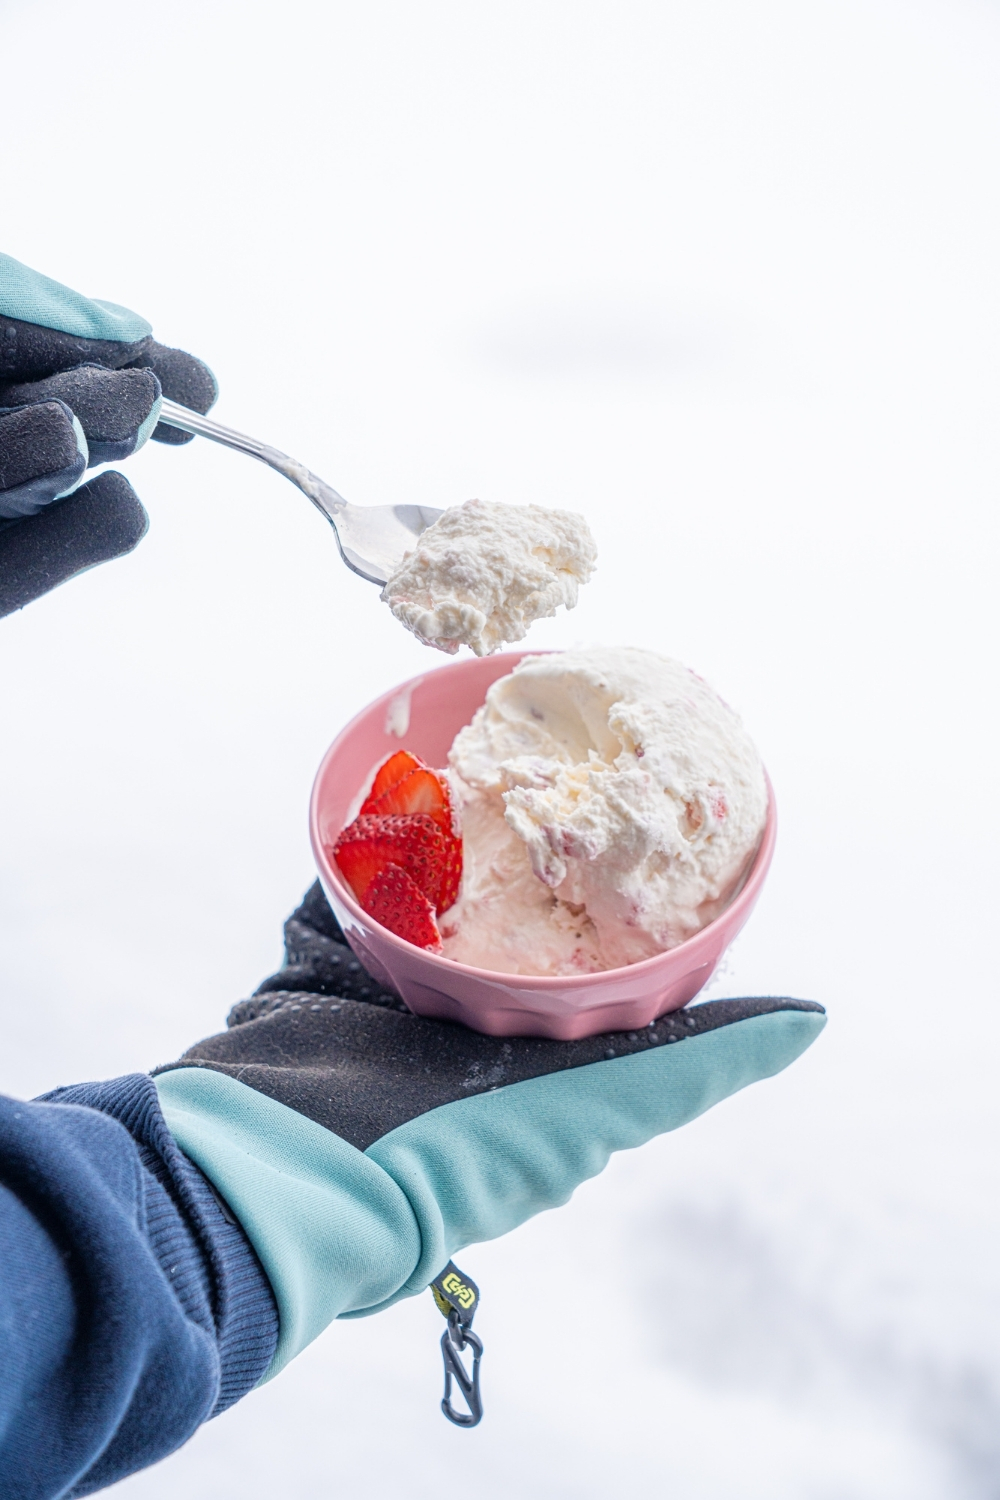
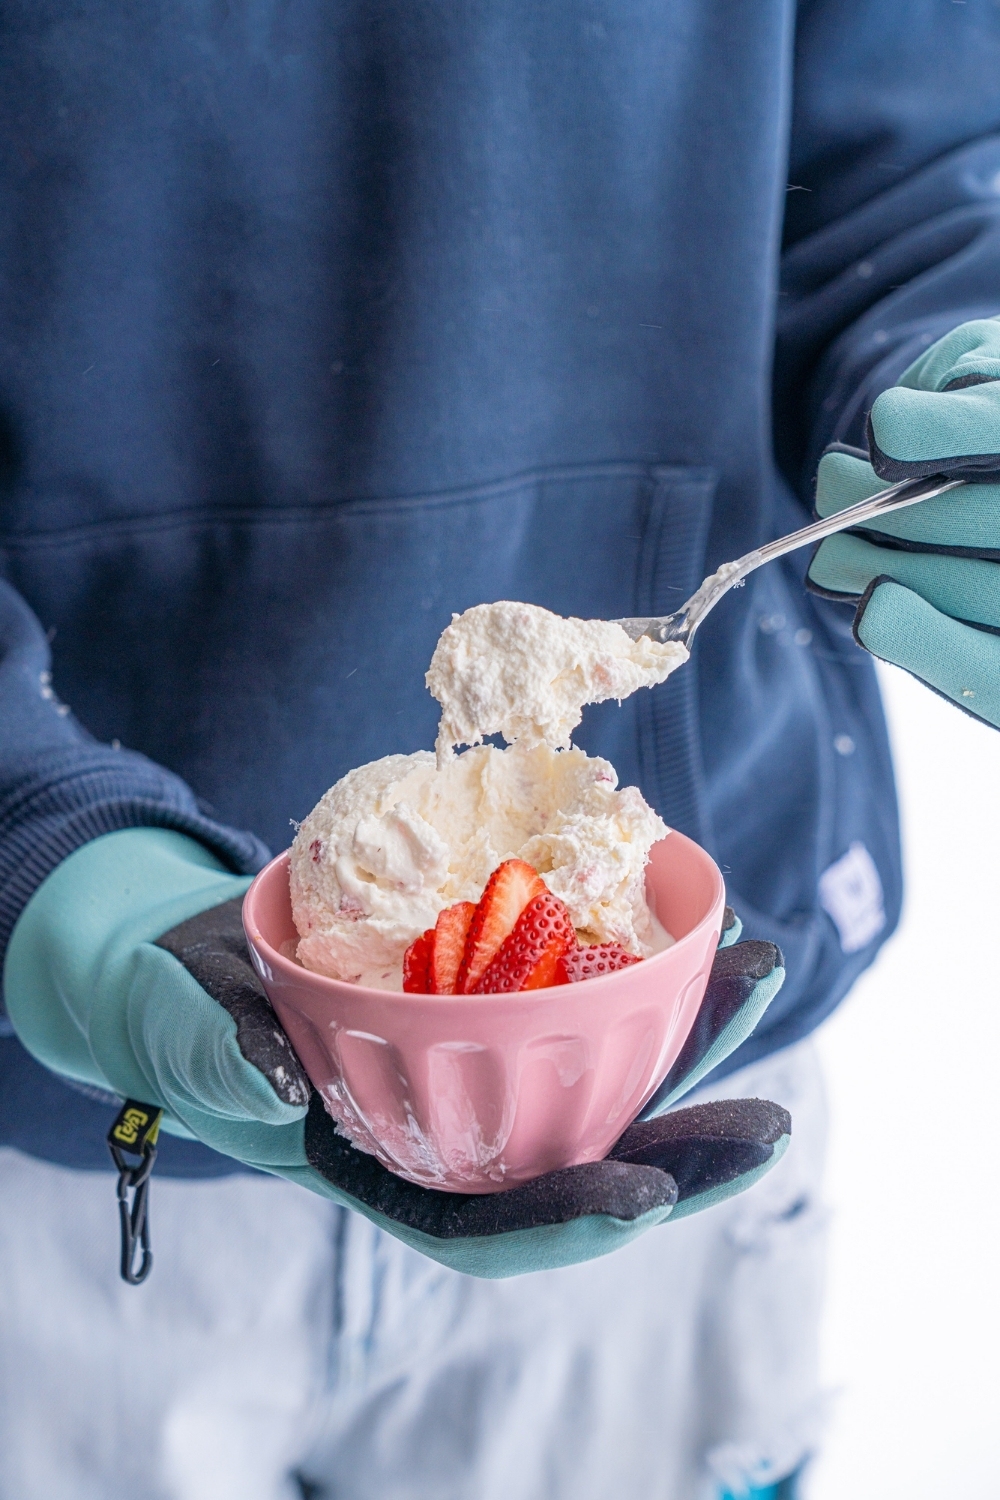
Step 6: Scoop and serve
Scoop into cones or bowls and top with extra toppings.
Pro Tips for Perfect Snow Ice Cream
- Start with very cold cream: Cold heavy cream whips faster and holds peaks better. If your kitchen’s warm, chill your mixing bowl and beaters for 10 minutes first.
- Whip to very stiff peaks, not “kinda thick”: Stiff peaks means the mixture stands up firmly and doesn’t slump when you lift the beaters. If it’s still soft, it’ll freeze looser and feel more like soft serve instead of scoopable ice cream.
- Use the snow as a freezer, not an ingredient: Build a deep, snug “snow hole” so the bowl sits down in the snow and stays surrounded by cold on the sides, not just underneath. The better the snow cradle, the faster it sets.
- Fold toppings gently: Stirring too hard deflates the whipped base and makes the texture heavier. Fold just until the mix-ins are evenly distributed.
- Freeze in a shallow container for faster setting: A shallow dish firms up quicker and more evenly than a deep bowl. If you’re freezing the mixing bowl, spreading it out in a shallow container will speed things up.
- Stir once halfway through: Give it a quick stir around the 30-minute mark to knock down any icy edges and keep the texture creamy, then let it finish setting.
- Keep it covered while freezing: Cover the bowl/container while it sets so it doesn’t pick up any “freezer air” flavors or snow/condensation around the rim.
Fun Topping Ideas
- Crushed Oreos or chocolate sandwich cookies (classic “cookies and cream”)
- Mini chocolate chips (easy crunch in every bite)
- Sprinkles (kid-approved, always)
- Crushed candy bars (Snickers, Reese’s, Butterfinger, you name it)
- Peanut butter or Nutella swirl (swirl it in at the end, don’t fully mix)
- Hot cocoa mix (fold in 1 tablespoon for a quick chocolate base)
- Crushed waffle cone pieces (adds that ice cream shop crunch)
- Maraschino cherries (or a drizzle of the cherry syrup for a fun throwback)
Snow Ice Cream Variations
- Chocolate Snow Ice Cream: For a chocolate version, add 2 tablespoons cocoa powder (sift it first so it doesn’t clump) or swirl in 2 to 3 tablespoons chocolate syrup before whipping. Whip to very stiff peaks, then freeze as usual.
- Peppermint Snow Ice Cream: Swap vanilla for peppermint extract, but go tiny, start with ⅛ teaspoon, taste, then add a drop more if you want it stronger. Fold in crushed candy canes right before freezing for that holiday crunch.
- Cookies and Cream Snow Ice Cream: Fold in ½ cup crushed Oreos (or chocolate sandwich cookies) after whipping. Top with extra crumbs when serving for that full cookies-and-cream vibe.
- Strawberry Snow Ice Cream: Fold in ½ cup diced strawberries plus 1 to 2 tablespoons strawberry jam for a stronger strawberry flavor. If your berries are extra juicy, pat them dry first so they don’t water down the texture.
- Use snow (optional mix-in method): If you want to actually mix snow into the ice cream base, use a few cups of clean, fresh snow (or shaved ice) and fold it in little by little until you reach a thick, scoopable texture. Start with 2 cups, mix gently, then add more as needed. The goal is to chill and thicken it without watering it down, so don’t dump it all in at once.
Snow Ice Cream FAQs
Can you make snow ice cream without using snow in the recipe?
Yes. In this recipe, the snow works as the freezing agent, not an ingredient. You whip the ice cream base to stiff peaks, then set the bowl into a snow “cradle” outside so it chills and firms up quickly.
Is it safe to eat snow ice cream?
Only use clean, fresh snow if you’re mixing snow directly into the ice cream. Skip old, dirty, or plowed snow. If you’re unsure about the snow quality, stick to the method in this recipe where the snow stays outside the bowl and you’re just using it to keep the mixture cold.
Why isn’t my snow ice cream getting thick?
Most of the time it’s under-whipped. You want very stiff peaks before freezing. If the base is still soft, it’ll set up looser. Also make sure the bowl is sitting deep in the snow so it stays cold on the sides, not just underneath.
How long does snow ice cream take to freeze?
In this recipe, it usually firms up in about 1 hour, with a quick stir at the 30-minute mark. If it’s warmer outside or your bowl isn’t surrounded by snow, it can take longer.
Can I make snow ice cream without sweetened condensed milk?
This recipe is built around sweetened condensed milk because it sweetens and helps keep the texture creamy. If you swap it, the texture and sweetness will change, so you’d need a different recipe ratio.
Can I make snow ice cream without a mixer?
It’s tough without one because you need very stiff peaks. A hand mixer is easiest, but a stand mixer works too. If you don’t have either, you can whisk by hand, but it takes a long time and it’s hard to get the same thick texture.
Can I make this with shaved ice instead of snow?
Yes. If you don’t have snow, you can set the bowl into a larger bowl of ice and salt (or very cold shaved ice) to chill it, or you can fold shaved ice into the base little by little until thick.
How do I store leftover snow ice cream?
Transfer leftovers to a freezer-safe container and freeze. Since it’s a whipped, no-churn style base, it can firm up hard. Let it sit at room temp for a few minutes before scooping.
More Viral Recipes to Try Next
Viral Snow Ice Cream

If you’ve ever wanted to make ice cream the fun, viral way, this snow ice cream recipe is it. You whip heavy cream, sweetened condensed milk, and vanilla until it hits very stiff peaks, then let the snow outside do the chilling work. It tastes like a rich homemade vanilla ice cream base, but with that classic snow day vibe that kids (and adults) both love.
Ingredients
- 2 cups Heavy Cream
- 1⁄4 cup Sweetened Condensed Milk
- 1 teaspoon Vanilla Extract
Instructions
1. In a large bowl create an imprint in the snow to fit the bowl.
2. Add the heavy cream, sweetened condensed milk and vanilla extract to the bowl.
3. Using an electric hand mixer, beat the heavy cream mixture for 10-15 minutes or until the mixture has reached very stiff peaks.
4. Fold in your choice of toppings.
5. Chill outside in the snow or in the freezer to freeze the mixture for about an hour to set up, stirring after about 30 minutes.
6. Scoop into a cone or enjoy in a bowl with toppings of your choice.
Nutrition Information:
Yield:
4Serving Size:
1Amount Per Serving: Calories: 440Total Fat: 46gSaturated Fat: 29gUnsaturated Fat: 17gCholesterol: 140mgSodium: 34mgCarbohydrates: 4gSugar: 4gProtein: 4g
Leave a Reply