Table of Contents
Why You'll Love This Chicken Katsu Recipe
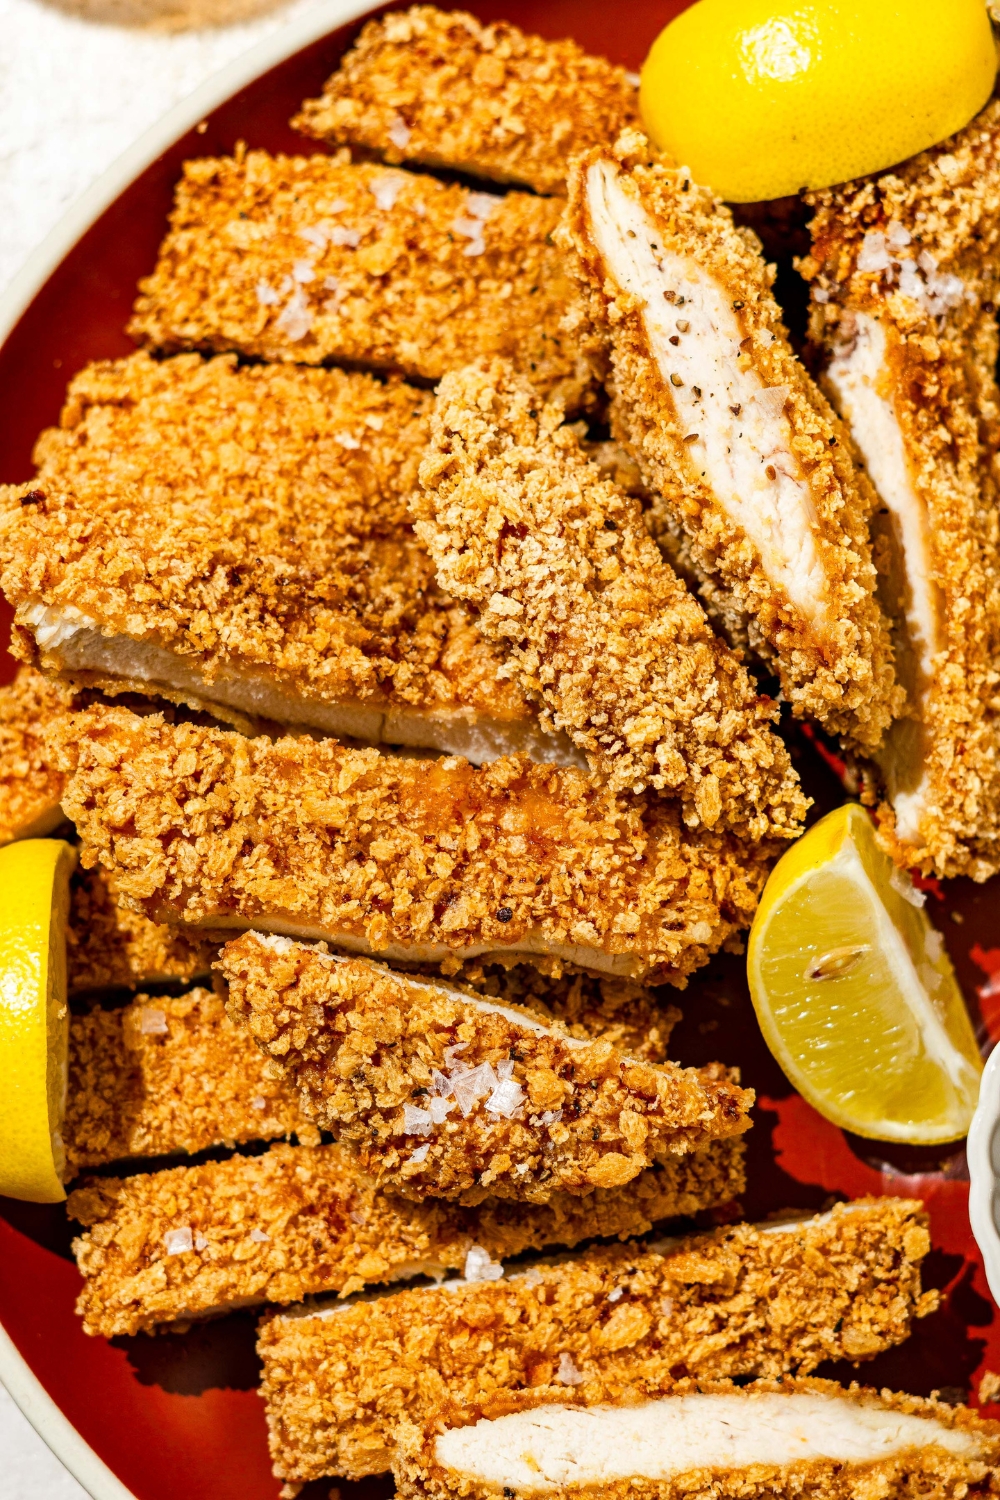
This chicken katsu recipe gives you that true Japanese-style katsu experience at home. It has a shatteringly crisp exterior, a tender, juicy interior, and none of the fussy techniques that make fried chicken intimidating. The secret is a few simple, repeatable steps: pounding the chicken to an even thickness, seasoning every layer of the dredge (flour, egg, and panko), and using panko breadcrumbs so the crust fries up light instead of heavy. I’ve tested this method with both chicken breasts and thighs, and it consistently delivers juicy chicken and a super crunchy coating that holds up even after you slice it.
I also love how reliable this recipe is once you learn the cues. You don’t need a deep fryer or special equipment, just a skillet, neutral oil, and a few minutes of attention. The chicken is cooked to a safe internal temperature while the crust stays golden instead of greasy, and I walk you through exactly how it should look and feel at each step. This makes it a great option whether you’re comfortable frying or still getting used to it; you’re not guessing your way through, and you can trust the process to turn out the same every time.
And of course, chicken katsu is incredibly versatile. You can serve it the classic way over rice with finely shredded cabbage and a drizzle of homemade katsu sauce, slice it over a rice bowl with pickles and veggies, or put it in a sandwich or katsu sando with soft bread and sauce. It’s one of those recipes that works for weeknight dinners, date-night at home, or even meal prep because leftover katsu stays delicious and crisp when reheated properly. If you’re looking for a fried chicken recipe that feels special but is still approachable and well-tested, this chicken katsu belongs in your regular rotation.
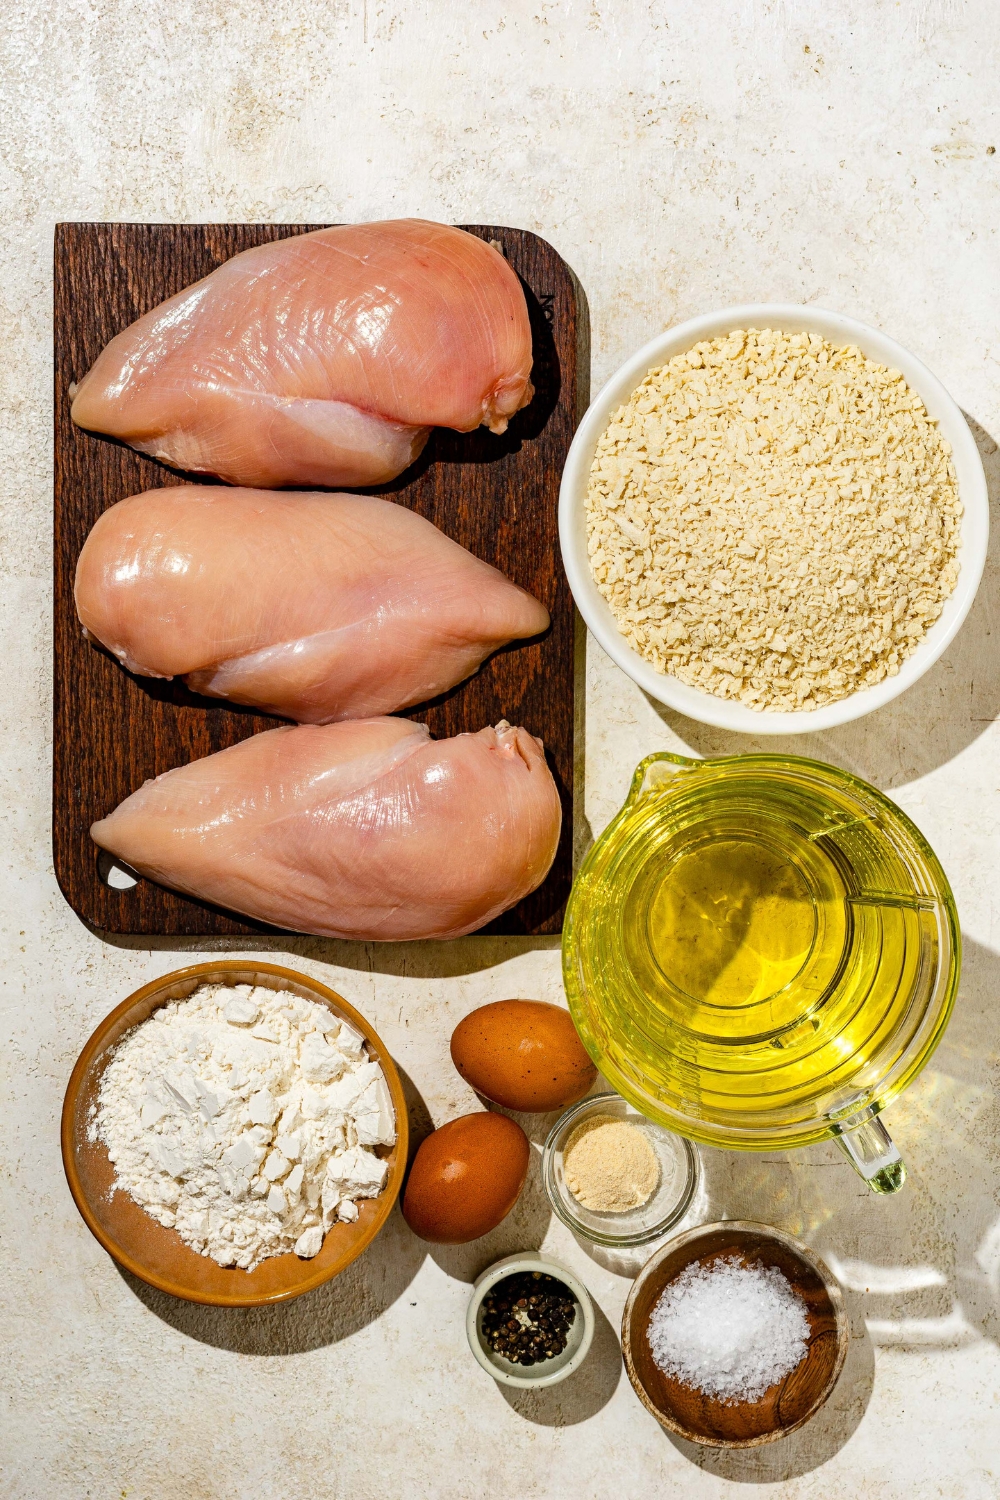
Ingredients You’ll Need
- 1½ lbs boneless, skinless chicken breasts or thighs
- ½ teaspoon garlic powder (plus extra for dredging)
- 1½ teaspoon kosher salt
- ½ teaspoon black pepper
- ½ cup rice flour (or all-purpose flour)
- 2 large eggs, lightly beaten
- 2½ cups panko breadcrumbs
- Frying oil (vegetable, canola, peanut, or avocado oil)
How To Make Chicken Katsu
Step 1: Heat the Oil
Pour about 1 inch of oil into a deep skillet and heat over medium-high. The oil is ready when it reaches 350–375°F, or a few breadcrumbs dropped in sizzle immediately.
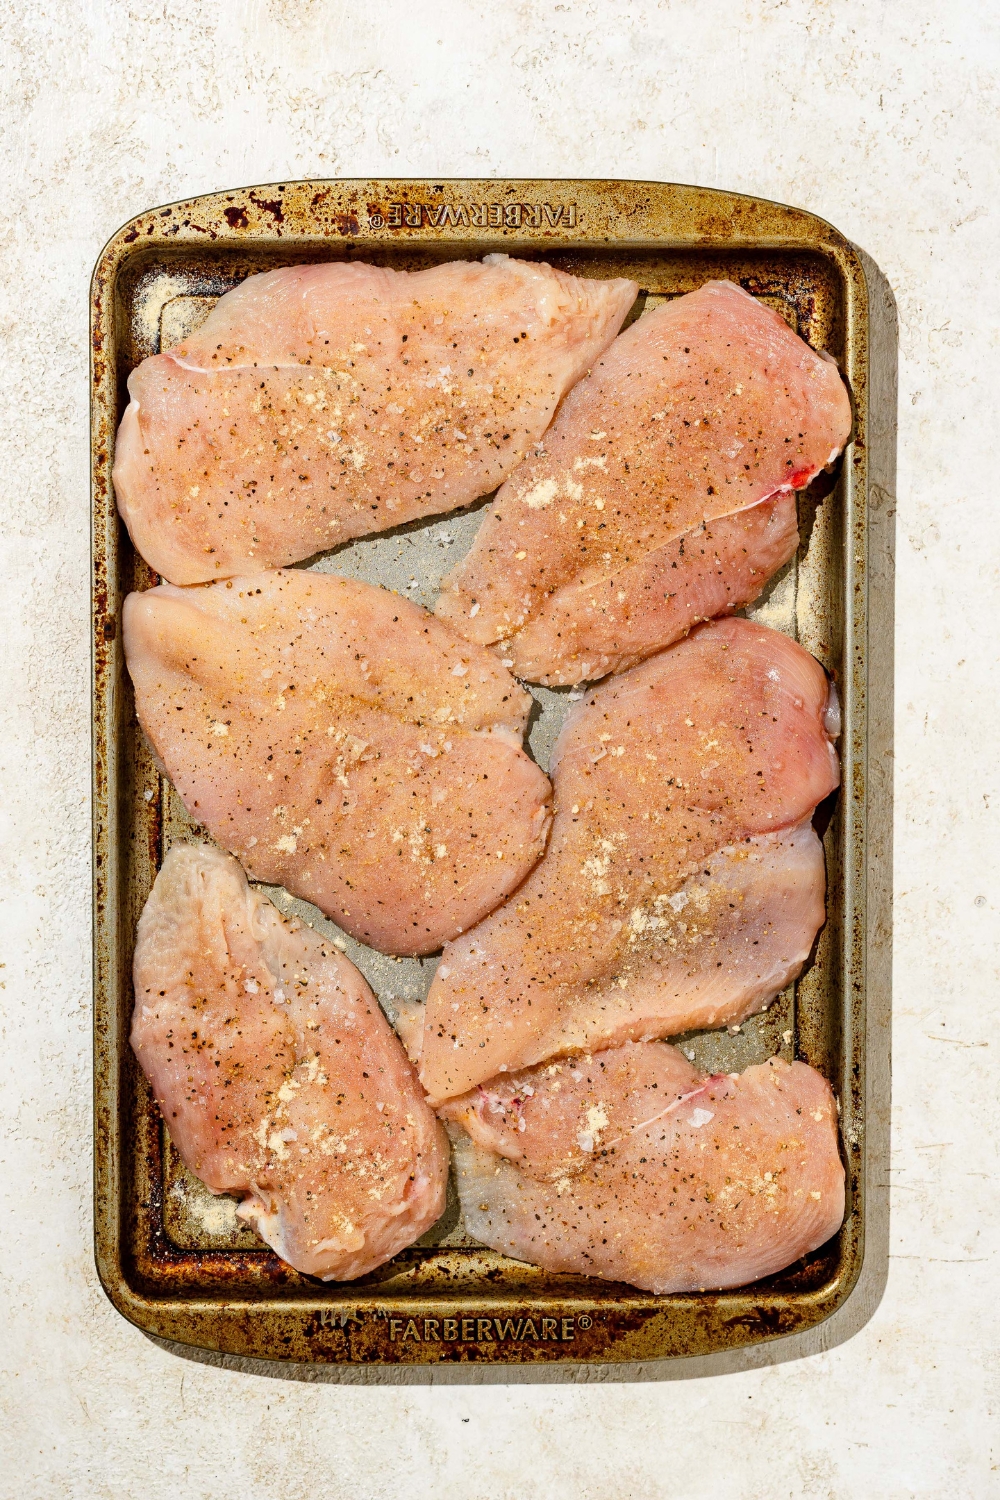
Step 2: Prep the Chicken
If you’re using chicken breasts, butterfly each one by slicing it horizontally, then open it like a book and pound it to about ½ inch thick between pieces of plastic wrap or parchment. For chicken thighs, lay them flat and make a shallow cut through the thicker parts to even them out so they cook evenly. Season both sides of the chicken with garlic powder, about 1½ teaspoons of kosher salt total, and black pepper. Set aside while you prepare the breading.
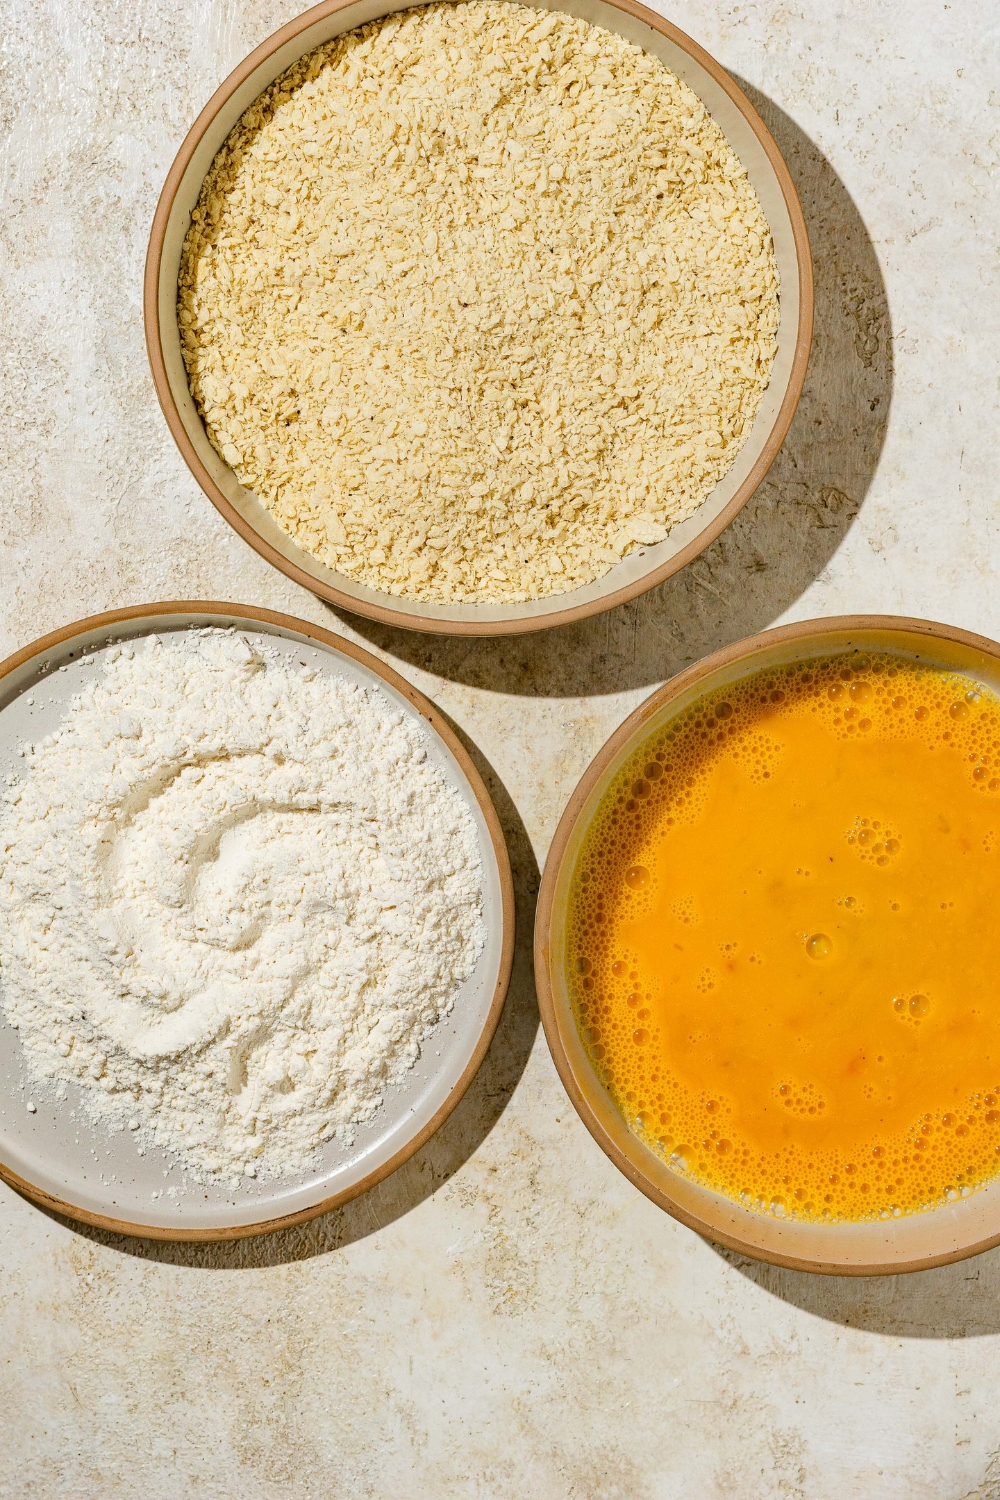
Step 3: Set Up the Breading Station
Prepare three shallow bowls or plates. Add rice flour to the first, beaten eggs to the second, and panko breadcrumbs to the third. Season each bowl with a pinch of salt, garlic powder, and black pepper, then mix to combine. Seasoning every layer ensures the chicken katsu is flavorful all the way through, not just on the outside.
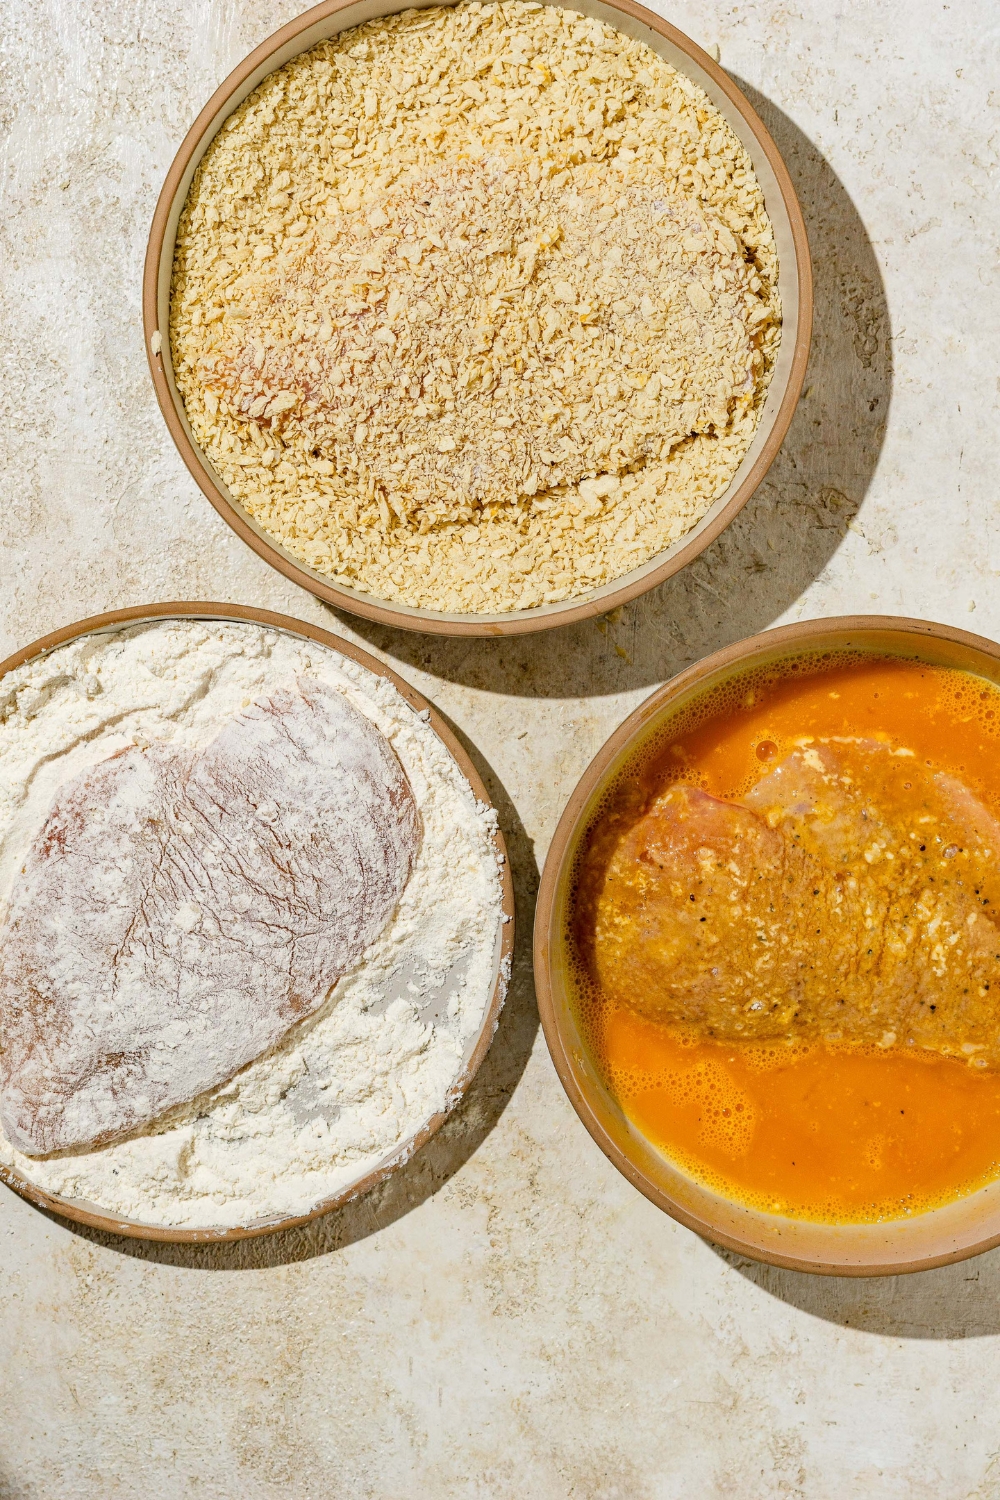
Step 4: Bread the Chicken Cutlets
Working with one piece at a time, lightly coat the chicken in the rice flour, shaking off any excess. Dip it into the beaten egg, letting the extra drip off, then press it into the panko breadcrumbs until it’s evenly coated on all sides. Gently shake off any loose crumbs and place the breaded cutlet on a clean plate or tray. Repeat with the remaining pieces of chicken. Let the breaded cutlets rest for a few minutes while you heat the oil; this helps the coating adhere better.
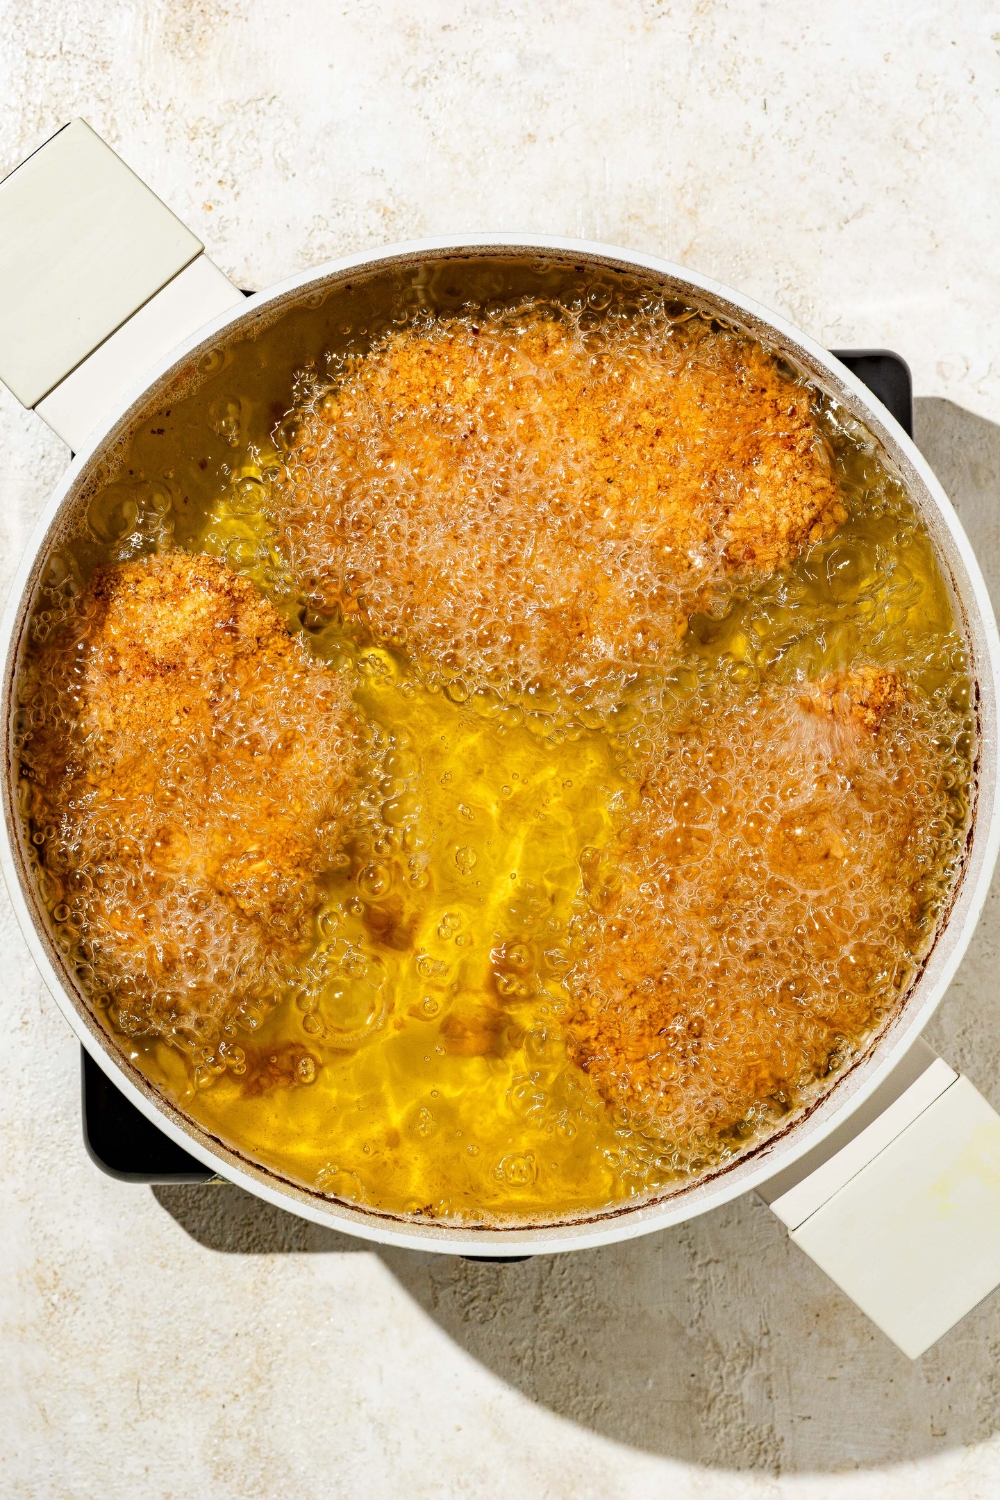
Step 5: Fry Until Golden and Crispy
Heat a generous layer of neutral oil (about ¼–½ inch deep) in a large skillet over medium to medium-high heat until it’s hot and shimmering. You can test it by dropping in a few panko crumbs; they should sizzle immediately. Carefully lower the breaded chicken into the hot oil in batches, making sure not to overcrowd the pan. Fry each cutlet for about 3–4 minutes per side, or until deeply golden brown and cooked through (the internal temperature should reach 165°F). Transfer the fried chicken katsu to a paper towel–lined plate or a wire rack to drain, and while still warm, sprinkle lightly with a bit more salt. Repeat with the remaining cutlets.
Step 6: Serve with Katsu Sauce and Sides
Expert Tips To Make The Best Chicken Katsu
- Pound the chicken to an even thickness: Take a minute to pound the chicken to about ½ inch thick. Even thickness means the katsu cooks evenly from edge to center, so you don’t end up with undercooked thick spots or dry, overcooked edges. It also helps the cutlets fry quickly and stay juicy.
- Season every step of the dredging process: Don’t rely on seasoning the meat alone. Adding a little salt, pepper, and garlic powder to the flour, egg, and panko bowls builds flavor into each layer of the coating. That’s how you get chicken katsu that tastes great all the way through, not just from the sauce.
- Use rice flour for a light, shatter-crisp crust: Rice flour stays lighter and drier than all-purpose flour, which helps the egg cling evenly and creates a thin, delicate shell under the panko. If you don’t have rice flour, you can use all-purpose flour, but rice flour will give you a noticeably crisper, less heavy crust.
- Always use panko, not regular breadcrumbs: Panko is essential for that classic chicken katsu texture. The flakes are larger and airier than regular breadcrumbs, so they fry up into a super crispy, craggly coating instead of a dense, bread-y crust. If you only have regular breadcrumbs, the recipe will still work, but it won’t have that true katsu crunch.
- Get the oil to the right temperature before frying: Aim for 350–375°F. If the oil is too cool, the chicken will soak up oil and turn greasy and soggy; too hot, and the panko will burn before the chicken is cooked through. If you don’t have a thermometer, drop in a few panko crumbs; they should sizzle immediately and turn golden in about a minute, not burn on contact.
- Fry in batches and avoid overcrowding: Cook a few pieces at a time, leaving space between each cutlet. Overcrowding drops the oil temperature and prevents the coating from crisping properly. Giving each piece room helps the katsu fry, not steam.
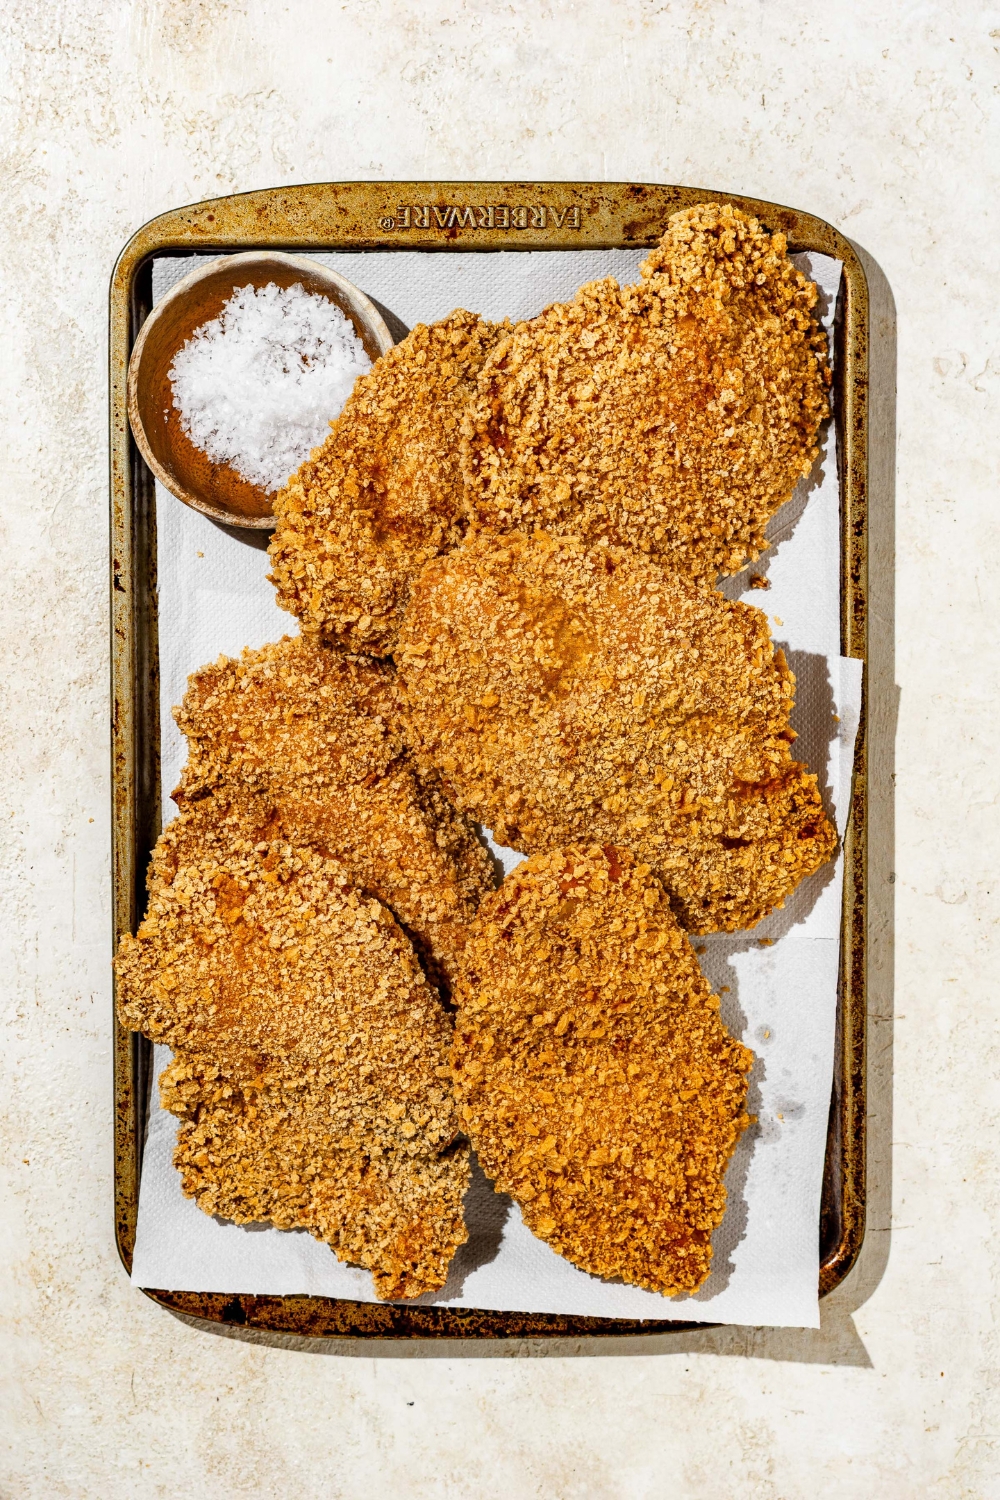
- Drain on a rack or paper towels: After frying, transfer the chicken katsu to a wire rack set over a tray or a plate lined with paper towels. This lets excess oil drip away and keeps the coating crisp instead of letting it sit in oil and soften. Sprinkle with a pinch of salt while it’s still hot to lock in the seasoning.
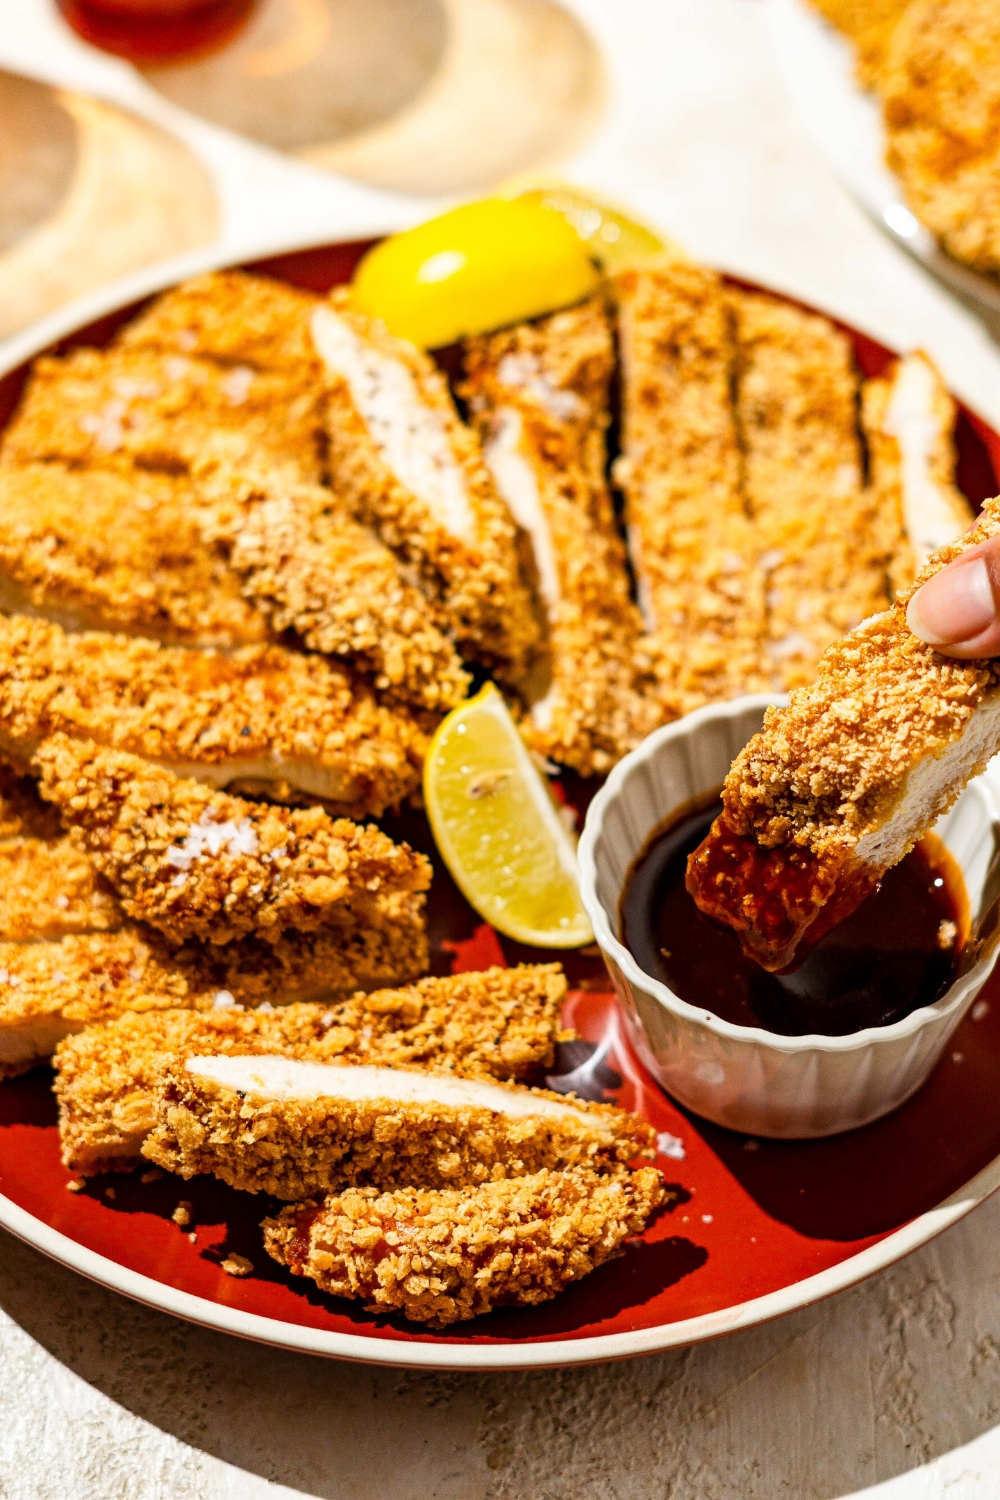
- Serve chicken katsu immediately for peak crunch: Chicken katsu is at its best when it’s hot, fresh from the oil, and the panko crust is still ultra-crispy. Slice it just before serving and add katsu sauce at the table so the coating doesn’t soften too quickly.
Chicken Katsu FAQs
Are chicken breasts or chicken thighs better for this recipe?
Both work well, it just depends on what you like. Chicken thighs are juicier, more forgiving, and harder to overcook, which makes them great if you’re newer to frying. Chicken breasts give you that classic cutlet shape and a leaner katsu, as long as you pound them to an even thickness so they stay tender.
How thin should the chicken be for katsu?
Aim for about ½ inch thick. This gives you fast, even cooking and the right balance between a crispy crust and a juicy interior. Any thicker and the chicken can take too long to cook through; any thinner and it can dry out.
Can I bake chicken katsu instead of frying?
Yes. It won’t be quite as crispy as deep-fried katsu, but it’s still very good. Place the breaded cutlets on a wire rack set over a baking sheet, spray or brush them lightly with oil, and bake at 425°F for 18–22 minutes, flipping once halfway through. They’re done when the coating is golden, and the internal temperature reaches 165°F.
Can I make chicken katsu in the air fryer?
Definitely. For a lighter version, spray the breaded chicken cutlets lightly with oil on both sides and air fry at 400°F for 12–15 minutes, flipping halfway, until golden brown and cooked through. It’s not as traditional as deep frying but still gives you a crispy, satisfying katsu with less oil.
Can I make chicken katsu ahead of time?
You can prep ahead in a couple of ways. You can pound and season the chicken and set up the breading station in advance, or bread the cutlets and refrigerate them for a few hours before frying. For the best texture, fry the katsu close to serving time and re-crisp in the oven or air fryer if needed.
How do I store leftover chicken katsu?
How do I keep leftovers crispy?
Leftover chicken katsu is best reheated in a way that brings the crunch back. Reheat in an air fryer at 375–400°F for 5–8 minutes or in a 400°F oven for about 8–10 minutes, until the coating re-crisps and the chicken is heated through. Avoid microwaving, which will make the panko coating soft and chewy.
What is typically served with chicken katsu?
The classic Japanese way to serve chicken katsu is with steamed rice, finely shredded cabbage, and katsu sauce for dipping or drizzling. It also pairs well with miso soup, pickles, or a simple cucumber salad. You can serve it as a katsu plate over rice, in a rice bowl, or tucked into a sandwich (katsu sando) with soft bread and extra sauce.
My Final Thoughts
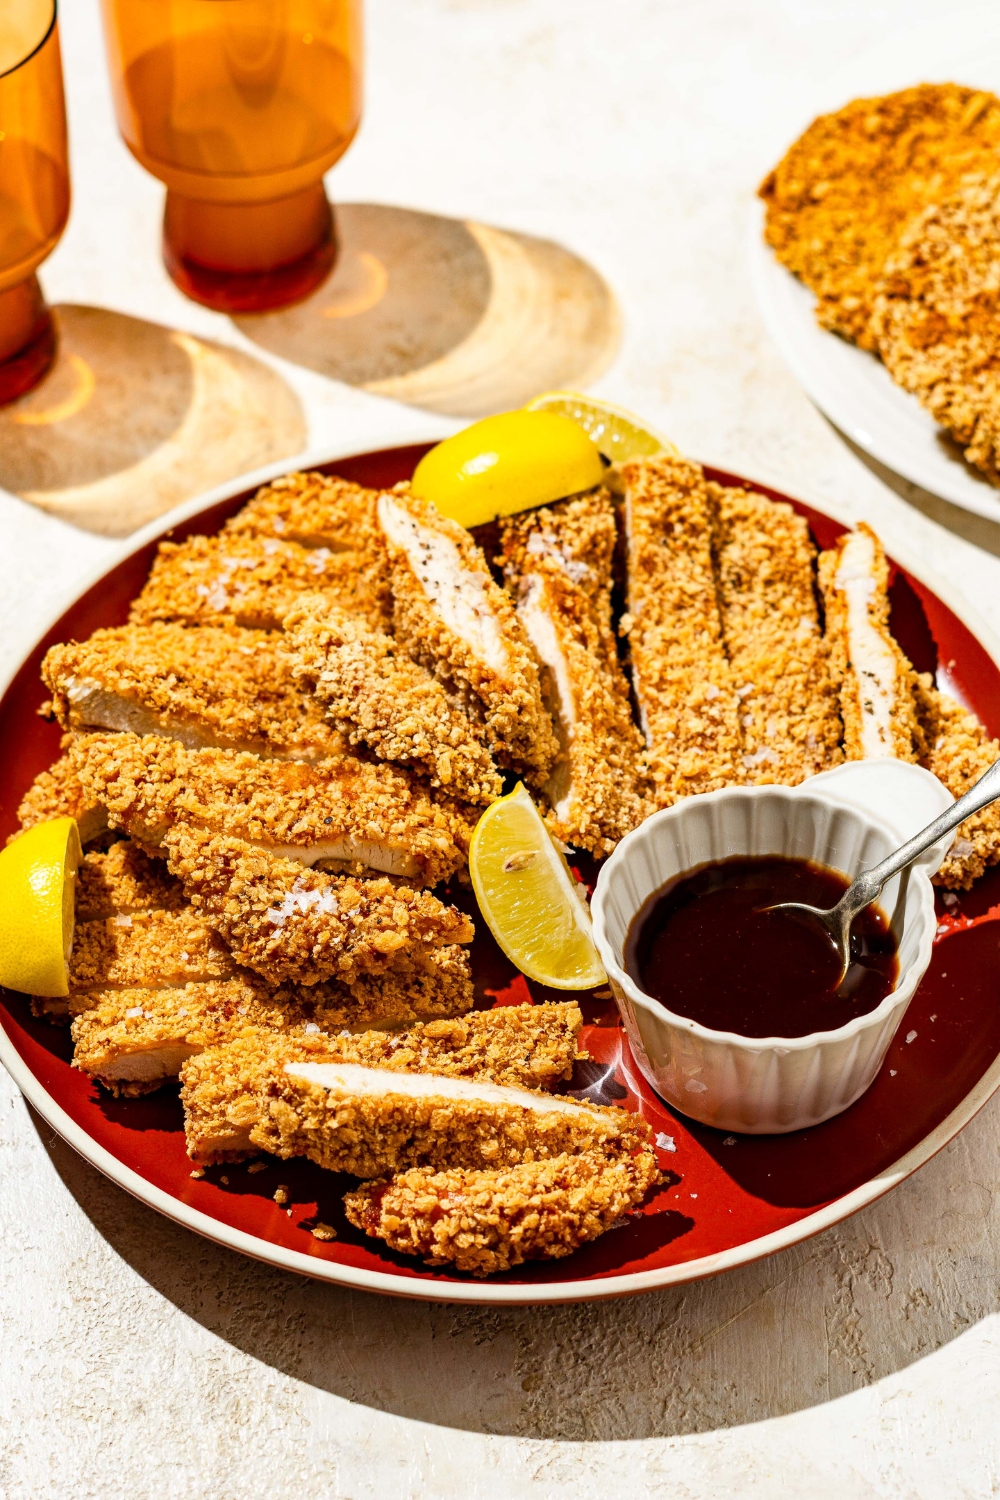
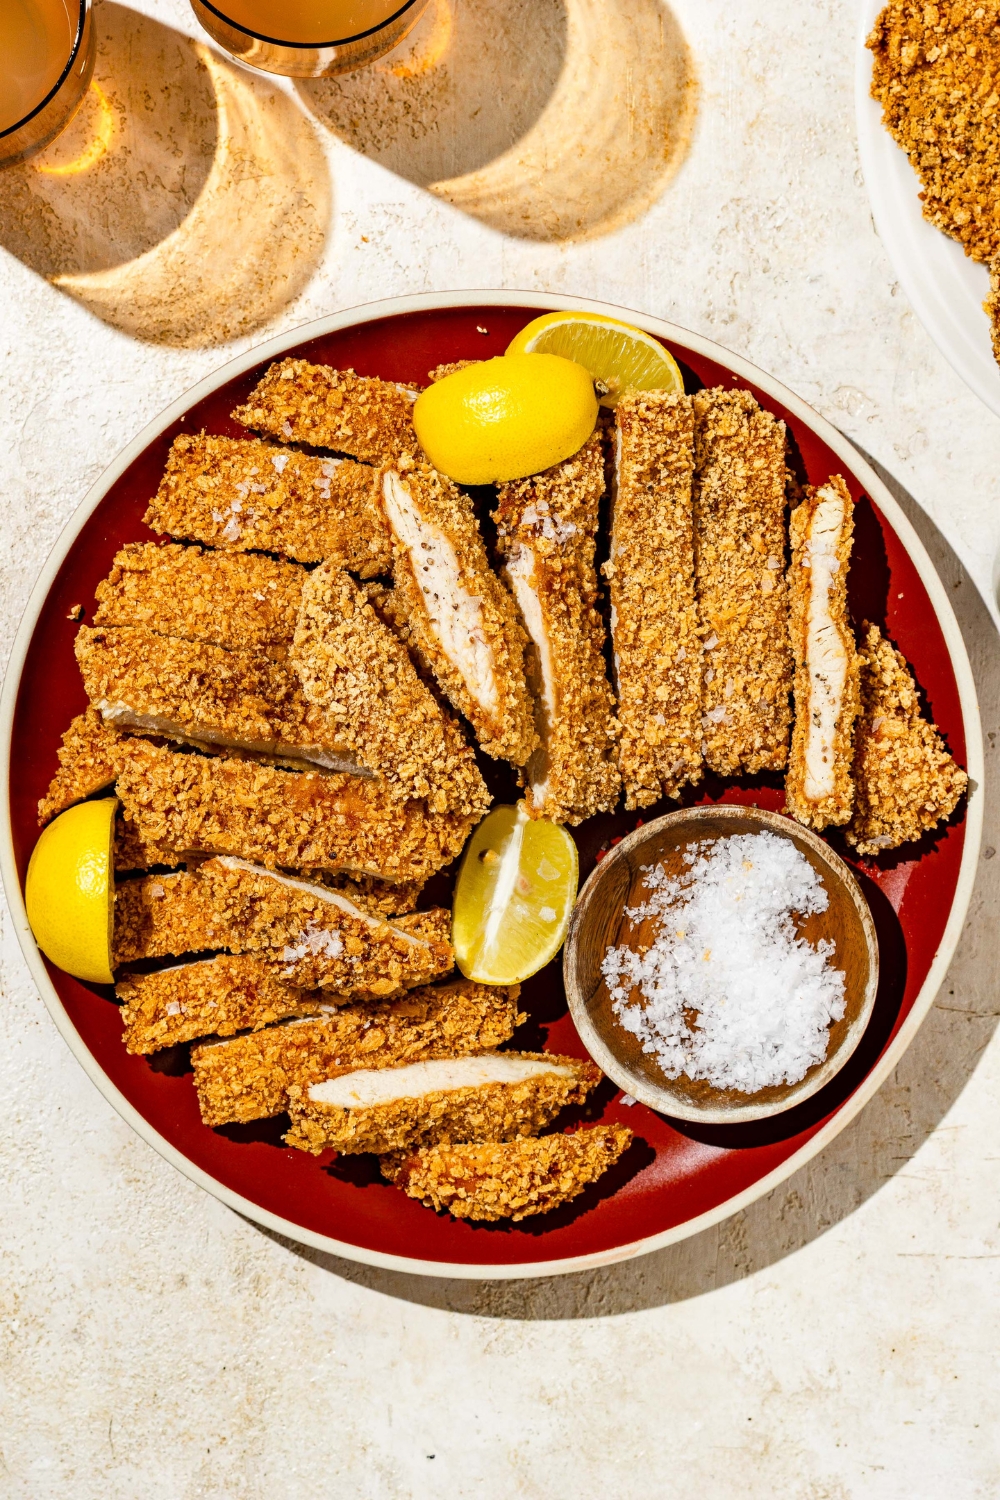
This chicken katsu is crispy, juicy, and unbelievably satisfying, everything you want in a Japanese fried cutlet. With its light, crunchy panko crust and simple seasoned layers, it’s a guaranteed hit for family dinners or your next katsu rice bowl. Dip it in homemade katsu sauce, and you’ve got comfort food perfection.
Chicken Katsu (Crispy Japanese Chicken Cutlet)

This chicken katsu is ultra-crispy on the outside, tender and juicy on the inside, and way easier to make at home than you’d think. Thin chicken cutlets are seasoned, coated in a simple three-step panko breading, and fried until they’re golden with that classic Japanese-style crunch. Serve it sliced over rice with shredded cabbage and plenty of katsu sauce, or add it to bowls and sandwiches for one of the most satisfying crispy chicken dinners you can make.
Ingredients
- 1 ½ pounds boneless, skinless chicken breasts or thighs
- ½ teaspoon garlic powder, plus extra for dredging
- 1 ½ Salt
- ½ black pepper
- ½ cup rice flour (can substitute all-purpose flour)
- 2 large eggs, lightly beaten
- 2 ½ cups panko breadcrumbs
- frying oil of choice
Instructions
1. If using chicken breasts, butterfly each piece by slicing it horizontally, then pound to about ½-inch thick. For chicken thighs, lay them flat and make a shallow cut through the thicker parts to even them out. Season both sides with garlic powder, 1½ teaspoons of kosher salt, and black pepper. Set aside.
2. Prepare a breading station with three shallow bowls: one with rice flour, one with beaten eggs, and one with panko breadcrumbs. Season each bowl with a pinch of salt, garlic powder, and black pepper, and mix to combine.
3. Working one piece at a time, dredge the chicken lightly in the rice flour, shaking off any excess. Dip into the beaten eggs, letting the excess drip off, then coat evenly with panko breadcrumbs. Shake off extra crumbs and place the breaded chicken on a clean plate. Repeat with the remaining pieces.
4. Once the oil is hot, carefully lower the chicken cutlets into the skillet in batches to avoid overcrowding. Fry each piece for 3–4 minutes per side, until golden brown and fully cooked through. Transfer the fried chicken to a paper towel–lined plate to drain any excess oil, and while still warm, sprinkle lightly with salt. Repeat with the remaining cutlets.
5. Serve the chicken katsu right away with katsu sauce and your favorite sides.
Nutrition Information:
Yield:
4Serving Size:
1Amount Per Serving: Calories: 164Total Fat: 6gSaturated Fat: 2gUnsaturated Fat: 4gCholesterol: 112mgSodium: 266mgCarbohydrates: 17gFiber: 1gSugar: 1gProtein: 10g
Leave a Reply