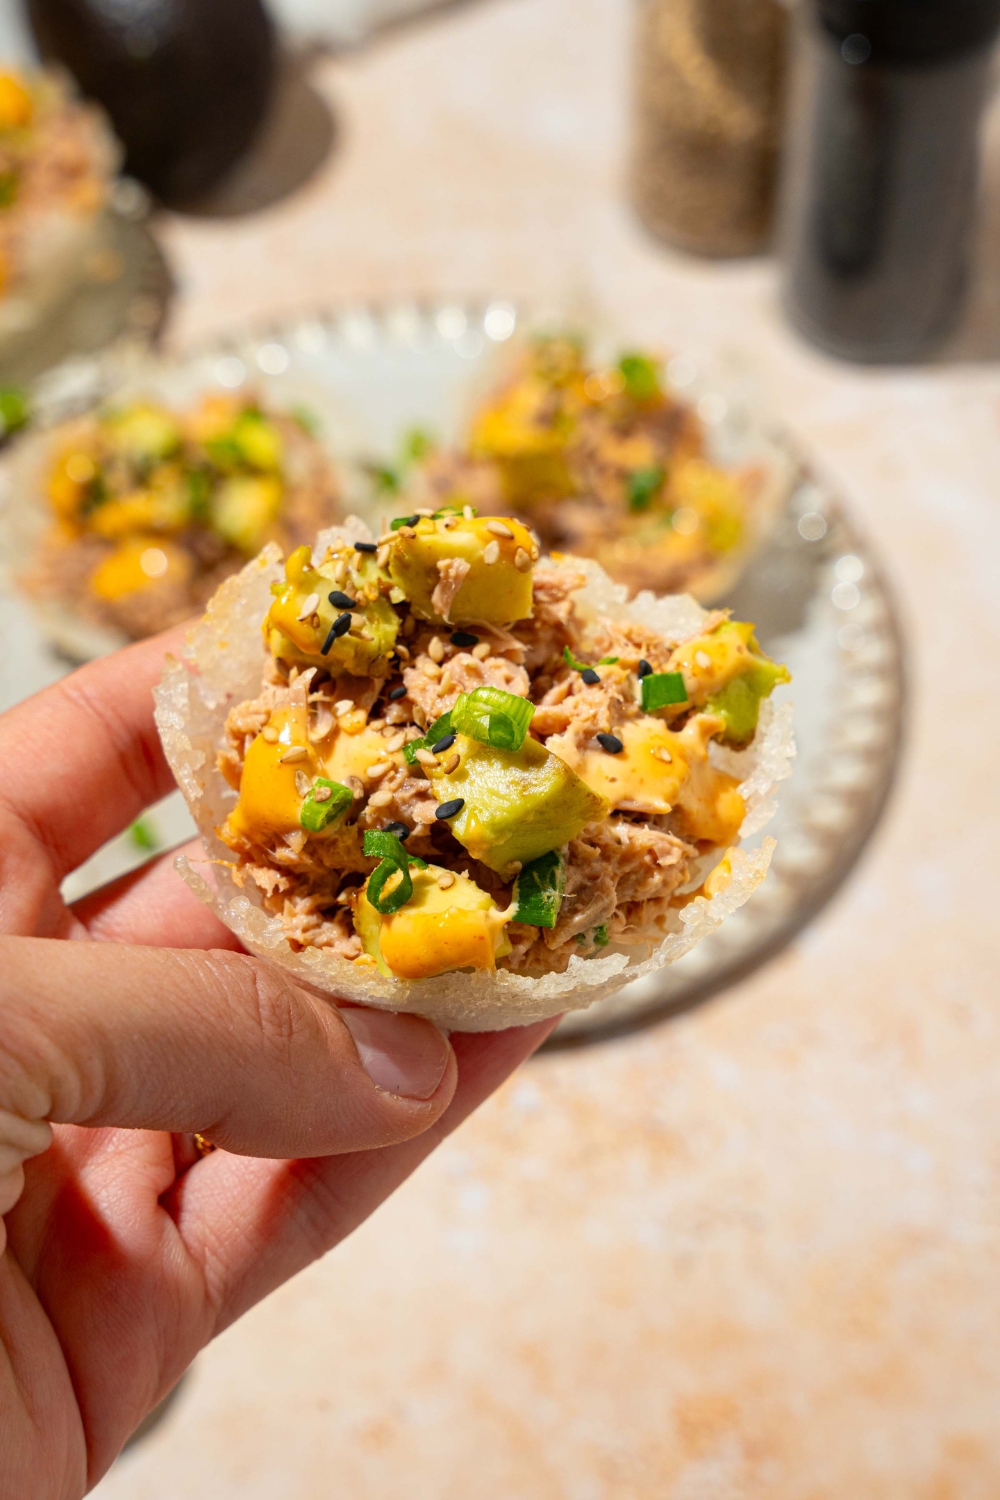
These viral tuna rice cups are crispy, creamy, savory, and so easy to make with sushi rice, canned tuna, avocado, spicy mayo, sesame seeds, and green onions. The rice bakes in a muffin pan until the edges get lightly golden, then each cup gets filled with a simple tuna salad and finished like a mini sushi-inspired bite.
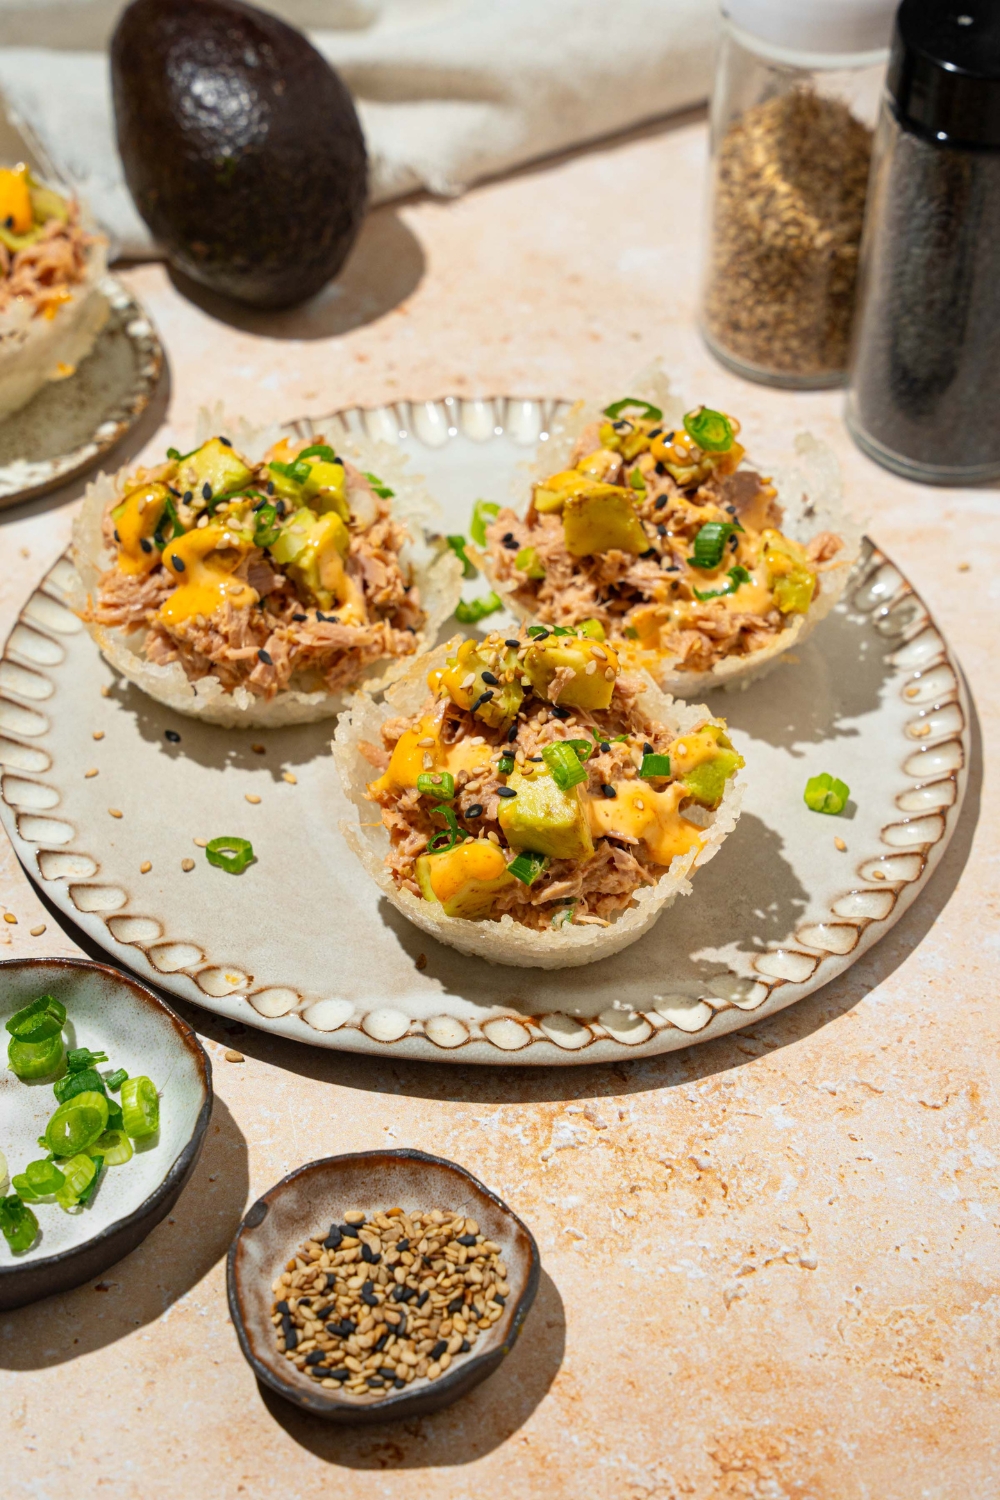
Table of Contents
Why You’ll Love This Tuna Rice Recipe
I've been on a crispy rice craze, making things like this crispy rice omelette and crispy rice salad with chicken, so when I saw this viral recipe of combining crispy rice and tuna, I had to try it. After making it myself, I liked that it had some of the same flavors I love in a spicy tuna roll, but in a format that’s much easier to pull off at home. Instead of rolling sushi, you press the rice into muffin cups, bake it until the edges crisp up, and fill each one with a creamy tuna mixture and avocado.
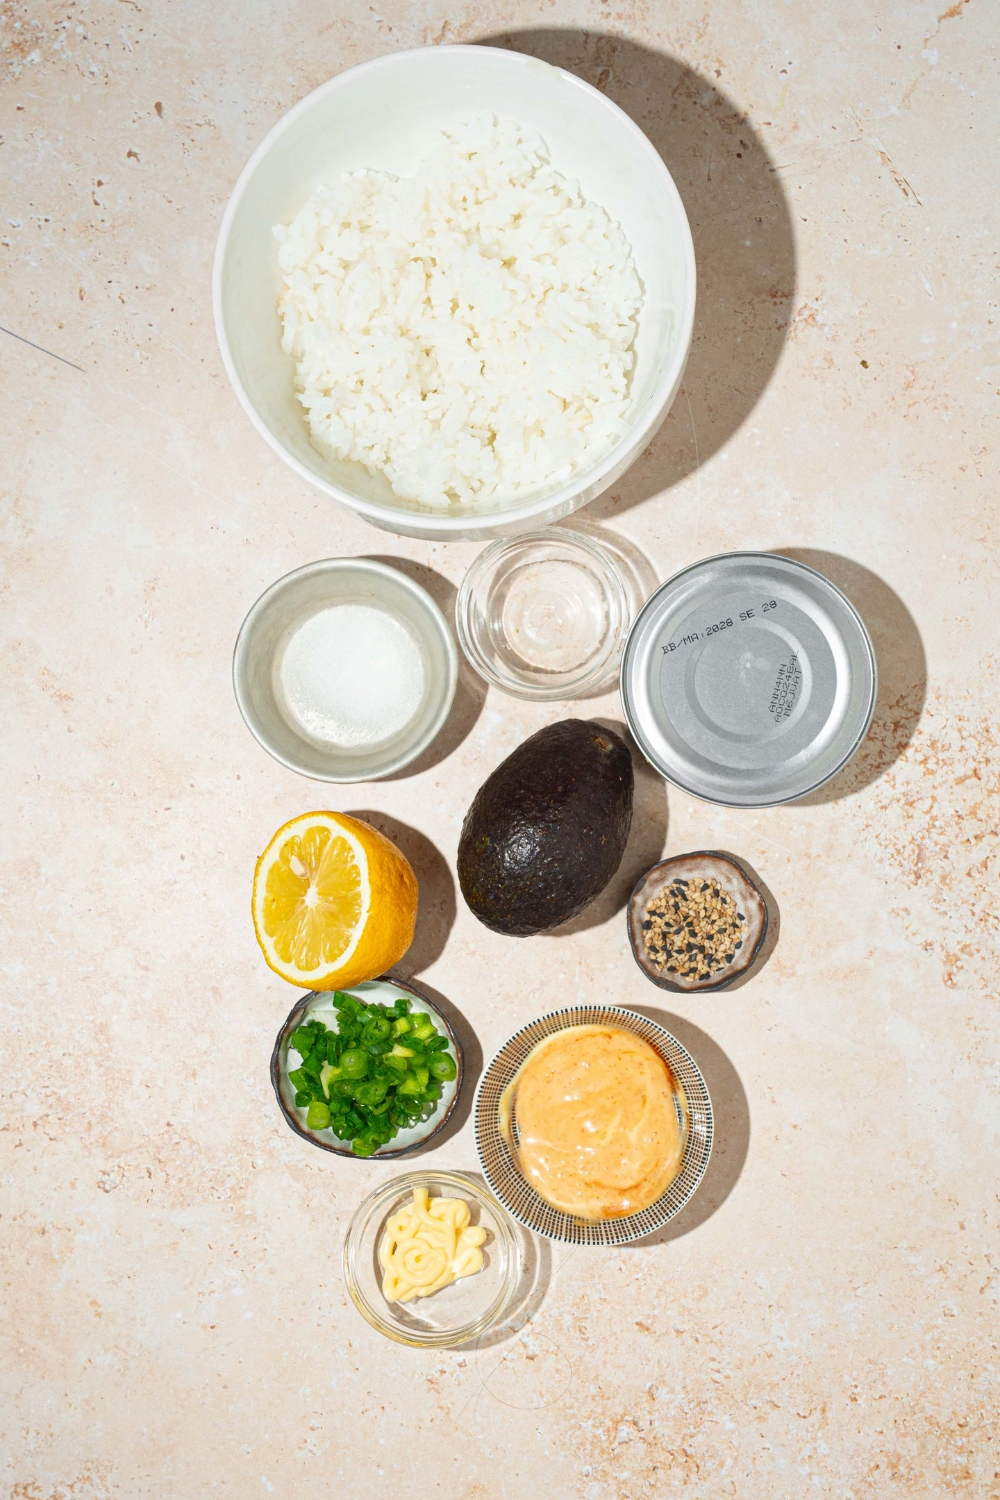
Ingredients
For the crispy sushi rice cups:
- 2 cups cooked sushi rice, or enough to fill a cupcake pan
- 1-2 teaspoons rice vinegar
- Small pinch of sugar
- Pinch of salt
- 1 small avocado, cubed
- 2 tablespoons spicy mayo
- Black and white sesame seeds
- Extra green onion for topping
For the tuna salad filling:
- 1 can tuna, drained
- 2 tablespoons mayo
- 1-2 teaspoons lemon juice
- 1 tablespoon finely chopped green onion
- Salt and pepper, to taste
How To Make Tuna Rice Cups
Step 1: Prepare the Pan and Season the Rice
Preheat the oven to 400°F (200°C) and lightly grease a muffin or cupcake pan. Add the warm cooked sushi rice to a bowl, then mix it with the rice vinegar, a small pinch of sugar, and a pinch of salt. Stir until the rice is evenly seasoned. The rice should be sticky enough to press into the pan and hold its shape.
Step 2: Shape the Rice Cups
Spoon the seasoned rice into each cavity of the muffin pan. Press the rice firmly into the bottom and up the sides to form little cups. You can use the back of a spoon, lightly wet fingers, or a small measuring spoon to shape them. Make sure the rice is compacted well so the cups don’t fall apart after baking.
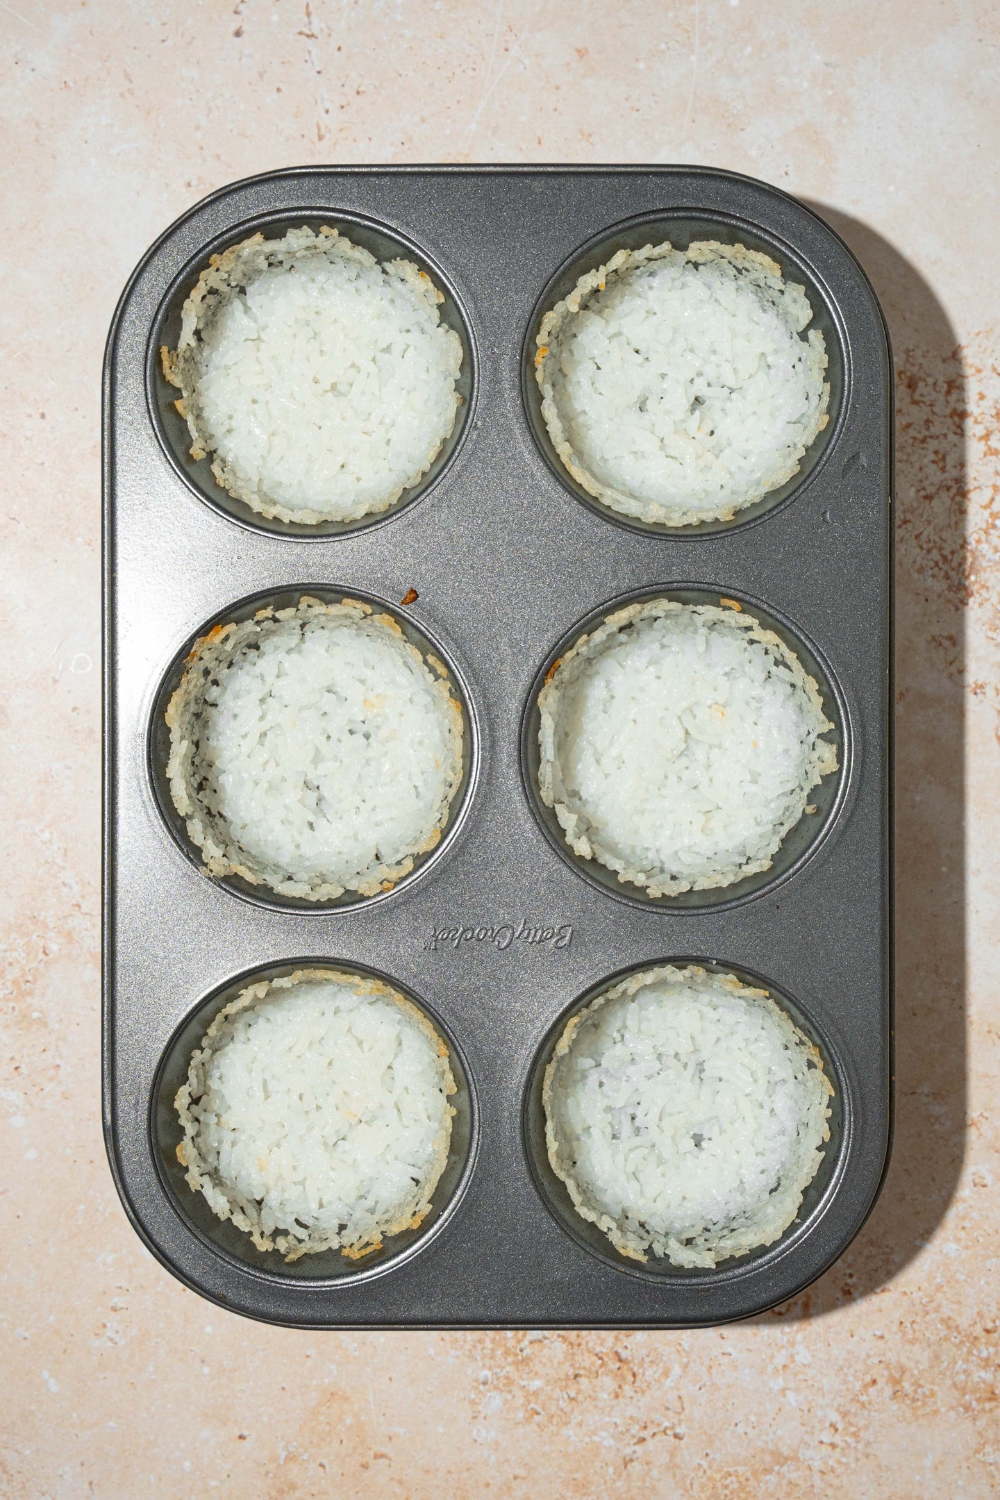
Step 3: Bake the Rice Cups
Bake the rice cups for 15-20 minutes, or until the edges are lightly golden and slightly crispy. Once they’re done, remove the pan from the oven and let the cups cool slightly before taking them out. This short cooling time helps them firm up so they’re easier to remove without breaking.
Step 4: Make the Tuna Salad
While the rice cups bake, add the drained tuna, mayo, lemon juice, chopped green onion, salt, and pepper to a bowl.
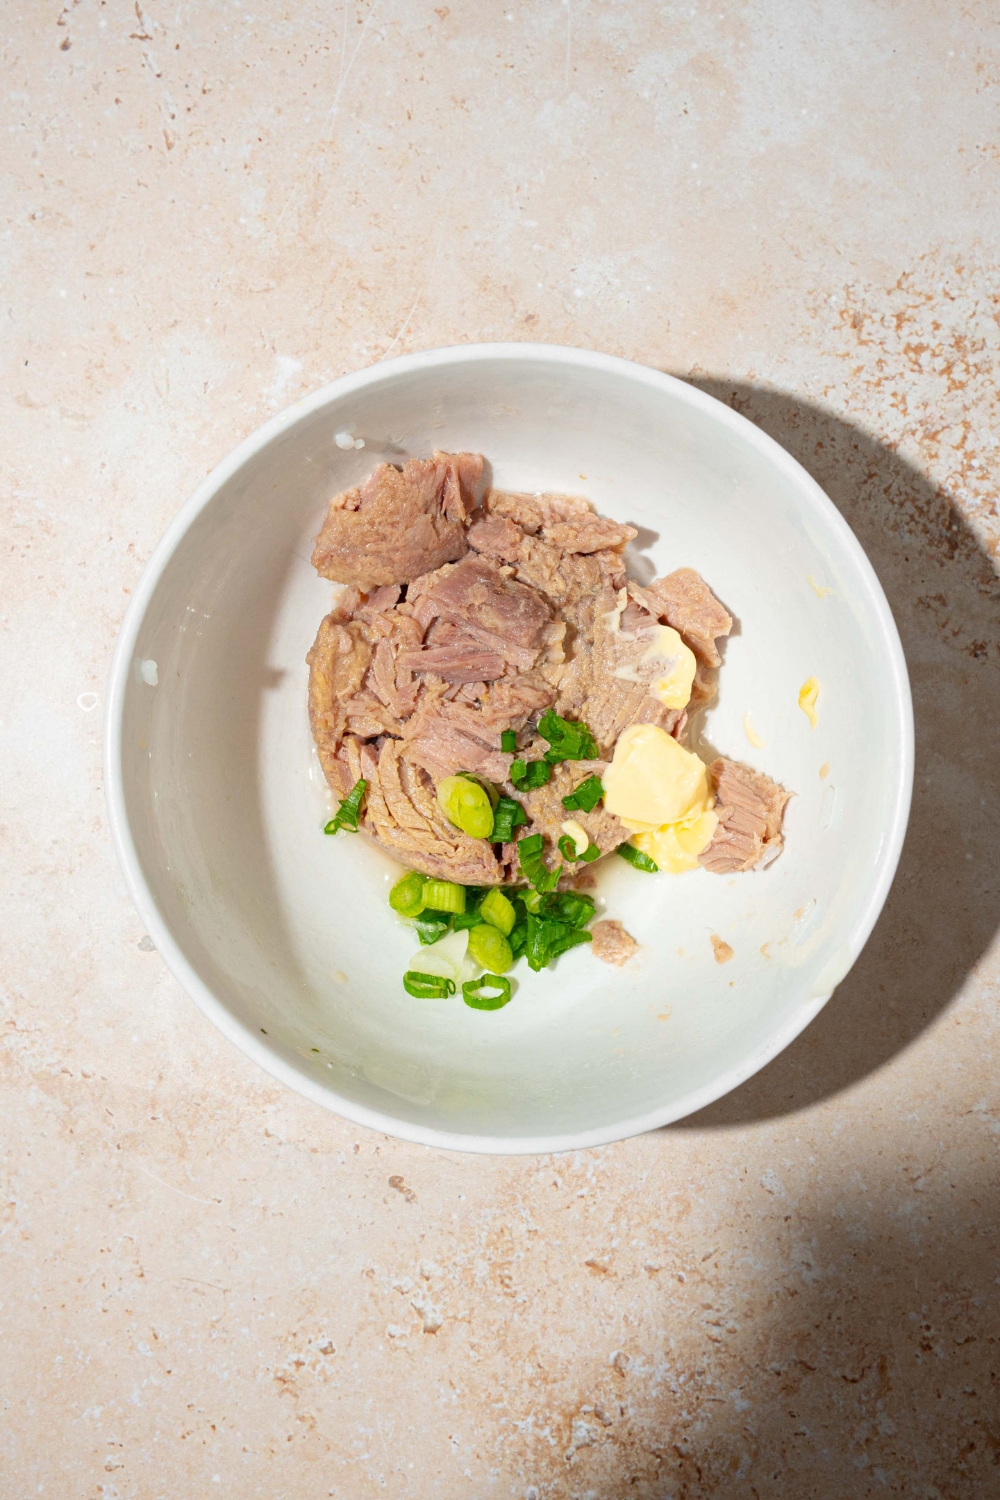
Mix until everything is well combined. Taste and adjust with a little more lemon juice, salt, or pepper if needed. The tuna salad should be creamy, but not too wet, so it sits nicely inside the rice cups.

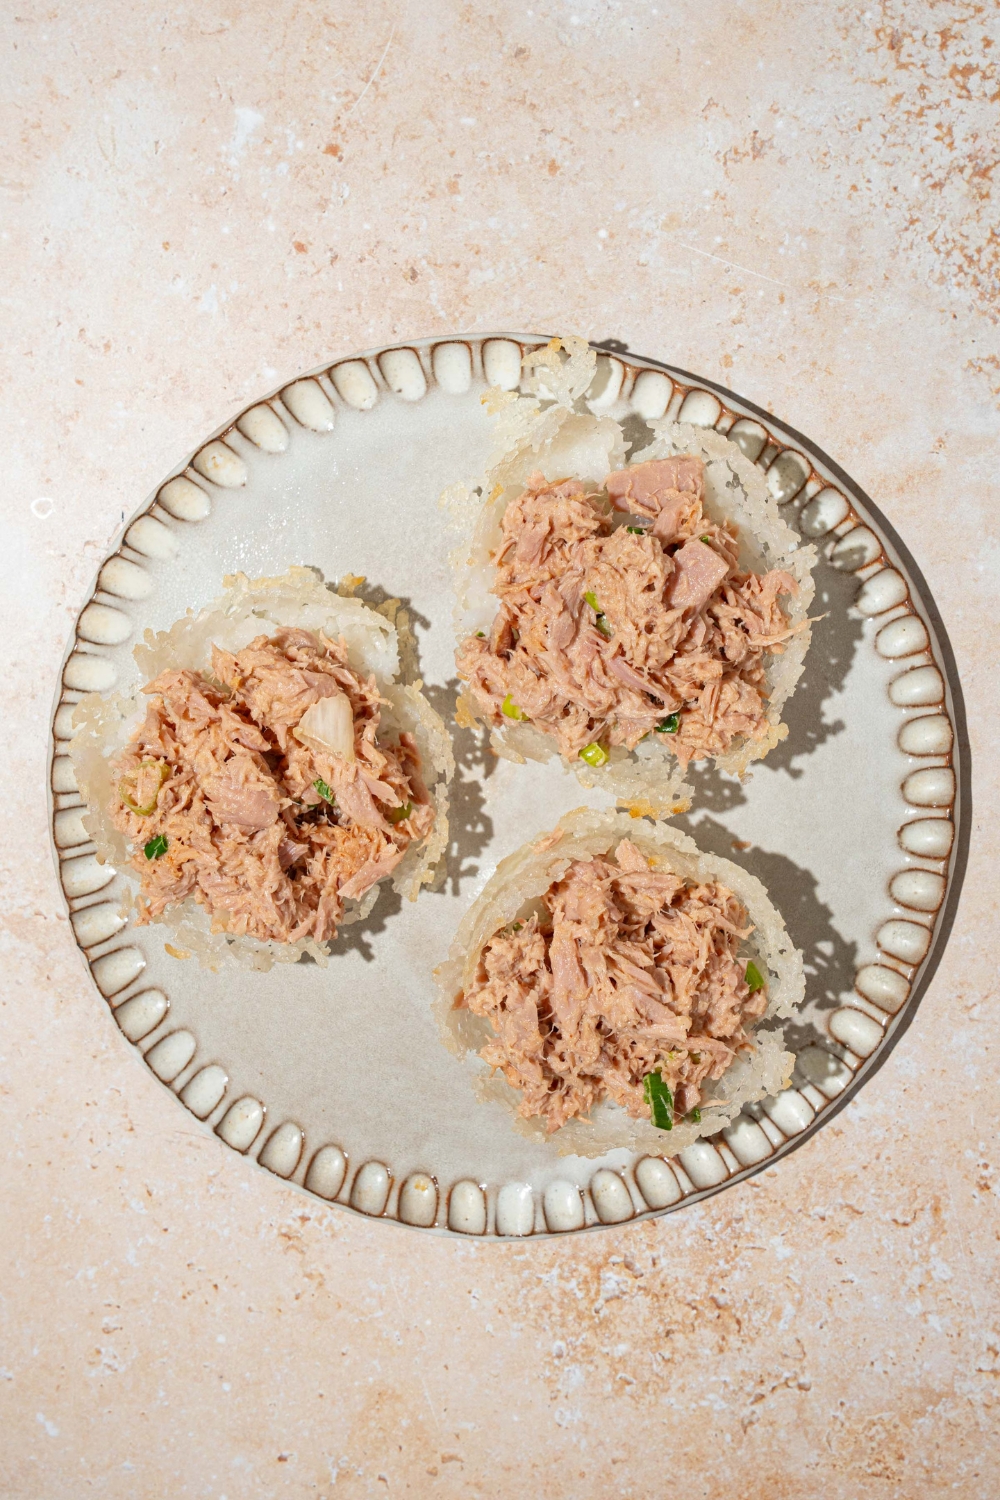
Step 5: Fill the Rice Cups
Once the rice cups are slightly cooled and removed from the pan, spoon the tuna salad into each one. Add enough tuna to fill the center without overloading the cups. If you press too much filling in, the rice can crack, or the cups can be hard to pick up.
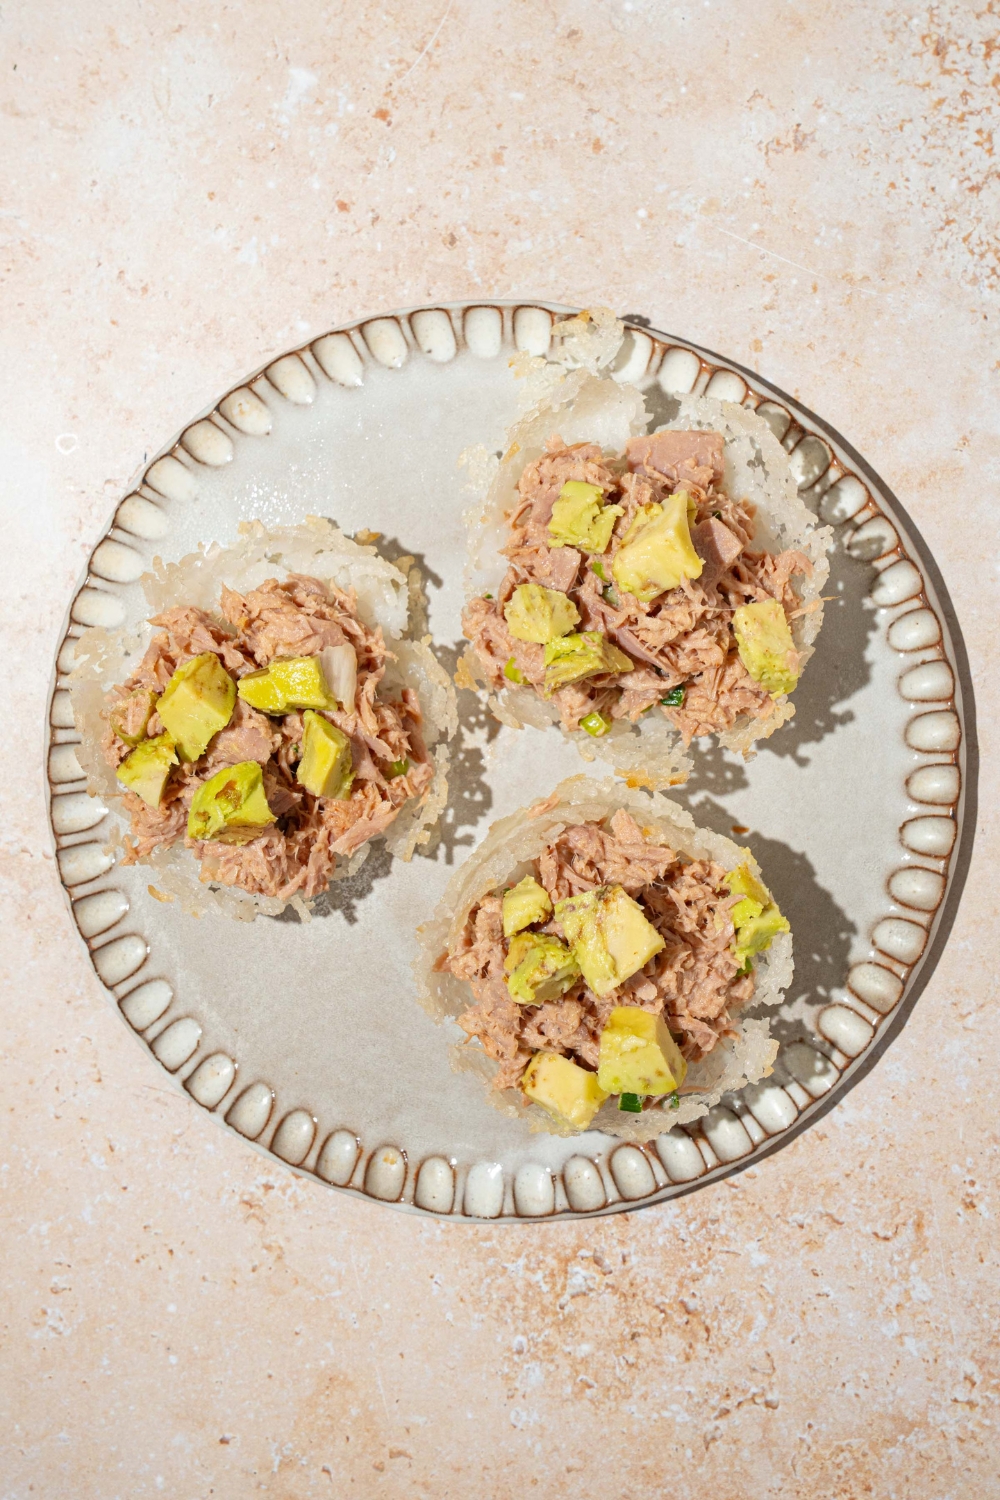
Step 6: Add the Toppings
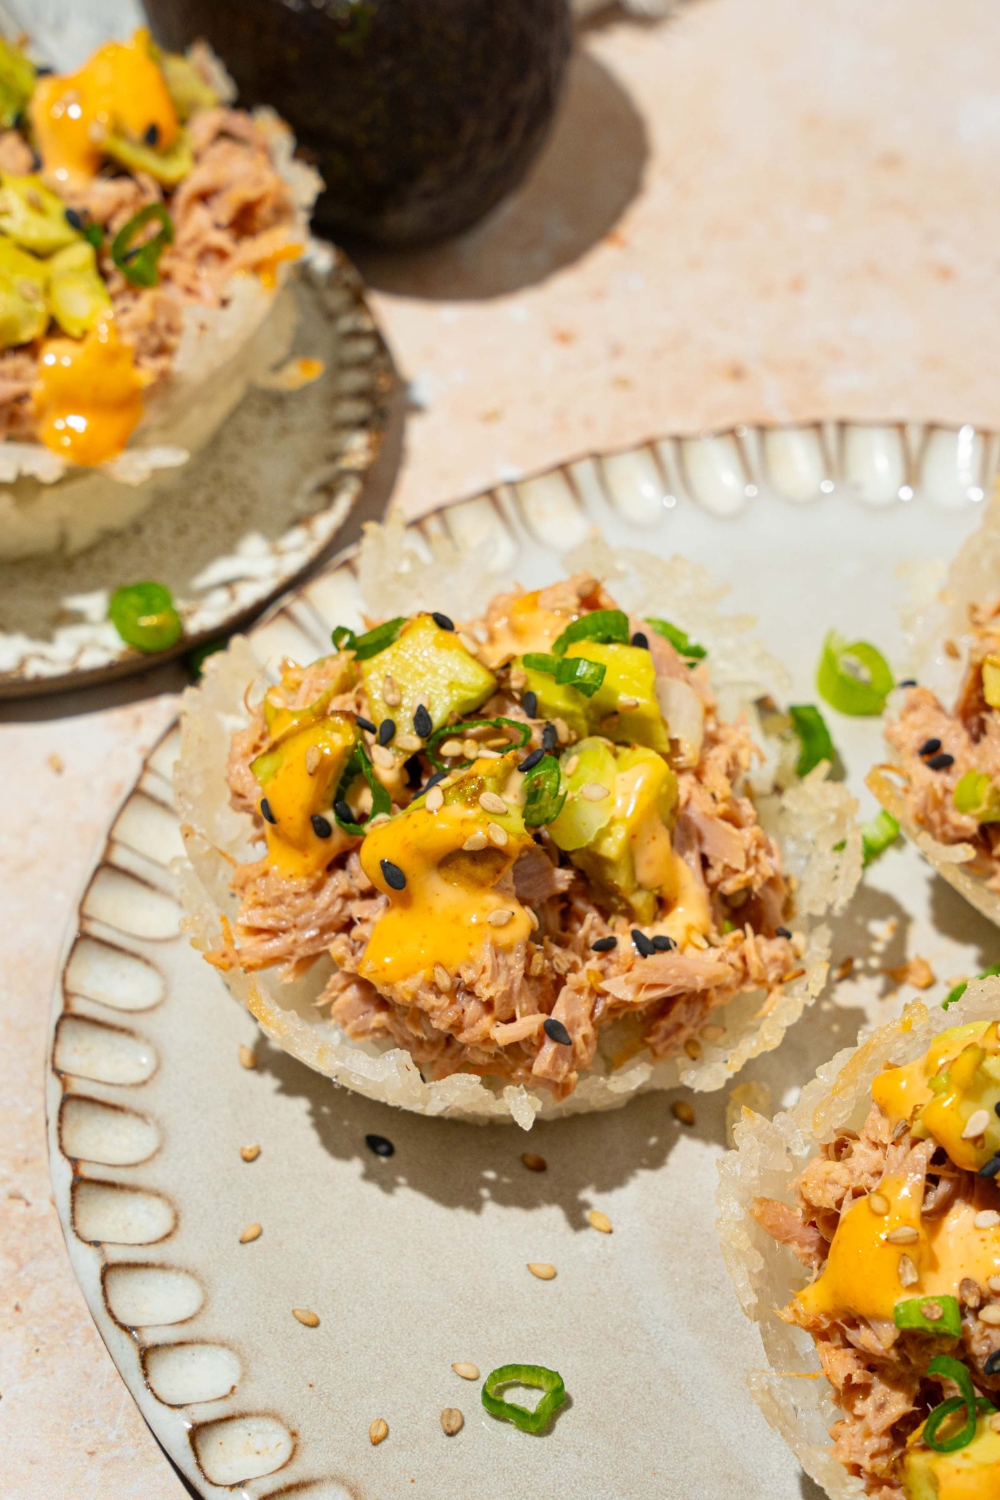
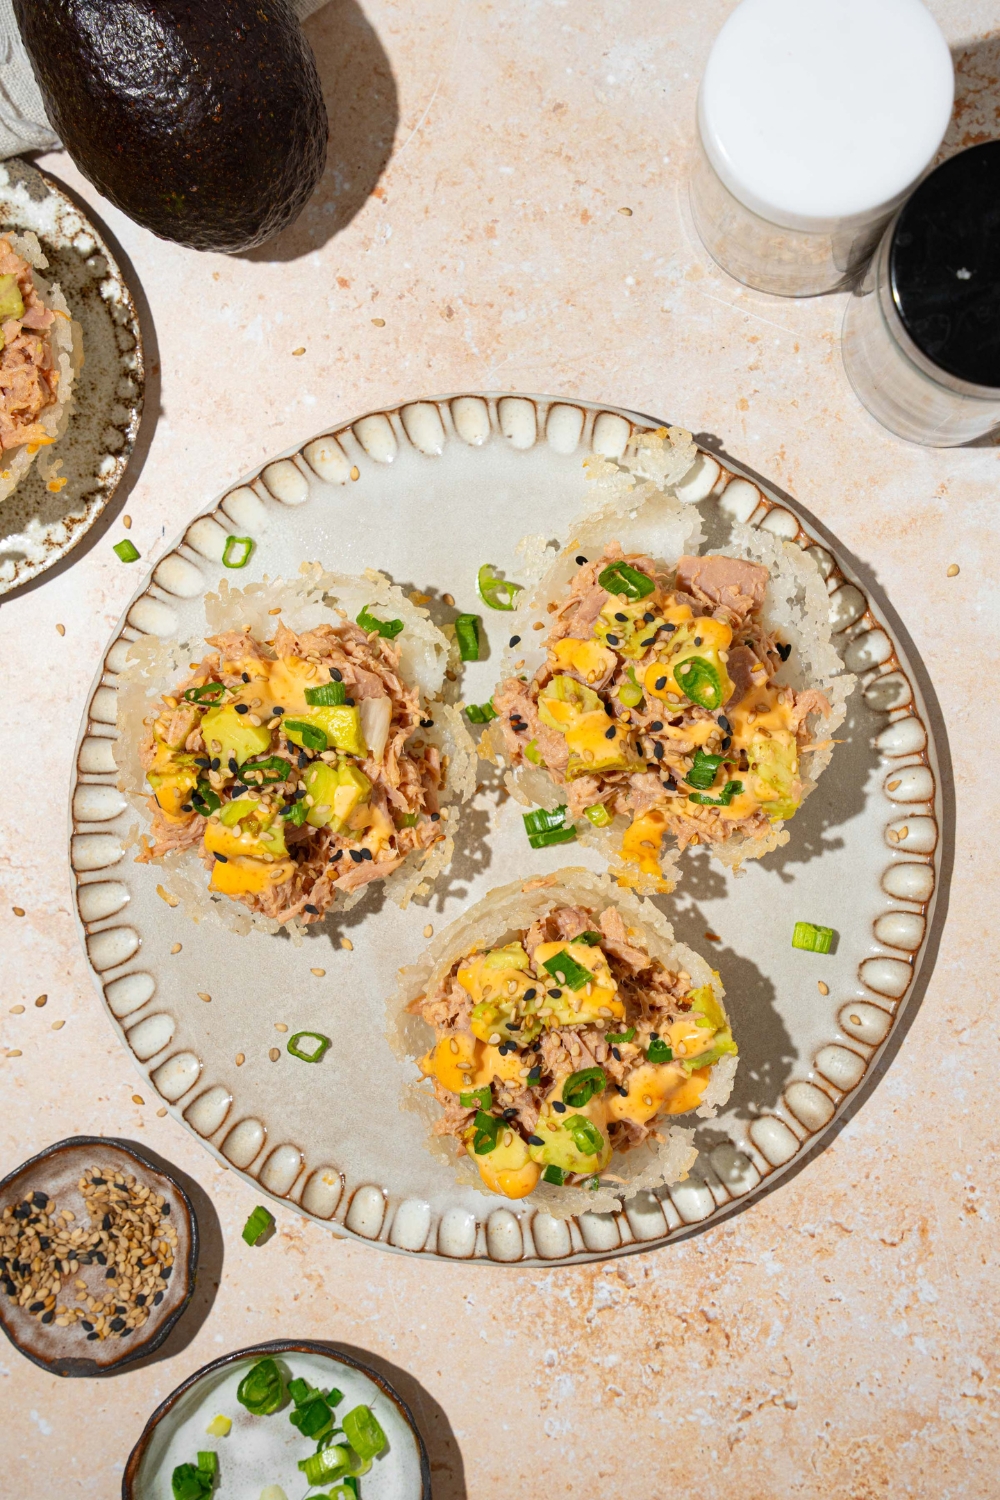
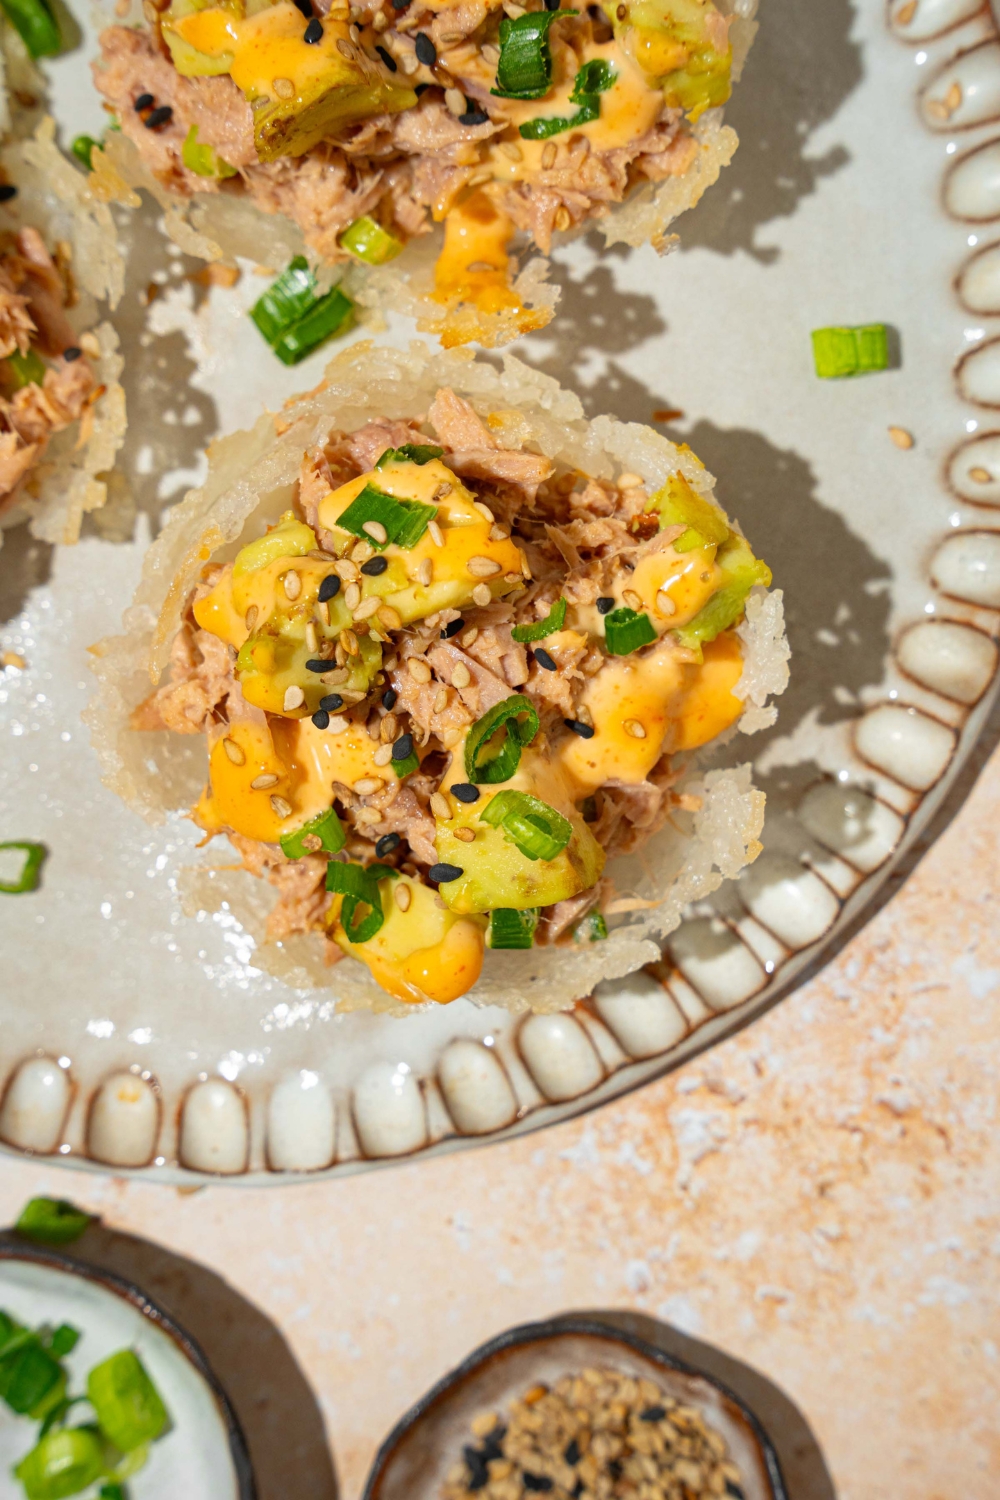
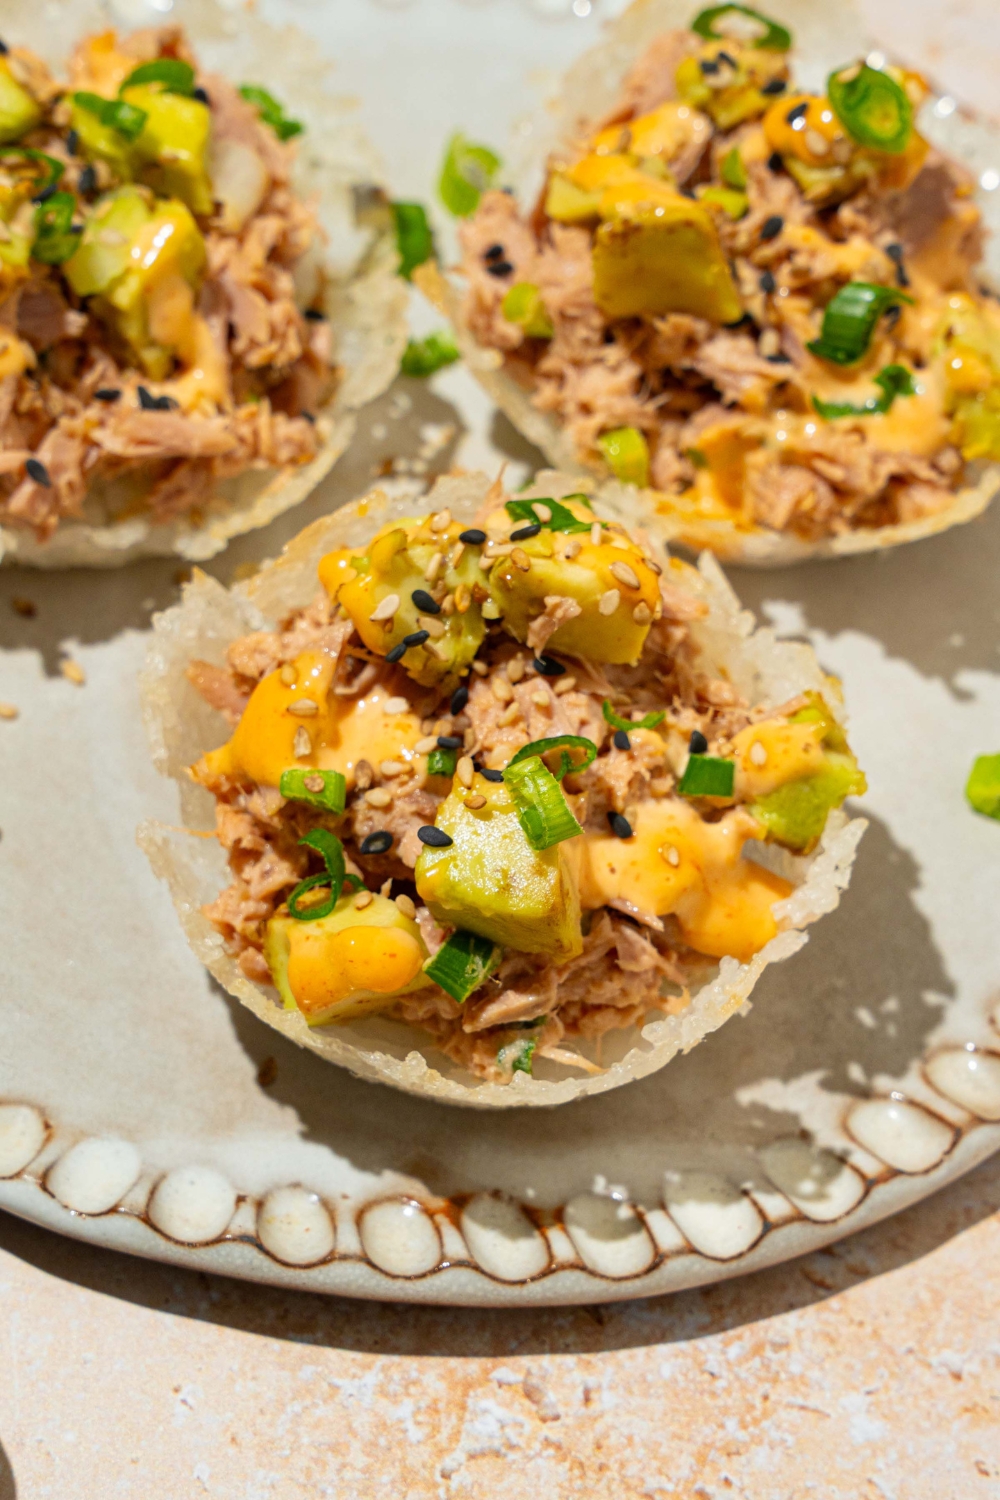
Top each tuna rice cup with cubed avocado and a drizzle of spicy mayo.
Finish with black and white sesame seeds and extra green onion. Serve immediately while the rice cups still have crisp edges and the tuna salad is fresh and creamy.
Expert Tips For The Best Tuna Rice Recipe
- Use sushi rice if you can. Sushi rice is short-grain and sticky, which makes it ideal for shaping into cups. Long-grain rice, like jasmine or basmati, won’t hold together as well and may fall apart when you remove the cups from the pan.
- Season the rice while it’s warm. Warm rice absorbs the rice vinegar, sugar, and salt better than cold rice. This gives the cups a light sushi rice flavor instead of tasting plain.
- Don’t overdo the vinegar. You only need 1-2 teaspoons of rice vinegar for this amount of rice. Too much liquid can make the rice too wet, which makes it harder to crisp and harder to remove from the pan.
- Grease the muffin pan well. The rice gets sticky as it bakes, so make sure each muffin cup is lightly greased before adding the rice. This helps the cups release cleanly after baking.
- Press the rice firmly into the pan. This is one of the most important steps. The rice needs to be compacted tightly against the bottom and sides so the cups hold together after baking. If the rice is loosely packed, the cups can crumble.
- Use wet fingers to shape the cups. Sushi rice is sticky, so lightly wetting your fingers or spoon makes shaping easier. Just don’t add too much water, or the rice can get soggy.
- Keep the rice layer thick enough. If the walls of the cups are too thin, they can crack or break when removed from the pan. Aim for a sturdy layer on the bottom and sides so each cup can hold the tuna salad.
- Let the rice cups cool slightly before removing them. They’ll be softer right out of the oven. Giving them a few minutes to set helps the edges firm up and makes them much easier to lift from the pan.
- Use well-drained tuna. Excess liquid in the tuna can make the filling watery and soften the rice cups. Drain the tuna really well before mixing it with mayo, lemon juice, green onion, salt, and pepper.
- Don’t make the tuna salad too loose. The filling should be creamy, but not soupy. If the tuna salad is too wet, it can make the rice cups soggy and messy to eat.
- Add avocado right before serving. Avocado browns quickly once cut, so cube it right before topping the cups. If you need to prep it a little early, toss the cubes with a tiny squeeze of lemon juice.
- Serve them fresh for the best texture. The rice cups are crispiest right after baking. They’ll still taste good later, but the edges soften once the tuna salad and toppings sit inside.
Recipe Variations
- Make Them Spicy Tuna Rice Cups: Add sriracha, chili garlic sauce, or a little spicy mayo directly into the tuna salad. You can also top each cup with extra chili crunch, sliced jalapeños, or crushed red pepper.
- Add Cucumber: Finely diced cucumber adds crunch and freshness. Mix it into the tuna salad or add it on top with the avocado.
- Use Salmon Instead: Swap the canned tuna for canned salmon or cooked flaked salmon. It gives the rice cups a slightly richer flavor and works really well with avocado and spicy mayo.
- Add Seaweed: Sprinkle crushed nori, furikake, or seaweed flakes over the top for more sushi-inspired flavor, like my sushi tacos.
- Make Them Extra Creamy: Add a little extra mayo to the tuna salad or top the cups with more spicy mayo. Just be careful not to make the filling too wet.
- Add Soy Sauce or Eel Sauce: A small drizzle of soy sauce, coconut aminos, or eel sauce adds more savory flavor. Add it right before serving so the rice cups don’t absorb too much liquid.
- Make Them Crunchy: Top the cups with crushed wonton strips, crispy onions, tempura flakes, or toasted sesame seeds for extra texture.
Storage and Reheating Instructions
These tuna rice cups are best right after assembling, when the rice edges are still crisp. If you want to prep them ahead, it’s best to store the parts separately.
What to store separately
- Rice cups: store in an airtight container in the fridge for up to 2 days
- Tuna salad: store in a separate airtight container in the fridge for up to 3 days
- Toppings: keep the avocado, spicy mayo, sesame seeds, and green onions separate until serving
How to reheat: To bring back some of the crisp texture, reheat the rice cups in the oven or air fryer at 350°F for a few minutes, until warmed through and lightly crisp again. I wouldn’t microwave them if you want the edges to stay crisp.
How to serve after reheating: Once the rice cups are warm, fill them with the cold tuna salad and finish with avocado, spicy mayo, sesame seeds, and green onions.
Can you freeze them? I don’t recommend freezing this recipe. The texture of both the rice and the tuna salad is much better fresh.
Tuna Rice Cups FAQs
What are tuna rice cups?
Tuna rice cups are sushi-inspired baked rice cups made by pressing seasoned sushi rice into a muffin pan, baking until the edges are lightly crispy, and filling them with creamy tuna salad, avocado, spicy mayo, sesame seeds, and green onions. They’re like mini crispy rice bites in cup form.
Can I use regular rice instead of sushi rice?
Sushi rice works best because it’s sticky and holds its shape after baking. Regular long-grain rice won’t bind as well, so the cups may fall apart. If you don’t have sushi rice, use another short-grain or medium-grain rice for the best results.
Do I need day-old rice for this recipe?
No, you don’t need day-old rice. Warm cooked sushi rice actually works well because it’s easier to season and press into the muffin pan. The key is using sticky rice and compacting it firmly so the cups hold their shape.
How do I keep the rice cups from falling apart?
Use sushi rice, press it firmly into the muffin pan, and let the cups cool slightly before removing them. Greasing the pan well also helps them release without breaking. If the rice layer is too thin or loosely packed, the cups are more likely to crumble.
Can I make tuna rice cups ahead of time?
Yes, but it’s best to prep the parts separately. Bake the rice cups ahead and store them in the fridge, then make the tuna salad separately. Reheat the rice cups in the oven or air fryer before filling them so the edges crisp back up.
Can I use fresh tuna instead of canned tuna?
Yes, you can use cooked fresh tuna, seared tuna, or sushi-grade tuna if you have it. Canned tuna is just the easiest and most affordable option. If using fresh tuna, dice or flake it and season it with mayo, lemon juice, green onion, salt, and pepper.
What kind of tuna should I use?
Use any canned tuna you like, but drain it well before mixing. Tuna packed in water keeps the filling lighter, while tuna packed in oil gives it a richer flavor. Either works as long as the excess liquid is removed.
Can I make these with salmon instead of tuna?
Absolutely. Canned salmon, cooked salmon, or leftover baked salmon all work well in this recipe. Just flake the salmon and mix it with mayo, lemon juice, green onion, salt, and pepper the same way you would with tuna.
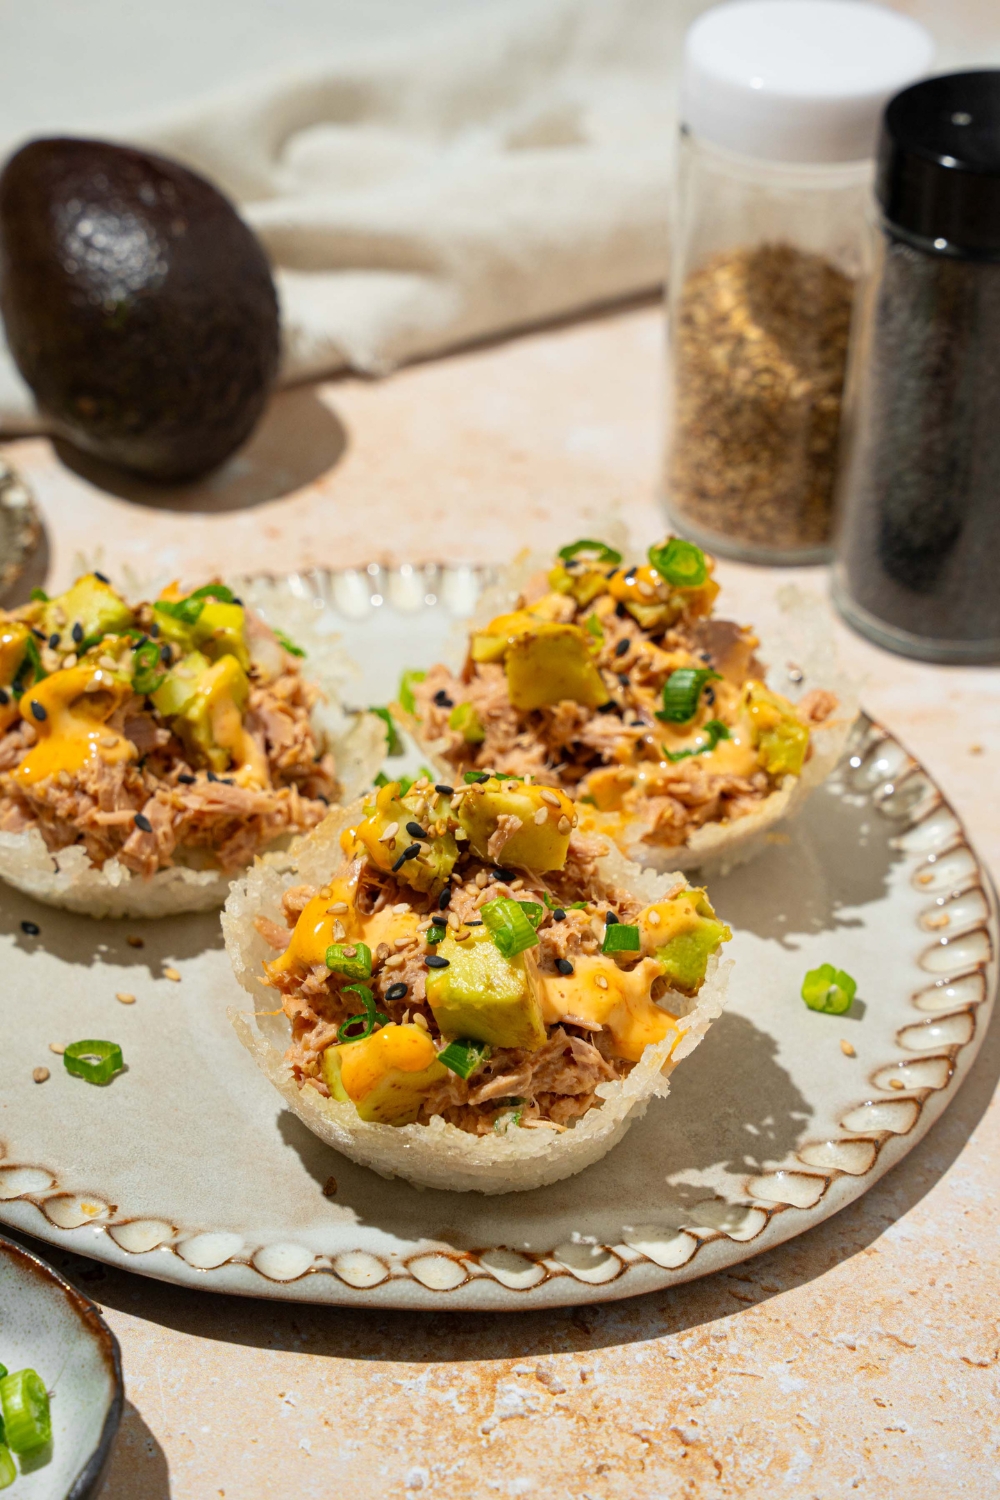
Are tuna rice cups served warm or cold?
They’re best served with warm, crispy rice cups and cool or room-temperature tuna salad. That contrast gives you crispy edges, creamy filling, and fresh toppings all in one bite.
Can I make these in an air fryer?
You can reheat the rice cups in an air fryer, but shaping and baking them is easiest in a muffin pan. If you have silicone muffin cups that fit in your air fryer, you can try air frying at 375°F until the rice edges are firm and lightly golden.
How do I make spicy mayo for this recipe?
Mix mayonnaise with sriracha to taste. Start with 2 tablespoons mayo and about 1 teaspoon sriracha, then add more sriracha if you want it spicier. You can also add a tiny squeeze of lemon or lime juice to brighten it up.
Why are my rice cups soggy?
Rice cups can turn soggy if the rice is too wet, the tuna salad is too loose, or the cups sit too long after being filled. Drain the tuna well, don’t overdo the mayo, bake the rice cups until the edges are lightly crisp, and assemble right before serving.
Viral Recipes To Make Next
Crispy Tuna Rice Cups

These viral tuna rice cups are crispy, creamy, savory, and so easy to make with sushi rice, canned tuna, avocado, spicy mayo, sesame seeds, and green onions. The rice bakes in a muffin pan until the edges get lightly golden, then each cup gets filled with a simple tuna salad and finished like a mini sushi-inspired bite.
Ingredients
Crispy sushi rice cups:
- 2 cups cooked sushi rice, or enough to fill a cupcake pan
- 1-2 teaspoons rice vinegar
- Small pinch of sugar
- Pinch of salt
- 1 small avocado, cubed
- 2 tablespoons spicy mayo
- Black and white sesame seeds
- Extra green onion for topping
Tuna salad filling:
- 1 can tuna, drained
- 2 tablespoons mayo
- 1-2 teaspoons lemon juice
- 1 tablespoon finely chopped green onion
- Salt and pepper, to taste
Instructions
- Preheat the oven to 400°F (200°C) and lightly grease a muffin or cupcake pan.
- In a bowl, mix the warm cooked sushi rice with rice vinegar, a pinch of sugar, and salt. Stir until evenly seasoned.
- Spoon the rice into each cavity of the muffin pan, pressing it firmly into the bottom and up the sides to form small cups. Use the back of a spoon or your fingers to compact the rice well so it holds its shape.
- Bake the rice cups for 15–20 minutes, or until the edges are lightly golden and slightly crispy. Remove from the oven and let them cool slightly before removing from the pan.
- While the rice cups bake, prepare the tuna salad. In a bowl, combine the drained tuna, mayo, lemon juice, chopped green onion, salt, and pepper. Mix until well combined.
- Once the rice cups are ready, fill each one with a spoonful of the tuna salad. Top with cubed avocado and drizzle with spicy mayo.
- Finish with a sprinkle of black and white sesame seeds and extra green onion. Serve immediately and enjoy.
Nutrition Information:
Serving Size:
1 cupAmount Per Serving: Calories: 141Total Fat: 11gSaturated Fat: 2gTrans Fat: 5gCholesterol: 15mgSodium: 92mgCarbohydrates: 10gFiber: 2gProtein: 3g
Leave a Reply